Quenneth Lumena’s Warrant Walkthrough for Elder Scrolls Online
Every objective, the stealth route through each zone, and the rewards for finishing Quen's final Thieves Guild quest.
Every objective, the stealth route through each zone, and the rewards for finishing Quen’s final Thieves Guild quest.
by Sehaj Padda
Quenneth Lumena’s Warrant closes out Quen’s story in the Thieves Guild and serves as the last quest in the Elder Scrolls Online Season One chain. The setup is simple. Quen’s bounty has jumped from vague “crimes against the realm” to a murder charge in another town, and Captain Sansonne turns up in the Thieves Den out of uniform to warn you that the Lion Guard will come for her. The whole quest runs on stealth rather than lockpicking or pickpocketing, so the challenge is avoiding guards you are not allowed to kill.
Quick answer: Pick up the quest from Captain Sansonne in the Daggerfall Thieves Den, follow Quen to Abah’s Landing, sneak through the Warehouse District and Silver-Claw’s Warehouse to reach Thavil, confront Lord Damar inside No Shira Citadel, then return to Daggerfall to resolve Quen’s choice about her father. Completing it grants Quen’s Heist Attire and a Curated Bahraha’s Curse Coffer.
How to start Quenneth Lumena’s Warrant
You need to finish Racing Into Nowhere first, since that is the prerequisite quest. Once it is done, head into the main room of the Daggerfall Thieves Den and speak to Captain Sansonne. He hands over the warrant details and gives you time to sort things out before the Lion Guard acts.
Detail
Value
Zone
Glenumbra
Faction
Thieves Guild
Quest giver
Captain Sansonne
Prerequisite
Racing Into Nowhere
Key locations
Abah’s Landing, Daggerfall Outlaws Refuge, Daggerfall, Iron Wheel Headquarters
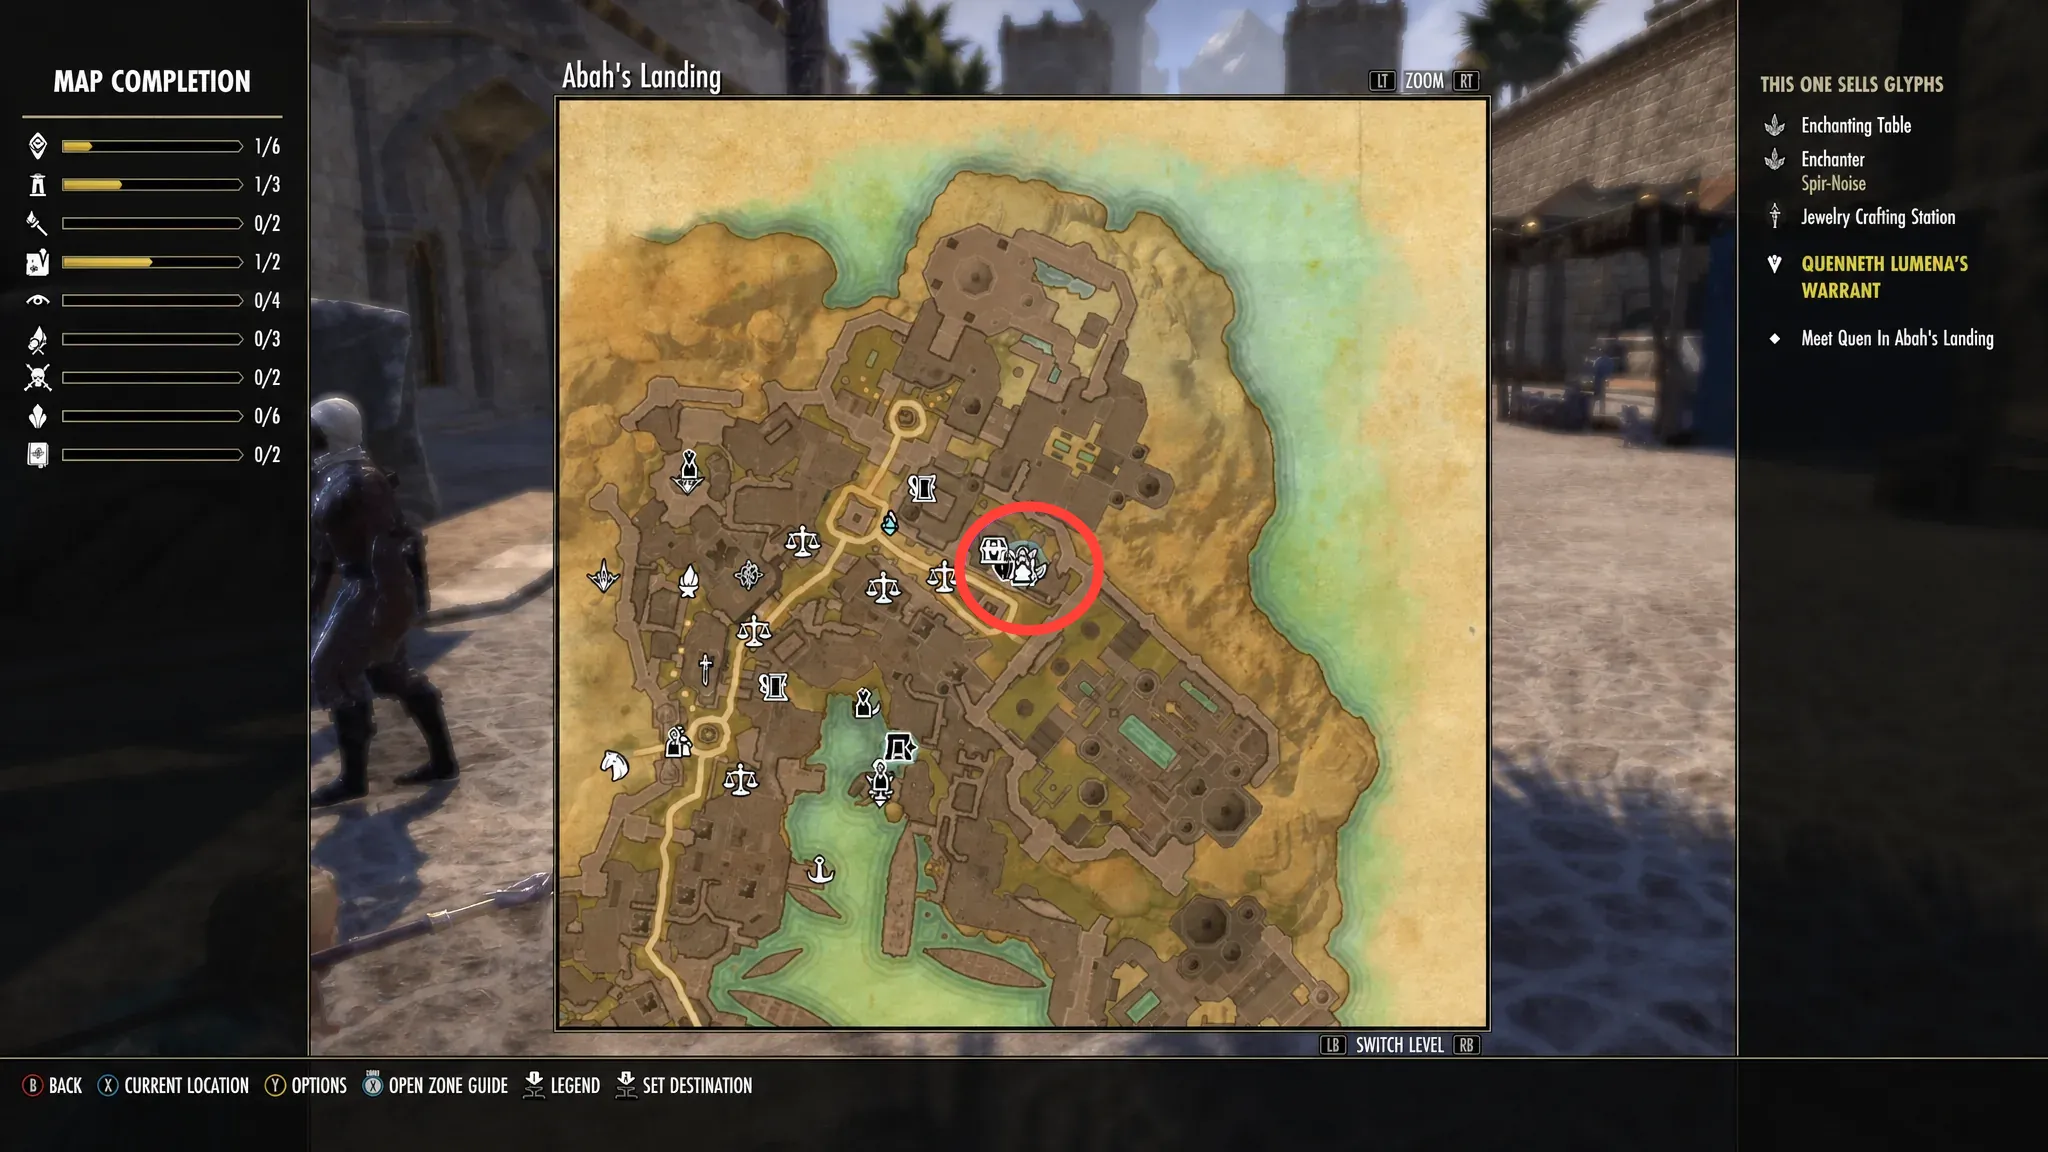
Talk to Quen, who stands right nearby when the quest begins. She rejects the murder charge outright, since she avoids killing unless there is no other option, and asks you to meet her at the Glyph Shop overlook in Abah’s Landing.
Travel to Abah’s Landing. If you have the wayshrine, it is a quick jump. Otherwise, take a boat from Wayrest, Woodhearth, or Windhelm, or ride from any wayshrine in Hew’s Bane. The building overlooks the palace.
Quen waits at the shop that overlooks the palace. (Image via ZeniMax Online Studios)
Inside, talk to the Iron Wheel Soldier at the foot of the stairs before you go up. None of the dialogue options change the outcome, so bluster past him, head upstairs, and speak to Quen out on the overlook.
You learn the person behind the warrant is Lord Damar, a greedy noble who framed Quen only to lure her out and grab one of her father’s forgeries. He has set a trap in the Warehouse District, which is your next destination.
Search the Warehouse District and Silver-Claw’s Warehouse
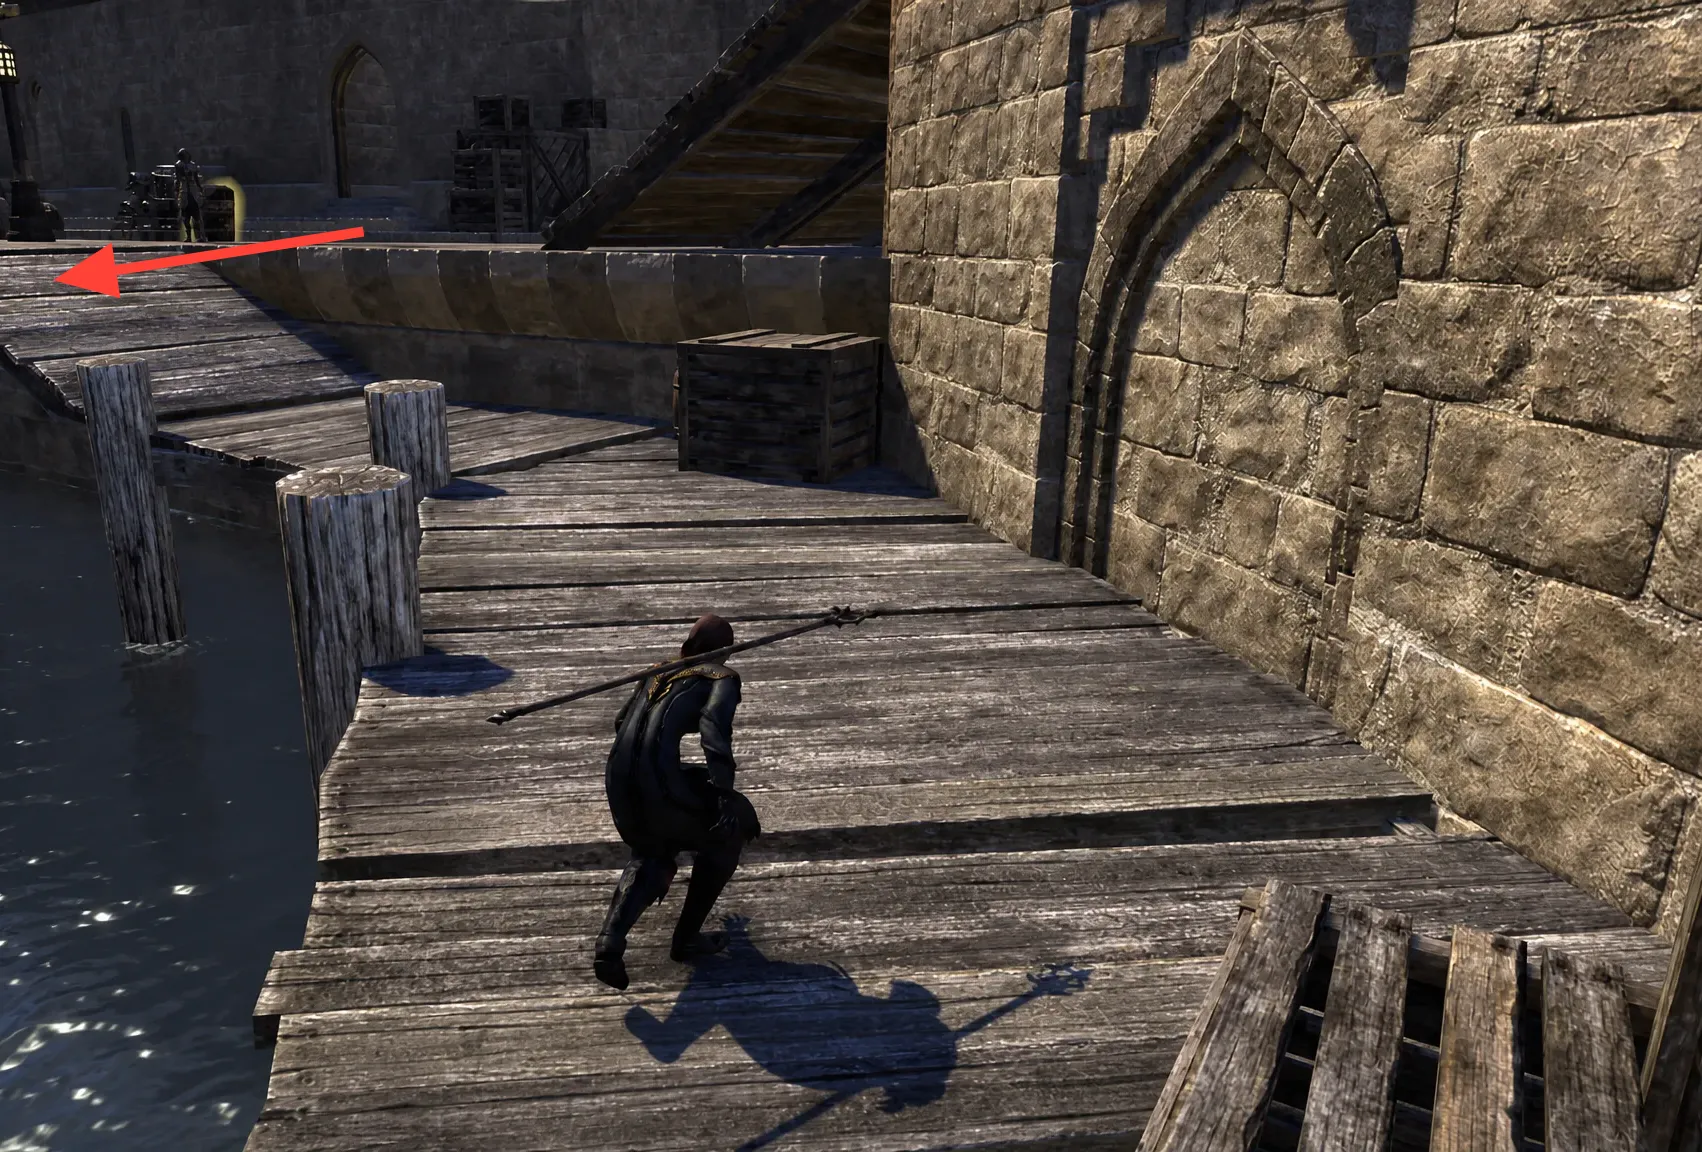
Go south to the Warehouse District and follow the quest icon into the story zone. You cannot kill the guards here, so keep some Soul Shards handy in case you get caught, or simply avoid them. Wait for the first patrolling guard to move off, then drop down to the lower area.
Drop down here to shorten the sneaking route. (Image via ZeniMax Online Studios)
Crouch behind the workers on the lower pier and cross to the far side. A guard on the ground has a long patrol, so wait for him to pass the glowing yellow hiding spot, then wait again for him to move well past you before you slip onto the boat the quest arrow points to.
On the boat, read Lord Damar’s Orders. This points you across the road to a doorway. Dropping into the water and swimming back around lets you reach the entrance and run inside once the guard is out of range.
Inside Silver-Claw’s Warehouse, ignore the many climbable platforms and head to the back of the room on the east side to reach the stairs up. Avoid the patrols on the upper level, take the long route west along the planks, and use the hiding spot when a guard gets close.
Before the western door, you run into Thavil. He insists he does not work for Lord Damar and tells you Damar is hiding in No Shira Citadel, an Iron Wheel fortress south of Abah’s Landing.
Ride south to No Shira Citadel, using its wayshrine if you have it, and talk to Quen at the entrance. The approach is safe if you disarm traps and avoid the few patrolling guards. Crossing the first wooden platform, jumping to the steps below, and following the path east keeps you clear of almost every soldier.
Enter the citadel and look for Lord Damar. The interior path is straightforward. Stay crouched so you can spot the traps along the floor, and jump over any you cannot disarm.
Confront Lord Damar in the Iron Wheel office. There is no fight here. When Damar calls for the Iron Wheels, the reinforcements turn out to be the Daggerfall Thieves Guild in disguise, and they neutralize him. Speak to Abrasia afterward.
Speak with your allies before you decide, then find Quen down at the Daggerfall docks and tell her what you think she should do. The choice about forgiving her father does not appear to change the reward or outcome.
Return to the Thieves Den and talk to Quen one last time to wrap everything up. She confirms her father can stay and checks in on whether anything else is needed, which ends the quest.
You know the quest is finished when the final conversation with Quen at the Thieves Den closes and the rewards drop into your inventory. There is no combat gate to fail, so the only real snag is getting spotted by an unkillable guard, which just resets your position rather than ending the quest.
Quenneth Lumena’s Warrant rewards
Reward
Type
Quen’s Heist Attire
Costume (collectible page)
Curated Bahraha’s Curse Coffer
Gear coffer
Very High Leveled Gold
Currency
Very High Experience XP
Experience
Because the Curated Bahraha’s Curse Coffer is curated, it targets set pieces you are still missing, which makes this quest a tidy way to round out that collection while capping off Quen’s arc and the establishment of the Daggerfall Thieves Guild.