

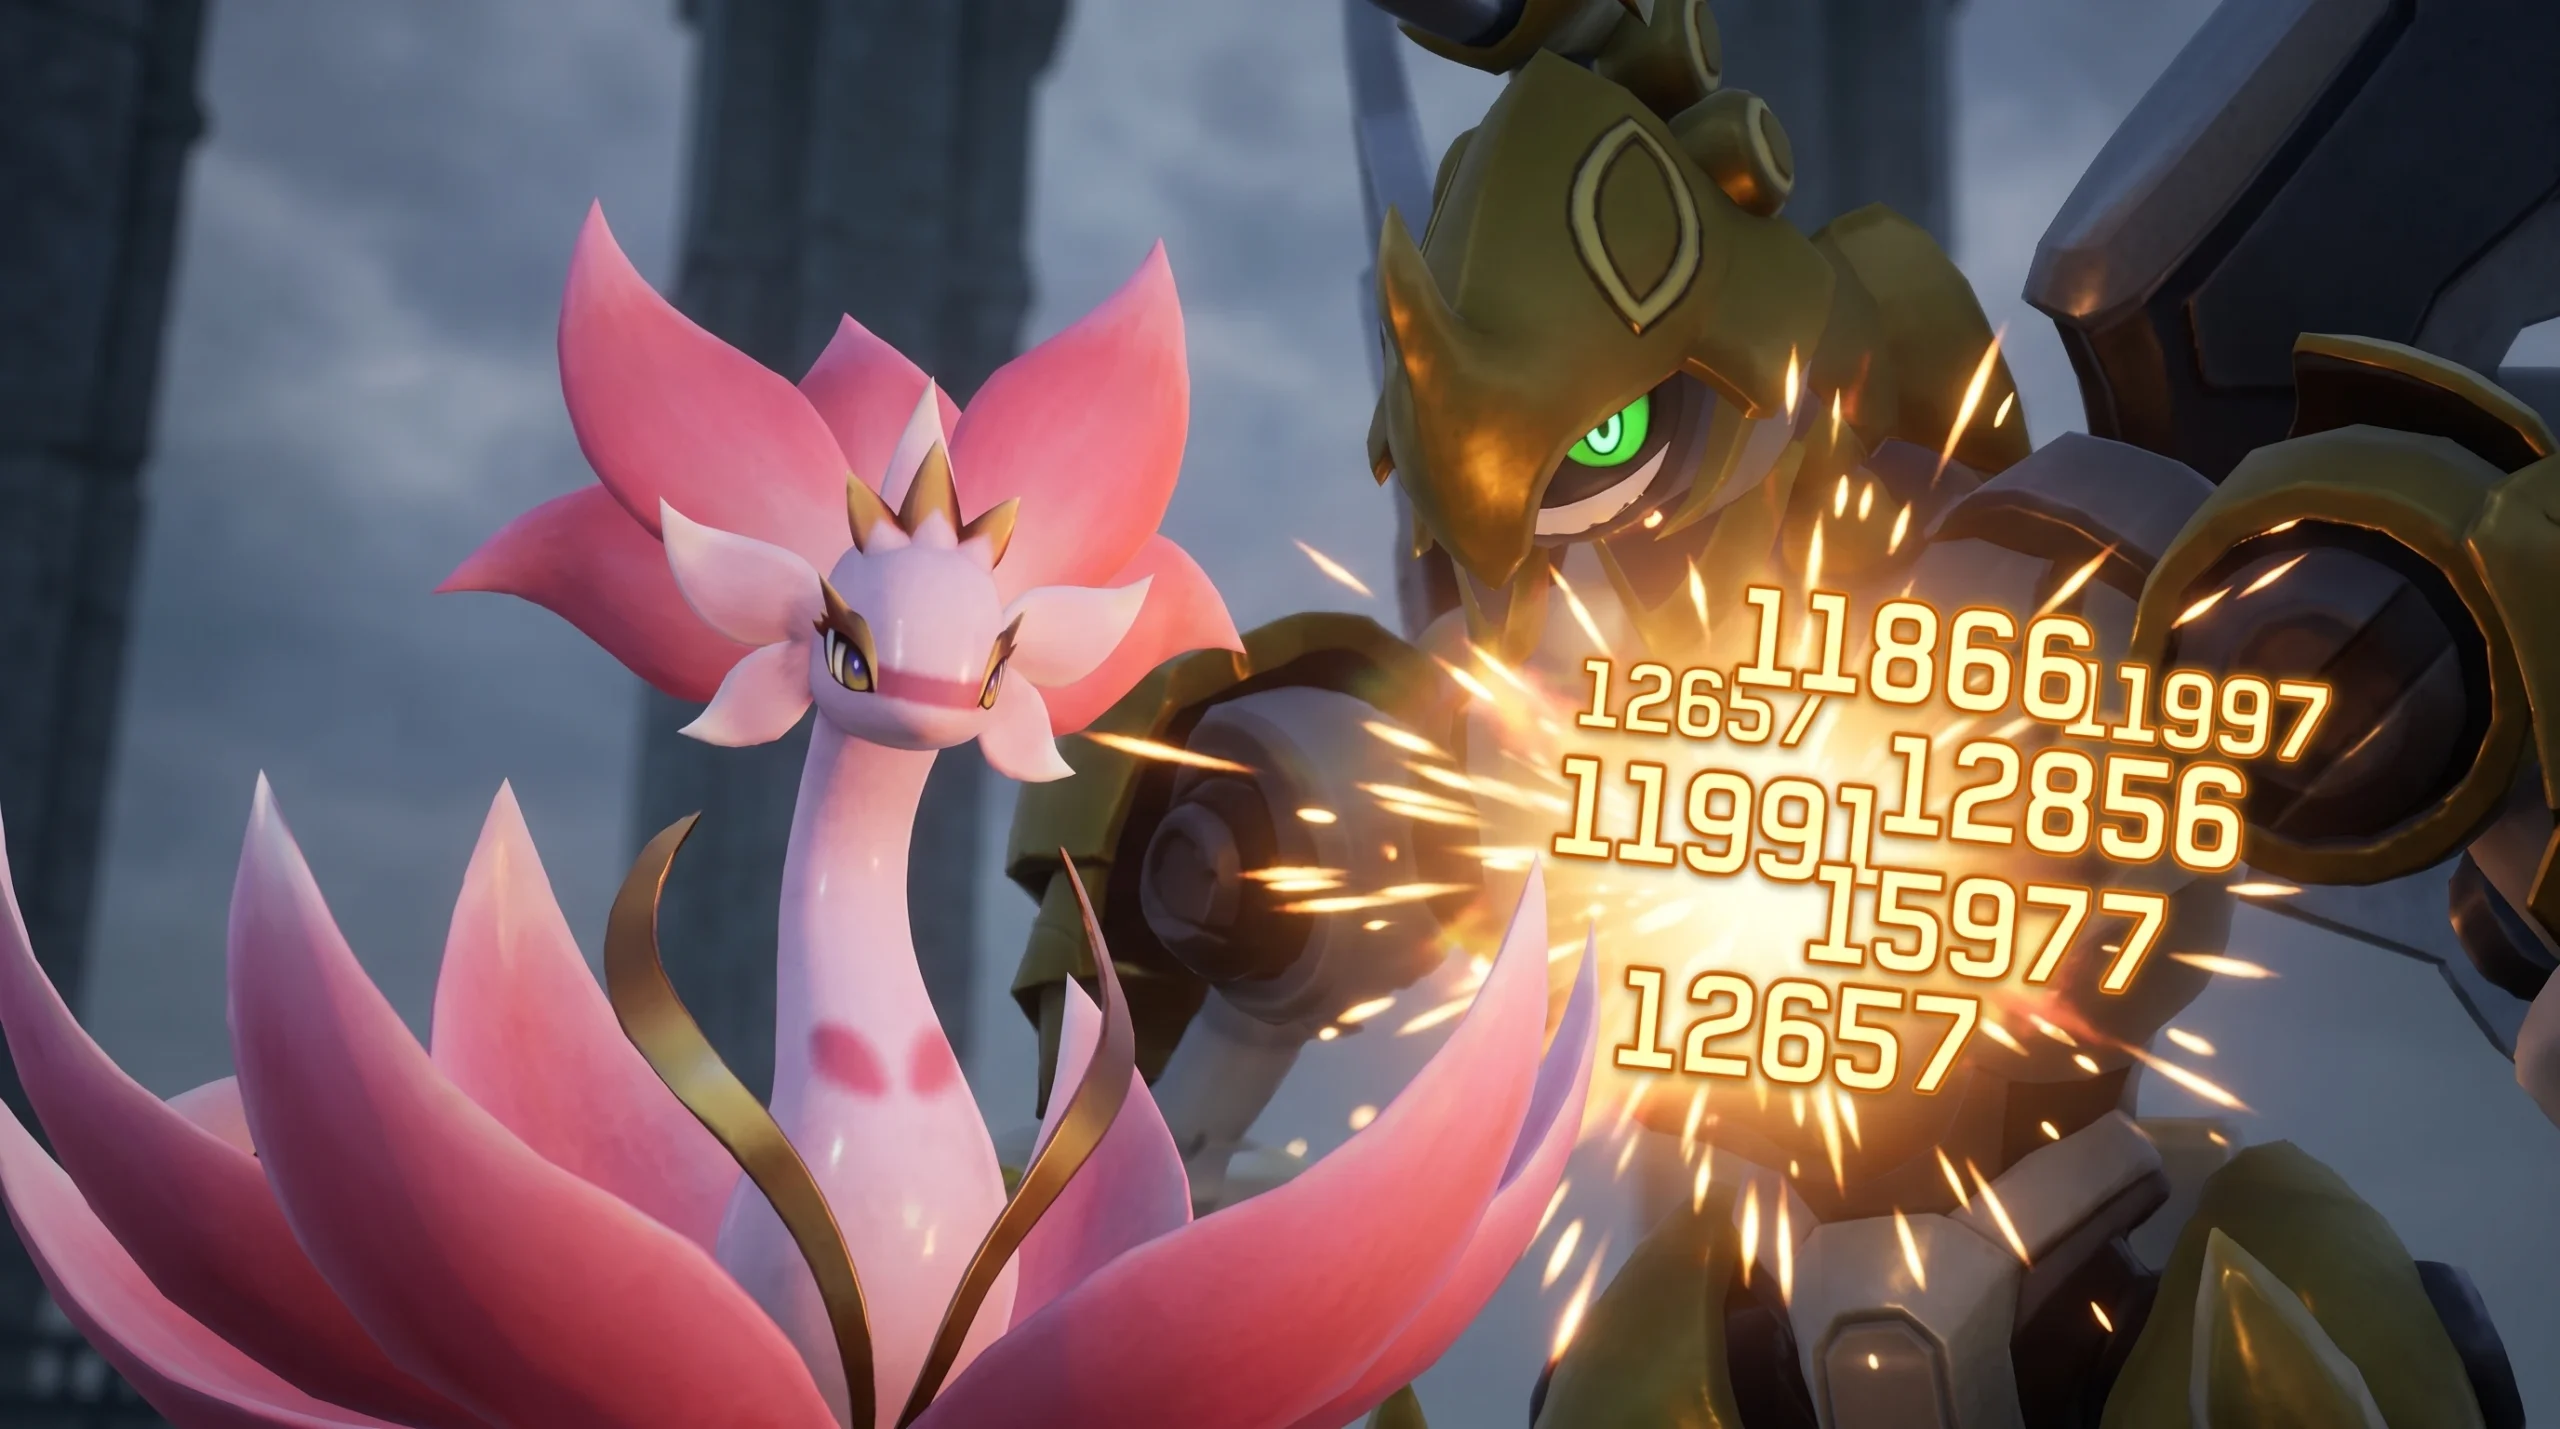
Hard Mode Tower Bosses in Palworld 1.0 have enough health to turn fights into drawn-out slogs, but the right player damage setup skips almost all of that. The strongest version leans on three things working together: your weapon element matching the boss’s weakness, a stack of party passive skills, and gear that pushes your Attack as high as it will go. Dialed in correctly, most Hard Mode Tower Bosses fall in roughly 20 to 45 seconds.
Quick answer: Keep Vanwyrm Cryst, Cryolinx Terra, and Solenne in your party at all times, then fill the last two slots with an elemental mount that matches the boss’s weakness plus the Pal that boosts weak point damage for that same element.

The three core Pals that never leave your party
Three Pals form the permanent backbone of this build: Vanwyrm Cryst, Cryolinx Terra, and Solenne. Their job is to raise your weak point damage, and because that bonus applies to every boss regardless of type, they stay locked into your party for all encounters. Treat these three as fixed and don’t swap them out between fights.
That leaves two open party slots, and those are where you adapt to each specific boss.
Match the boss weakness with the two flexible slots
Before each fight, use your two open slots for a pair that targets the boss’s element. Slot one is an elemental mount that changes your attack type to whatever the boss is weak to. Slot two is the support Pal that increases weak point damage for that same element. Stacking the element conversion with the weak point bonus is where the massive numbers come from.
Against a Dragon type boss, for example, ride Frostallion to convert your attacks to Ice damage, then pair it with Moldron Cryst. Moldron Cryst’s Partner Skill raises player and Pal Ice damage to enemy weak points by 40%. You hit the boss’s elemental weakness and its weak point at the same time, and both multipliers compound.
The pattern repeats for every element. Read the boss’s weakness, bring the mount that turns your attacks into that element, and bring the matching Pal that pushes weak point damage for it. The three core Pals stay put; only these two rotate.

Passive skills for the mount and support Pal
Passive skills split into two roles. Your mount carries survival passives so you stay alive and uninterrupted while riding, and your elemental support Pal carries offense. The offensive passives stack across the party, so a properly built pair gives you around 40% increased damage and 40% increased Defense on top of faster reloads.
| Pal | Passive skills | Effect |
|---|---|---|
| Frostallion (mount) | Dimensional Leap | Movement speed, the most flexible of the four |
| Frostallion (mount) | Diamond Body, Idiosyncratic, Sacrificed Meat Shield | Defense plus flinch immunity to keep you mounted and alive |
| Moldron Cryst (support) | Vanguard | Raises player Attack |
| Moldron Cryst (support) | Reload Master | Faster reload for steadier damage |
| Moldron Cryst (support) | Stronghold Strategist | Raises player Defense |
| Moldron Cryst (support) | Idiosyncratic | Health regeneration |
The flinch immunity from the mount matters more than it looks. Staying uninterrupted is what lets your bonuses keep working through the whole fight instead of getting knocked out of them.
Best weapons for weak point damage
Because most of your damage flows from elemental bonuses and weak point multipliers, the build works with nearly any ranged weapon. That said, a few options stand out, and melee falls short.
| Weapon | Why it works |
|---|---|
| Drone Launcher | Drones stay active and keep dealing damage while you keep firing |
| Plasma Rifle | Consistent, forgiving on accuracy, keeps steady pressure on weak points |
| Mechanical Bow | Huge weak point damage when built well, but demands accuracy and boss hitboxes can make shots inconsistent |
| Melee weapons | Do not scale well enough here; they trail behind ranged options even with specialized setups |
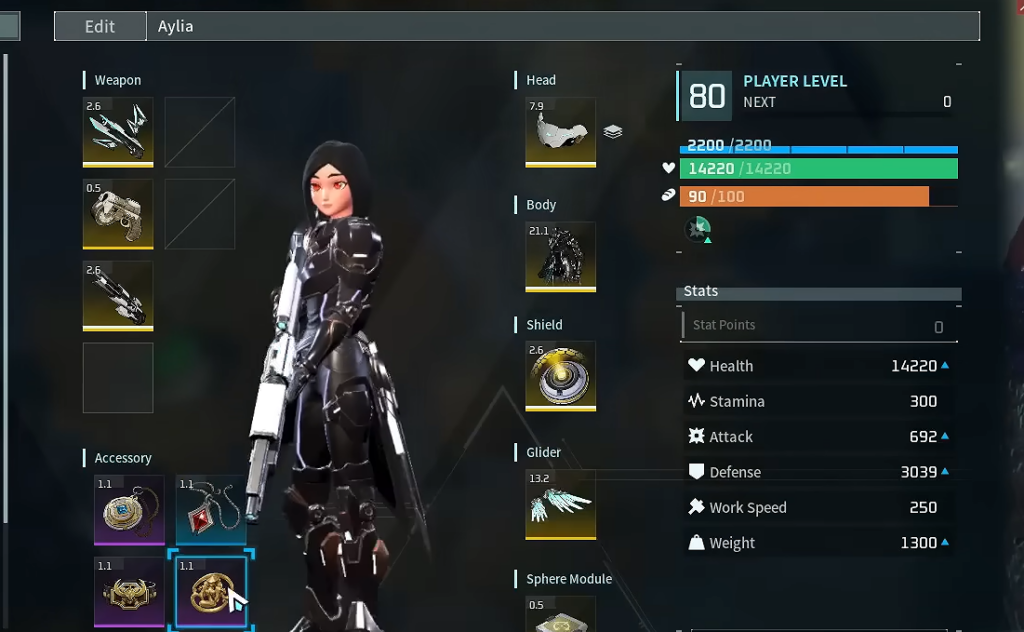
Best accessories for Attack and survivability
Accessories should push your Attack as far as possible while keeping your mount alive so the buffs never drop. Prioritize the pieces that raise your own damage first, then layer in the defensive options if you find yourself dying before the boss does.
| Accessory | Effect |
|---|---|
| Attack Pendant | Large Attack increase |
| Dogen Emblem | Boosts Attack for you and your active Pal |
| Silvegis Emblem | Boosts Defense for you and your active Pal |
| Warsect Terra’s Belt | Greatly raises Defense and Health |
You’ll know the setup is working when the boss’s health bar drops in seconds rather than minutes, with each weak point hit landing for far more than a normal shot. If a fight drags on, the usual culprit is a mismatched element, so double-check that your mount is converting your attacks to the boss’s weakness and that the paired support Pal covers that same element before you engage.





