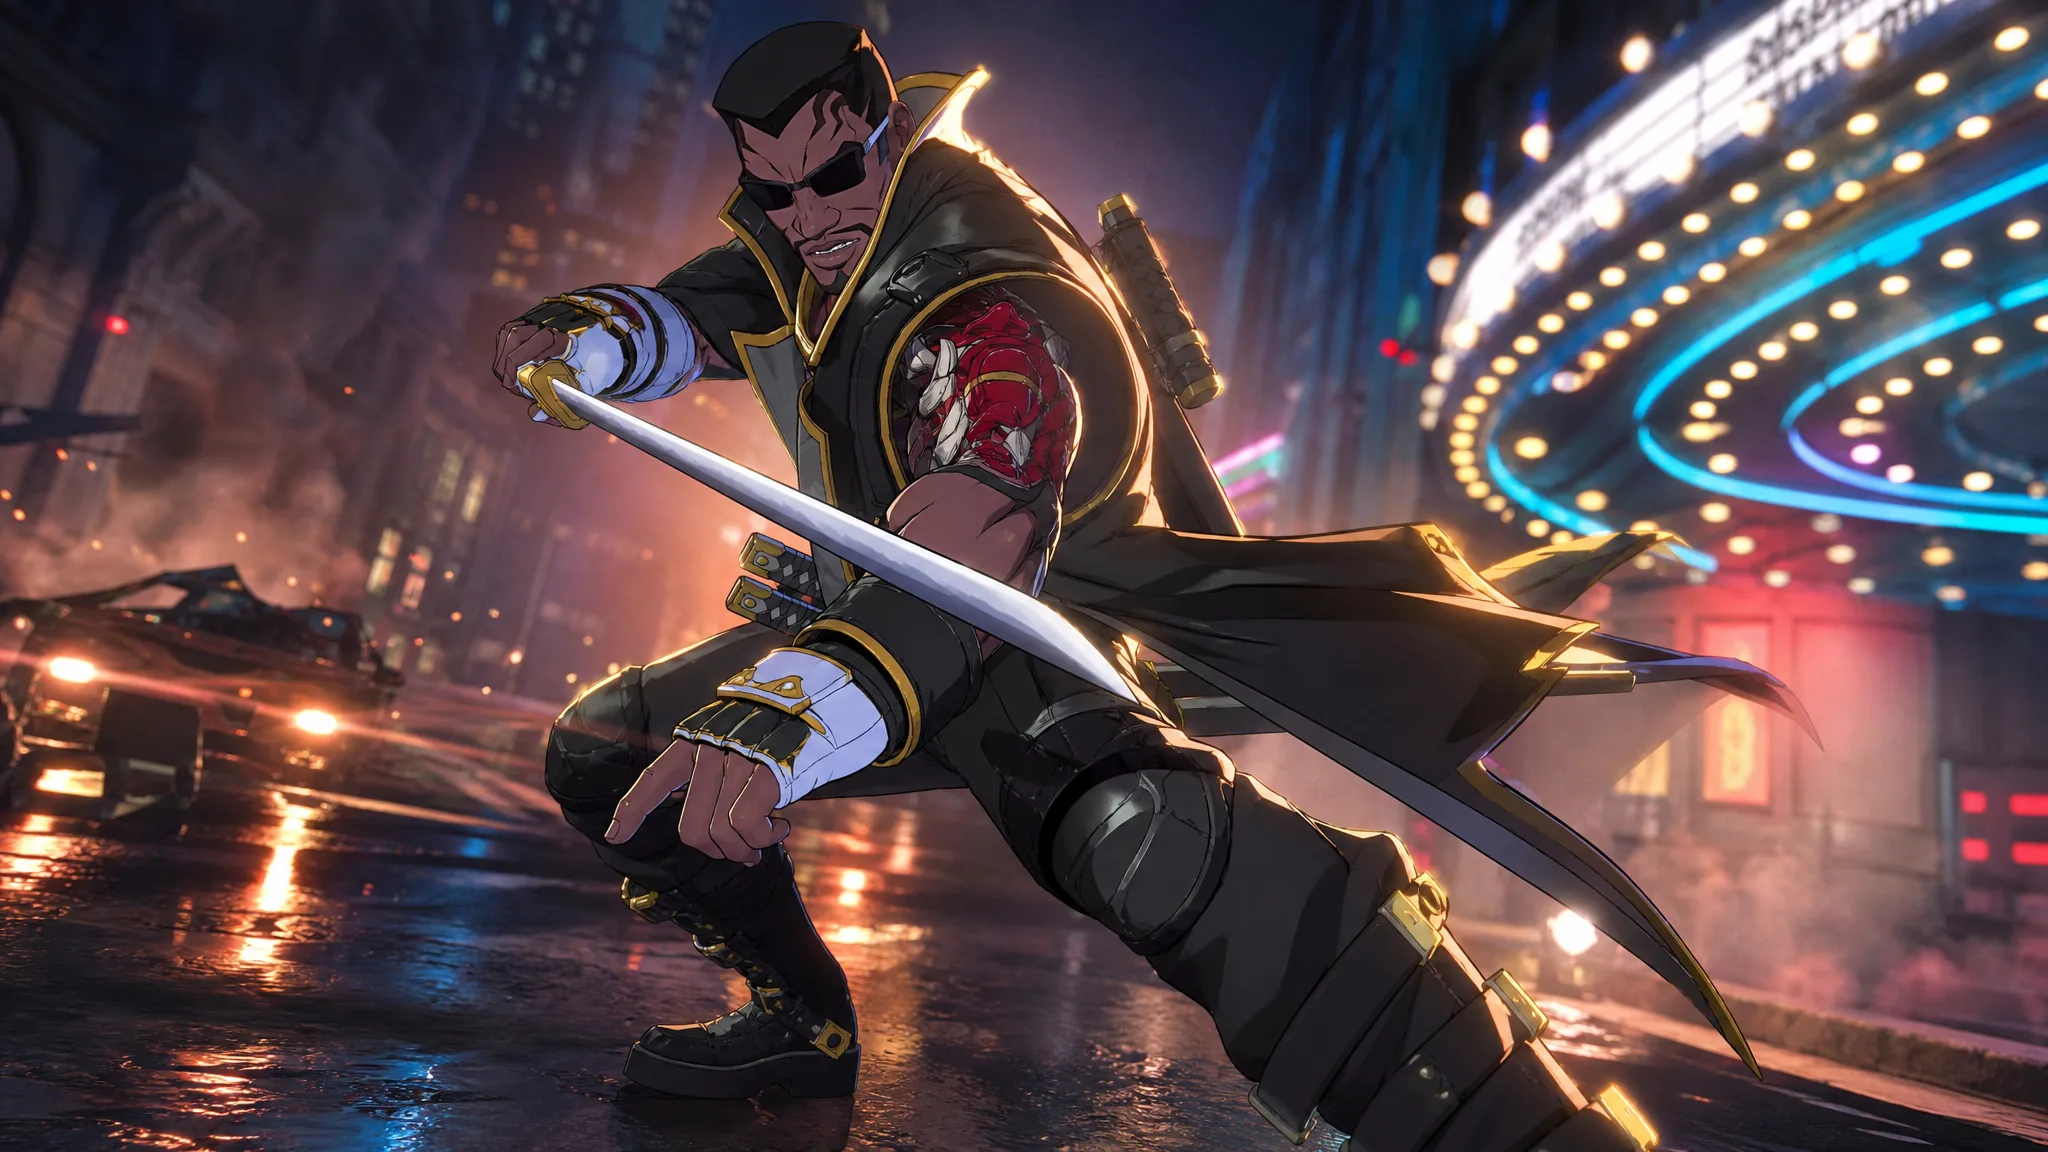
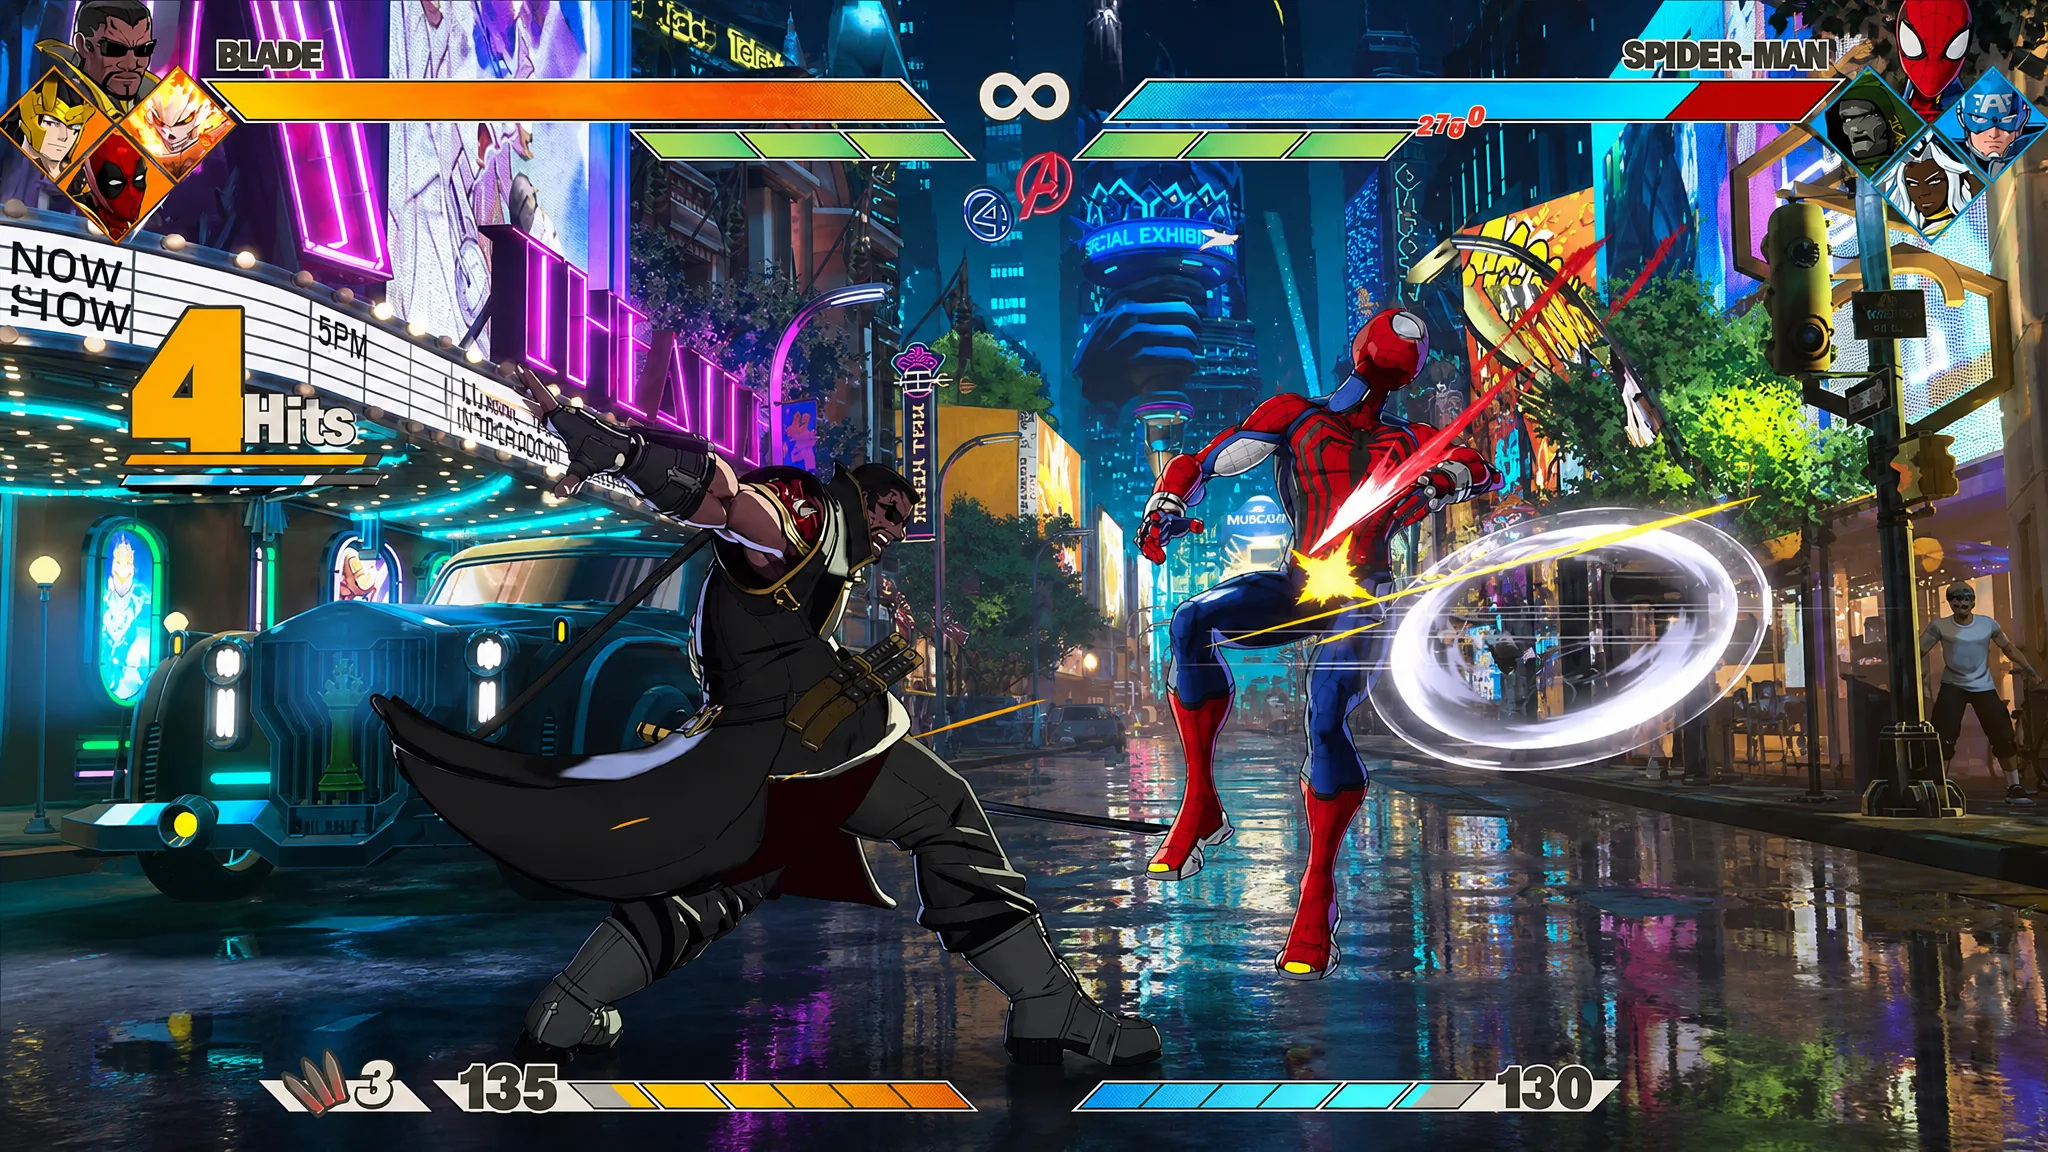
Blade is the sword-swinging rushdown hunter of the Samurai Outriders in MARVEL Tōkon: Fighting Souls, and his whole plan is to close space, mark you for death, and then cut you down before you can breathe. He throws silver stakes to open, teleports into your face, and swings a katana that hits harder every time his Marked for Death buff is live. He is also one of the easier fighters on the roster to pick up, which makes him a strong first main.
Quick answer: Land Heart Stopper (his silver stake) to teleport in and apply Marked for Death, then immediately follow with Vampire Slayer or Vampire Cleave for boosted damage. Use Glaive Strike and Bullet Barrage to drag zoners into range, and hold Daywalker Deflect when you need a counter.
Marked for Death is the whole gameplan
Everything Blade does keys off Marked for Death. When it is active, his sword glows red and his next skill deals extra damage and knockback. You get it three ways: hitting with Heart Stopper, landing Muramasa Moon (his Ultimate), or successfully guarding with Daywalker Deflect.
The cleanest loop is the stake. Throw Heart Stopper, and on hit Blade teleports right to the opponent with the buff already applied. From there you cash it in with Vampire Slayer or Vampire Cleave, both of which gain the bonus damage. Muramasa Moon is even more generous, since it powers up your next two skills instead of one.
Note: Heart Stopper runs on a limited stock. When you run dry, use Up the Stakes on the ground to refill it back to maximum so you always have a way to re-open.
Blade’s full move list
Inputs use standard numpad motions, where 236 is a quarter-circle forward, 214 is a quarter-circle back, 623 is a dragon-punch motion, and 22 is a double down tap. Unique is Blade’s dedicated button (R1 on PlayStation).
| Move | Input | Cost | What it does |
|---|---|---|---|
| Heart Stopper (Unique) | Unique (Air OK) | 1 stock | Throws auto-aiming silver stakes; teleports Blade to the target on hit. |
| Up the Stakes | 2 + Unique | Free | Refills Heart Stopper stocks to max. Grounded only. |
| Daywalker Deflect | 4 + Unique | Free | Guards an attack; auto counters the enemy leader and grants Marked for Death for one skill. |
| Bullet Barrage | 236 L/M/H (Air OK) | 25 Gauge | Machine-gun projectiles; aerial version fires downward. Cancels into Heart Stopper. |
| Vampire Slayer | 623 L/M/H | 25 Gauge | Anti-air slash; gains air-attack invincibility partway through. Buffed by Marked for Death. |
| Vampire Cleave | 214 L/M/H (Air OK) | 25 Gauge | Lunging slash that pierces through the opponent on hit. Buffed by Marked for Death. |
| Glaive Strike | 22 L/M/H (Air OK) | 25 Gauge | Boomerang projectile that stays active on the way back and pulls the opponent in. |
| Bloodlust (Super) | 236 M/H (Air OK) | 50 Gauge | Lunges in and unloads a flurry of different weapons. |
| Muramasa Moon (Ultimate) | 214 6 M/H | 100 Gauge | Projectile into a finishing slash; stronger up close and applies Marked for Death for two skills. |
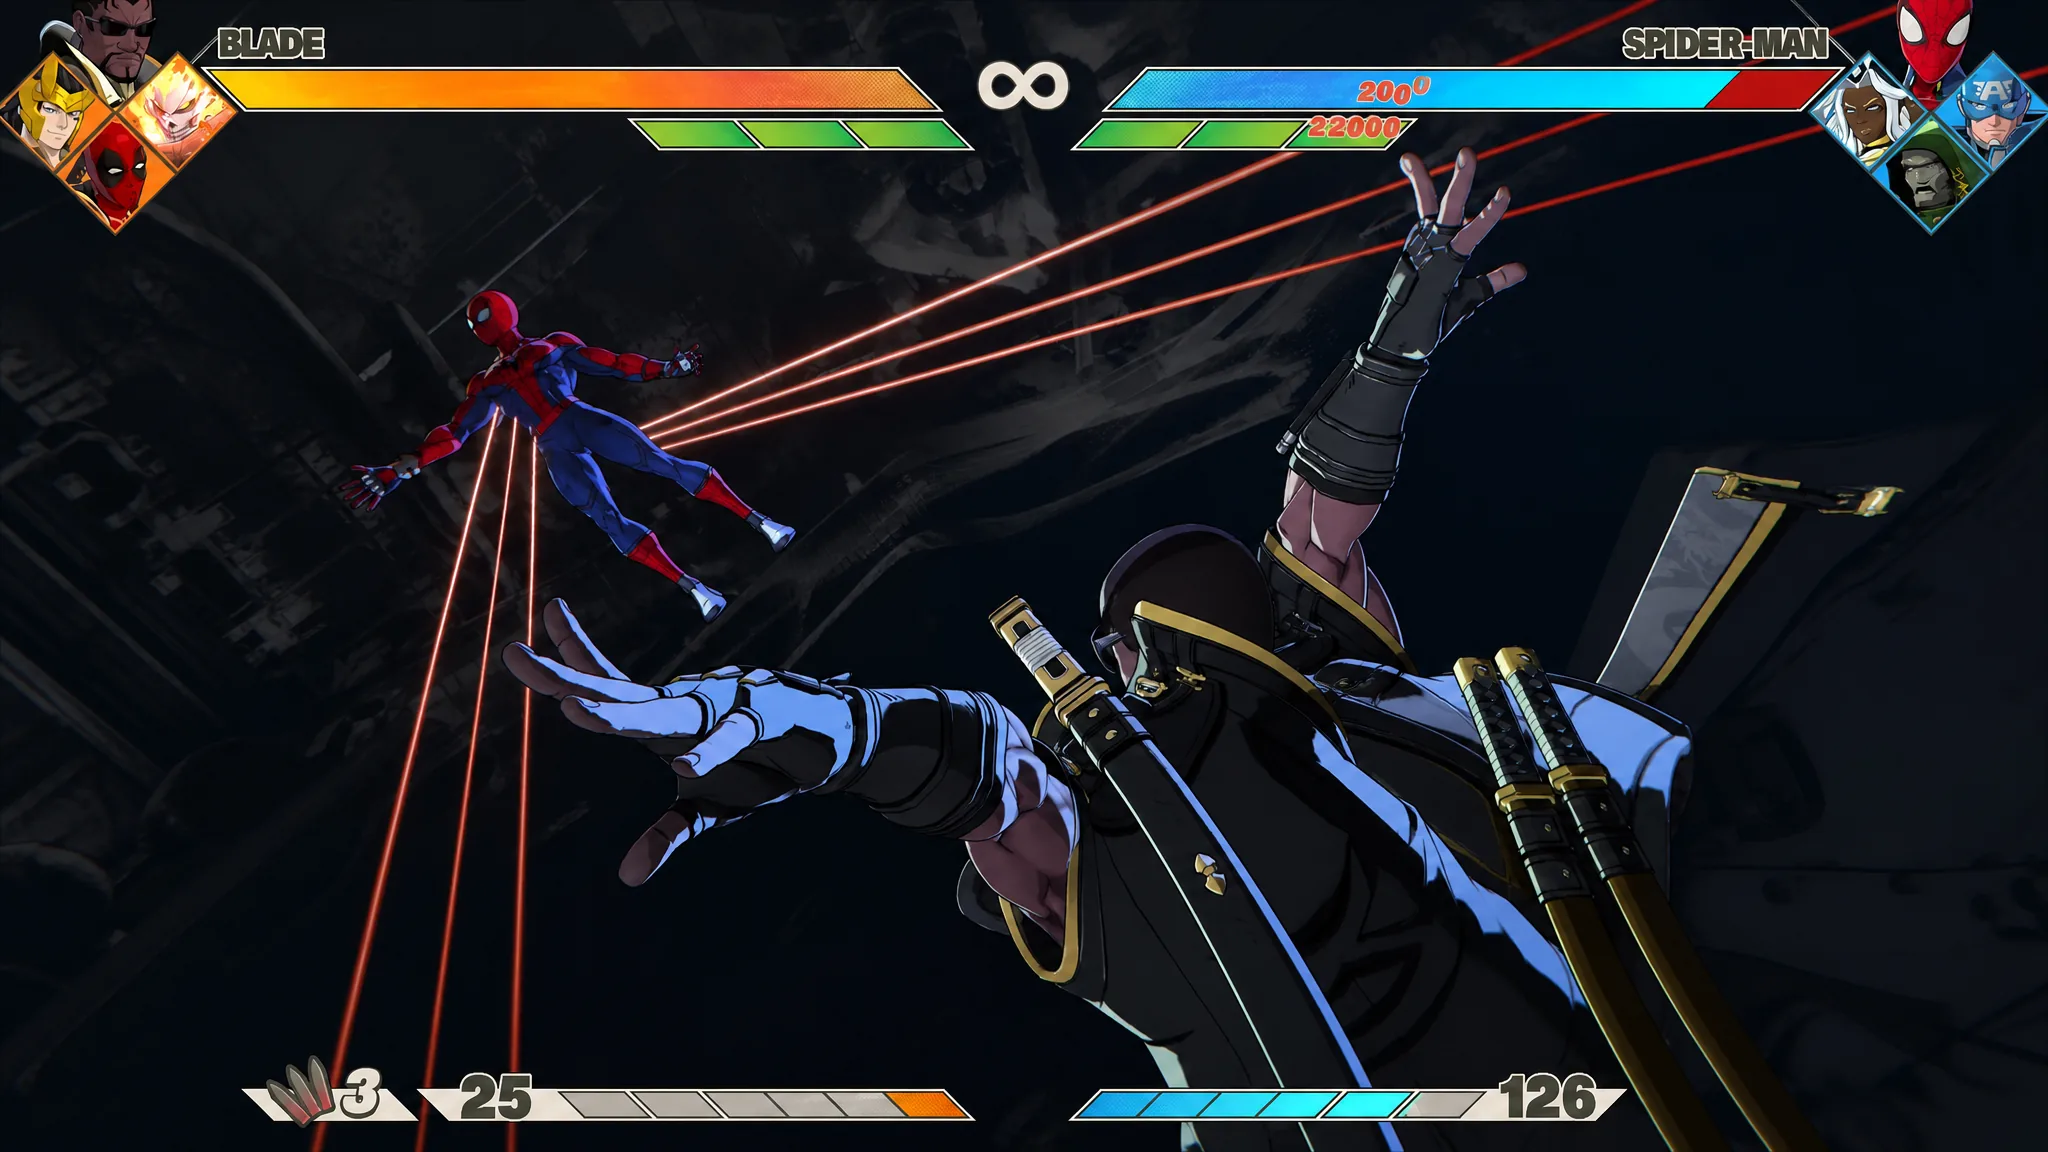
A useful detail on Glaive Strike is that you cannot fire it again while the projectile is still out. Once the returning glaive touches Blade again, it is instantly available. Vampire Slayer’s medium and heavy versions turn into a multi-hit string, and its aerial invincibility makes it his most reliable answer to jump-ins.
Best Blade combos
You do not need to memorize long routes to be effective. Blade’s Link Attacks (chaining Light, Medium, or Heavy normals) give you fast confirms, and the universal L > M > H > 2H launcher opens the door to air conversions.
Light attack string
Pressing Light repeatedly in front of the opponent chains several quick sword strikes. It is your bread-and-butter confirm and the easiest way to build meter and start assembling your team.
Medium and Heavy strings
Both start with two slashes. The Medium string finishes with Glaive Strike, while the Heavy string ends in Bullet Barrage. Pick the Heavy version when you want to keep chip pressure going, and the Medium version when you want the pull-in from the glaive.
Bloodlust (Super Skill)
For 50 Skill Gauge, Bloodlust lunges at the opponent and rips through a fast sequence of weapon attacks. It converts cleanly off a Link Attack ender when you want to spend a bar.
Muramasa Moon (Ultimate Skill)
At 100 Skill Gauge, Muramasa Moon throws a projectile and closes the distance for a decisive slash that hits harder point-blank. The real value is the aftermath, since it leaves you with Marked for Death on your next two skills. Fire it, then immediately follow with buffed Vampire Slayer or Vampire Cleave for a huge damage spike.
Beating zoners and defending
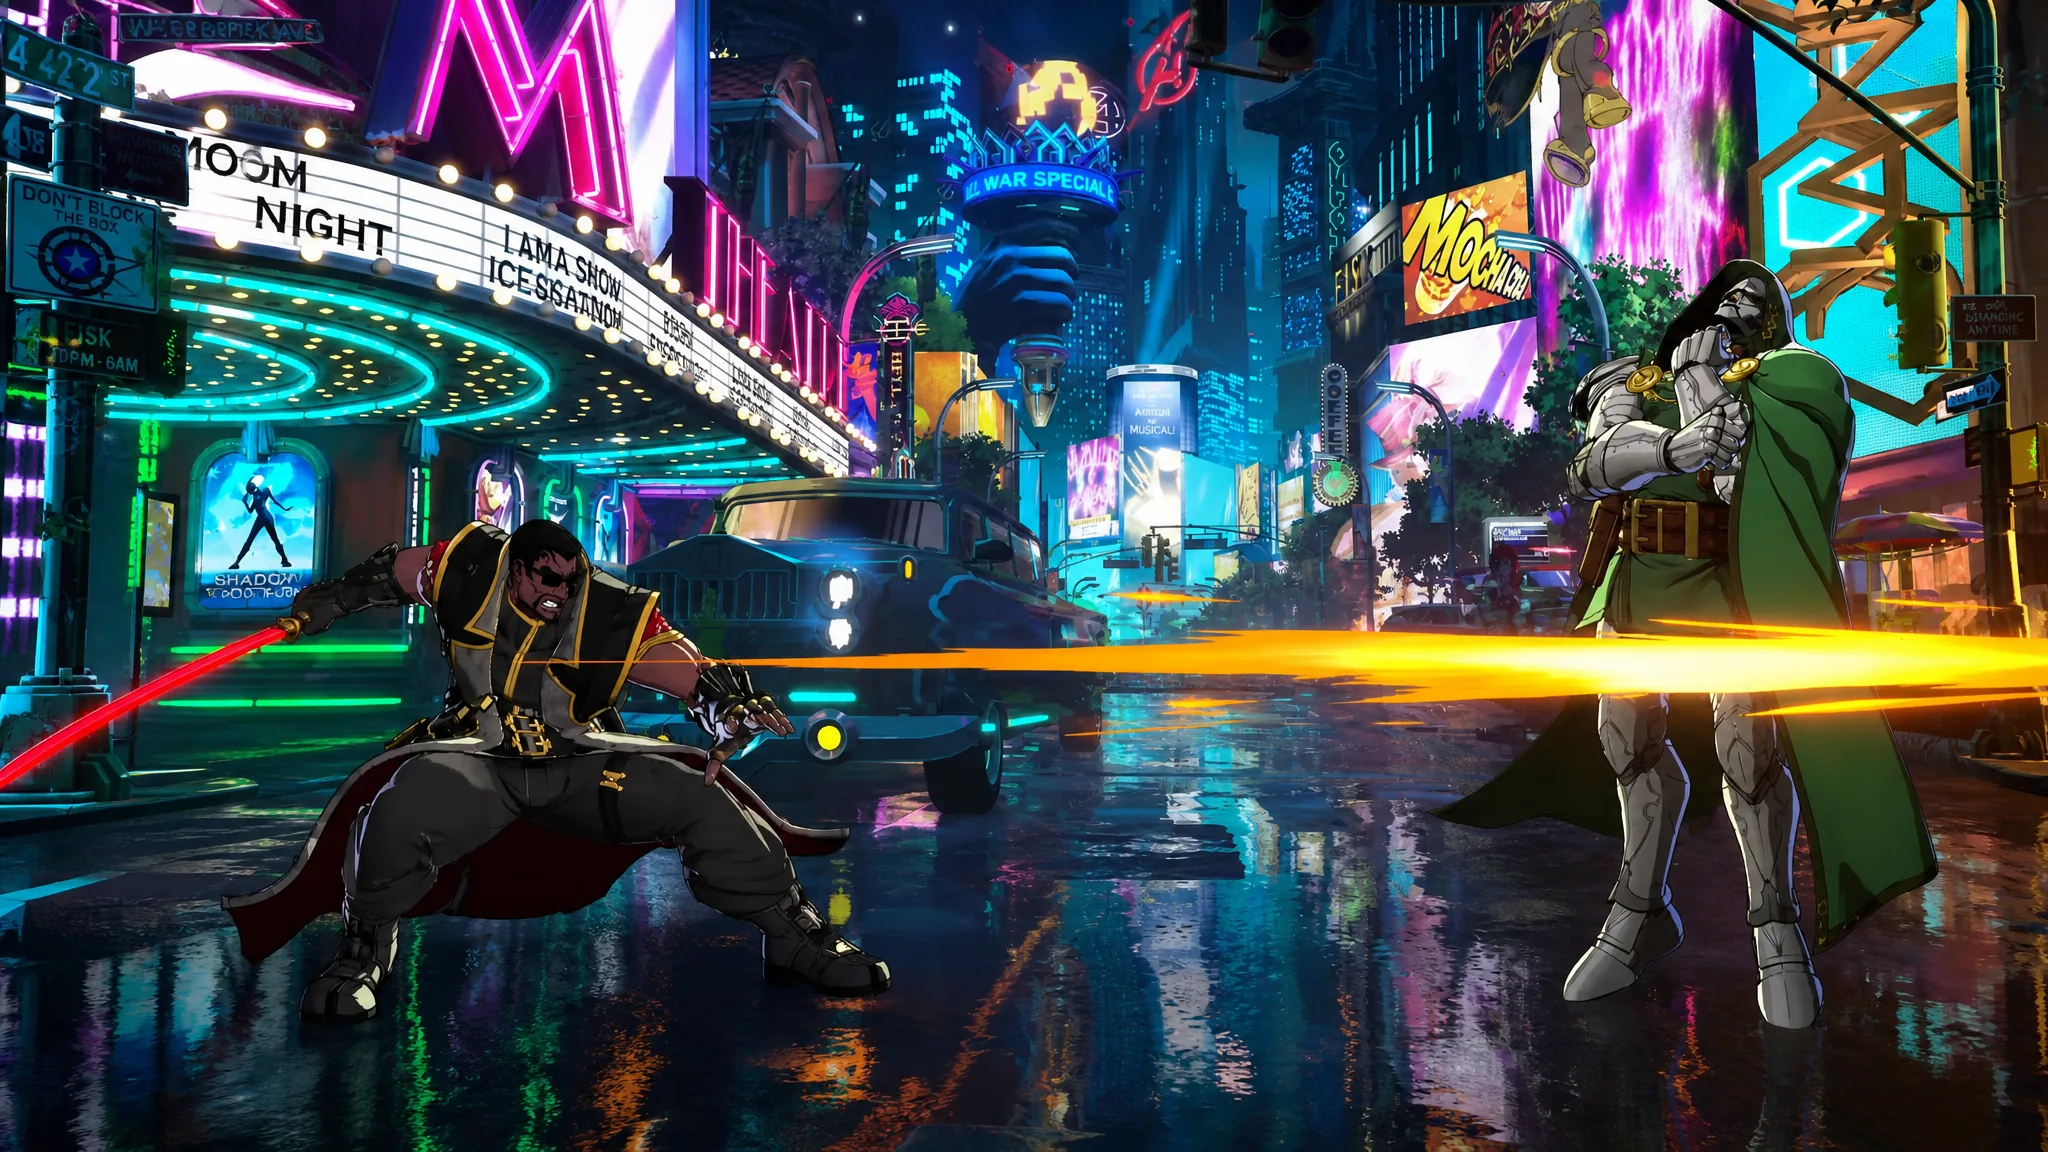
Blade wants to be in your face, so ranged characters who keep him out are his main problem. Two tools solve it. Glaive Strike drags the opponent toward you on hit, and Bullet Barrage lets you contest projectiles from a distance while you inch forward. Both give you an opening to spend Heart Stopper and teleport in.
On defense, Daywalker Deflect is your reversal. Guard an incoming attack and Blade automatically counters the opposing lead character, and a successful guard also hands you Marked for Death to power up your next skill. It is free to use, so lean on it when you read a commitment rather than mashing into pressure.
Team fit and where to place him
Blade belongs to the Samurai Outriders, but in a 4v4 tag game you can freely mix him with any teammates in versus modes. His assists cover his machine-gun barrage, a vertical slice, and the stake toss that leads into a teleport, so he can serve as either a point character or an assist that creates openings. Put him on point if you like the rushdown flow, or in a support seat if you need his stake-into-teleport pressure to set up a partner.
MARVEL Tōkon: Fighting Souls launches on PS5 and PC on August 6th, 2026. If you are learning Blade for the first time, keep it simple: throw a stake, teleport in, cash your Marked for Death buff into a slash, and let the Muramasa loop do the heavy lifting once your meter fills.