Cursed Objects are the high-risk tools that let paranormal investigators in Demonology find the ghost, reveal its favorite room, or pull useful information mid-investigation. Every one of them charges a price. Most drain a chunk of your Energy when used, and overusing or breaking one starts a Cursed Hunt that Crosses cannot block.
Quick answer: Demonology has six Cursed Objects: the Fortune Teller, Haunted Mirror, Magnifying Glass, Music Box, Summoning Circle, and Umbra Board. Only one spawns per Job Site on every difficulty except Nightmare, and its location is randomized between the spots listed below.
How Cursed Objects and Cursed Hunts work
A single Cursed Object appears somewhere in the Job Site at the start of an investigation, picked at random from the available set. You cannot buy these like equipment. You have to walk the map and find the one that spawned.
Using a Cursed Object steadily drains your Energy. Fully exhausting it, or breaking it by holding it with too little Energy, triggers a Cursed Hunt. A Cursed Hunt behaves like a normal ghost hunt with one key difference. It cannot be prevented with Crosses, and it only ever starts through a Cursed Object. That makes it one of the most dangerous events in the game, so treat each object as a one-shot resource and watch your Energy before every use.
Every Cursed Object, main use, and risk
| Cursed Object | Main use | Risk |
|---|---|---|
| Fortune Teller | Random effects and information | Some outcomes are harmful |
 Haunted Mirror | Reveals the ghost room | High energy drain |
 Magnifying Glass | Locates the ghost’s position | Continuous energy drain |
 Music Box | Helps locate the ghost room | Triggers a Cursed Hunt at 0 energy |
 Summoning Circle | Summons the ghost | Costs 50% energy and starts a Cursed Hunt |
 Umbra Board | Communicates with the ghost | Can break and trigger a Cursed Hunt |
Haunted Mirror: reveal the ghost room fast
The Haunted Mirror is the quickest way to find the ghost room. Using it drains 30% Energy instantly and shows a static vision of the room the ghost is in. Keep looking, and it drains another 20% Energy per second. If you run out of Energy while holding it, the mirror shatters and starts a Cursed Hunt, and it cannot be used again once broken.
Tip: Peek once, read the room, then drop it. That single glance is usually enough to point you to the right area without risking a shatter.
| Job Site | Haunted Mirror spawn rooms |
|---|---|
| Fenway Drive | Dining Room, Blue Room (above the lamp), Master Bedroom (left of the TV) |
| Juniper Road | Living Room wall |
| Lincoln Street | Living Room wall, Basement floor |
| Bodega | Cold Storage Room, Cleaning Room, Bedroom, Bathroom |
| Lilim Lane | Foyer near Living Room, Staff Quarters, Office, F1 Hallway |
| Cafe | Meeting Room 1, Staff Room, Restroom 1 |
| Bridgewood Drive | Garage, left of F1 Bathroom door, Master Bathroom |
| Prison | Bathroom, Storage Area 2, Storage Area 1 |
| School | Cafeteria, History Classroom, Common Room, Library, Meeting Room 2, Math Classroom |
Music Box: track the ghost room by sound
The Music Box plays a melody when activated. If you are close to the ghost’s favorite room, the ghost sings along, which lets you home in on the room by ear. While playing, it drains 2.5% Energy per second. When your Energy hits zero, the box switches to playing in reverse and a Cursed Hunt begins, after which the ghost stops responding and the drain stops.
It doubles as a ghost identification tool. A Dybbuk is stunned the first time the Music Box plays, which is a clear tell for that ghost type.
| Job Site | Music Box spawn rooms |
|---|---|
| Fenway Drive | Pink Bedroom dresser, Master Bedroom desk under the TV |
| Juniper Road | Bedroom nightstand |
| Lincoln Street | Pink Bedroom vanity, Living Room TV stand, Master Bedroom dresser, Basement shelf |
| Bodega | Service Station, Living Room, Bedroom, Cold Storage Room, Storage Room |
| Lilim Lane | Living Room, Foyer, Office, Master Bathroom, Pink/Blue/Master Bedrooms |
| Cafe | Coffee Bar, Alley, F2 Dining Area, Storage Room, Restroom 2 |
| Bridgewood Drive | Master Bedroom half-wall, Den white shelf |
| Prison | Office, Cell 2, Kitchen, Infirmary, Library |
| School | Library, Admin Office, English Classroom, Music Room, Common Room, Meeting Room 2, Computer Lab |
Magnifying Glass: pinpoint the ghost’s location
The Magnifying Glass locates the ghost’s current position when you hover its lens over the ghost. It drains 3% Energy every second while active. Letting your Energy reach zero breaks the item and immediately starts a Cursed Hunt, and a broken Magnifying Glass cannot be used again.
| Job Site | Magnifying Glass spawn rooms |
|---|---|
| Fenway Drive | Master Bedroom shelf, Dining Room coffee table |
| Juniper Road | Living Room (bottom of the shelf near the TV), Living Room dresser |
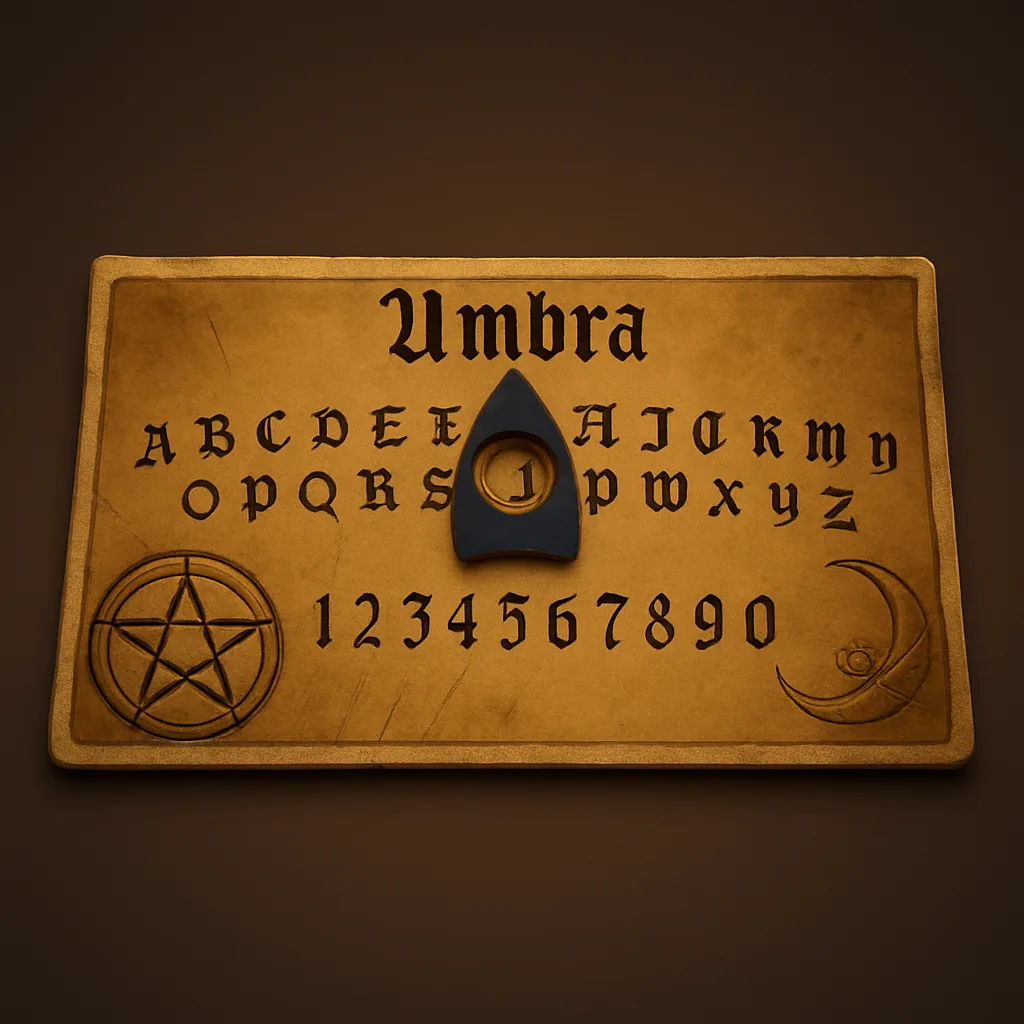
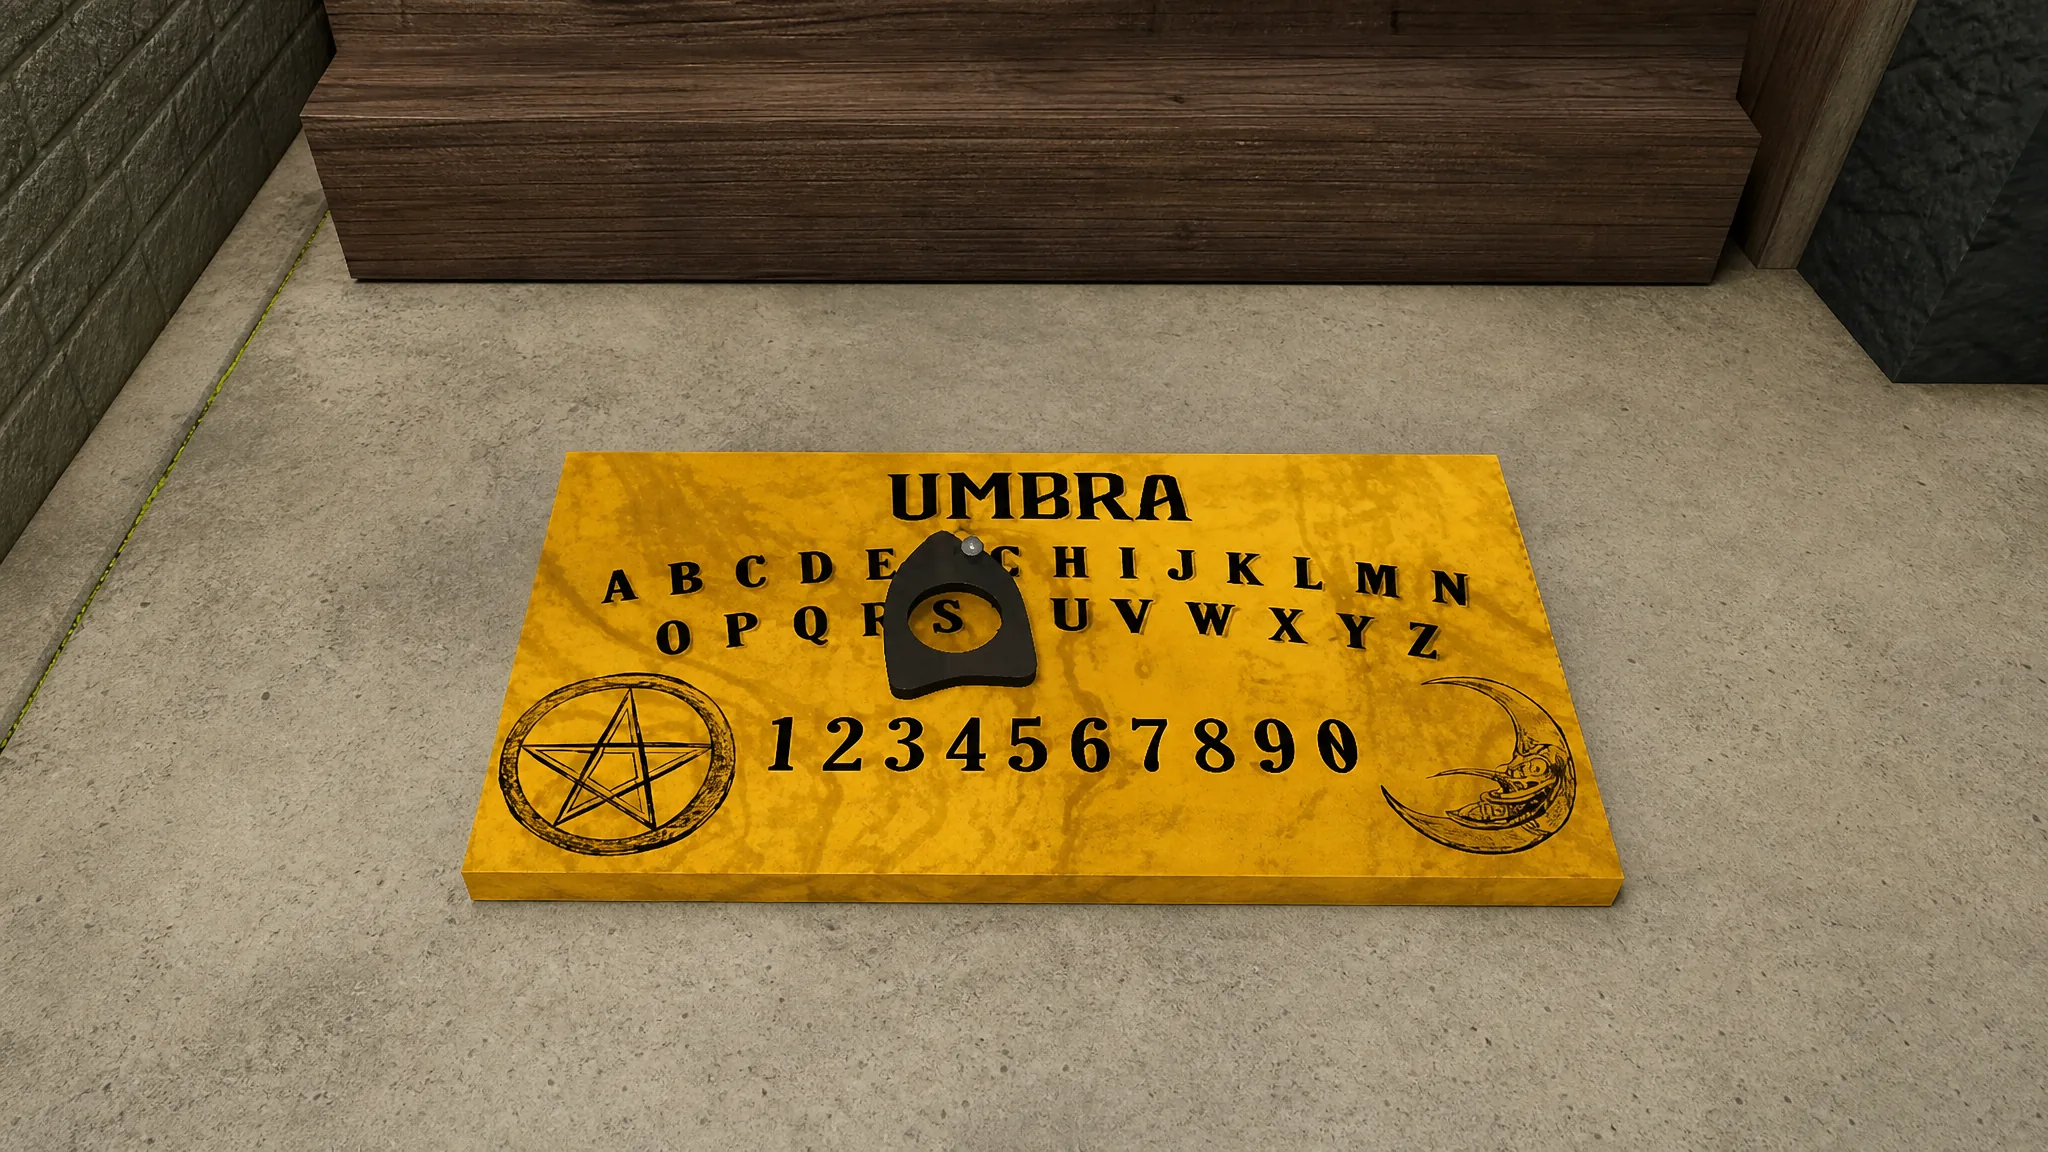
Umbra Board: ask the ghost direct questions
The Umbra Board lets you talk to the ghost through the in-game chat. Stand near it or hold it to ask questions. When held, three default questions appear, covering the ghost room, the ghost’s current location, and your current Energy. Every question costs Energy. Use the board without enough Energy left and it levitates, breaks permanently, and starts a Cursed Hunt. An Energy Watch helps you keep track before each question.
| Job Site | Umbra Board spawn rooms |
|---|---|
| Fenway Drive | Living Room, Bathroom, Master Bedroom |
| Juniper Road | Office desk |
| Lincoln Street | Living Room, Master Bathroom, Basement, Garage |
| Bodega | Storage Room, Main Store (x2), Living Room |
| Lilim Lane | Foyer, Blue/Pink/Master Bedrooms, Living Room, F2 Hallway, Closet Room, Master Bathroom |
| Cafe | Meeting Room 2, Office, Staff Room, Kitchen |
| Bridgewood Drive | Kitchen, Black Bedroom, Living Room |
| Prison | Kitchen, Bathroom, Cell 1, Infirmary, Storage Areas, Showers, Lounge, Courtyard |
| School | Common Room, F2 Restroom 1, Science Classroom, Meeting Room, Admin Office, Math Classroom, Lounge, Kitchen |
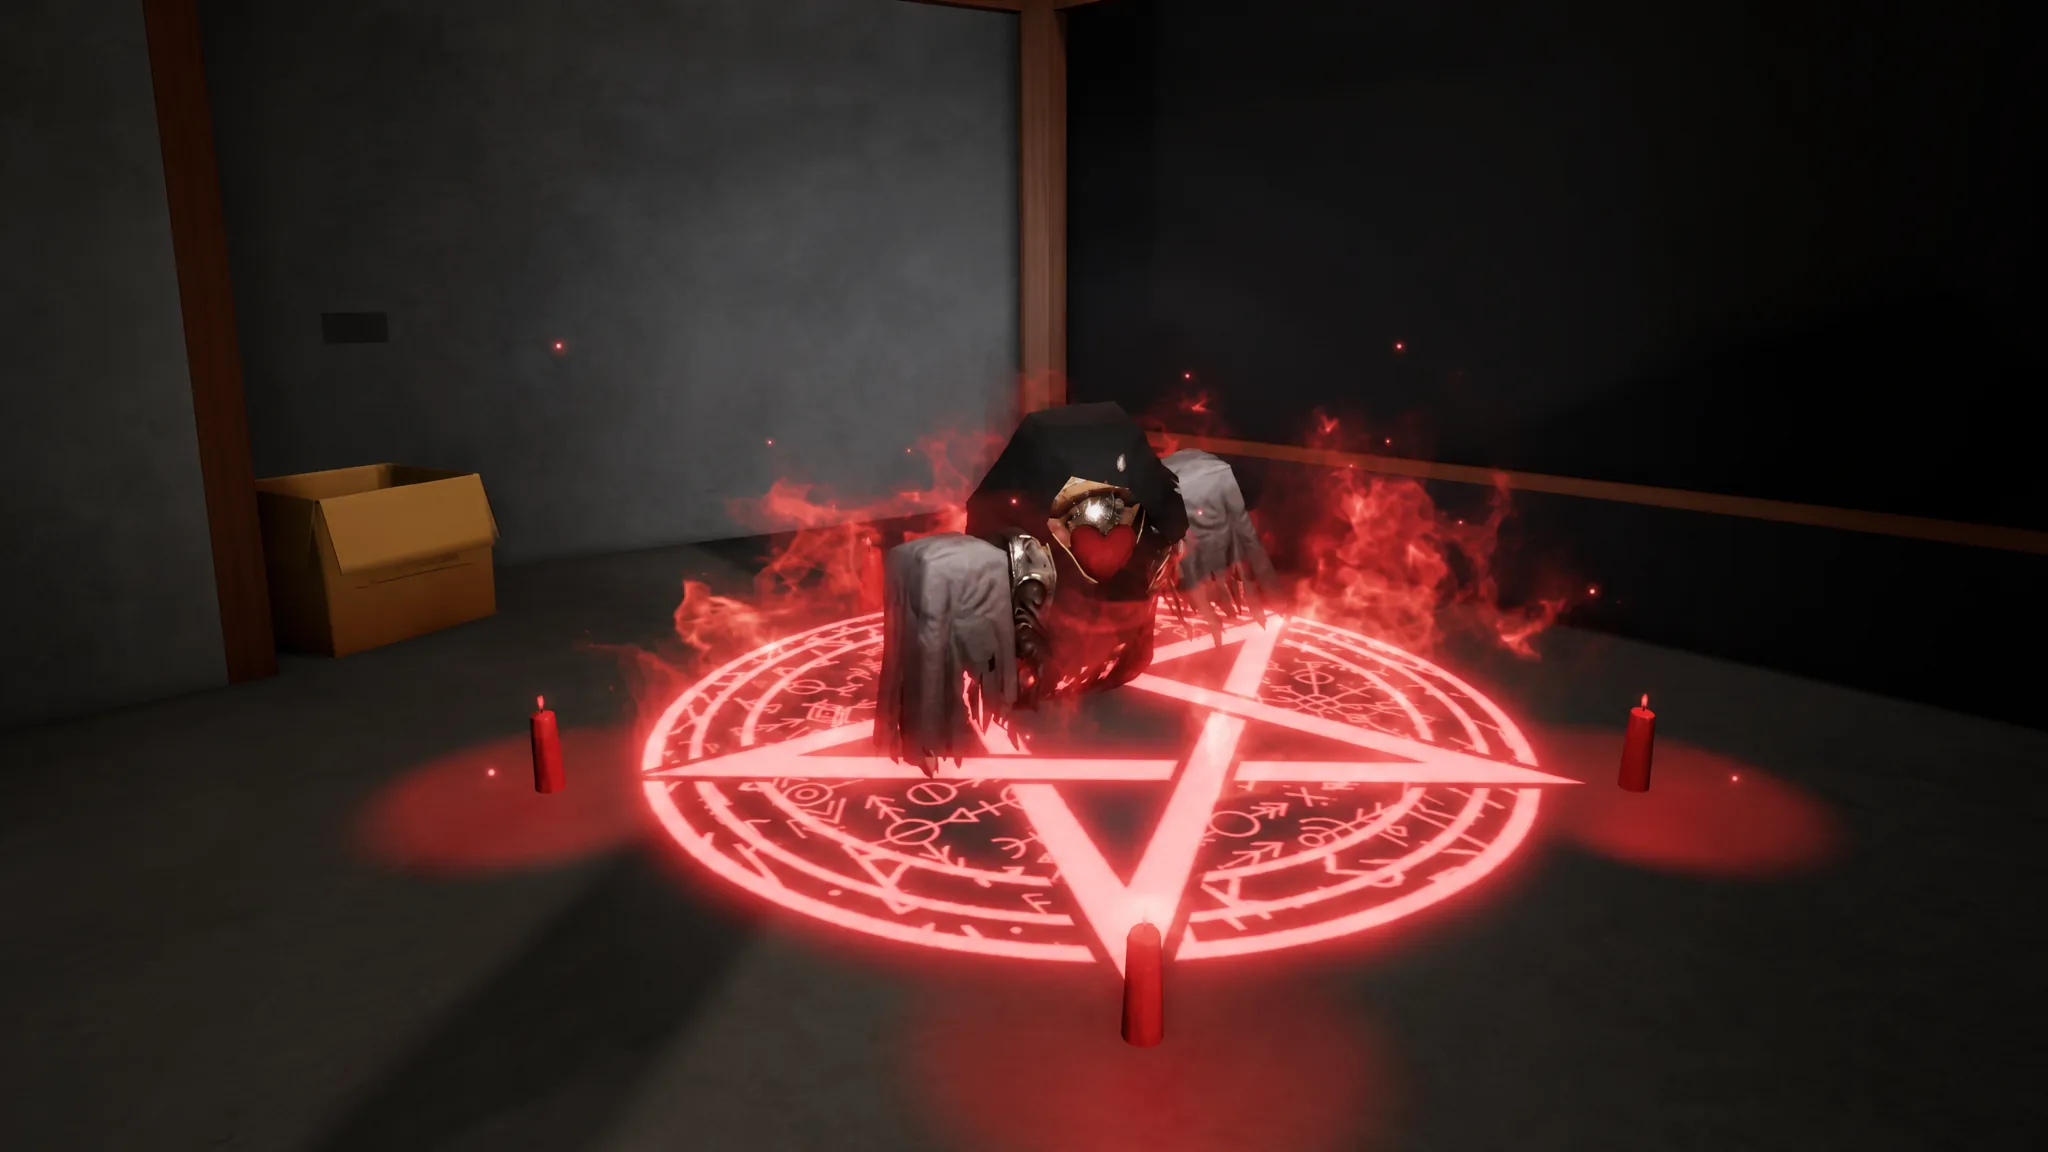
Summoning Circle: force the ghost to appear
The Summoning Circle is the riskiest Cursed Object. Light all five candles with a Lighter to activate it. Each candle costs 10% Energy, for a total of 50%. Once lit, the ghost manifests with a short animation while nearby doors slam open and shut, trapping the person who summoned it in the room. That short window is your chance to take a clear ghost photo. When the animation ends, a Cursed Hunt starts and the doors return to normal so you can escape.
The circle can only be used once and turns black afterward. If the candles glow blue when lit, that is a clear sign you are dealing with a Spirit. Because the Energy cost is so steep, splitting the candle lighting across a few teammates makes it far safer.
| Job Site | Summoning Circle spawn rooms |
|---|---|
| Fenway Drive | Middle of the Garage |
| Juniper Road | Kitchen |
| Lincoln Street | Garage, Basement |
| Bodega | Living Room, Office |
| Lilim Lane | Outside past the Laundry, Master Bathroom, Office |
| Cafe | Corner of the Alley |
| Bridgewood Drive | F2 Hallway, Storage Room |
| Prison | Courtyard, Vestibule |
| School | Music Room floor, Steven’s Room, Lounge near the pin board |
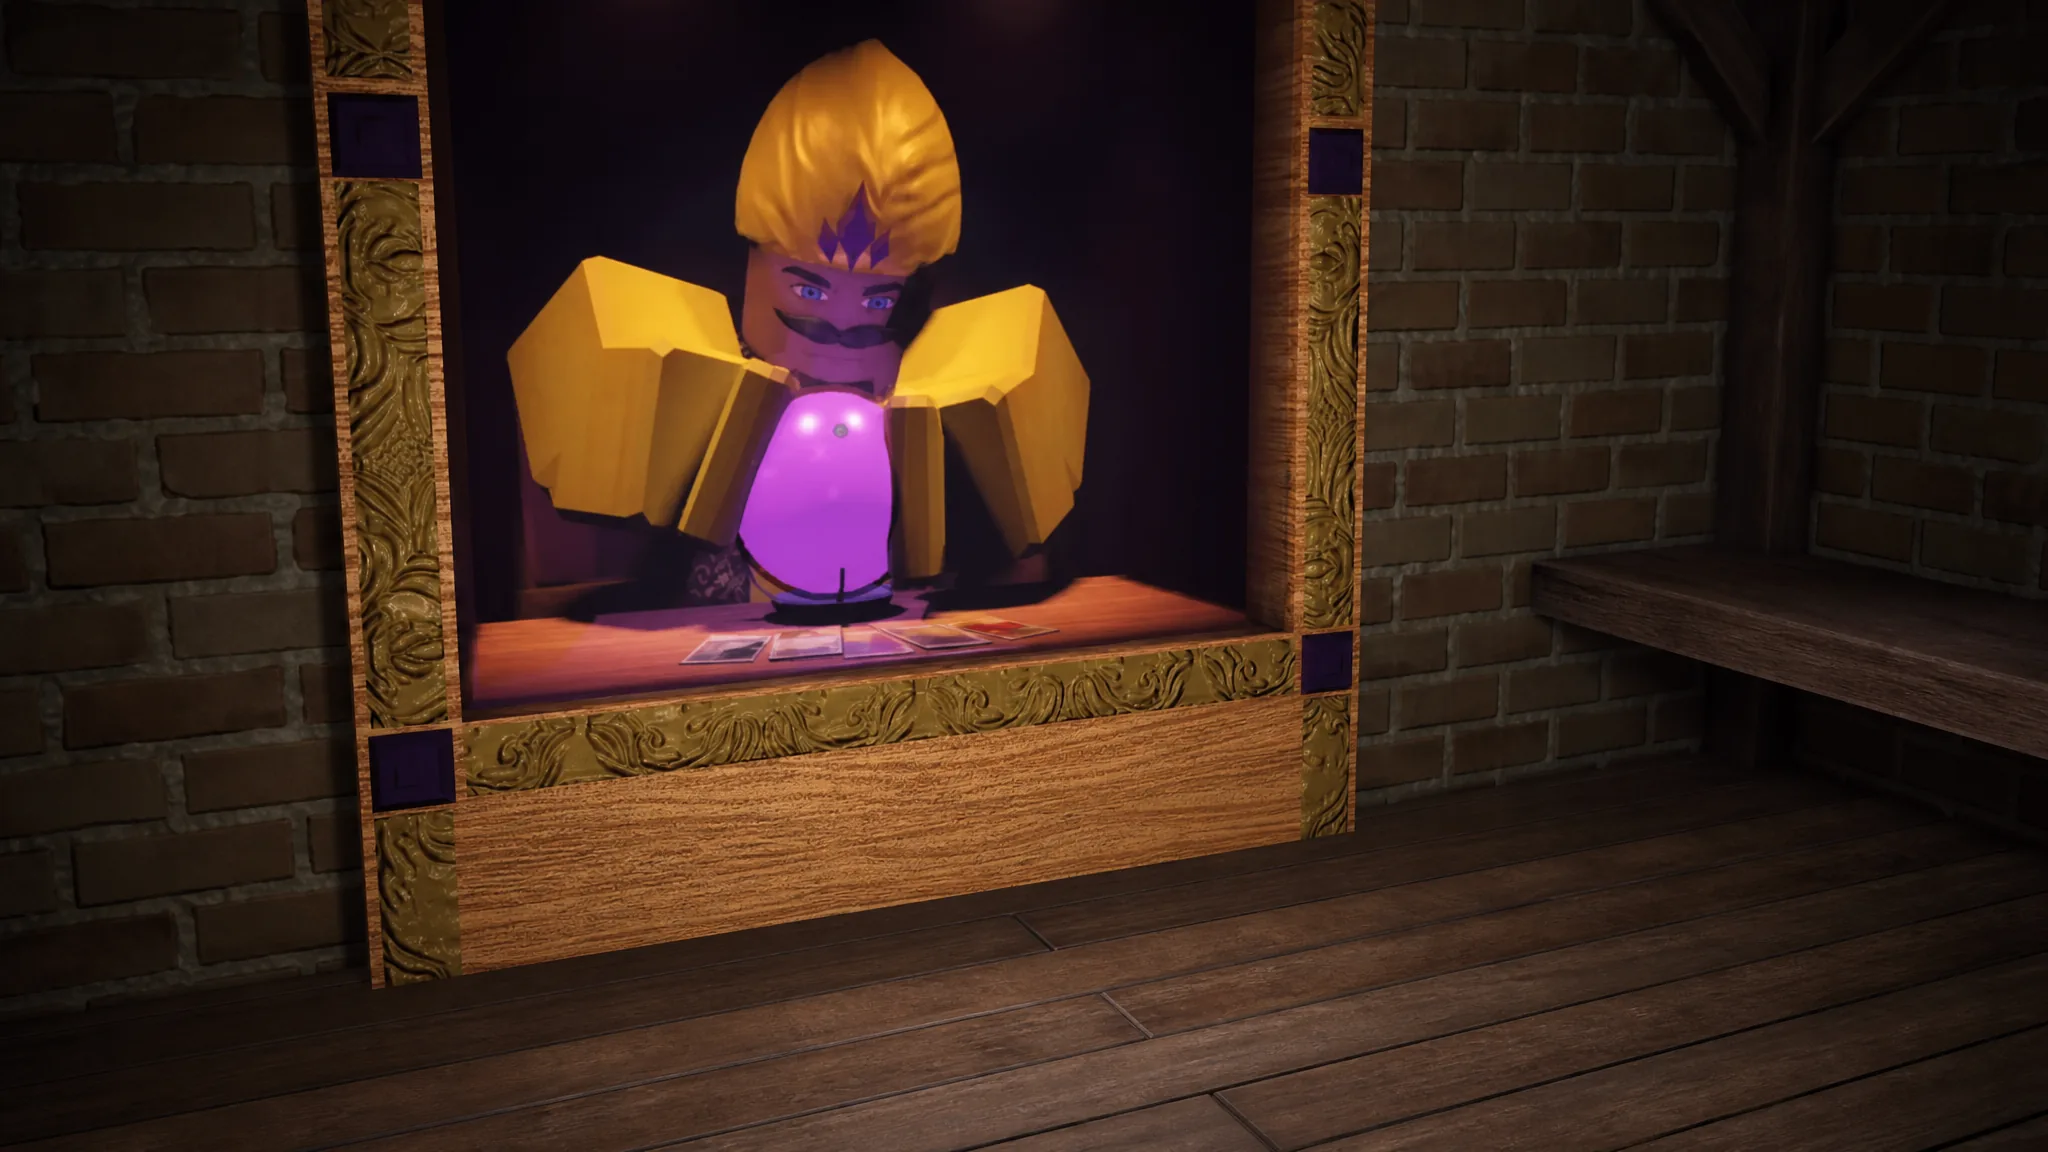
Fortune Teller: a random-effect gamble
The Fortune Teller does not drain Energy on its own. Instead it needs a Fortune Coin, which spawns around the map. Small sites have 2-3 coins, medium sites 3-5, and large sites 5-8. Insert a coin and a Fortune Ticket drops after a short animation. Anyone can pick it up, and no one can insert another coin until it is taken. Equip the ticket to see its reading, which lasts a few seconds before burning away. The effect happens as the ticket starts to burn, and the result is fully random.
| Reading | Effect |
|---|---|
| Darkness Gnaws At You | Lose 40% Energy immediately |
| The Presence Will Stir | Triggers a random ghost event |
| They Come For You Now | Starts a ghost hunt after a few seconds |
| Your Time Has Come | Instant death with a custom death screen |
| Your Eyes Are For Granted | Blurs your screen for one minute |
| The Wind Acts Upon Us | Closes every door in the Job Site |
| There Is No Escape | Closed doors cannot be opened for a few seconds |
| Ghosts Retreat For You | Sends the ghost back to its favorite room |
| All You Need Is A Second Chance | Adds a Fortune Coin to your inventory |
| You Gain The Cursed Favor | Spawns a random new Cursed Object on the map |
| Warmth Returns To Your Soul | Restores 50% Energy to you |
| A Calming Presence Welcomes You | Restores 30% Energy to each person present |
| Your Tarot Should Be Read | Activates a random Perk you do not have equipped |
| Job Site | Fortune Teller spawn spots |
|---|---|
| Fenway Drive | Against the Garage door |
| Juniper Road | Corner of the Bedroom |
| Lincoln Street | Side of the Garage, side of the Basement |
| Bodega | Side of the Office |
| Lilim Lane | Outside past the Laundry, side of the Pink Bedroom, side of the Office |
| Cafe | Beside the dumpster in the Alley |
| Bridgewood Drive | Garage |
| Prison | Side of the Courtyard |
| School | Corner of Stairwell 2, side of the Lounge |
For most runs the Haunted Mirror gives the best return. The Energy cost is heavy, but a single glance at the ghost room cuts a lot of searching. The Fortune Teller is the wild card. It can hand you free Energy, a spare coin, or an active Perk, but it can just as easily start a hunt or kill you outright, so only spin it when you can afford the gamble. Whichever one spawns, find it early, plan the use around your Energy, and keep room to run before the Cursed Hunt lands.