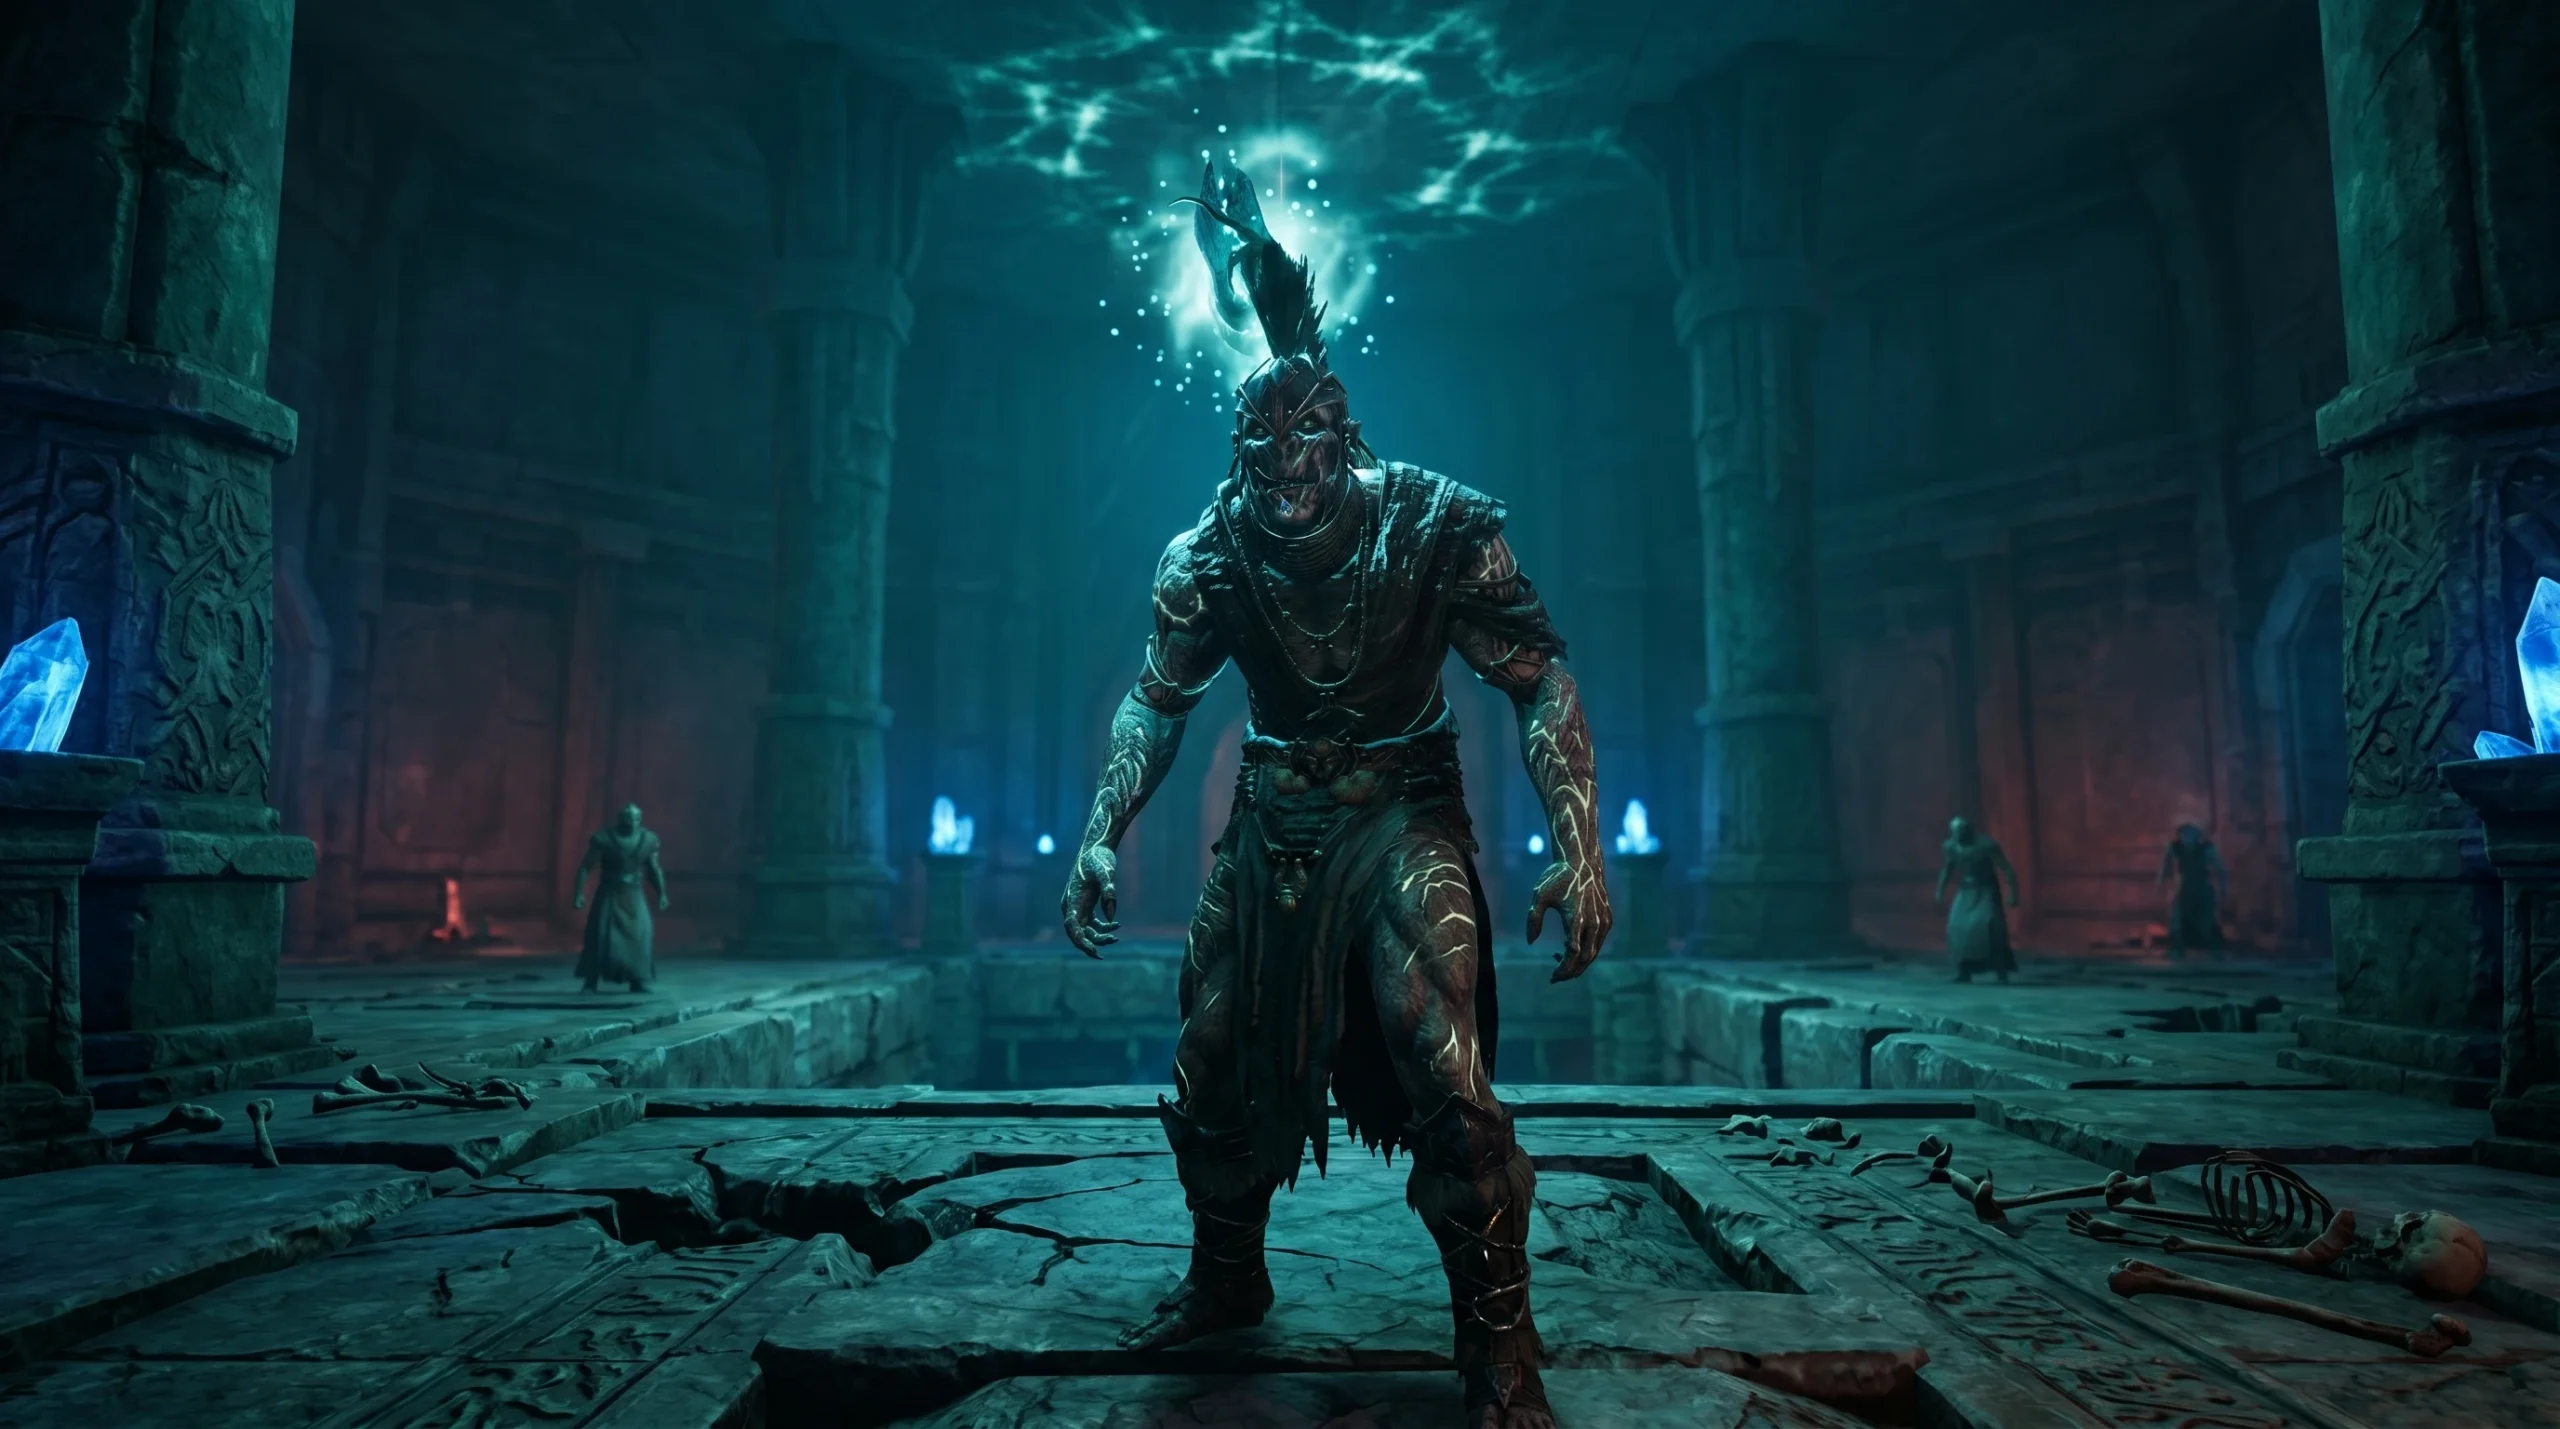
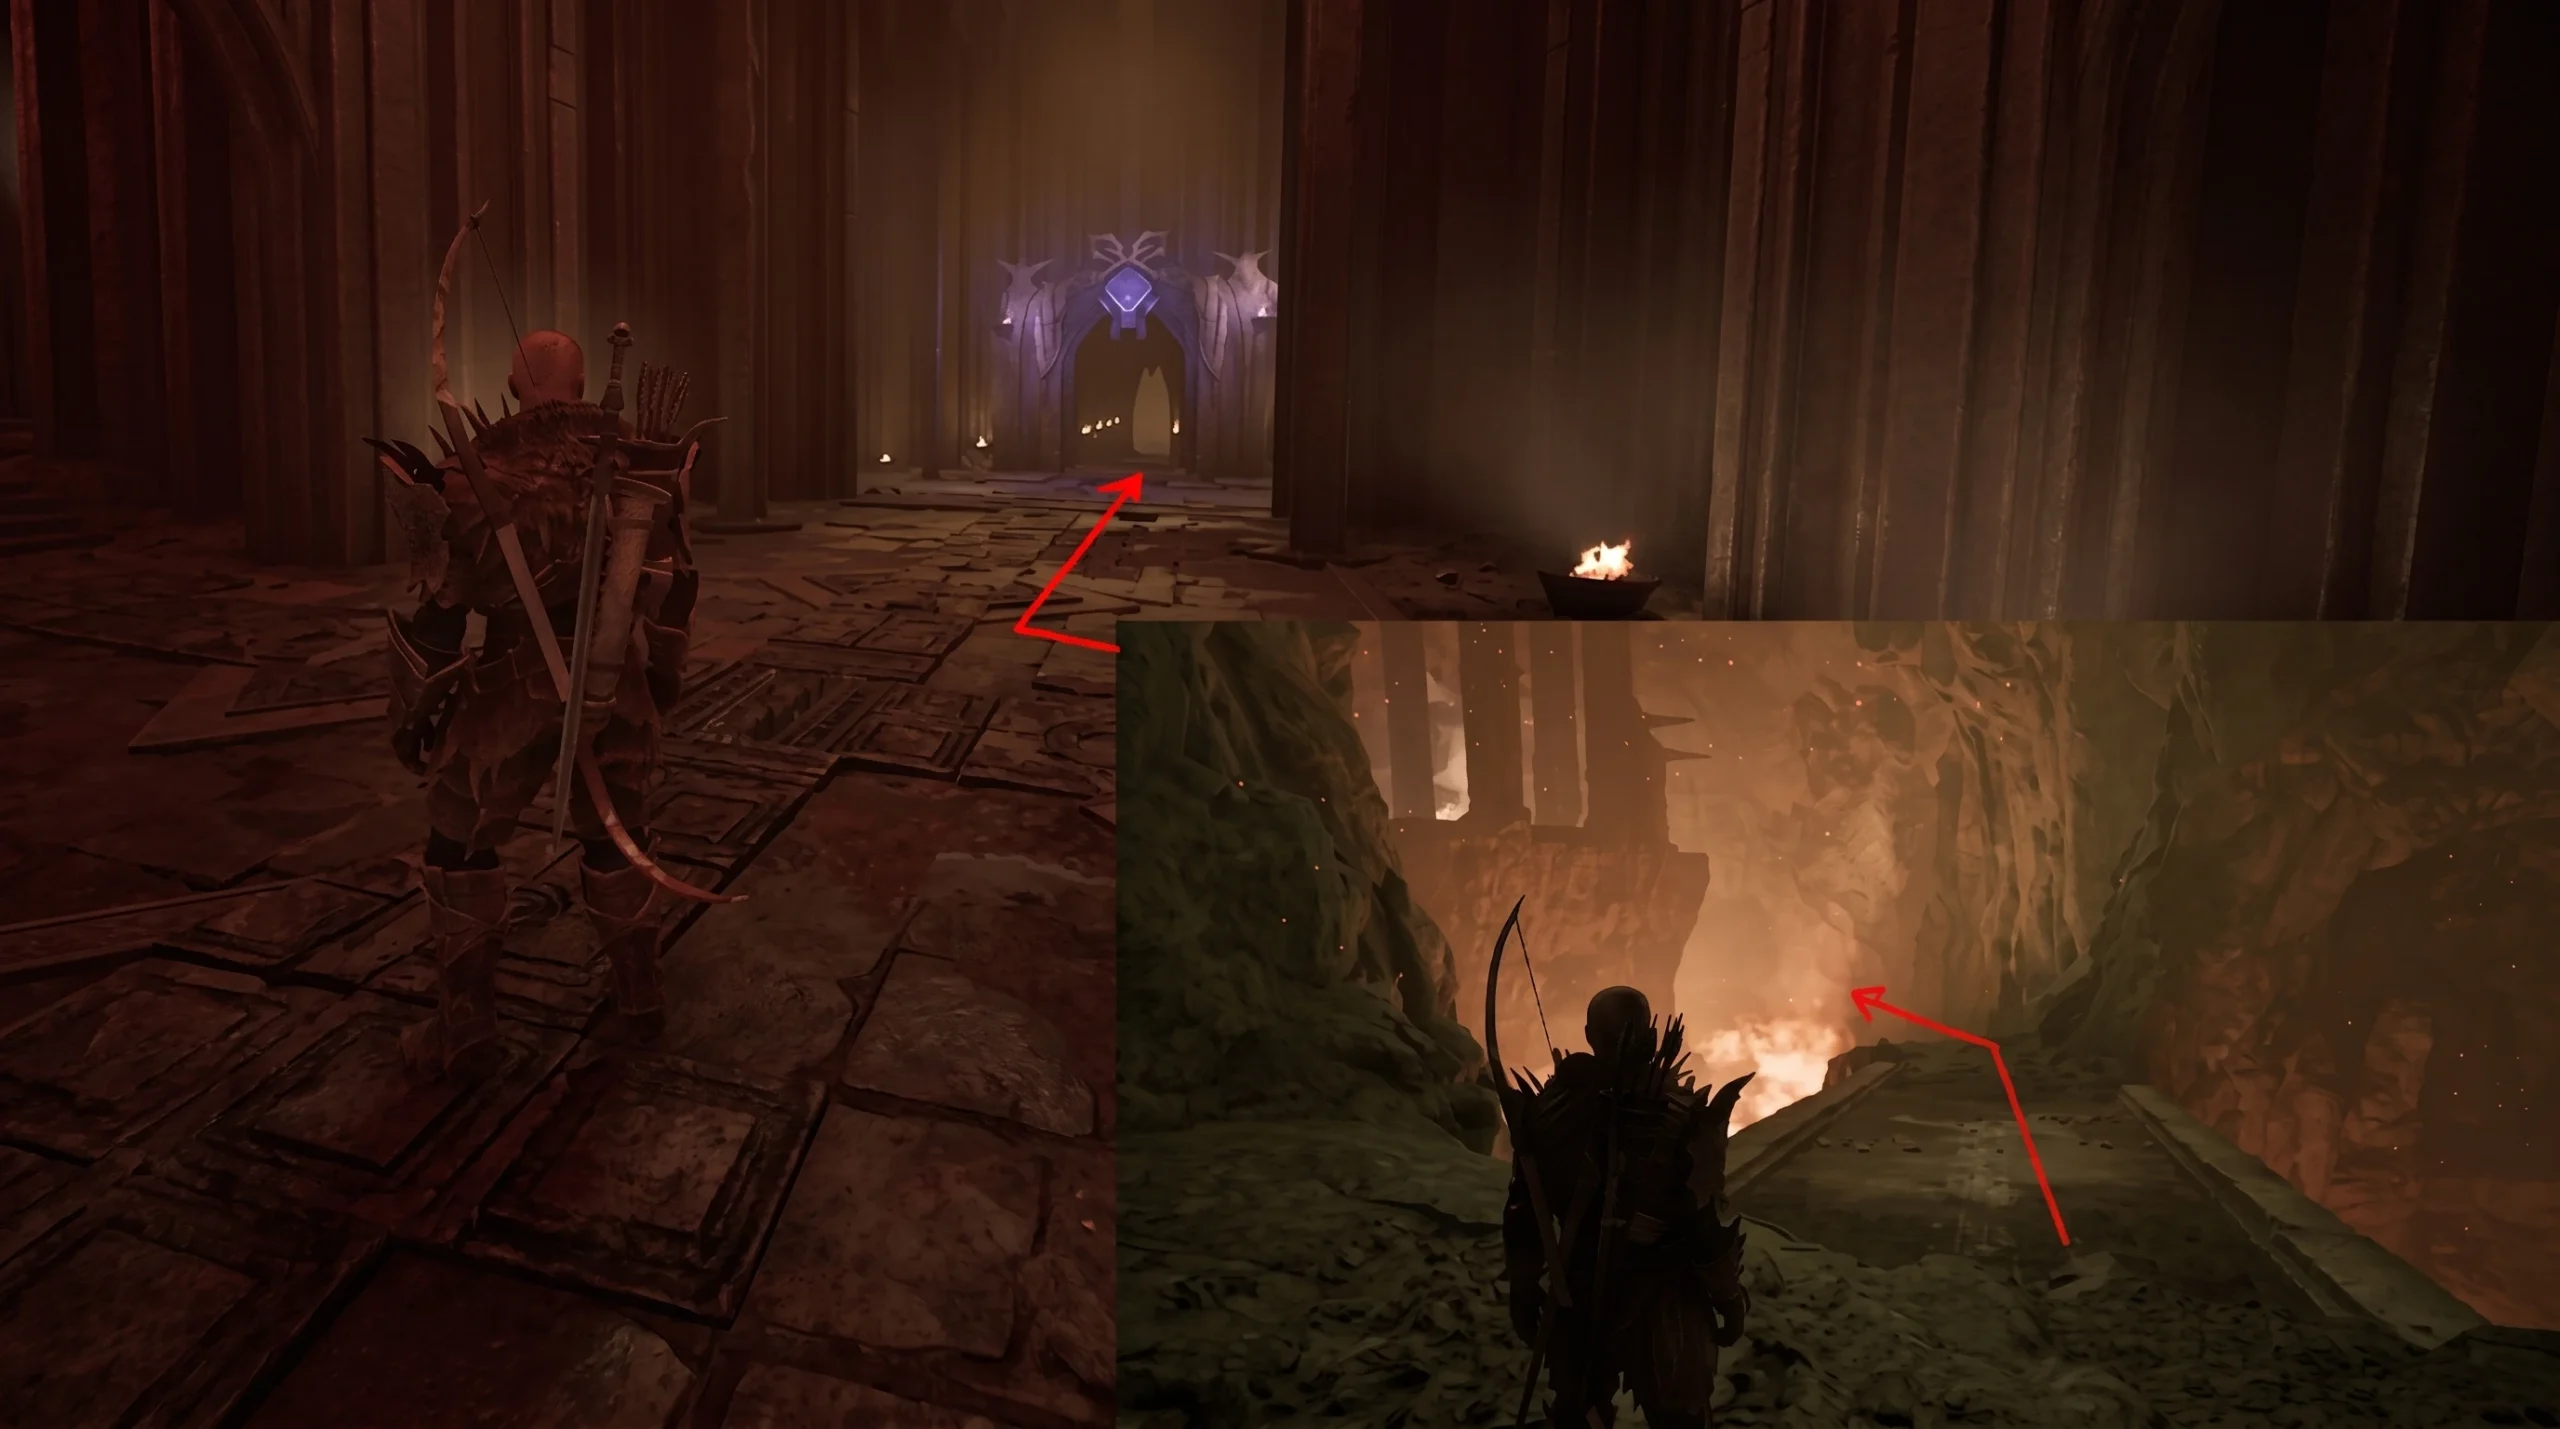
Five undead orc shamans guard the Sleeper’s Temple in Gothic 1 Remake, and each one drops a named gemstone that slots into the legendary sword Uriziel. You face them during Chapter 5, inside the largest and most dangerous dungeon in the game, where there are no fast-travel points and no checkpoints once you go in. Clear them all and you walk out with five stones and the sword itself.
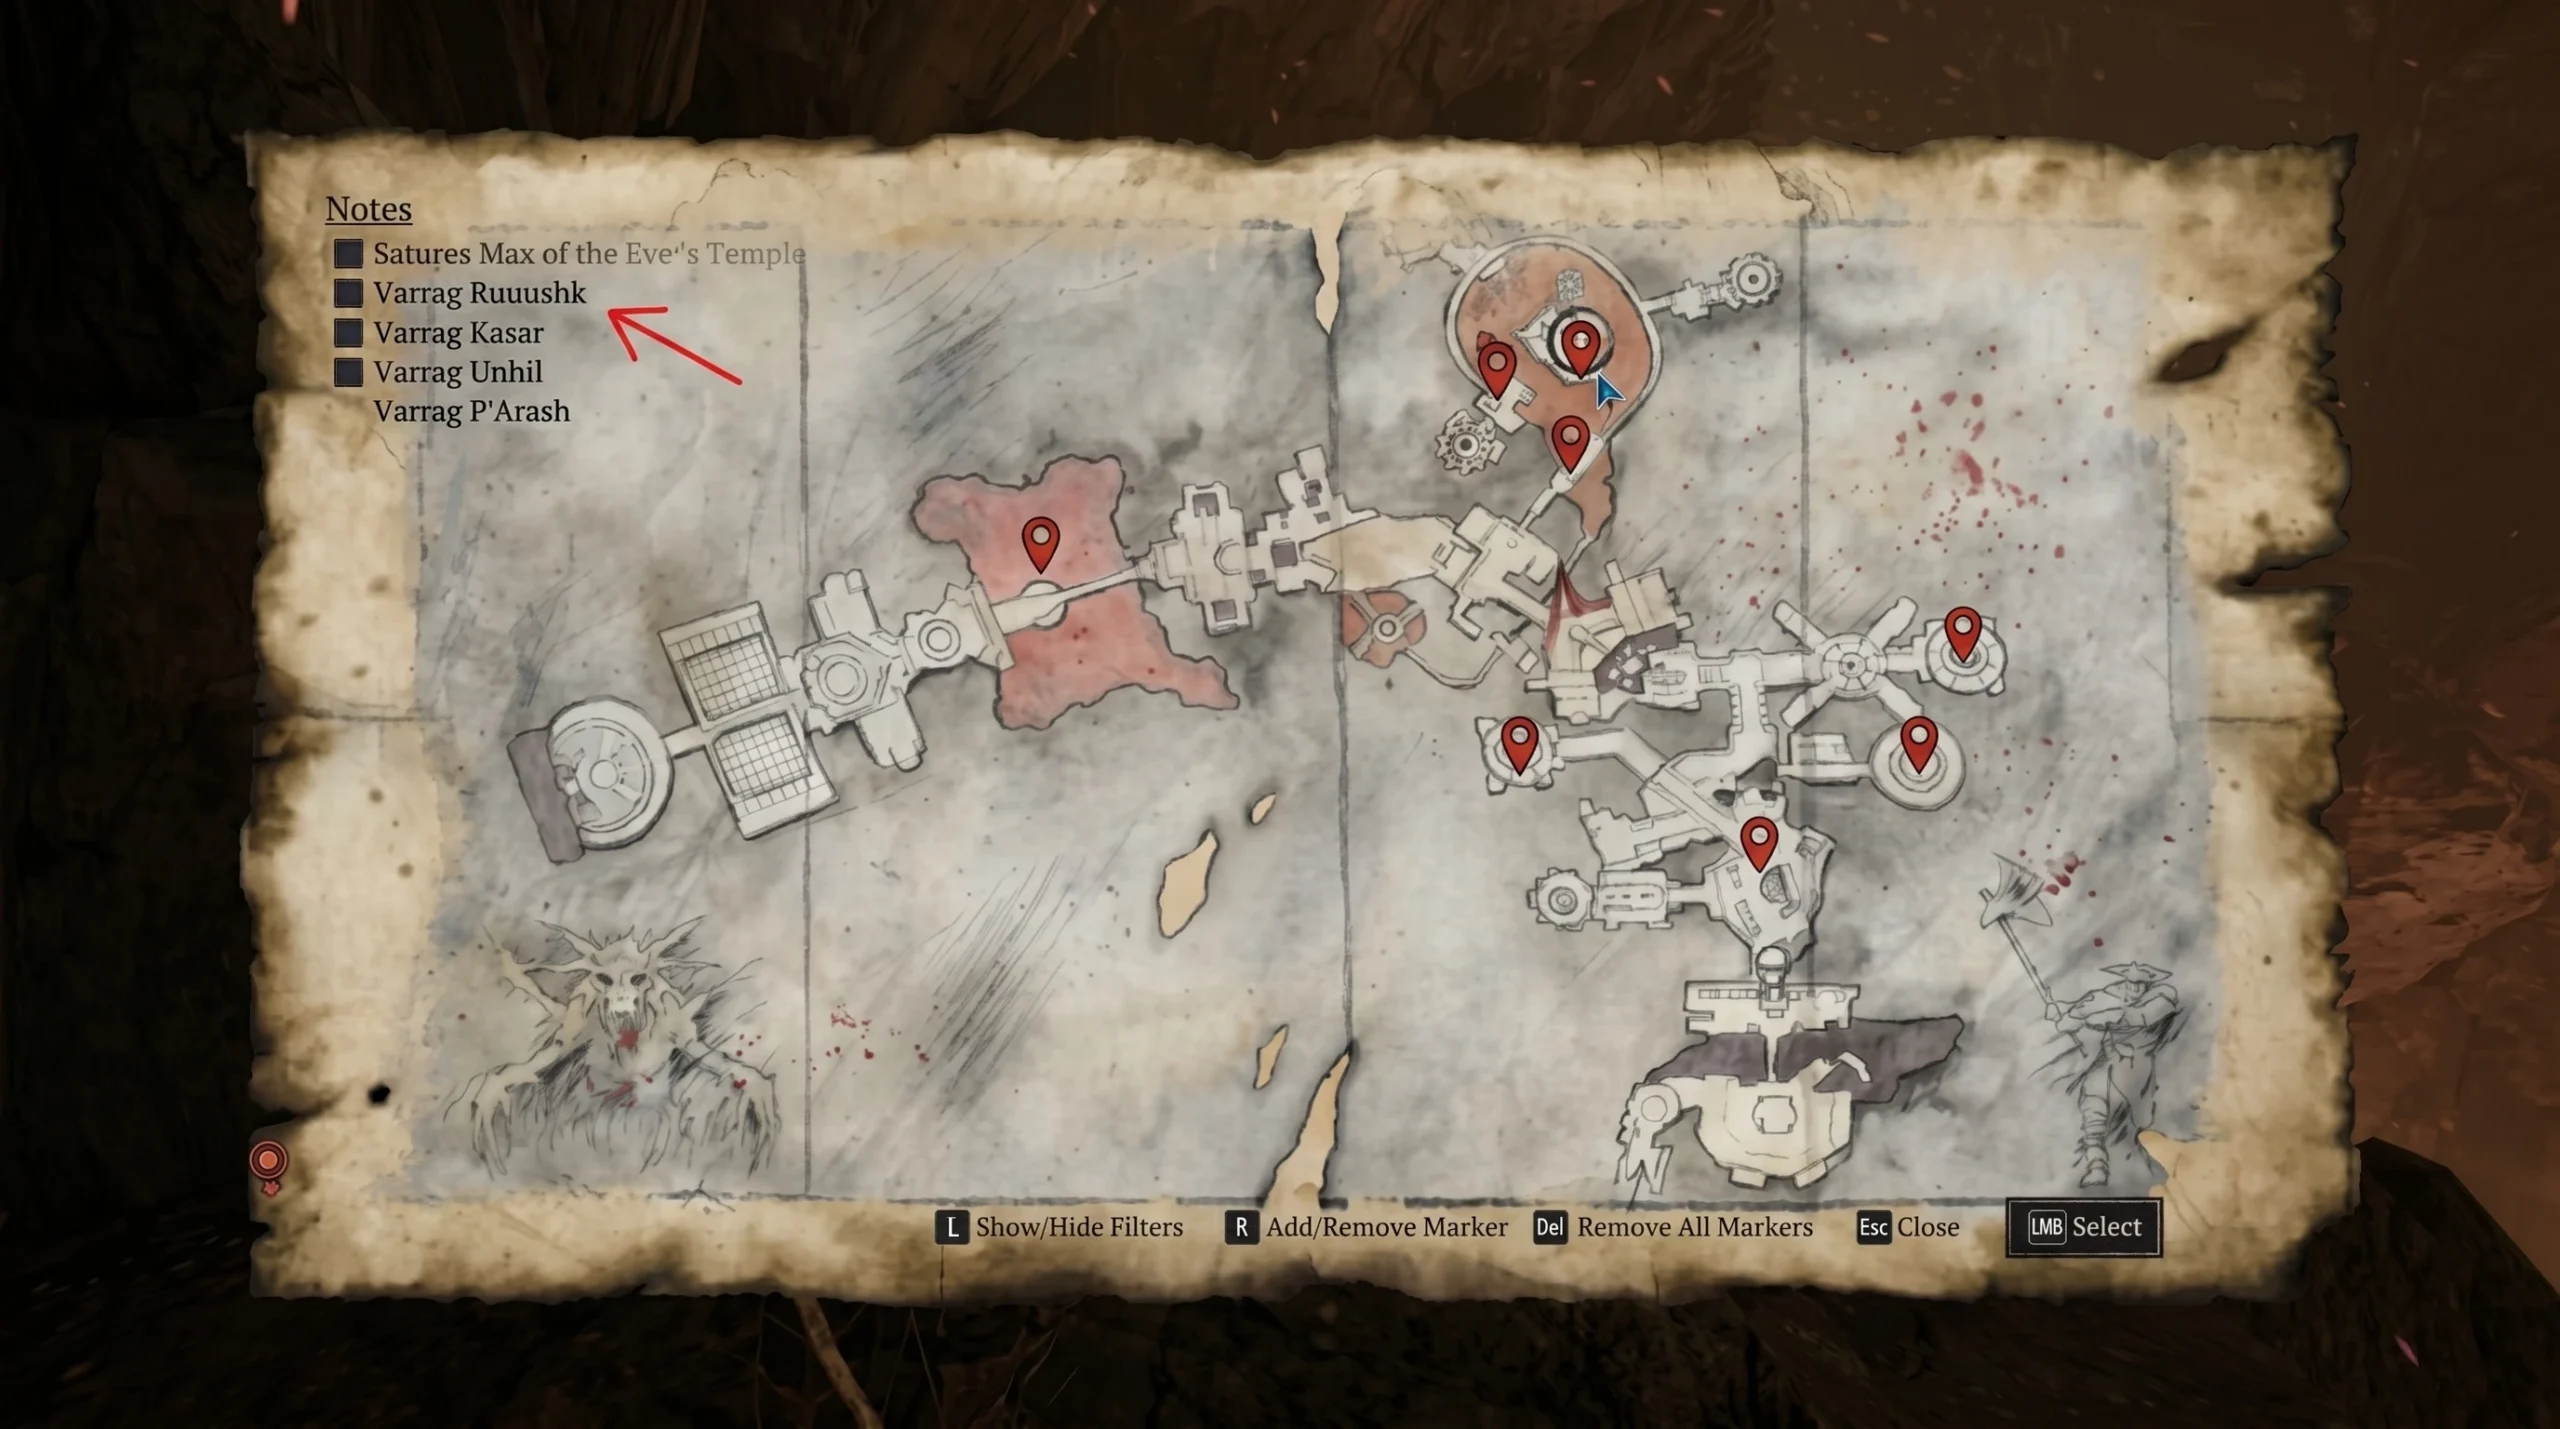
Quick answer: Defeat Varrag Hashor (Worldcleaver), Varrag Kasorg (Lightbringer), Varrag Unhilqt (Timesplinter), Varrag Ruuushk (Fiendeye), and Varrag Arushat (Banstone). Each shaman’s body holds its gem, and you must loot every one to fully upgrade Uriziel.
All five Sleeper’s Temple shamans and their gems
Before you go hunting, here is the full set of shamans, the gem each one drops, and the magic they use against you. Two of these fights can kill you in seconds, so treat the names with chain lightning and breath of death with extra caution.
| Shaman | Gem dropped | Main threat |
|---|---|---|
| Varrag Hashor | Worldcleaver | Pyrokinesis |
| Varrag Kasorg | Lightbringer | Ball Lightning, stun |
| Varrag Unhilqt | Timesplinter | Chain Lightning |
| Varrag Ruuushk | Fiendeye | Storm of Fire |
| Varrag Arushat | Banstone | Breath of Death |
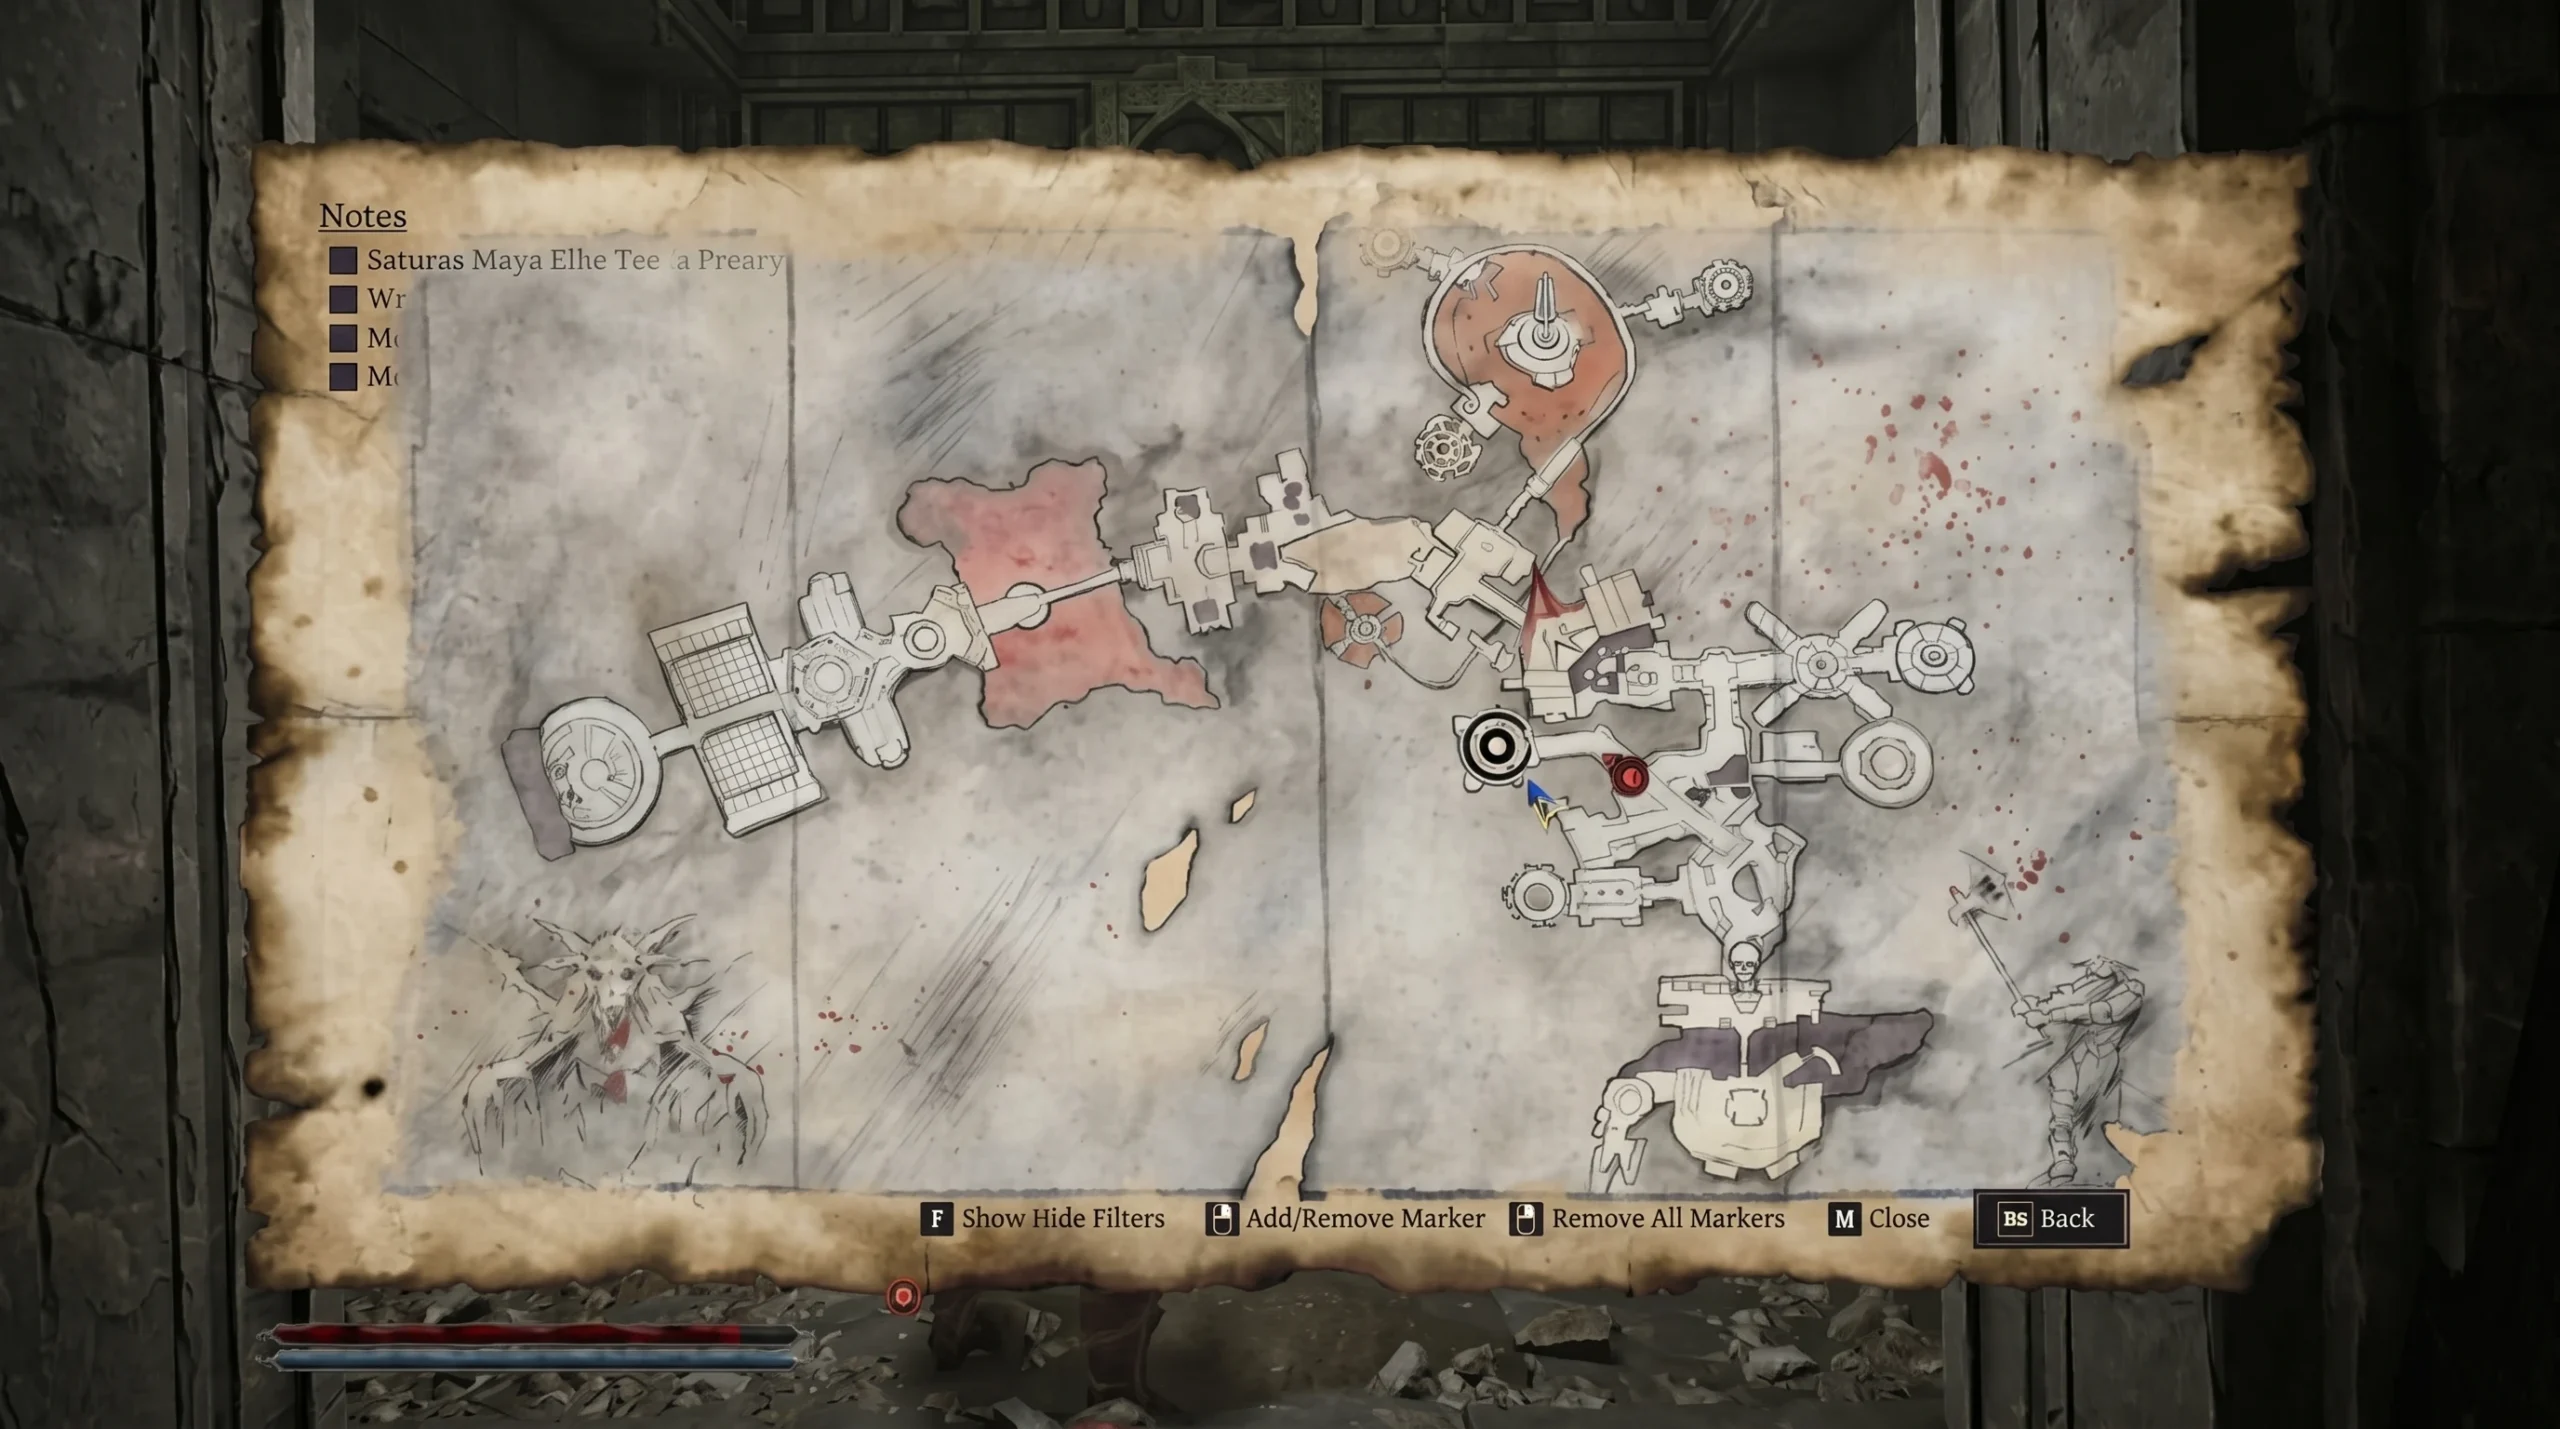
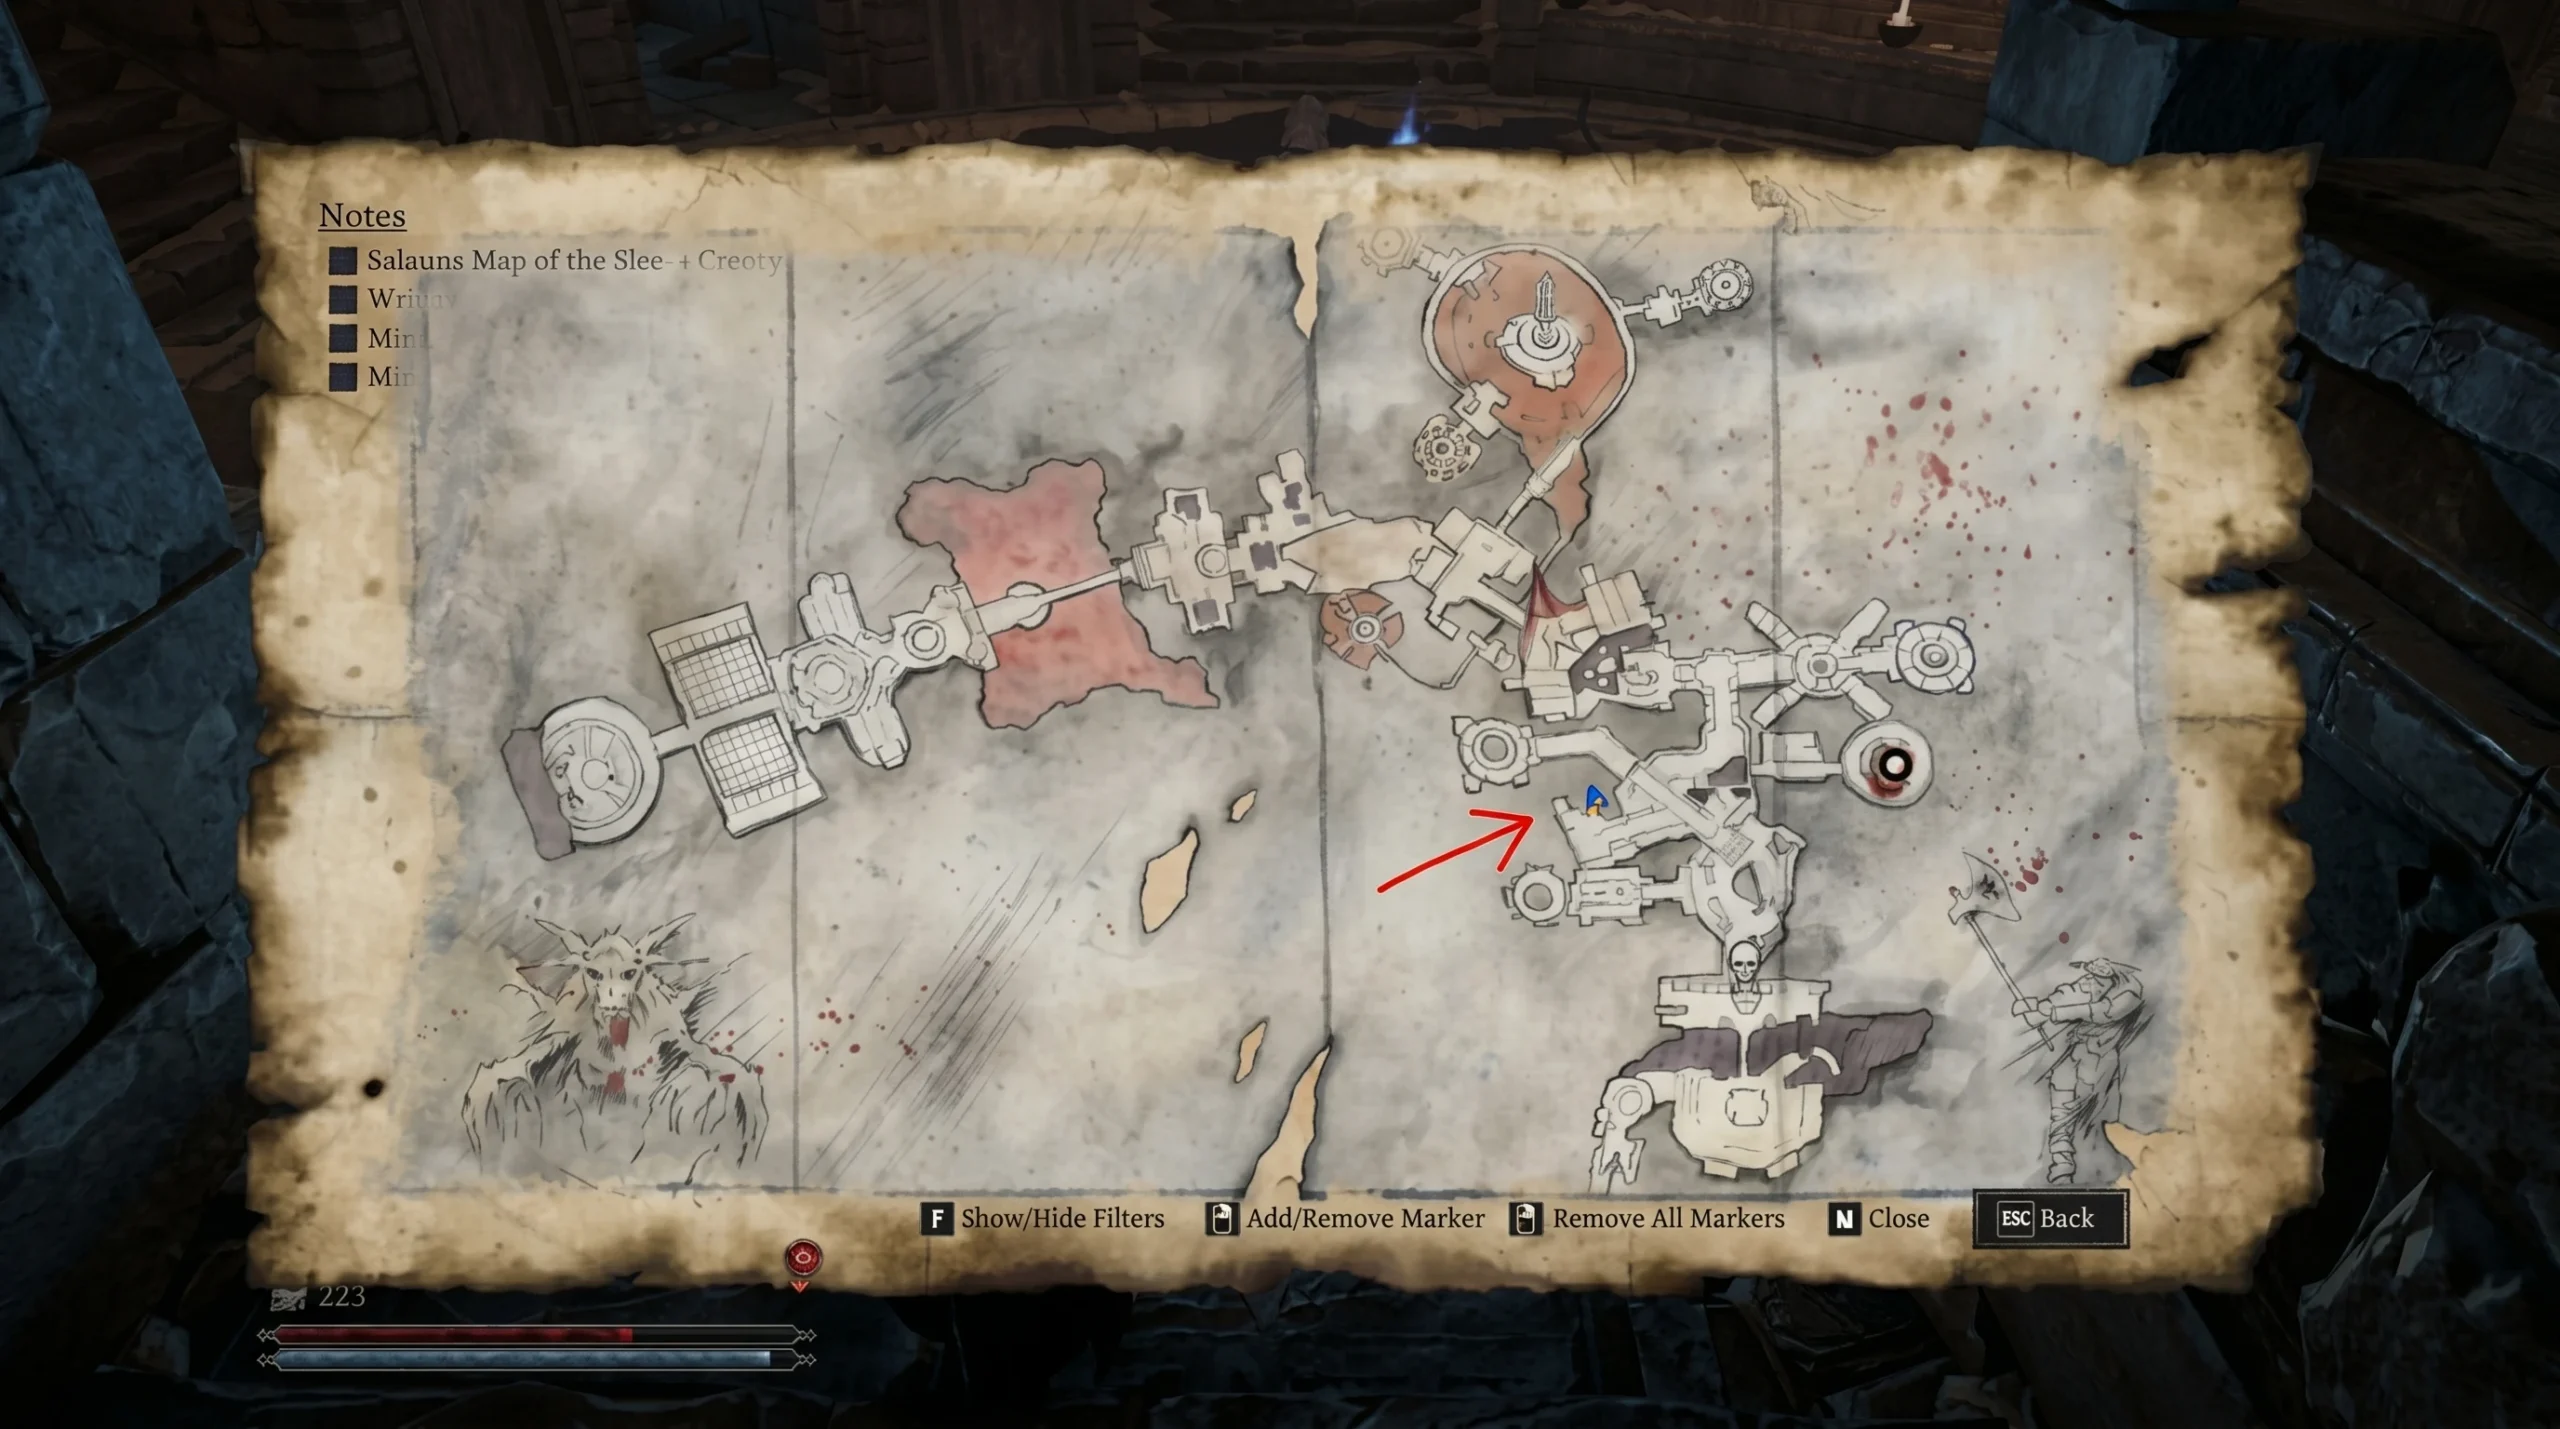
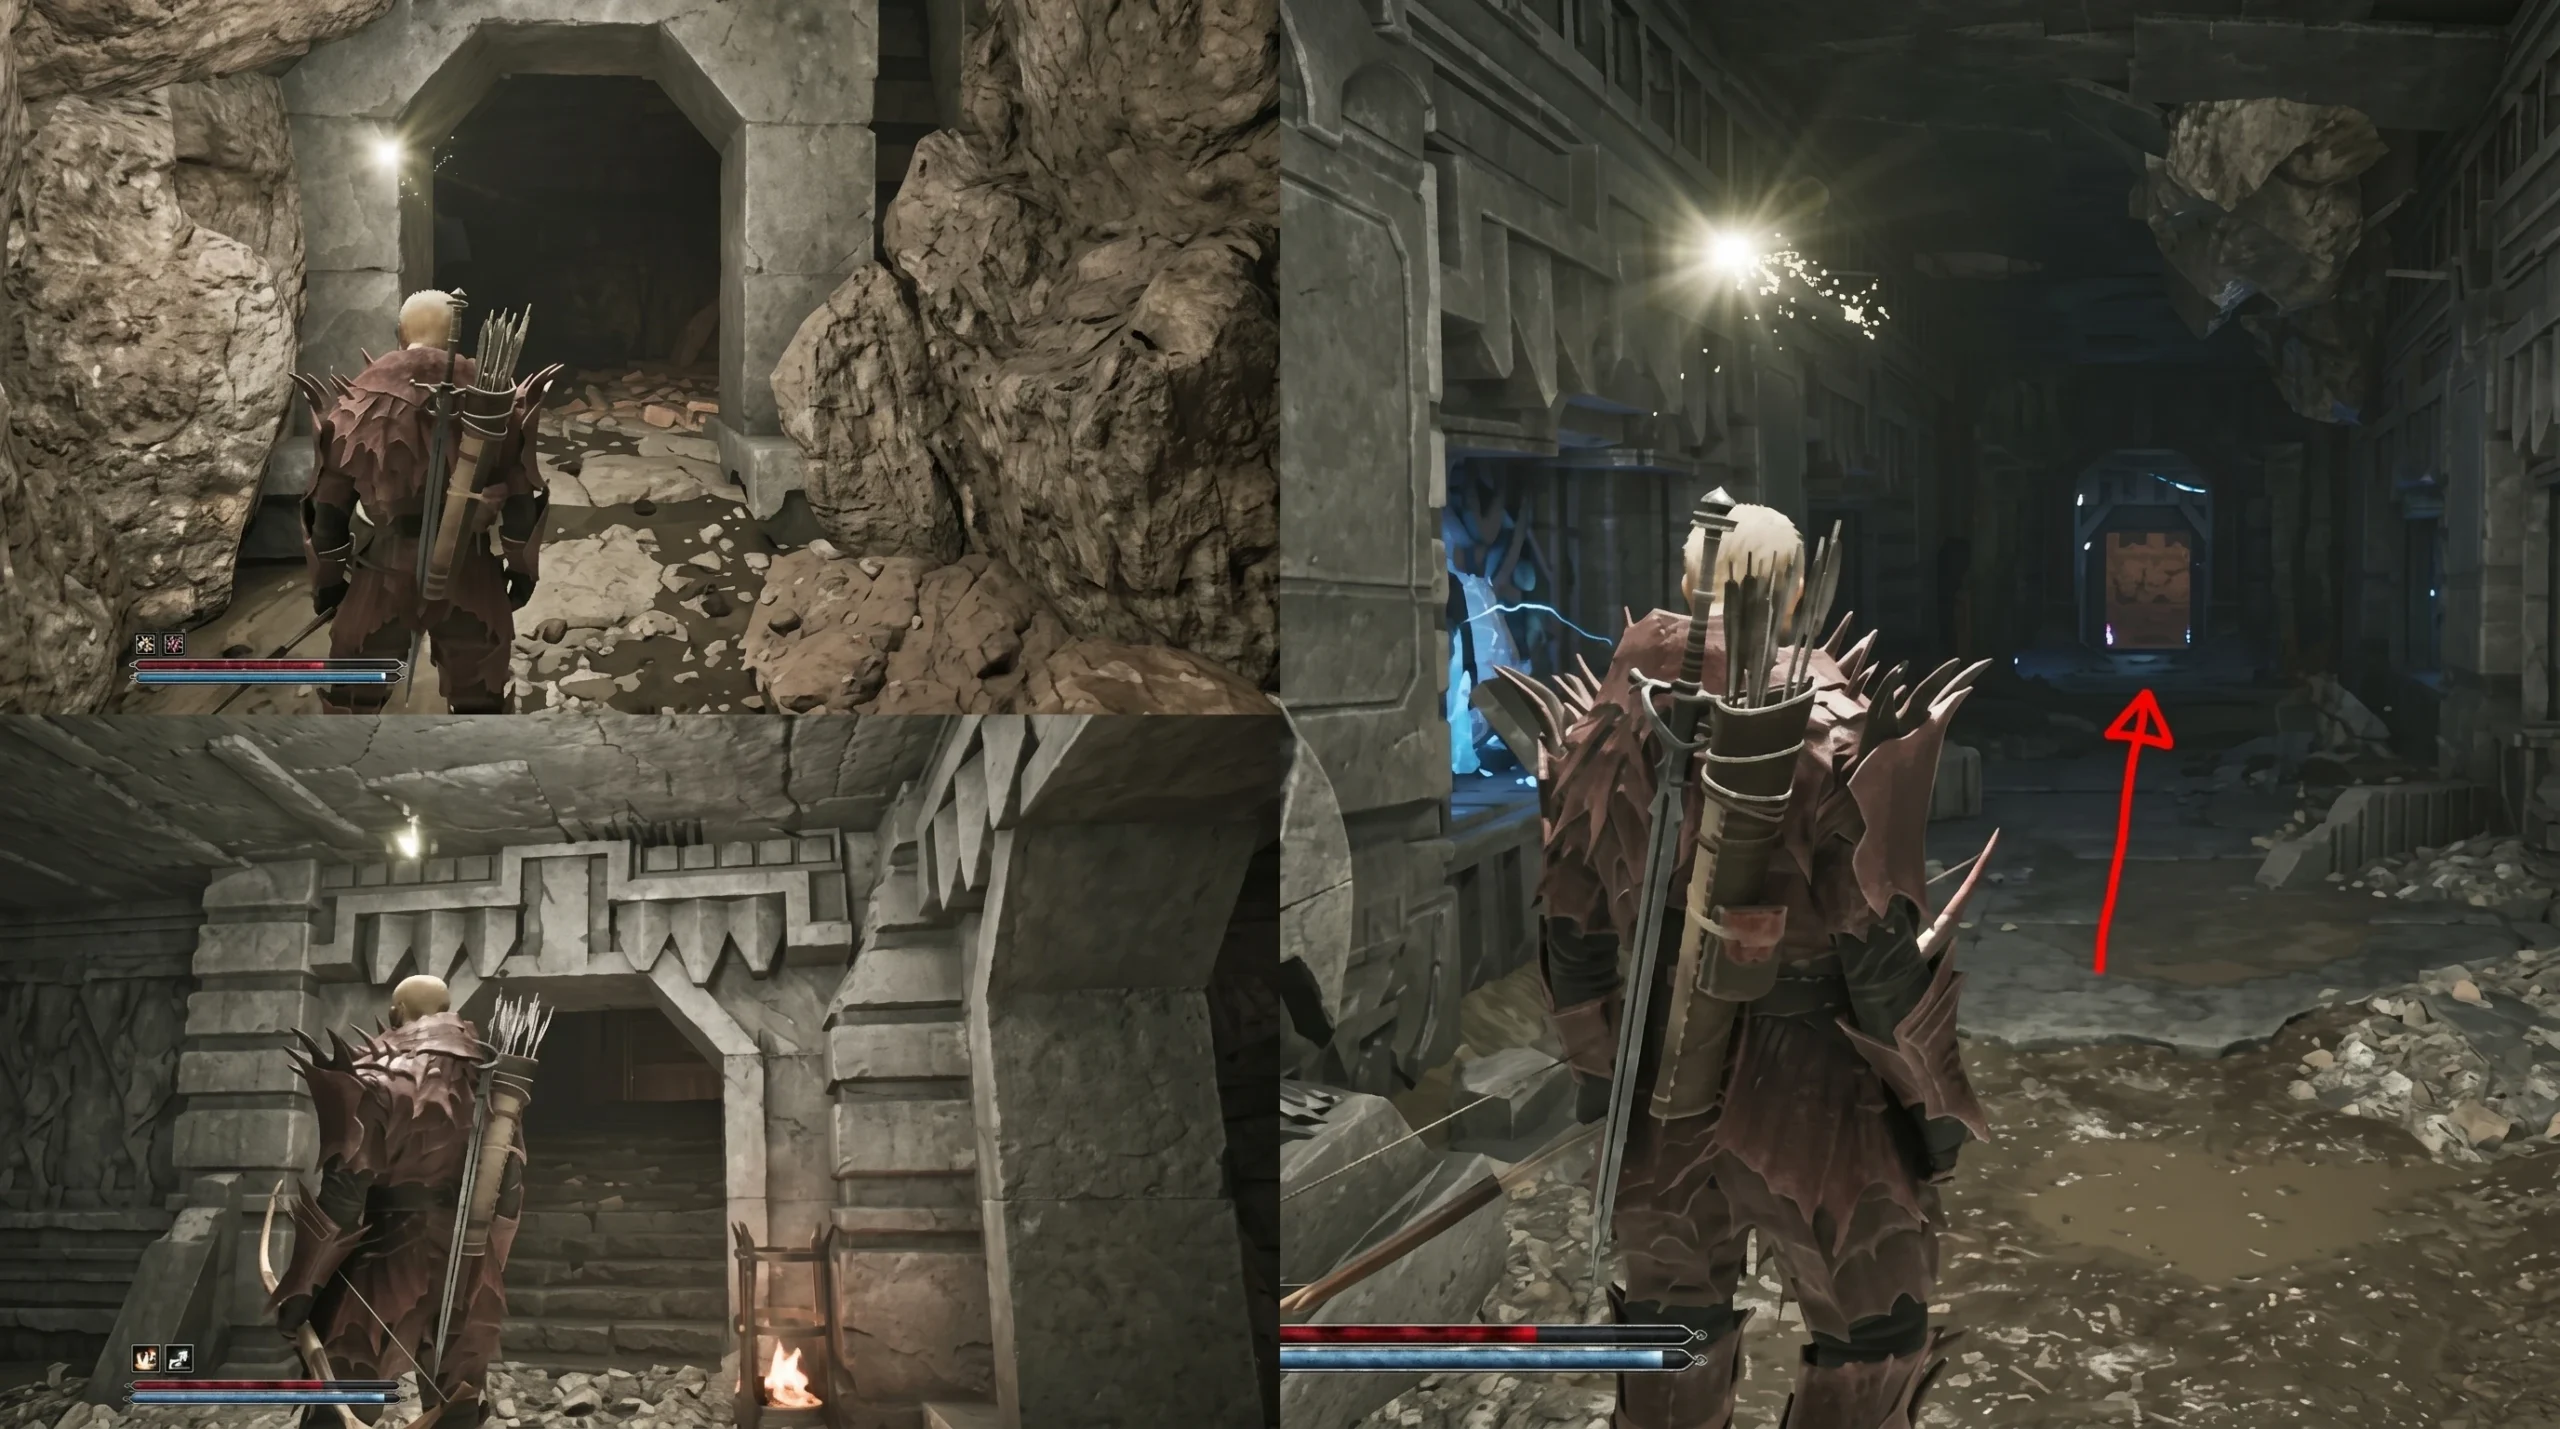
Note: Pick up the Sleeper’s Temple map first. It sits at the base of the statue in the room to the left of the entrance hall, and it makes navigating the tangle of inner corridors far easier.
Varrag Hashor (Worldcleaver)
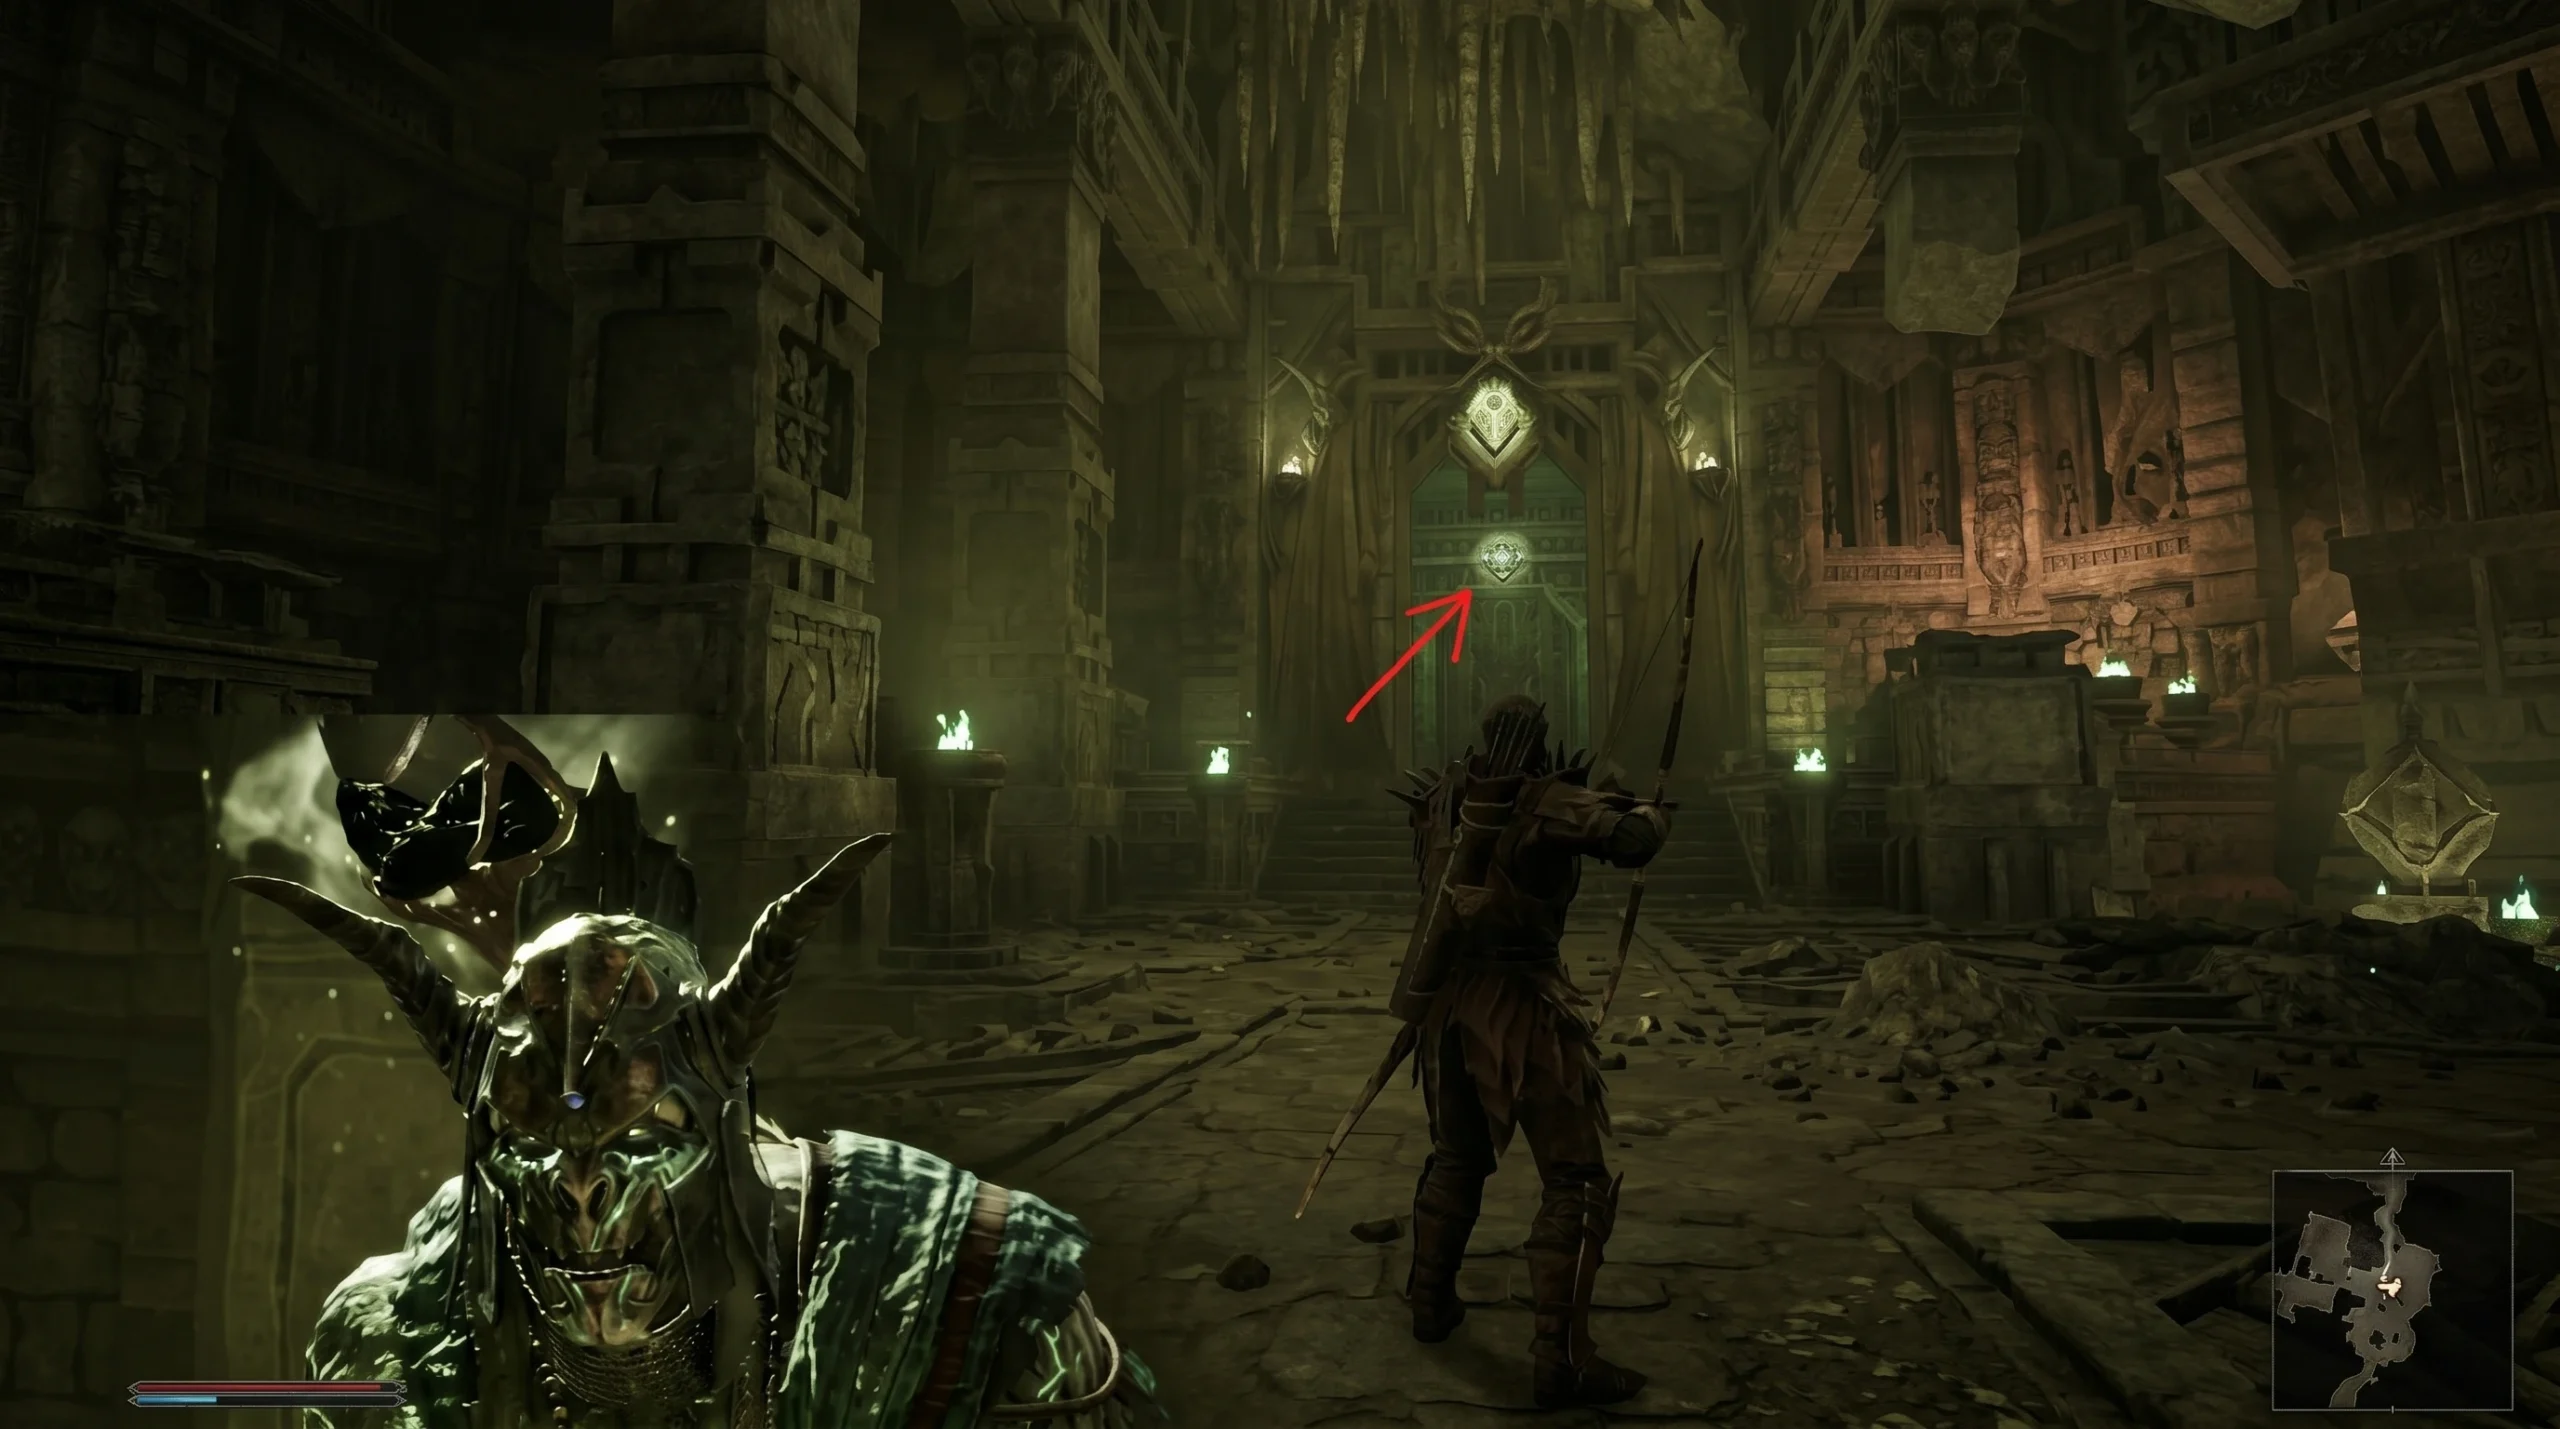
Varrag Hashor is the first shaman you can reach, and he sits behind a door near the early lever and platform area. The door is marked with a green sigil, and it stays shut until you open it the right way.
Varrag Kasorg (Lightbringer)
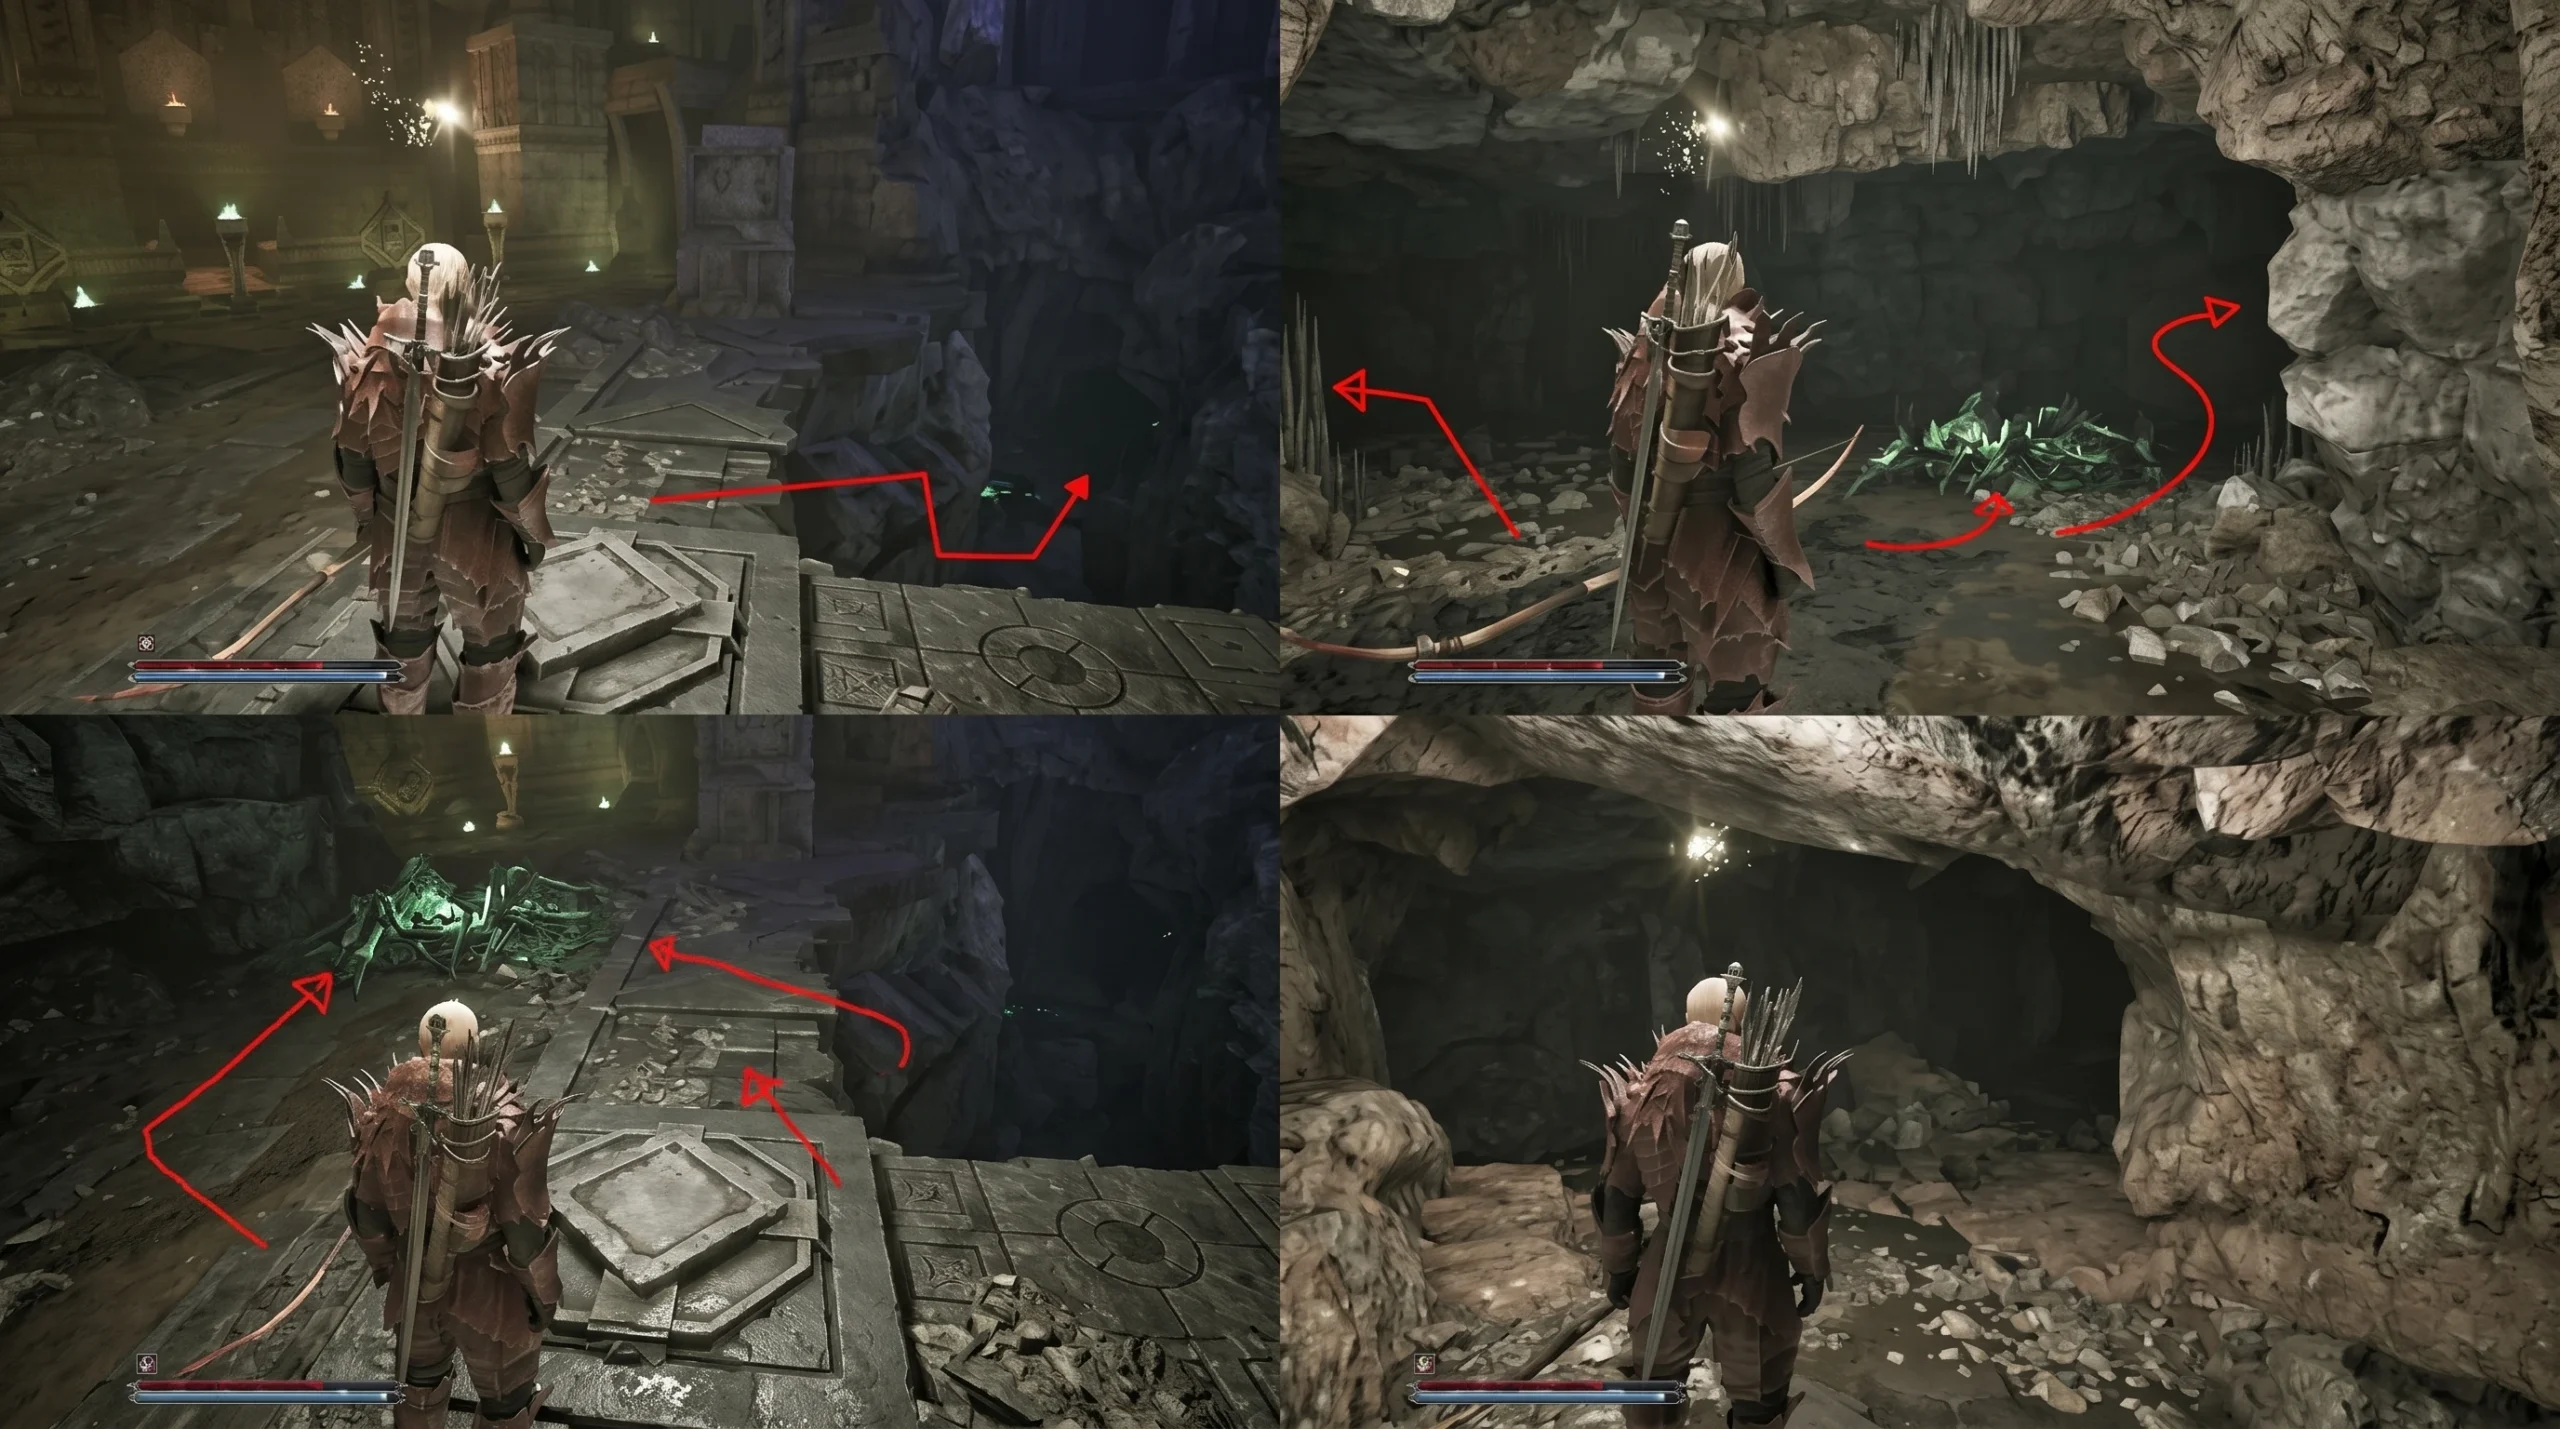
Varrag Kasorg waits on a broken-off upper ledge, so the only way to him is underground through the collapsed section of the temple. Expect Undead Minecrawlers, Undead Orcs, and Skeletons along the way, plus tough Temple Guards that hit hard.
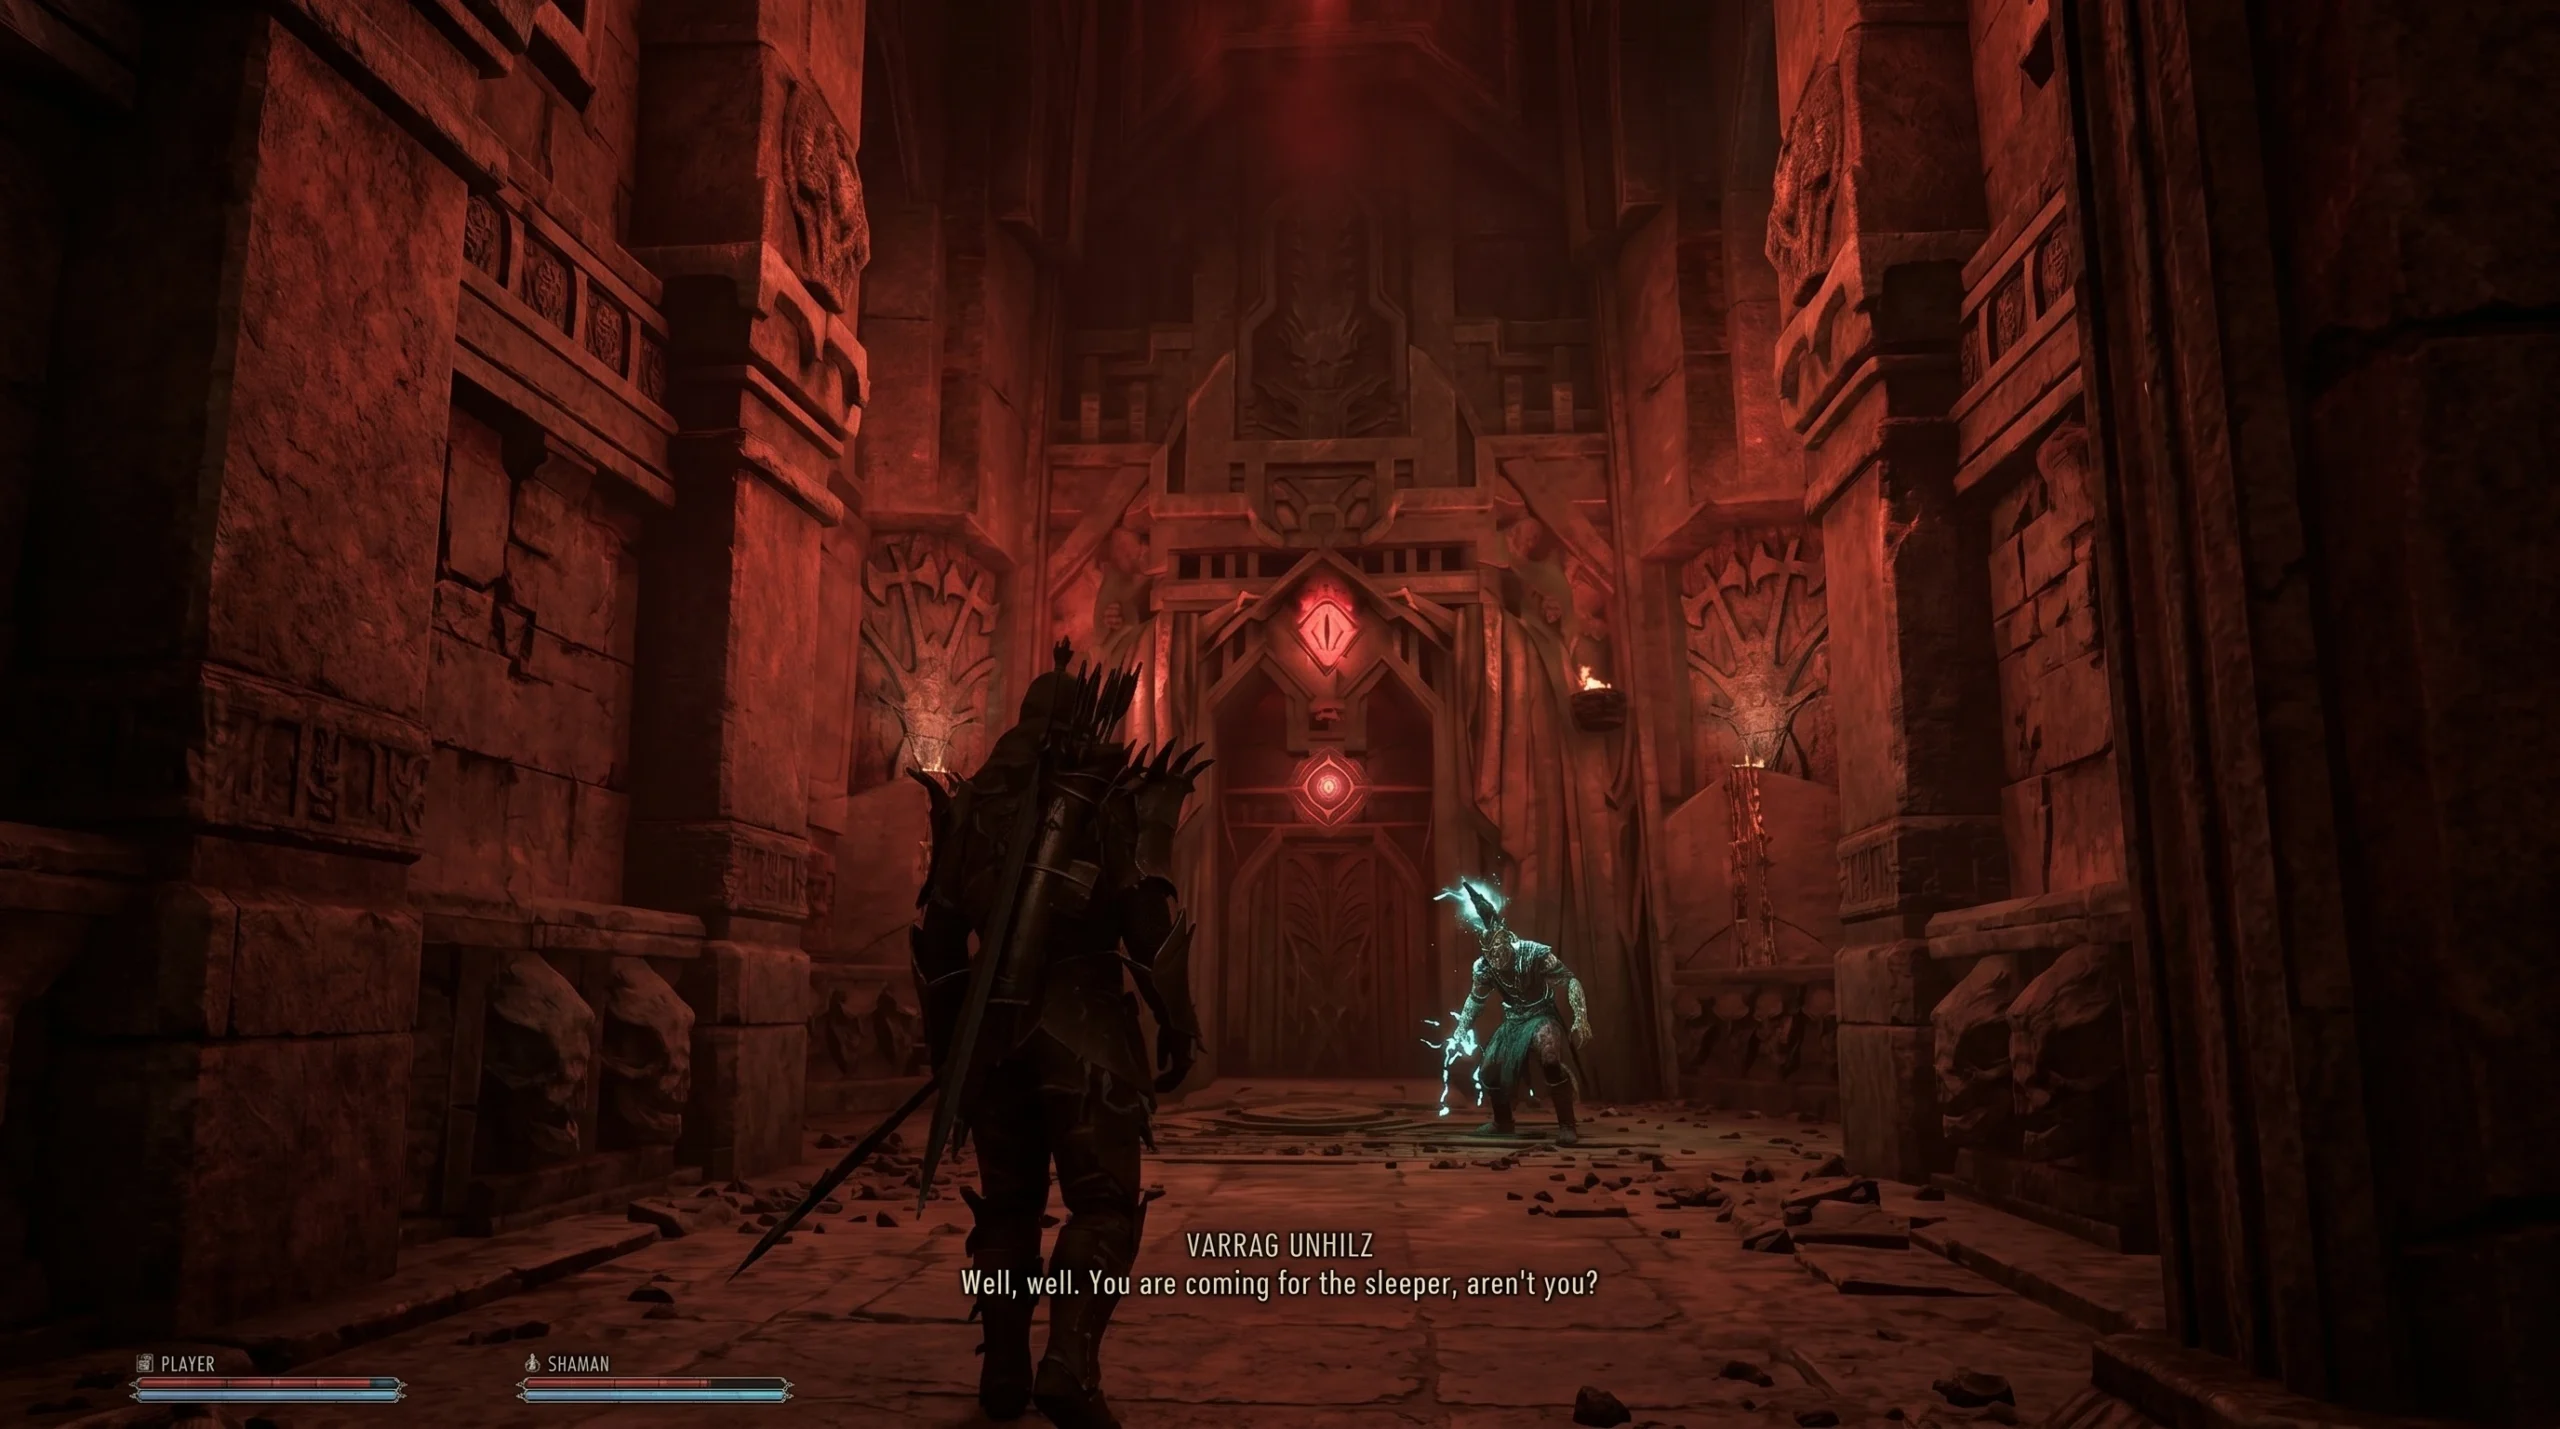
Varrag Unhilqt (Timesplinter)
Varrag Unhilqt sits inside a locked burial chamber in the upper section, reached after the rising platform puzzle. His door carries a red sigil. He is one of the deadliest of the five because his Chain Lightning can stun-lock you and end the fight in moments.
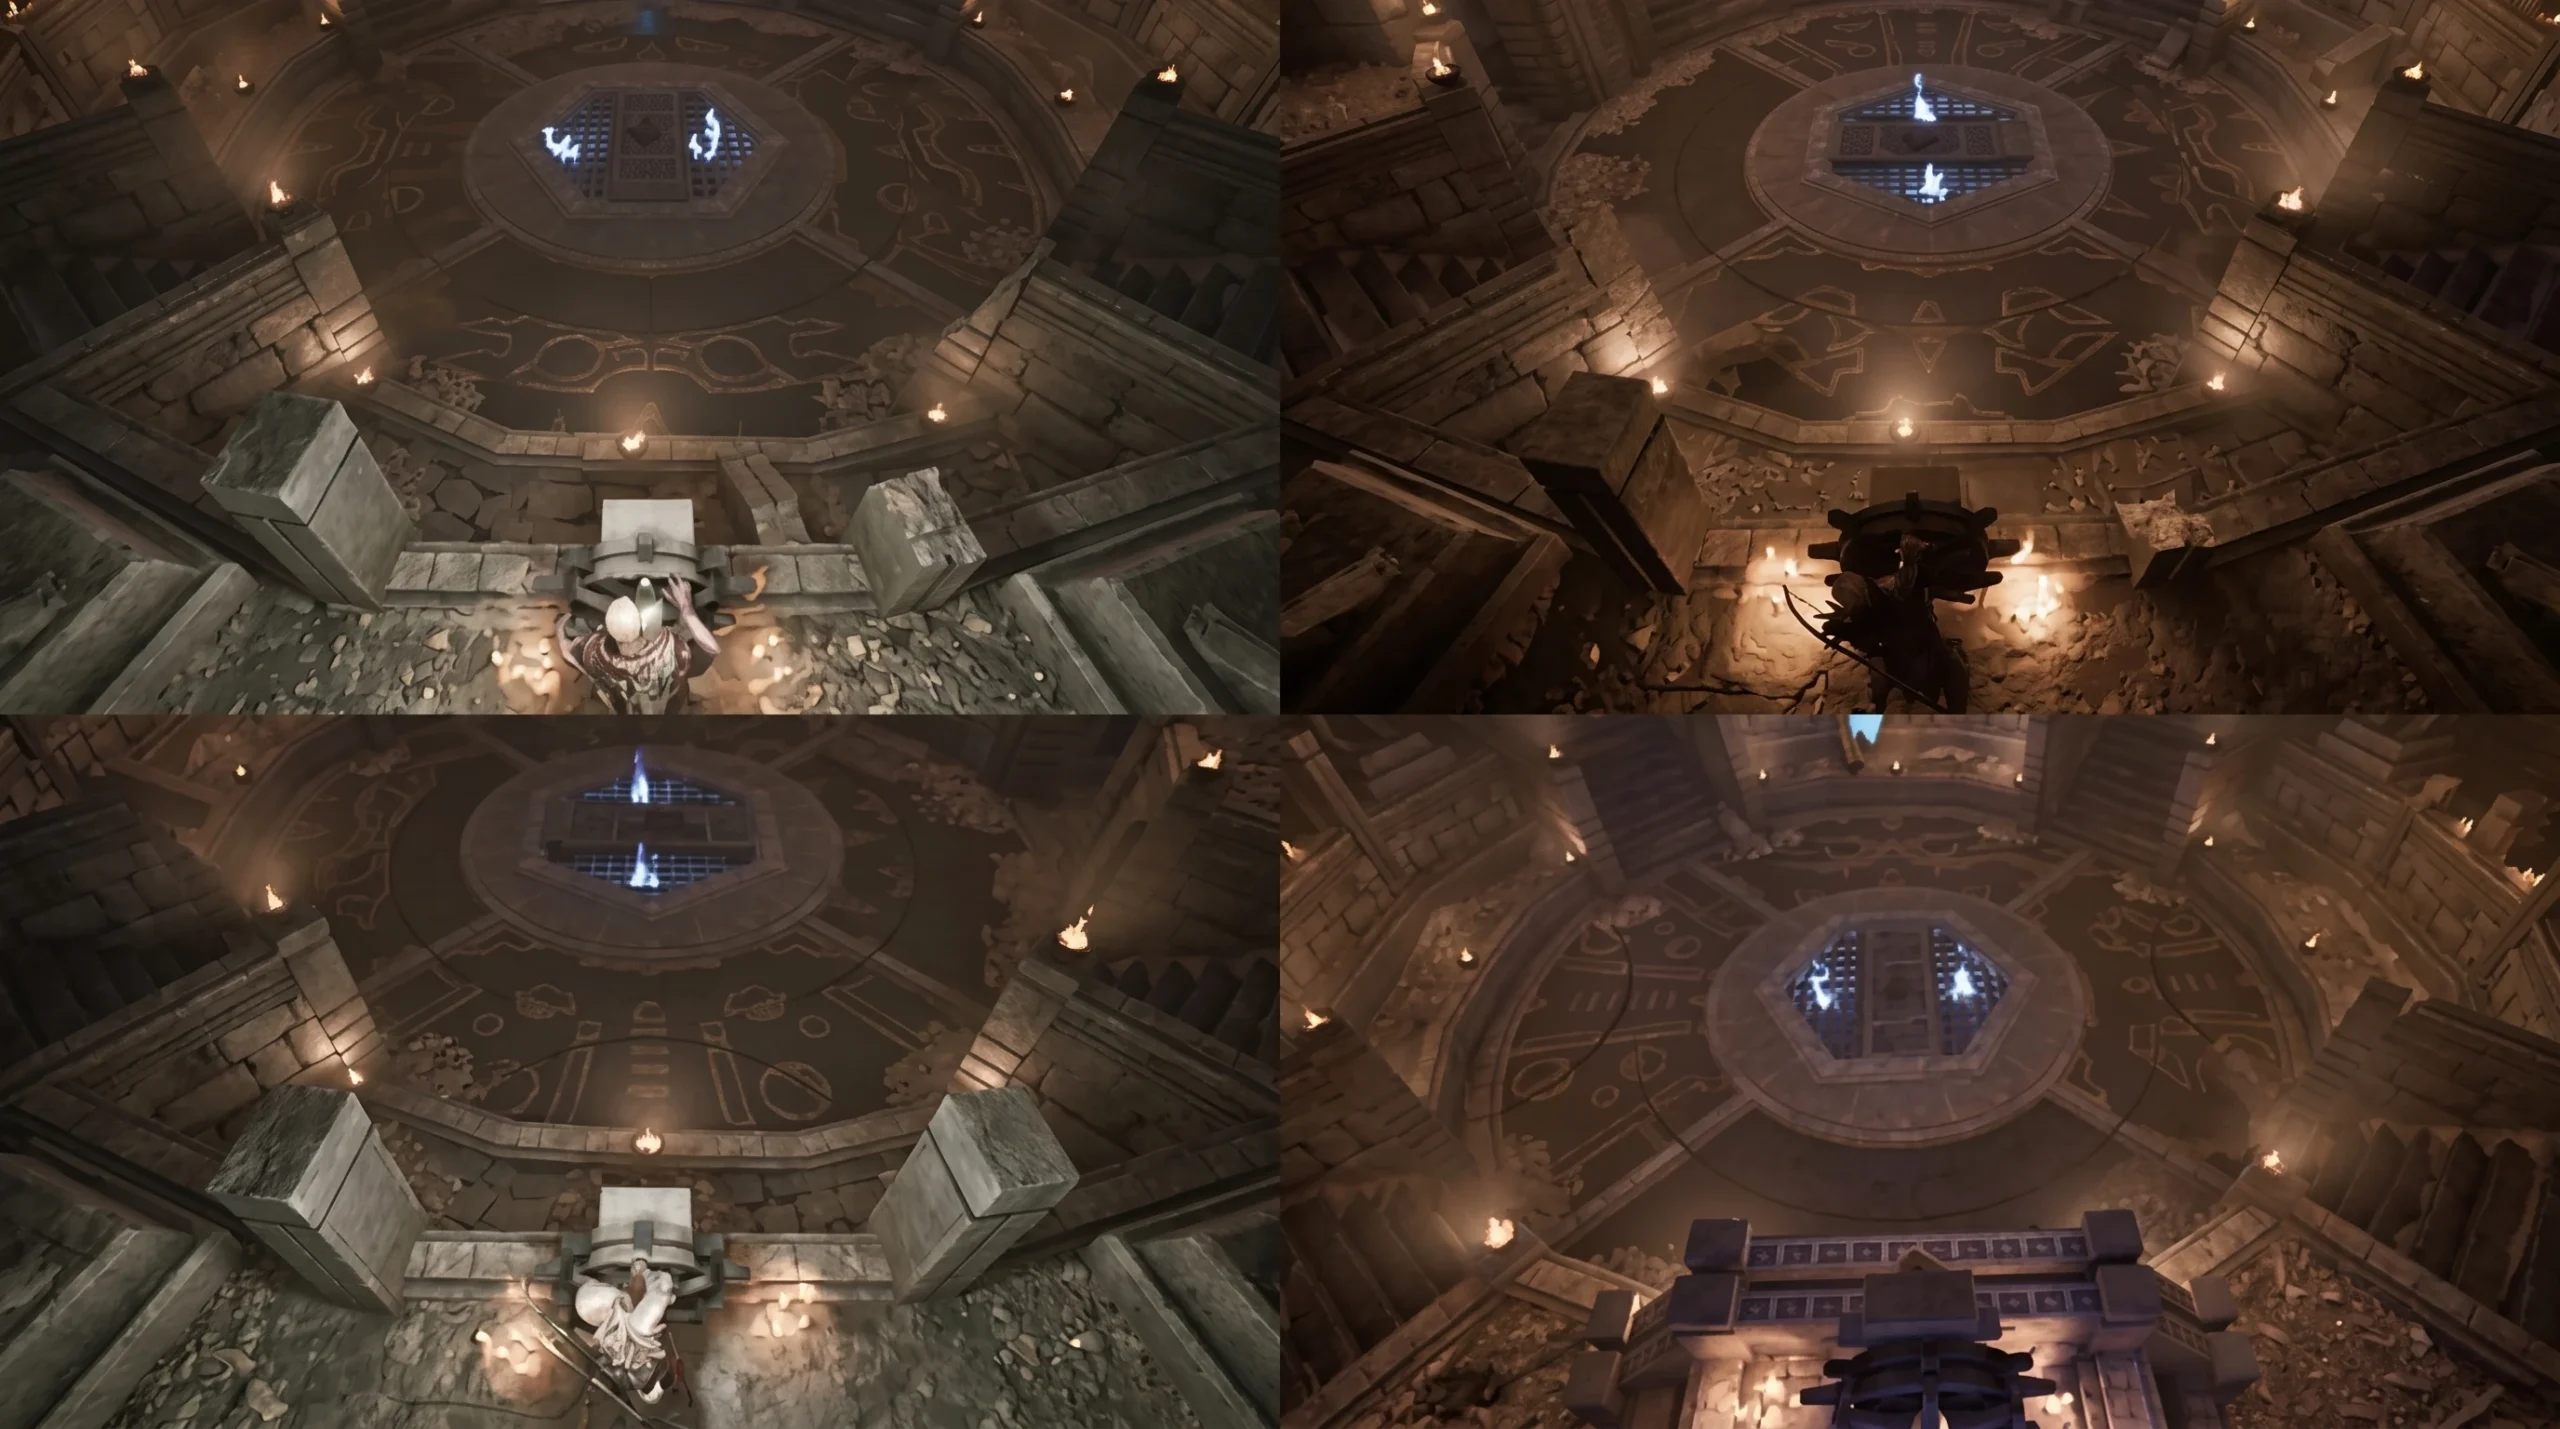
Clear the blood barrier and Fire Demon first
The last two shamans live in the deep inner area, which stays sealed behind a red barrier until you solve the blood puzzle and beat the Fire Demon. This step gates the rest of the temple, so handle it before chasing Varrag Ruuushk or Varrag Arushat.
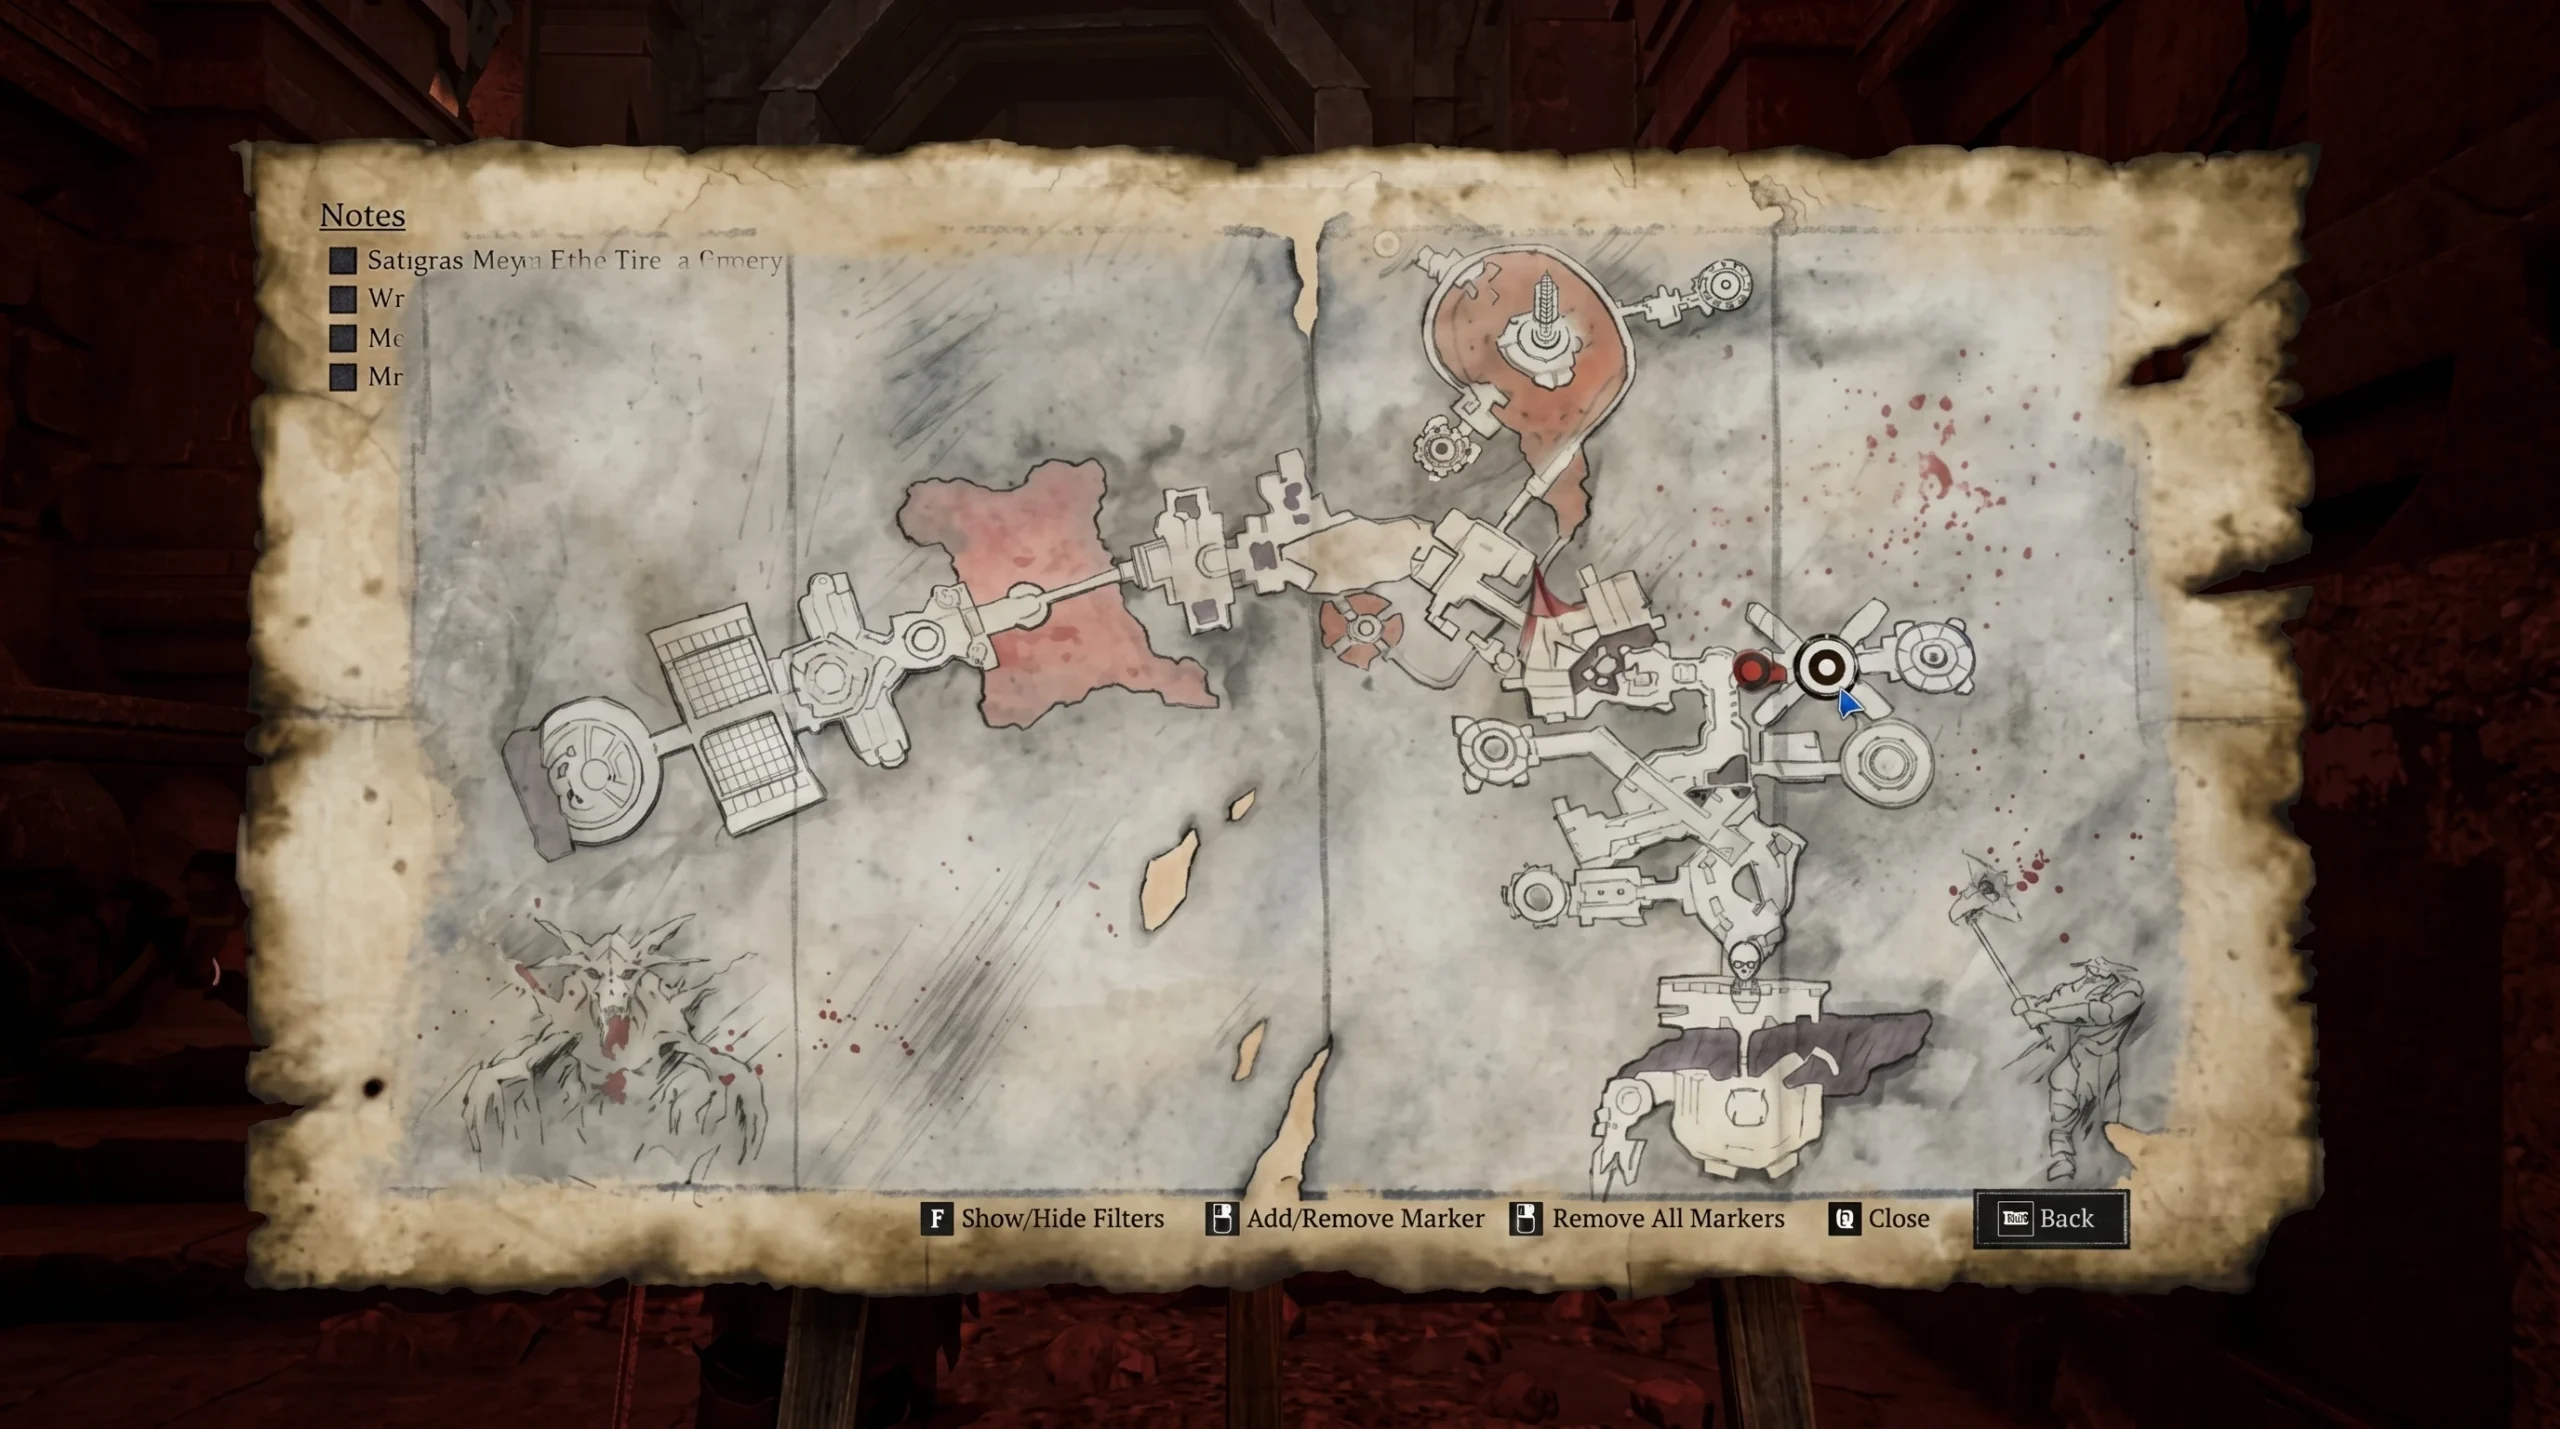
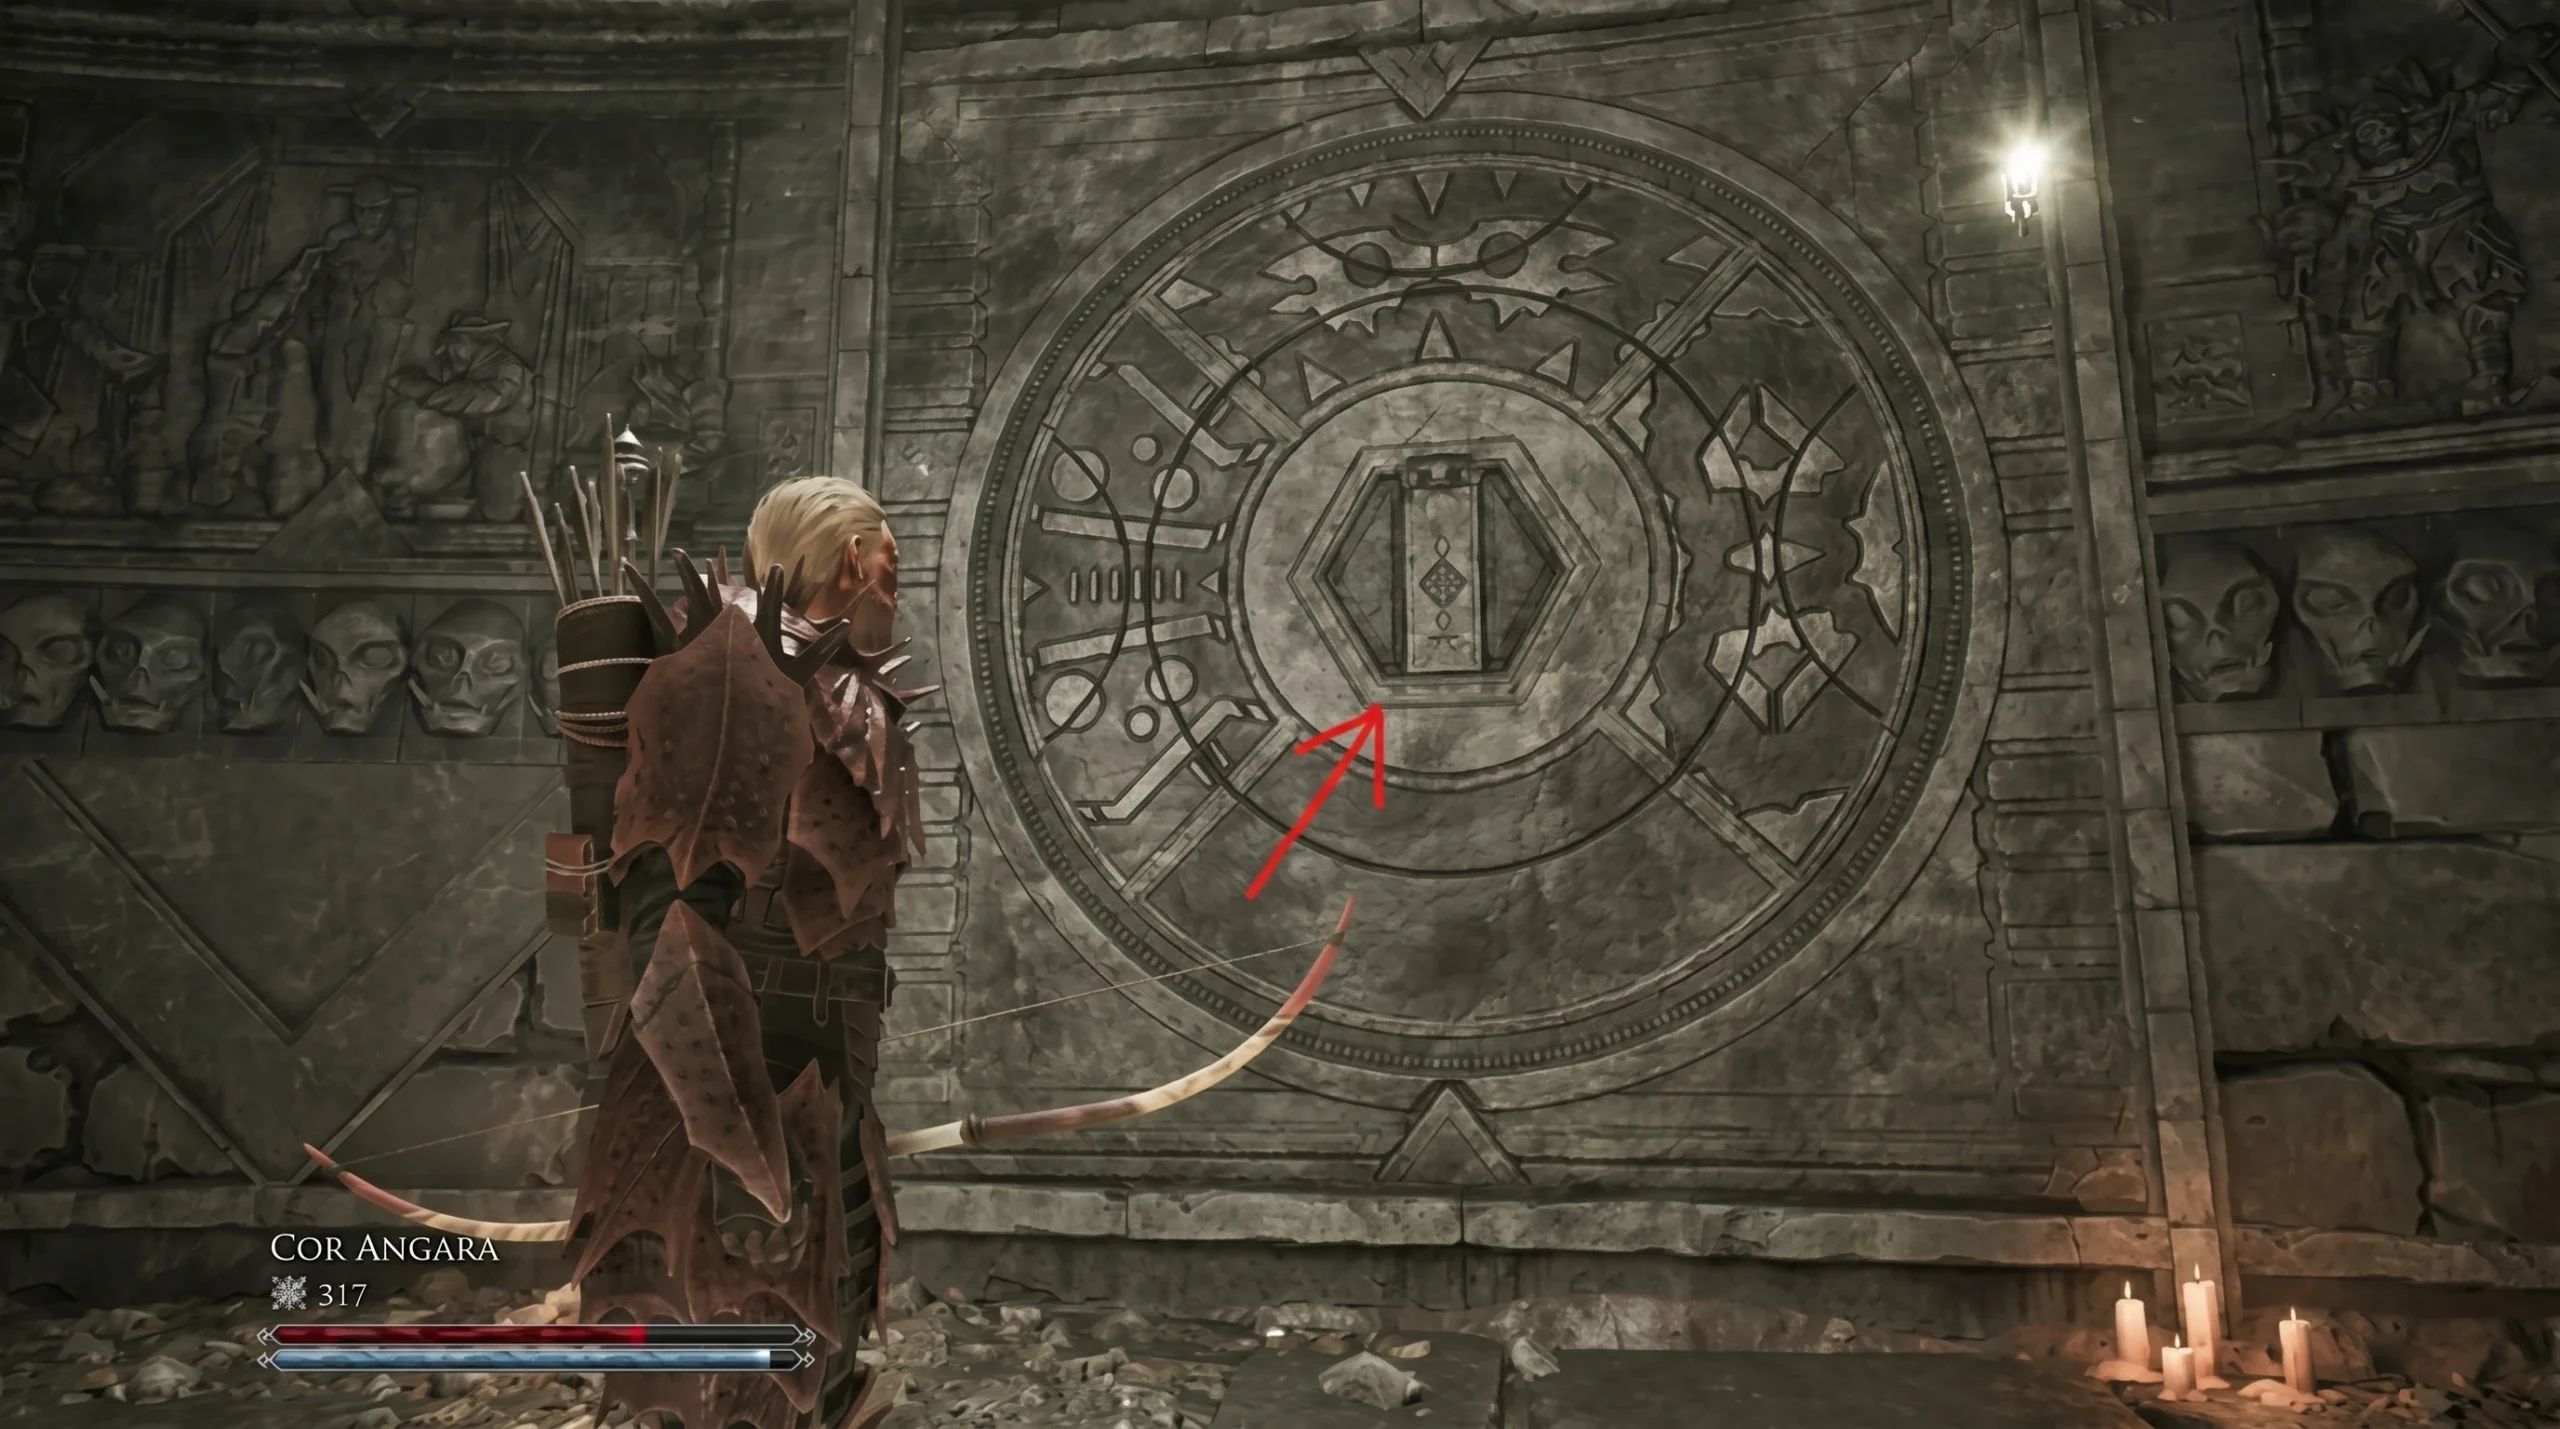
Varrag Ruuushk (Fiendeye) and the Uriziel sword
Varrag Ruuushk holds court in a glowing chamber above the lava flow, on a central platform you can only reach after killing three Demon Lords. He attacks with Storm of Fire, and his platform is also where the Uriziel sword spawns.
Varrag Arushat (Banstone)
Varrag Arushat is the final shaman, standing just outside the Sleeper’s Chamber. He has far more health than the others and can instantly kill you with Breath of Death, so come in fully healed and ready to dodge. To reach him you first have to drain the lava blocking the inner sanctums.
How to confirm you have everything
You know the run is complete when all five gemstones are in your inventory and Uriziel is in hand. The fastest check is the gem list against the shamans you have killed.
- Worldcleaver from Varrag Hashor
- Lightbringer from Varrag Kasorg
- Timesplinter from Varrag Unhilqt
- Fiendeye from Varrag Ruuushk
- Banstone from Varrag Arushat
The most common reason players leave a gem behind is forgetting to loot a shaman’s corpse after the fight, so always check the body before moving on. If a chamber door will not open, look up for a green or red sigil and hit it with an arrow, bolt, or magic to release the lock.

Once you hold all five stones and the strange sword, follow the path past the final barrier near the Sleeper’s Chamber, teleport back to the surface, and return to Xardas to wrap up the quest. The gems then go into Uriziel, turning it into the weapon you will need against the Sleeper.