
Blueprints are the real upgrade path in ARC Raiders. Once learned, a blueprint permanently unlocks a recipe at your Speranza workbenches, letting you rebuild an item as often as your materials allow. Extract them, use the “Learn and Consume” action to add the recipe, and sell duplicates for 5,000 Coins. That loop—farm, learn, sell extras—shifts progression from hoping for drops to building exactly what you need.
Blueprint drops in ARC Raiders (what actually spawns them)
Blueprints don’t sit in low-value containers. They come from a handful of reliable sources with different odds and use cases. Hidden caches sit at the top, event and mission rewards guarantee targeted items, and raider bodies fill in the rest during busy fights. Faction reputation also unlocks direct purchases for specific recipes.
| Source | Drop likelihood | Best use |
|---|---|---|
| Hidden caches | High | Rare weapon and mod blueprints |
| Mission/event rewards | Guaranteed | Specific event items |
| Raider bodies (AI and players) | Medium | Common weapons and utilities |
| Faction vendors (reputation) | Direct purchase | Targeted unlocks without RNG |
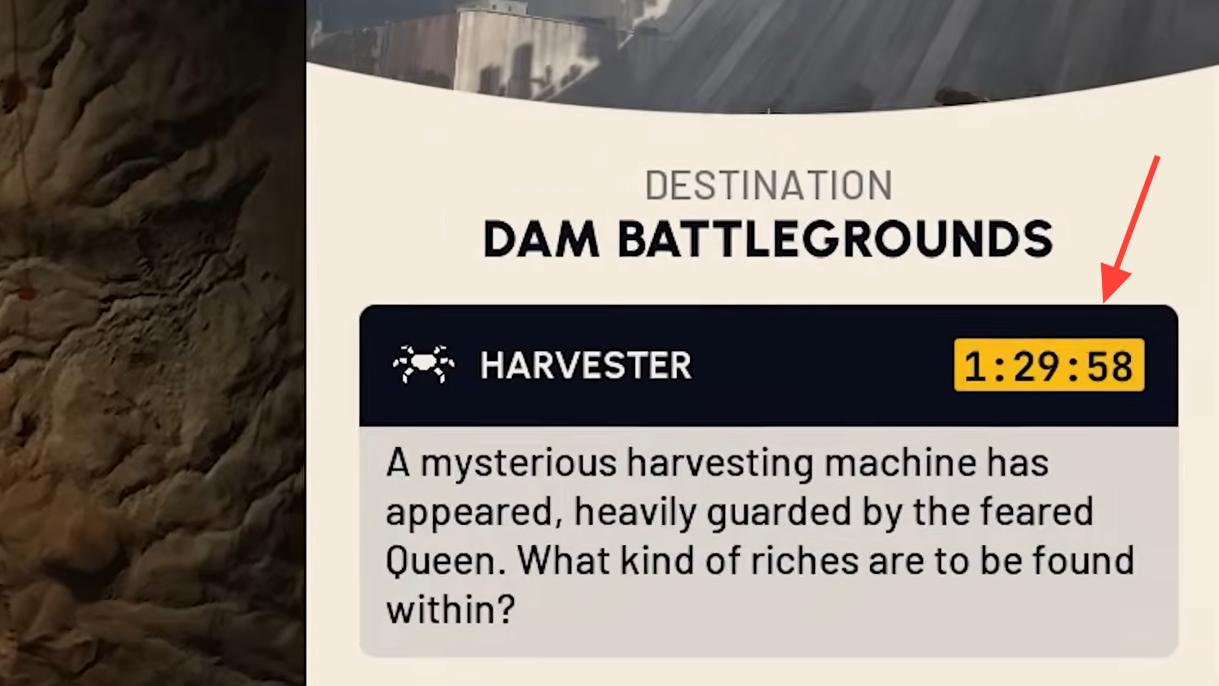
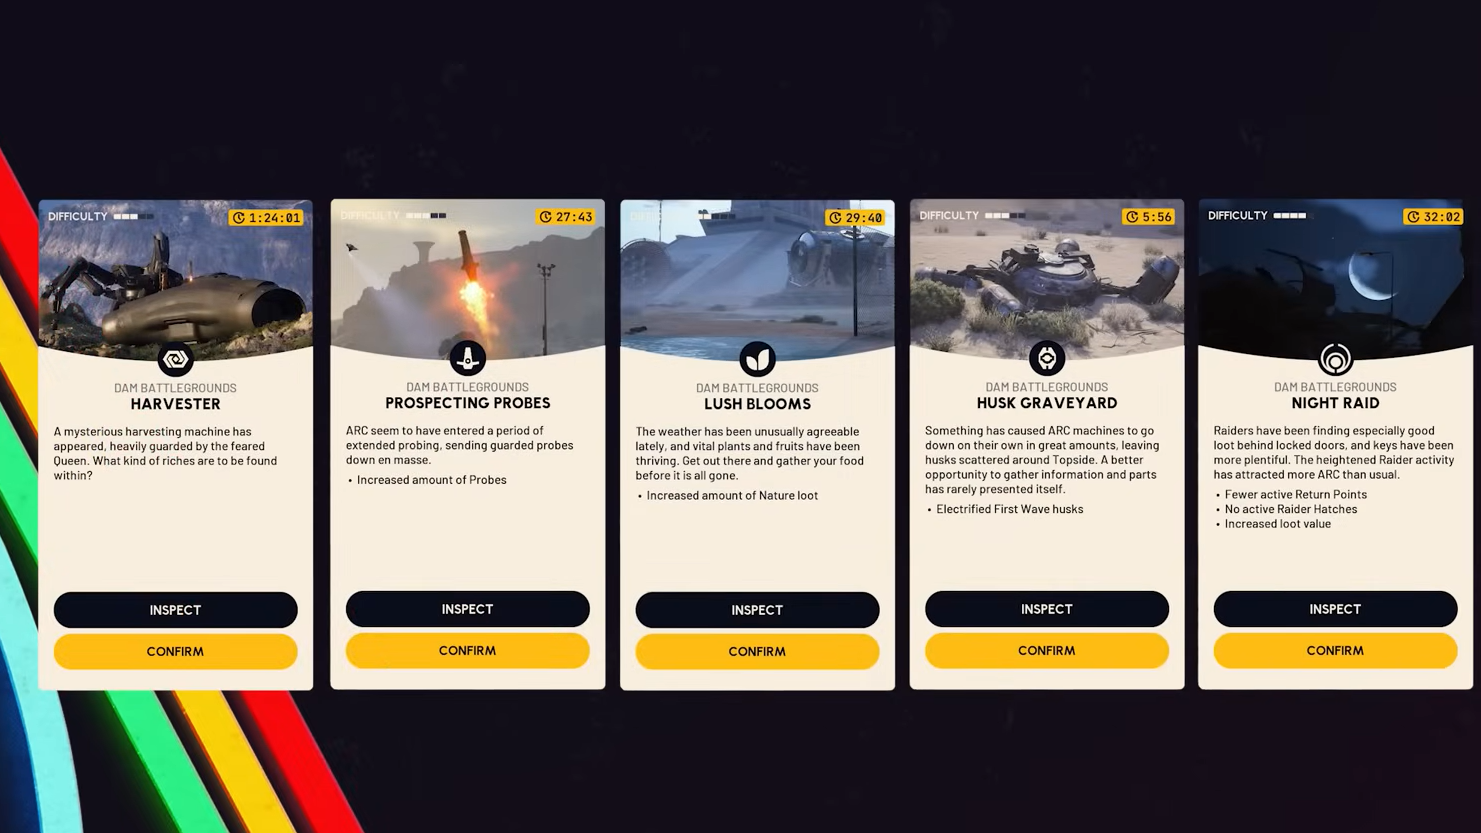
Hidden caches often require a power cell or a key; they have the best odds for Rare and Epic recipes. The Dam battleground has several cache spawns around relay stations and abandoned structures. Mission rewards are especially important when Harvester cycles are active—energy weapon blueprints like Jupiter and Equalizer come from that event. Reputation with Speranza vendors unlocks recipes you can buy outright if you want a guarantee.
Blueprint tiers and bench requirements (what each station is for)
Weapon, material, and utility recipes live under different workshop benches. Materials gate everything, so plan materials and bench tiers before you commit.
| Bench | Examples | Notes |
|---|---|---|
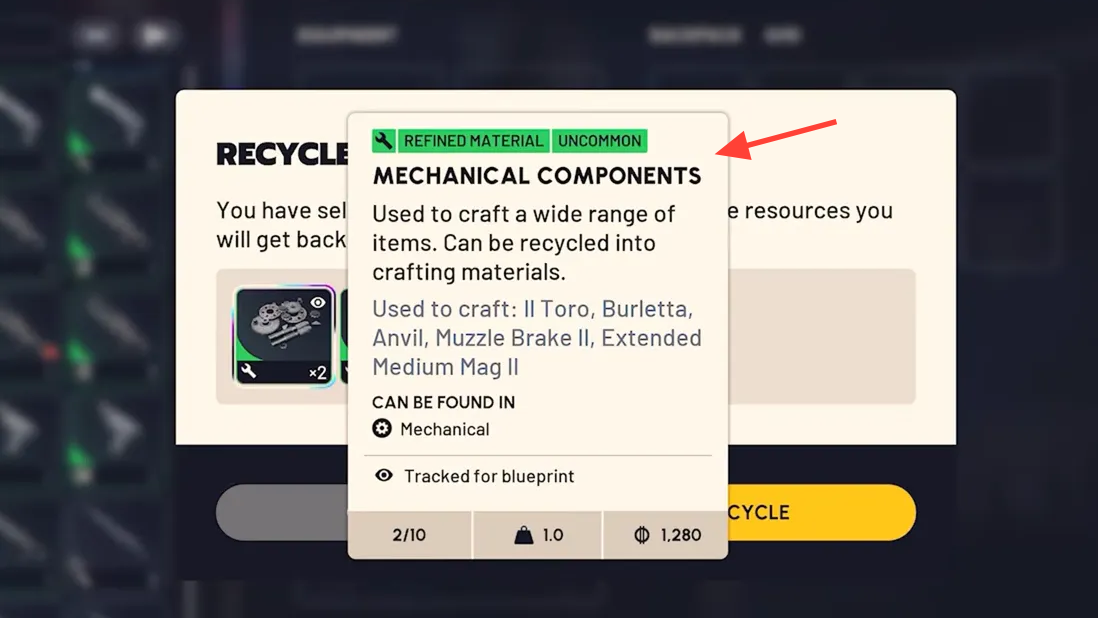
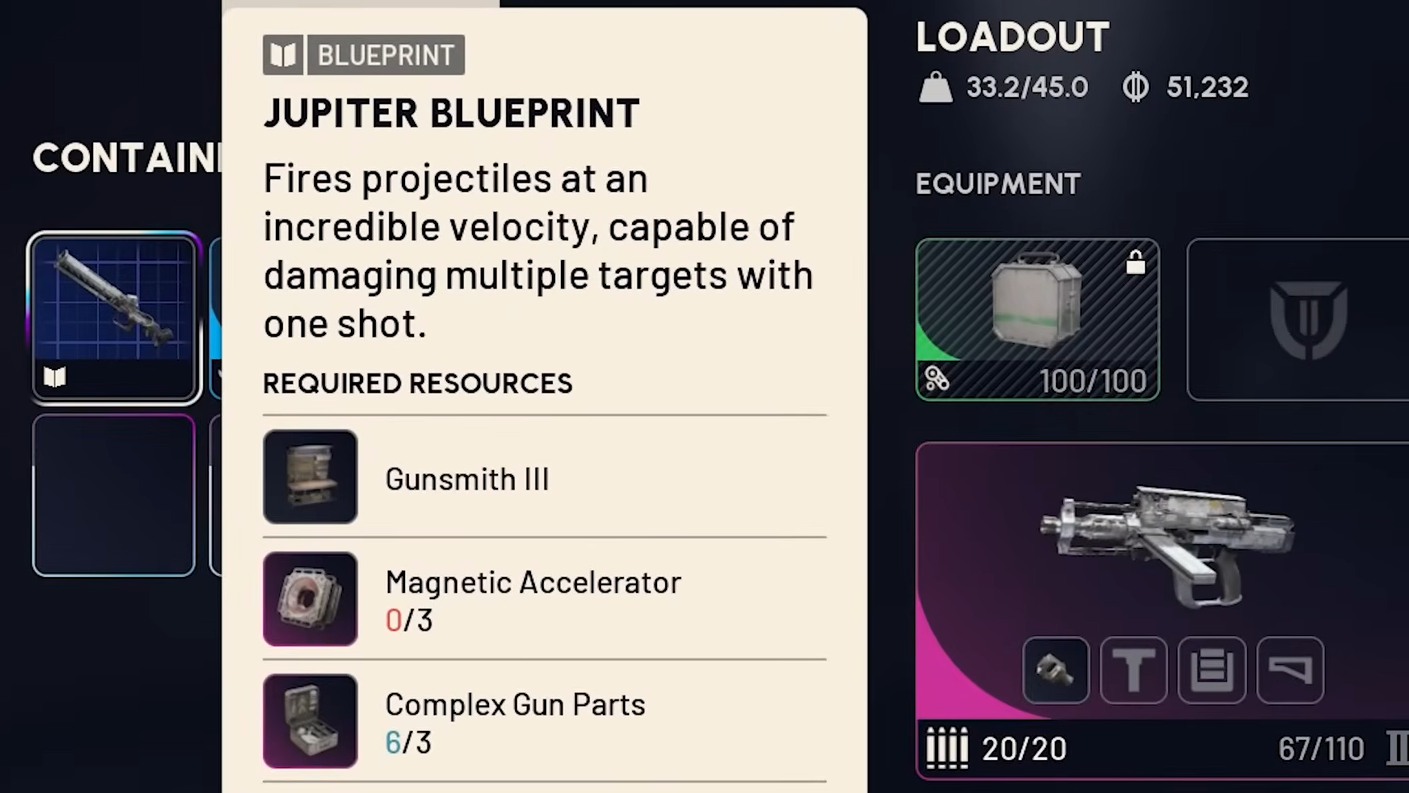
| Gunsmith | Anvil I; Bettina; Jupiter | Anvil I: 1× Mechanical Components, 3× Oil. Bettina needs Advanced Mechanical Components (Refiner III). Jupiter: 3× Magnetic Accelerator, 3× Complex Gun Parts. |
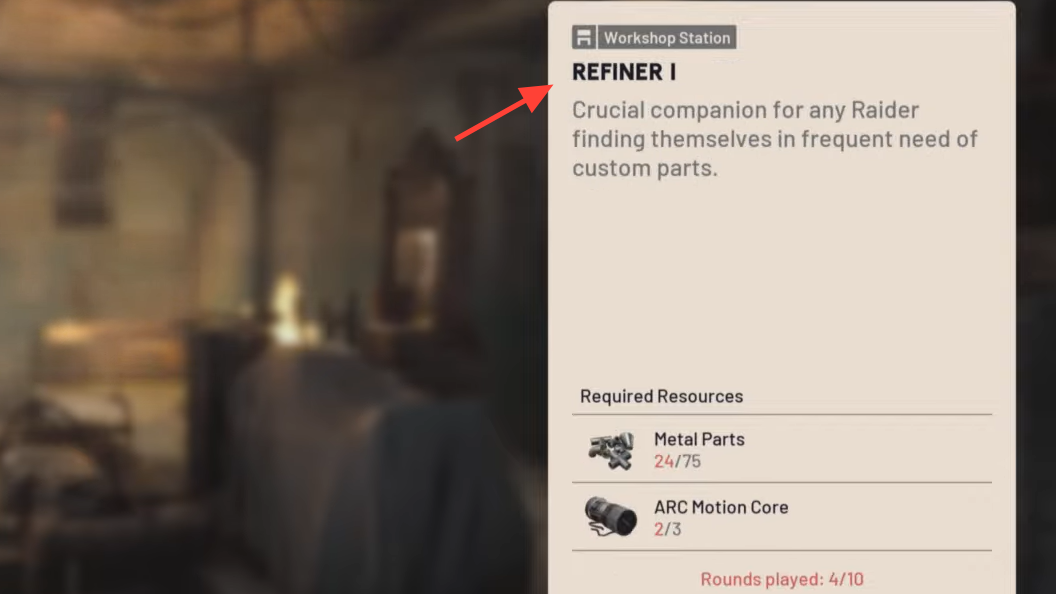
| Refiner | Advanced Mechanical Components; ARC Circuitry | Converts common drops into high-grade parts. ARC Circuitry and ARC Motion Core components underpin late-game crafts. |
| Utility | Lure Grenade; Snap Hook | Lure Grenade: 1× Speaker Component, 1× Electrical Components. Many utilities require Utility Bench III. |
Efficient blueprint farming routes (max drops per hour)
Three repeatable loops keep blueprint income steady and predictable:
- Dam cache circuit: Start at the southern relay, sweep three nearby cache spawns within roughly 400 meters, then rotate to the dam structure. Power cell generators tend to appear near the water treatment buildings, which helps with locked caches. The loop is short enough to repeat on a 10–12 minute cadence.
- Blue Gate Village run: The Confiscation Room requires a specific key that typically appears in village guard posts. It’s a consistent spot for rare blueprints. Chain it with adjacent caches, then extract via the northern tunnels to bypass common PvP lanes.
- Harvester event priority: When active, make this your focus. Jupiter and Equalizer blueprint drops are tied to Harvester. Even failed clears tend to hand out lower-tier blueprints, so the time is rarely wasted.
Material management for crafting blueprints
- Unlock refiners first: Recipes like Advanced Mechanical Components and ARC Circuitry amplify your raw mats by converting common clutter into high-value parts.
- Protect high-value finds: Use safe slots for unlearned blueprints before risky raids. Losing a hard-won drop to a bad extract is avoidable.
- Monetize duplicates: After learning a blueprint, sell extras. Common weapon blueprints reliably convert to 5,000 Coins each—use that income to buy vendor exclusives.
Weapon mod blueprint progression (the real power jump)
Base guns turn into stable, high-capacity platforms with a handful of mod blueprints. Plan your mod path around material gates in the Refiner.
- Magazine extensions: Extended Light Magazine II (1× Mechanical Components, 1× Steel Spring) and III (1× Mod Components, 6× Steel Spring). The Tier III jump requires Mod Components from Refiner III.
- Recoil control: Muzzle Brake III and Compensator III cut kick substantially. Pair with Stable Stock III for near-flat recoil on autos.
- Stealth: Silencer III needs 1× Mod Components and 9× Wire. Essential for low-profile loot runs where avoiding ARC patrols matters.
Blueprint learning priority (what to unlock first)
- Refiner materials: Advanced Mechanical Components, ARC Circuitry.
- One primary weapon that fits your lane: Anvil for balanced play, Torrente for close-quarters.
- Magazine extensions for that primary.
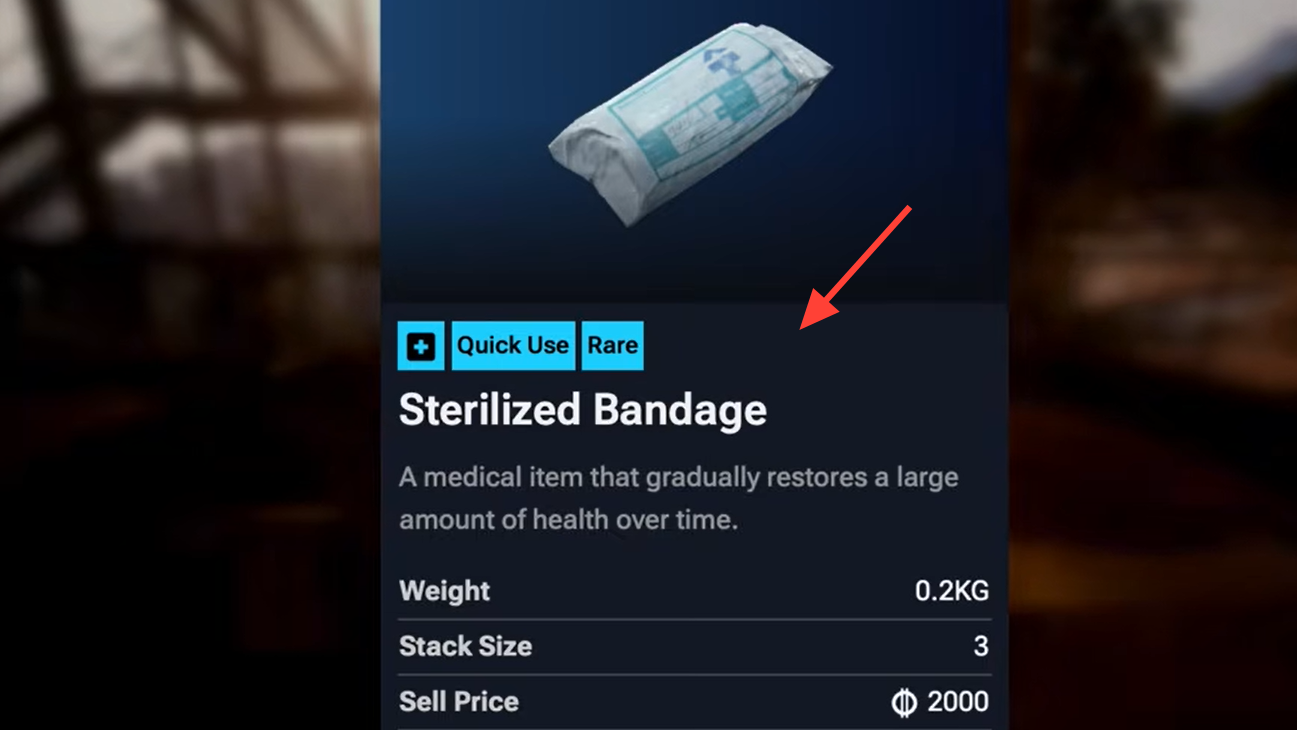
- Medical basics: Defibrillator, Sterilized Bandage.
- Utility tools: Lure Grenade, Door Blocker.
Common blueprint farming mistakes (and how to avoid them)
- Skipping faction missions: These guarantee specific blueprint types; passing on them slows overall acquisition by a significant margin (on the order of a third).
- Hoarding unlearned blueprints: Learn or sell immediately. Carrying multiples into a raid risks losing all of them in one fight.
- Crafting before stockpiling: Aim for 50+ of each common material before unlocking expensive weapon recipes to avoid stalls.
- Ignoring utilities: Barricade Kit and Tagging Grenade open tactical plays that swing fights, especially versus organized squads.
Advanced blueprint optimization (beyond the basics)
- Time your sessions: Harvester events follow predictable rotations. Log in during those windows to harvest energy-weapon recipes.
- Stack vendor reputation: Completing missions in batches hits reputation thresholds that unlock blueprints you won’t see as drops. Venator I and Renegade I appear at Vendor Level 5 or higher.
- Trade for bottlenecks: Fill gaps by swapping mats within your squad. For example, Snap Hook calls for 4× Advanced Electrical Components and 4× Rope—trade surplus to balance your set.
Blueprint crafting economics (costs, values, and profit)
Some crafts are worth making just to sell. Track material costs and market prices before you commit.
| Blueprint | Core materials | Crafting cost (Coins) | Typical market value |
|---|---|---|---|
| Anvil I | 1× Mechanical Components, 3× Oil | ~2,500 | 8,000 |
| Extended Magazine III | 1× Mod Components, 6× Steel Spring | ~4,000 | 12,000 |
| Jupiter | 3× Magnetic Accelerator, 3× Complex Gun Parts | ~15,000 | 45,000 |
| Defibrillator | 3× Plastic Parts, 1× Moss | ~1,200 | 5,000 |
Jupiter is a textbook example of profitable crafting: steep inputs, but a resale near triple the cost. Farm materials during quieter hours, craft in batches, and list during peak concurrency to move inventory fast.
Three-week action plan (from basics to profit)
- Week 1 — Foundation: Unlock Refiner staples and one primary weapon. Build a buffer of common materials with low-risk loot runs. Avoid PvP-heavy routes until you can afford replacements.
- Week 2 — Specialization: Add core mods and utility tools. Enter every Harvester event to seed your energy-weapon pool. Start reputation grinding.
- Week 3 — Optimization: Finish your mod set, begin crafting-to-sell cycles, and help squadmates target key blueprints to smooth team farming.
Blueprints turn ARC Raiders into a predictable craft-and-replace loop. Hit cache circuits, chase Harvester cycles, prioritize refiners, and keep selling duplicates. With a small set of routes and a clear unlock order, your stash becomes a toolbox—not a lottery.