
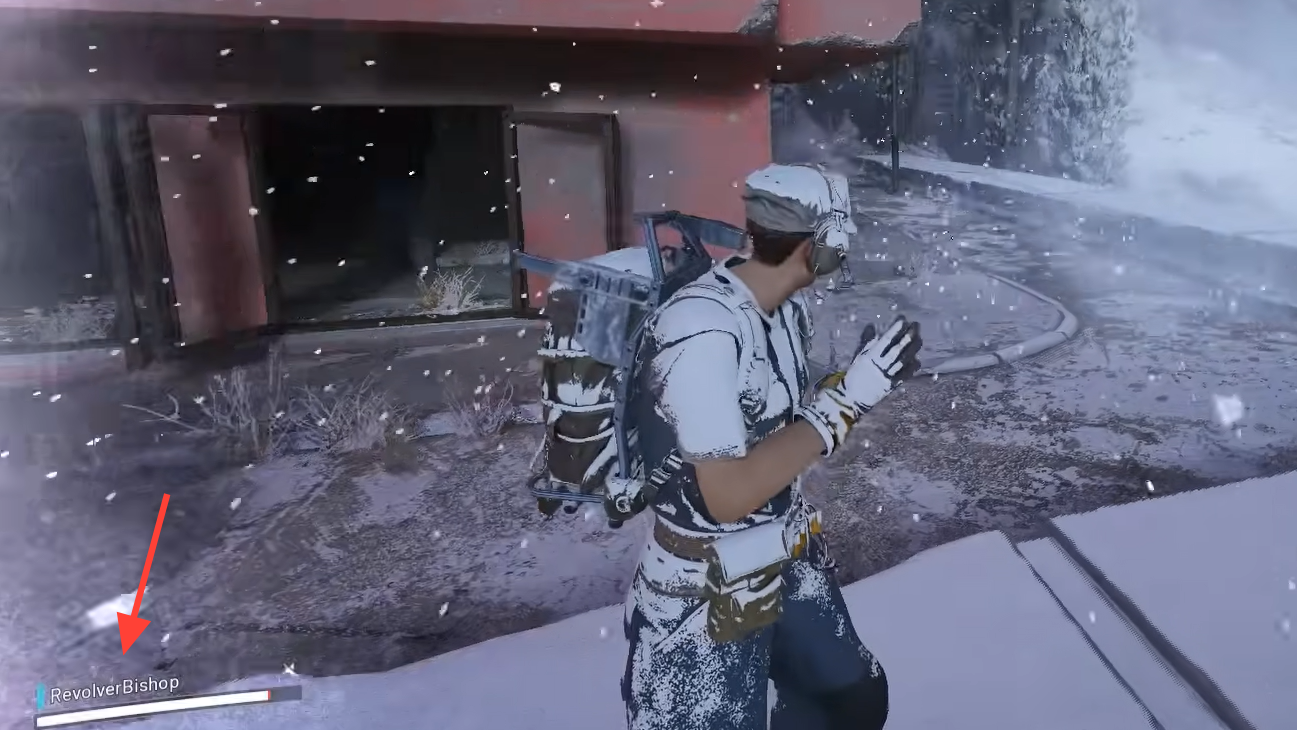
Cold Snap turns Arc Raiders’ usual outdoor power fantasy into a slow-motion survival problem. Snow reduces visibility, lakes freeze into slick hazards, and staying outside too long inflicts frostbite that steadily wears your squad down. Surviving isn’t just about winning fights any more; it’s about planning movement, ducking into shelter on time, and carrying the right tools.
What frostbite is in Arc Raiders
Frostbite is a status condition that appears only when a map is running the Cold Snap weather variant. It affects Dam Battlegrounds, Buried City, Spaceport, and The Blue Gate; Stella Montis is fully indoors and effectively immune to the storm.
When frostbite is building up, snow accumulates on your Raider, and your character shivers and complains audibly. Once it fully sets in, two effects kick in:
- Health drain – your HP starts to tick down steadily as long as you remain exposed.
- Vision tunnel – your field of view narrows, with icy vignetting at the edges of the screen, making it harder to track enemies and navigate.
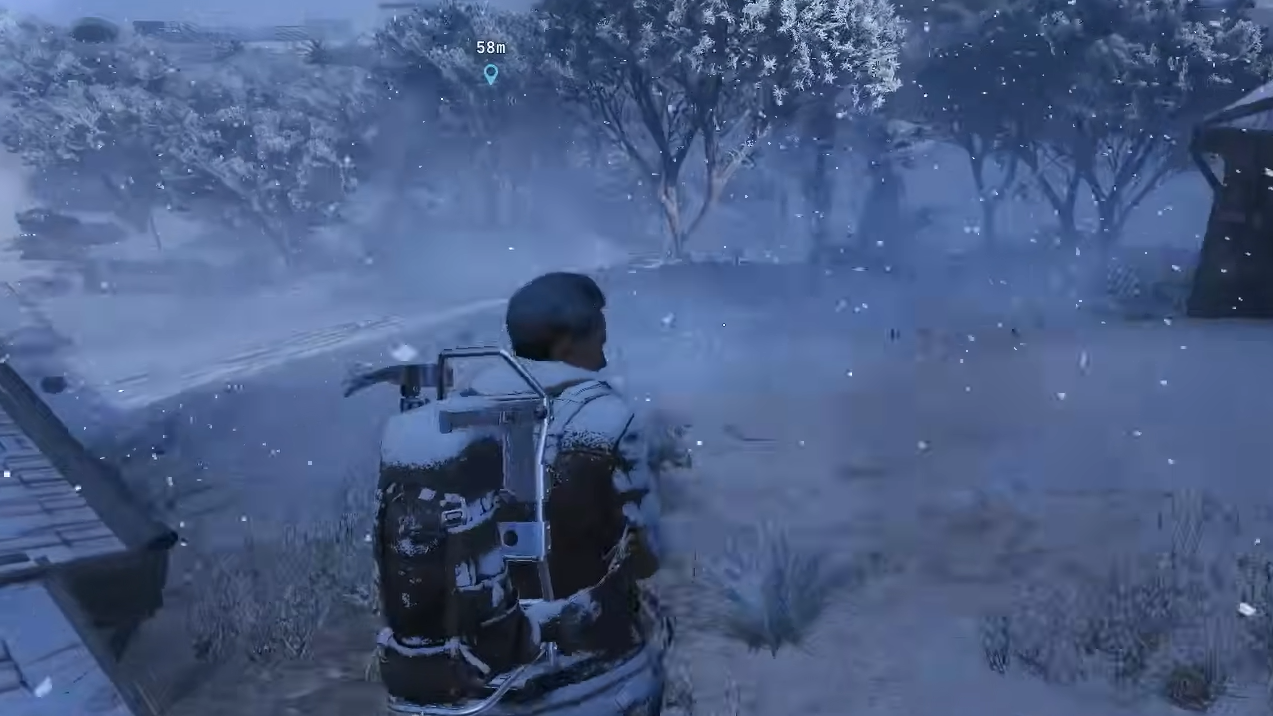
The frozen lakes that appear on Cold Snap maps add another layer of risk. Surfaces that used to be water are now passable but slippery, so sprinting or fighting across them can throw off your movement and positioning right when your visibility is already compromised.
Where and when frostbite triggers
Frostbite is tied directly to being outdoors while snow is hitting your character. Any time you spawn or step out into falling snow, a hidden frostbite meter begins filling. You do not take damage immediately.
Testing shows two distinct timings:
- Roughly 2 minutes of continuous exposure before health damage begins from a fresh, fully “warm” state.
- About 1 minute 15 seconds of damage from full health until you are downed if you stay outside and do nothing to heal.
In practice, this gives you just over three minutes of total life in the open – a little over two minutes of grace, then about 75 seconds of actual HP loss. However, because you are usually fighting, looting, and repositioning under pressure, relying on the maximum window is a good way to die a few steps short of shelter.
Stepping under valid cover starts bleeding that buildup off rather than deleting it instantly. Spending somewhere between 30 seconds and a minute indoors is enough to fully “reset” your safety window again.
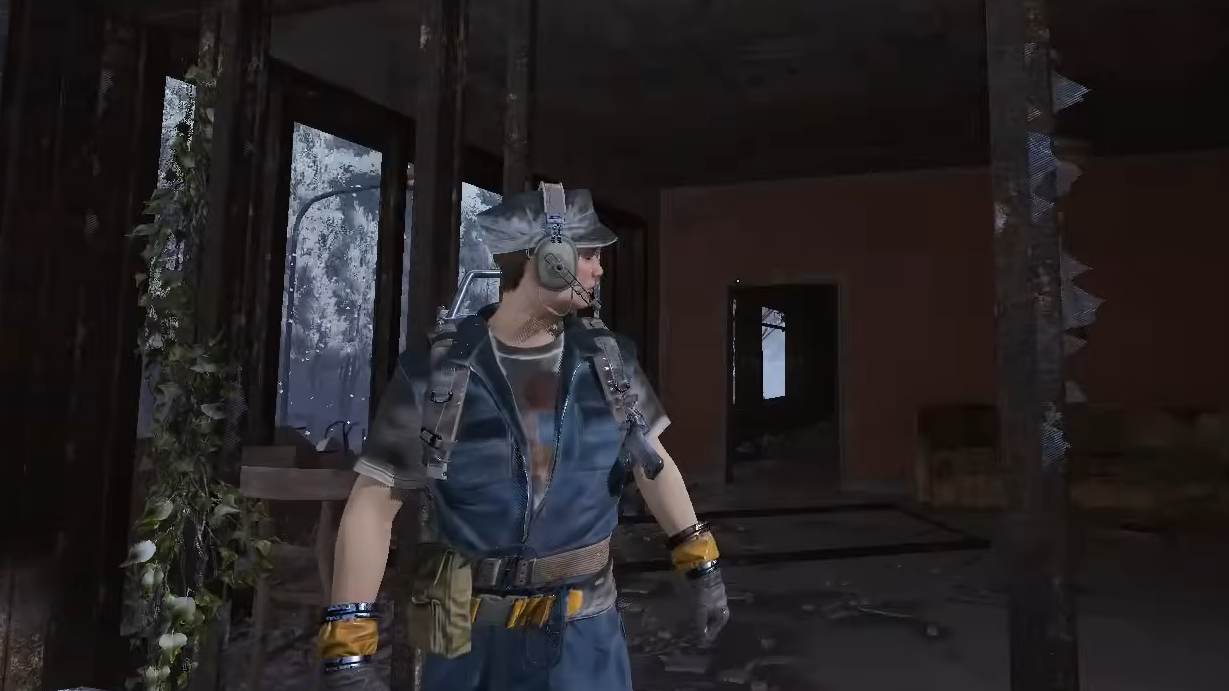
What counts as shelter (and what doesn’t)
The most important frostbite rule is simple: snow hitting your character is the problem, overhead cover is the solution. The game cares far more about what’s above you than whether four walls are around you.
In general, these behave as safe spots:
- Fully interior spaces like houses, factories, tunnels, and most underground sections.
- Purpose-built roofs such as carports, depot roofs, and small sheds, even when their sides are mostly open.
- Certain structural overhangs or catwalks directly overhead, if they’re tagged as providing shelter.
There are edge cases. Some alcoves with partial roofs, high open gantries, or decorative overhangs still allow frostbite buildup even though they look sheltered. On Spaceport, for example, some tank alcoves around the launch tower and certain open structures at height do not protect you. On Dam Battlegrounds, some passthroughs between dam sections behave the same way.
The most reliable checks are your Raider’s body language and the screen effect. When you step into real shelter, shivering stops, and your character lets out a subtle sigh of relief. If the icy vignette keeps intensifying or your Raider is still audibly miserable, that spot is not fully safe.
Once you are in a valid sheltered area long enough for damage to stop, you can expect your frostbite meter to clear out over the next 30–60 seconds, restoring your full roughly two-minute grace period outdoors.

How to use buildings and routes to manage frostbite
On Cold Snap raids, treating frostbite as a positioning constraint is just as important as watching other players and ARC patrols.
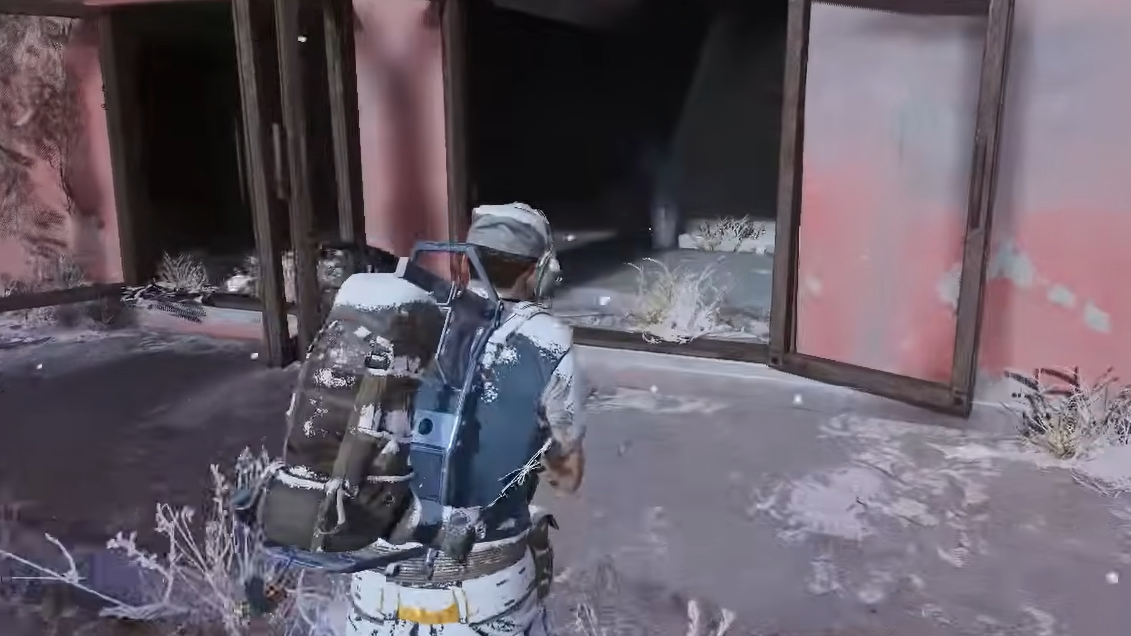
Step 1: Before you leave the bunker, pick a route that chains buildings, overhangs, and interior spaces. Treat each roof as a checkpoint that you move between rather than sprinting in straight lines across open snow.
Step 2: While traveling, keep an eye on how frosted your gear and screen edges look. When the visual buildup becomes heavy, prioritize the nearest viable roof, even if it means taking a less optimal combat path.
Step 3: When you enter a structure, stay put long enough to fully warm up instead of just “tagging” the threshold. Poking your head inside for a second and then running out again will shorten your next safe window outside, because the meter hasn’t had time to reset.
Step 4: In PvP, take advantage of the fact that both teams are under the same pressure. Forcing a squad to stall outside a building while you hold angles from indoors lets frostbite do part of the work for you.
Fire, flamethrowers, and why being on fire helps
Cold Snap plays a strange trick with heat sources. Ambient fire and being actively on fire are treated very differently.
Simply standing near flames does nothing to frostbite. Dropping a fireball burner, blaze grenade, or other explosive and quietly warming your hands next to it will not slow or reset the cold; if you remain unsheltered, your frostbite meter keeps climbing, or your health continues to tick down.
Actually, igniting yourself works differently. Rolling through the flames of a fireball burner or similar effect while you are already taking cold damage will immediately reset the frostbite timer, buying you a fresh exposure window at the cost of burn damage.
That trade can be worth it if you are stuck between long stretches of open terrain:
Step 1: When you are far from cover and frostbite has already started to drain your health, throw a fireball burner, or another reliable fire source at your feet.
Step 2: Roll through the flames to apply the burn effect. Expect to lose both shield and some HP from the fire.
Step 3: Immediately sprint for the nearest roofed structure using your newly reset frostbite window, then heal inside.
Fire interacts differently with teammates wielding flamethrower-style tools. A Raider using Flame Spray can light allies visually without damaging them, and that shared “on fire” state can also wipe their frostbite buildup. In practice, this turns one teammate into a mobile heat source during rotations between buildings, though it is loud and flashy and can compromise stealth.
How long you can stay outside with healing
Healing items and augments cannot turn you into an iceproof Raider, but they do let you stretch the clock.
Direct healing tools such as Vita Spray can out-heal frostbite damage for a while, pushing your survival beyond the default ~75 seconds of health drain. The catch is efficiency: you will consume more healing than usual because you are fighting a constant environmental tick on top of any combat damage.
Lower-tier bandages that heal over time are less efficient under frostbite. They still buy time by offsetting some of the health loss, which can be the difference between collapsing in the snow and making it through a doorway.
Passive healing augments also help. Tactical MK.3, Combat MK.2, and Combat MK.3 restore health automatically after you have avoided damage for a short period. Under Cold Snap, their main value is in the downtime:
- While you are indoors and no longer taking frostbite or combat damage, they refill the health you lost to the cold without consuming items.
- Between short outdoor sprints that do not reach the damage threshold, they quietly top you up so you start the next push at full HP.
Because Cold Snap forces extra chip damage over the course of a raid, it makes sense to bring more meds than you normally would. Think of frostbite as a tax on every outdoor movement you make and budget your supplies accordingly.
Loadout changes for Cold Snap raids
Building for Cold Snap is less about min-maxing a single mechanic and more about supporting a different pace of play.
- Carry extra healing – stock up on sprays and bandages to cover both frostbite and standard combat damage. Expect to burn through them faster.
- Slot at least one passive heal augment – Tactical MK.3, Combat MK.2, or Combat MK.3 reduce the amount of manual healing you need after each indoor reset.
- Consider close-quarters weapons – fights gravitate toward interiors and short bursts between buildings, so shotguns, SMGs, and fast-handling rifles pull extra weight.
- Bring a fire source – a fireball burner or a squadmate with Flame Spray gives you an emergency frostbite reset tool during long rotations.
Because everyone is pushed indoors, player behavior shifts as well. More squads camp structures and extracts, and long outdoor stalemates become rare because neither side can afford to freeze. Building for aggressive pushes into buildings and fast disengages under cover fits the condition better than slow, wide flanks across open snow.
How Cold Snap changes moment-to-moment decisions
Frostbite sits in the background of everything you do on these maps. You cannot posture endlessly in the open, tail another squad through the snow for minutes, or kite ARC patrols around a field without thinking about the timer.
Raiders who pay attention to audio and visual cues gain a real advantage. The gasp when leaving shelter, the escalating shivers, and the relieved breath when stepping back inside are all signals of how much runway you have left. Watching the frost on your character and the intensity of the screen vignette gives you a second, silent readout.
Once you internalize those cues, Cold Snap stops feeling like a random penalty and starts acting more like a soft ring mechanic. It nudges fights toward buildings, compresses travel routes into predictable chains of shelter, and rewards squads that move decisively instead of loitering in the storm.
Used well, that pressure becomes another tool. Forcing enemies to cross frozen lakes or linger outside your building under fire lets the weather do part of the work, while you stay warm just a few steps behind a doorway.