Expedition 2 in ARC Raiders is a long-term project that sits in the Projects tab and unlocks for players above level 20. It is split into five stages, and you must clear them in order before you can queue for the Expedition 2 departure window in February 2026. The stages reuse the same structure as the first Expedition but change several of the key items, with a strong emphasis on Stella Montis.
Who actually gets Expedition 2’s requirements
Expedition progress is character-bound and carries forward between departure windows. That has two important consequences:
- If you never started the first Expedition, you are still on Expedition 1. Your steps will use the original items, such as cooling fans instead of cooling coils.
- If you started Expedition 1 but did not depart, you remain on that Expedition and keep your stage progress. Only players who wiped in the first Expedition see the new Expedition 2 item list.
New players, or anyone who skipped the first departure, must still clear Expedition 1 before they ever touch Expedition 2. The Expedition 2 stages described below apply once your project tracker shows the new requirements and you are flagged for the second run.
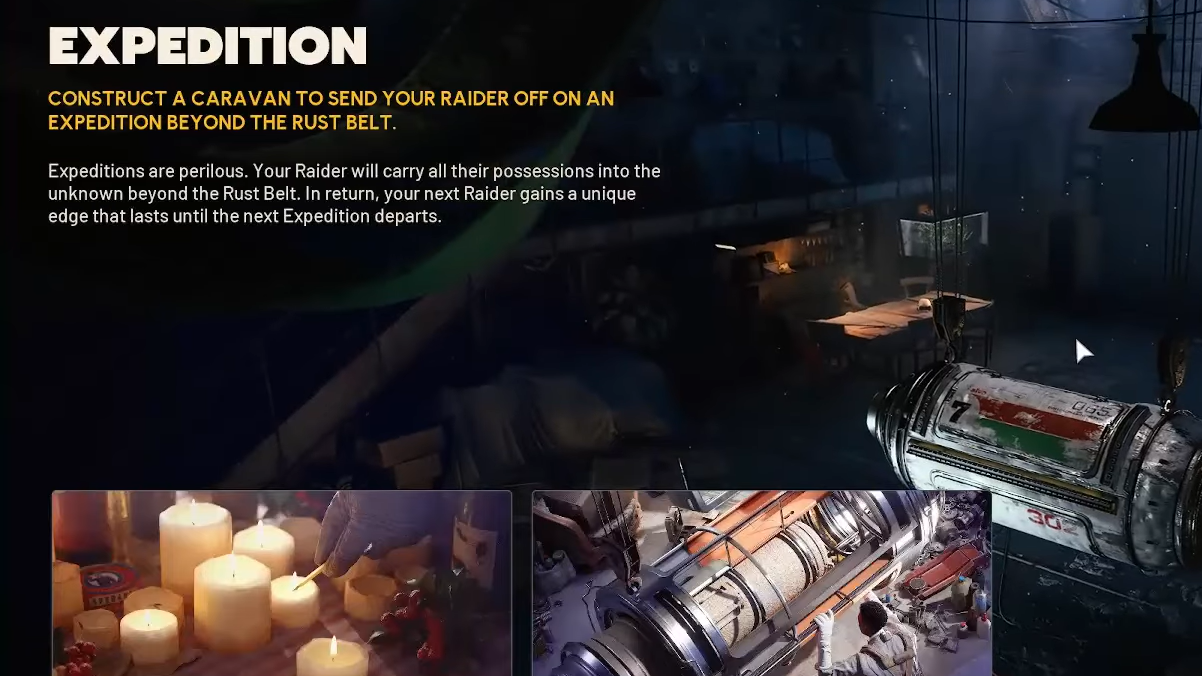
ARC Raiders Expedition 2 – full requirement table
Expedition 2 has five stages. Each one unlocks only after the previous is completed.
| Stage | Requirement | Quantity |
|---|---|---|
| Stage 1 | Metal Parts | 150 |
| Plastic Parts | 200 | |
| ARC Alloy | 80 | |
| Steel Spring | 15 | |
| Stage 2 | Durable Cloth | 35 |
| Wires | 25 | |
| Electrical Components | 20 | |
| Cooling Coils | 4 | |
| Stage 3 | Light Bulbs | 4 |
| Battery | 30 | |
| Shredder Gyro | 10 | |
| Exodus Modules | 1 | |
| Stage 4 | Frequency Mod Box | 5 |
| Advanced Electronic Components | 5 | |
| Ion Sputters | 3 | |
| Leaper Pulse Unit | 3 | |
| Stage 5 | Combat Items (sold) | 200,000 coins of value |
| Survival Items (sold) | 100,000 coins of value | |
| Provisions (sold) | 150,000 coins of value | |
| Materials (sold) | 300,000 coins of value |
Stage 5 tracks the sell value of items you hand in, split per category, not the count of items.
Stage 1 – early-game scrap and Steel Springs
The opening stage uses items you pick up constantly while playing: Metal Parts, Plastic Parts, ARC Alloy, and Steel Springs.
- Metal Parts and Plastic Parts drop in large volumes from general looting and can be pulled out of your existing stash if you have been stockpiling.
- ARC Alloy comes from dismantling ARC units, ARC caches, and recycling higher-tier ARC items.
- Steel Springs are the real limiter at this step. They appear in loot, but you can also buy up to 10 per day from Celeste, and you can recycle ARC alloy from Ark to generate more.
For most players, the practical bottleneck is remembering to buy Steel Springs regularly rather than their actual coin cost. Treat this stage as a warm-up that pushes you into basic recycling and vendor habits.
Stage 2 – locker runs and cooling coils
Stage 2 layers in early crafting materials and then introduces Cooling Coils, which replace cooling fans from Expedition 1.
- Durable Cloth and Wires are common. Running residential interiors, offices, and basic industrial spaces will usually cover both without dedicated farming.
- Electrical Components can be looted or crafted at the refinery using lower-tier scrap, so you can convert excess materials if drops are slow.
- Cooling Coils are the specific hurdle. They sit in lockers and industrial containers, so the fastest way to get them is to stack locker-heavy areas together in one raid.
Several locations stand out for Cooling Coil runs:
- Scrapyard on Dam, which concentrates red lockers and industrial loot.
- An unnamed industrial building near a hatch spawn on Dam that is packed with red lockers.
- The second floor of Space Travel, which has a dense cluster of standard lockers.
Stage 3 – batteries, light bulbs, and Shredder Gyros
Stage 3 is the pivot point where the Expedition stops being background housekeeping and starts dictating where you drop. Light Bulbs and Batteries are trivial once you know their patterns; Shredder Gyros and the single Exodus Modules requirement force you into Stella Montis.
- Light Bulbs (4) – there is a consistent car spawn on Dam that holds two light bulbs, right next to an extract. Hitting that car twice across raids is enough. If the bulbs are missing, someone else reached it first.
- Batteries (30) – batteries drop everywhere and can also be bought from Celeste or recycled from certain consumables. This is a pure volume grind rather than a targeted farm.
- Shredder Gyros (10) – these are only found on Shredders in Stella Montis, which is why so many players suddenly see dead Shredders everywhere once Expedition 2 lands.
- Exodus Modules (1) – these live in Exodus loot pools. They can show up on Spaceport, but the most efficient place to pull them and related items is Assembly on Stella Montis.
How to kill Shredders safely for Gyros
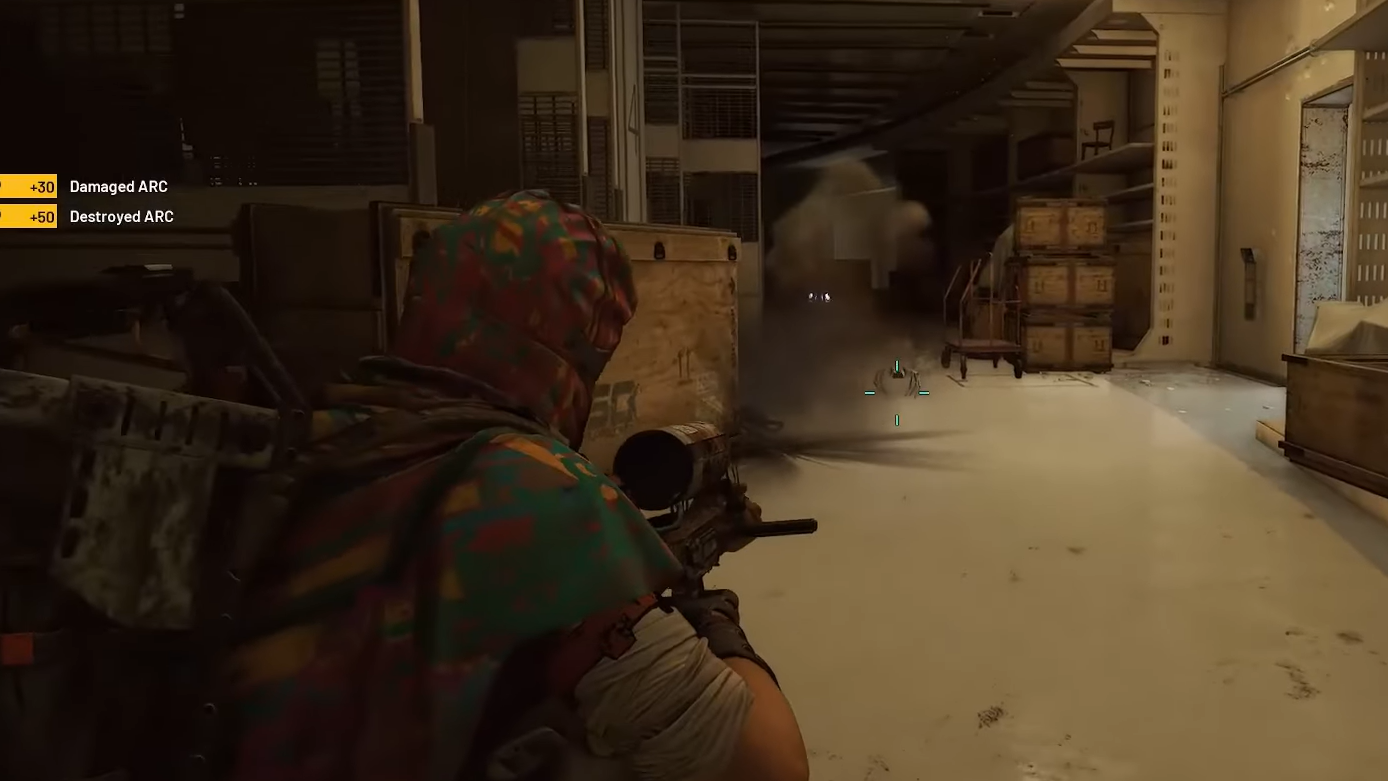
Shredders are dangerous but predictable once you learn their weak points and pathing.
Key mechanics: the weak points are the three ports on the bottom of the Shredder’s chassis. Breaking all three exposes it to rapid kill damage and slows it dramatically after each port is destroyed.
Recommended approach on Stella Montis:
- Use a low-cost custom loadout, not a free kit, so you retain your safe pocket.
- Bring a high-capacity automatic weapon such as a Kettle or Ferro with roughly 200 rounds, plus a stack of impact or trigger grenades.
- Fight in spaces with clear cover you can circle, like Cultural Archives, which has slat walls and central structures you can kite around.
Once a Shredder is aggroed, peek out only long enough to dump shots into one bottom port, then roll back behind cover. As each port breaks, the Shredder becomes easier to control. Two to three well-placed explosives can also chunk or finish one off.
Stage 4 – Stella Montis Assembly and rare electronics
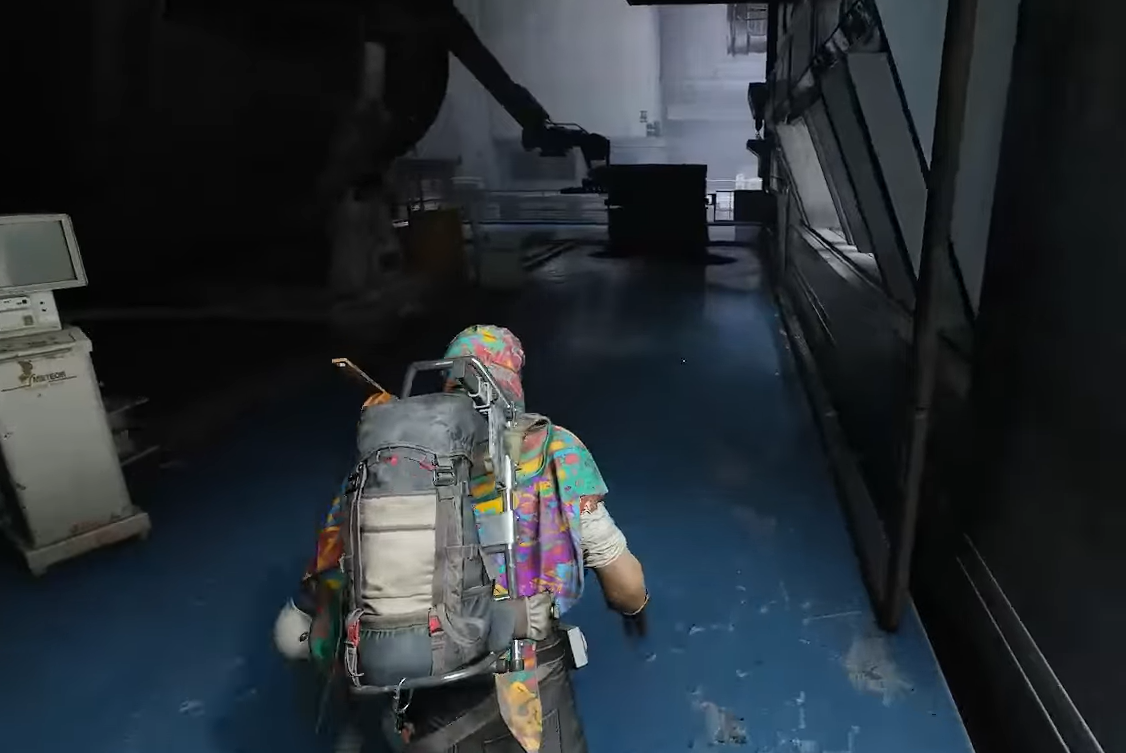
Stage 4 is almost entirely about Exodus-tier loot on Stella Montis. Frequency Mod Boxes, Advanced Electronic Components, Ion Sputters, and Leaper Pulse Units are all tied directly or indirectly to Exodus pools and high-end enemies.
- Frequency Mod Box (5) – part of the Exodus loot pool.
- Advanced Electronic Components (5) – uncommon electronics often found alongside higher-tier tech.
- Ion Sputters (3) – pink-rarity items that are significantly more common in Exodus chests and drawers.
- Leaper Pulse Unit (3) – guaranteed drops from Leapers.
Farming Exodus loot in Assembly on Stella Montis
Assembly Workshop on Stella Montis is the centerpiece of Stage 4. The layout condenses a large number of searchable containers and Exodus chests into a small footprint, making it feasible to clear several high-value searches in a single short raid.
Consistent Assembly route:
Step 1: Queue into Stella Montis with a custom “naked” loadout that gives you a safe pocket and as much stamina and movement speed as you can manage. Ignore heavy armor or high-end weapons for this run.
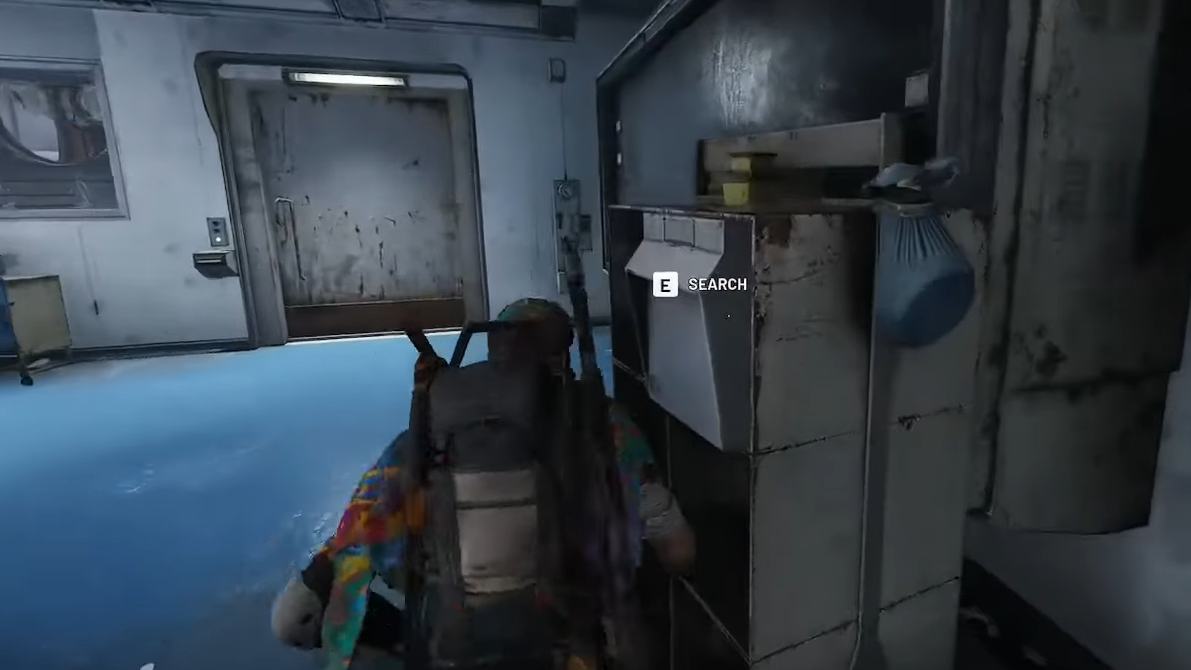
Step 2: As soon as the raid loads, sprint straight to Assembly Workshop. If you spawn in or near the room itself — often called a “god spawn” — immediately start searching every container.
Step 3: Prioritize closed chests, drawers, and cabinets over breach points. The Expedition-critical items (Exodus Modules, Frequency Mod Box, Ion Sputters) sit in those standard searches, not behind breaches that slow you down.
Step 4: Safe pocket the highest-value Exodus item you find first, then as many others as you can stack. Treat any extra finds as profit for later.
Step 5: Once Assembly is clear, move toward a lower-traffic extract like Seed Farm or Metro, announcing yourself with emotes or voice if you want to reduce PvP odds.
Players who know Assembly well routinely walk out with multiple Ion Sputters and at least one Frequency Mod Box in a single raid. Two or three solid Assembly runs are usually enough to clear the numerical requirements for these items.
Leaper Pulse Units without constant PvP
Leapers are large ARC bosses that spawn on several maps. A common approach is to hunt them on Buried City because the map tends to empty out midway through a raid as players finish their loot loops.
Safe Leaper kill pattern:
Step 1: Bring a heavy-hitting weapon such as an Anvil with enough ammo to solo a Leaper, and around 10 impact grenades.
Step 2: Pull the Leaper toward a building entrance and fight from the doorway or an interior room. Leapers cannot easily follow you fully indoors.
Step 3: When the Leaper charges its lightning explosion, retreat deeper inside to avoid the blast. During its recovery, peek out and throw impact grenades at its eye or land a few precise shots.
Step 4: Repeat the doorway dance until it dies, then immediately safe pocket the Leaper Pulse Unit before you reposition or loot anything else.
You only need three Pulse Units, so one or two clean Leaper kills are enough. Doing this later in a raid, when other players have extracted, keeps contesting to a minimum.
Stage 5 – selling categories of gear for coin value
The last visible Expedition 2 stage no longer asks for a single giant coin total. Instead, it tracks the combined sale value of specific item categories you hand over:
- Combat Items – 200,000 coins.
- Survival Items – 100,000 coins.
- Provisions – 150,000 coins.
- Materials – 300,000 coins.
The numbers represent the sell value at vendors, not the crafting cost. The fastest way to meet these quotas is to manufacture or collect items that have a good sell price relative to their input materials, then dump them in bulk.
Practical ways to hit the Stage 5 quotas
Combat Items: crafting cheap firearms in quantity is an efficient way to stack value in this category. Many players default to mid-tier guns such as Rattlers because they use common parts and convert cleanly into coin value when sold as Expedition contributions.
Survival Items: shields and medical supplies fill this bucket. Crafting bandages and shields from surplus cloth and basic materials will quickly move the bar without touching your high-end kits.
Provisions and Materials: loot-rich routes on maps like Buried City deliver a constant stream of food, water, and raw crafting materials, while also paying out coin directly. Repeating short, focused runs where you scoop everything in a tight loop, extract, and immediately sell off what you do not need, lets you clear both of these quotas in parallel.
Because Expedition hand-ins happen over several weeks, you do not need to stop using all of your best gear. Many players front-load Stage 5 by doing one or two dense loot sessions per play session, then return to their normal quests and contracts once the category bars look healthy.
What happens after you finish all five stages
Once you satisfy all five visible stages, the Expedition project enters a waiting state. Nothing more is required until the Expedition 2 departure window opens in February 2026. At that point you can either join the departure or ignore it.
- Joining the Expedition: opting in resets your account’s progression. Levels, inventory, and general progression are wiped, and you start from scratch in a new “wave”. In exchange, you receive unique cosmetics, extra skill points, more stash space, and similar account-wide perks.
- Staying in Speranza: if you decide not to depart, your current Expedition stage and all completed steps remain in place for the next window. You keep playing your existing character with no wipe.
The Expedition system is designed as a long runway rather than a last-minute sprint. Expedition 2 provides roughly two months of lead time, and several players have already cleared the list in under a day by focusing on Stella Montis and efficient loot routes. As long as you chip away at Shredder Gyros, Exodus loot, and Stage 5 sell value regularly, the project is manageable even for players with limited daily playtime.

