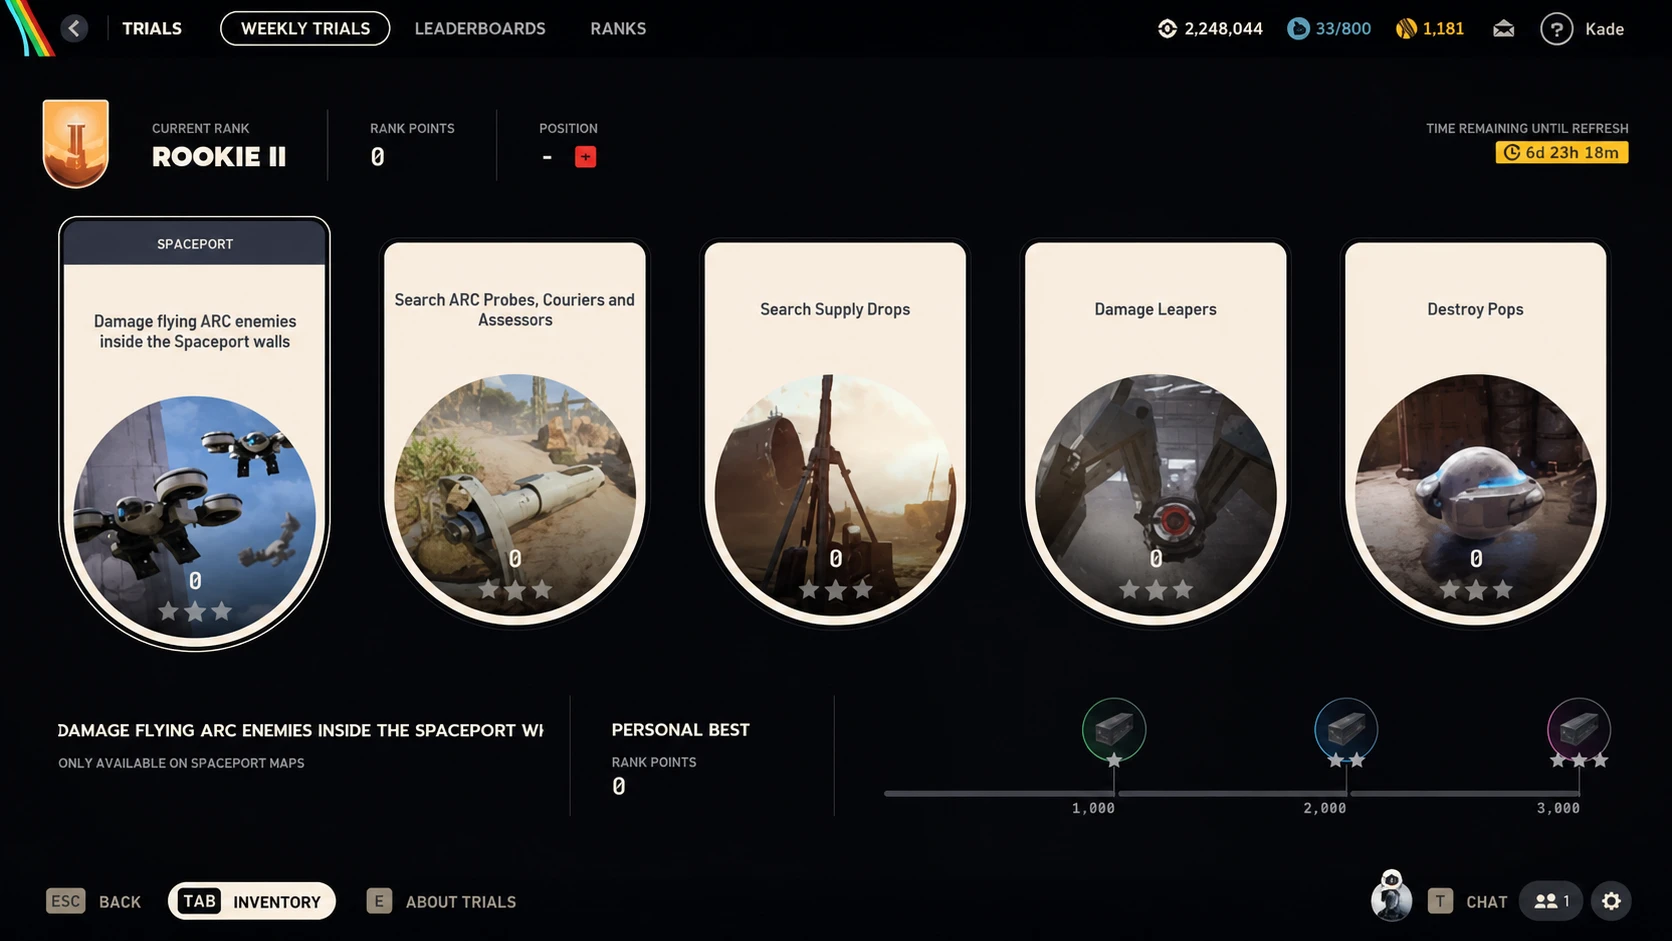
The ninth week of Season 4 Trials in ARC Raiders runs from June 22 to June 28, 2026, and it pushes you topside to fight flying ARC units, take down a miniboss, and scavenge deployable ARC structures. Five challenges sit between you and a full three-star sweep, and each one rewards points that decide where you land on a 100-player leaderboard.
Quick answer: Damage flying ARCs inside the Spaceport walls, search supply drops, damage Leapers, destroy Pops, and search ARC Probes, Couriers, and Assessors, then extract alive. Hitting roughly 4,000 points in each challenge fills all three stars, and only a successful extraction banks the score.
How Trials scoring and stars work
Trials is the weekly ranked layer in ARC Raiders, and it unlocks at player level 15. Each week brings five fresh challenges. Every challenge holds up to three stars, and you earn stars by stacking points toward set thresholds. Each star also hands you a separate reward, so a single challenge can pay out three times.
Your points feed a leaderboard shared with up to 99 other players in your rank. Finishing in the top 20 earns a 2x promotion to the next ranks, the next 30 positions earn a 1x promotion, and the bottom 20 drop down a rank. Three-starring all five challenges with solid points reliably puts you inside that top 20.
One rule overrides everything else. You must extract alive for your damage and search points to count. Dying in a raid wipes that run’s contribution, so leave once you have hit your target rather than chasing extra loot.
| Challenge | Best map | Point rule |
|---|---|---|
| Damage flying ARC inside the walls | Spaceport | 1.1 per 1 damage |
| Search Supply Drops | Spaceport | 1,000 per drop |
| Damage Leapers | Spaceport | 1.6 per 1 damage |
| Destroy Pops | Buried City | 400 per Pop |
| Search ARC Probes, Couriers, and Assessors | Spaceport | ~285.8 per search |
Damage flying ARC enemies inside the Spaceport walls
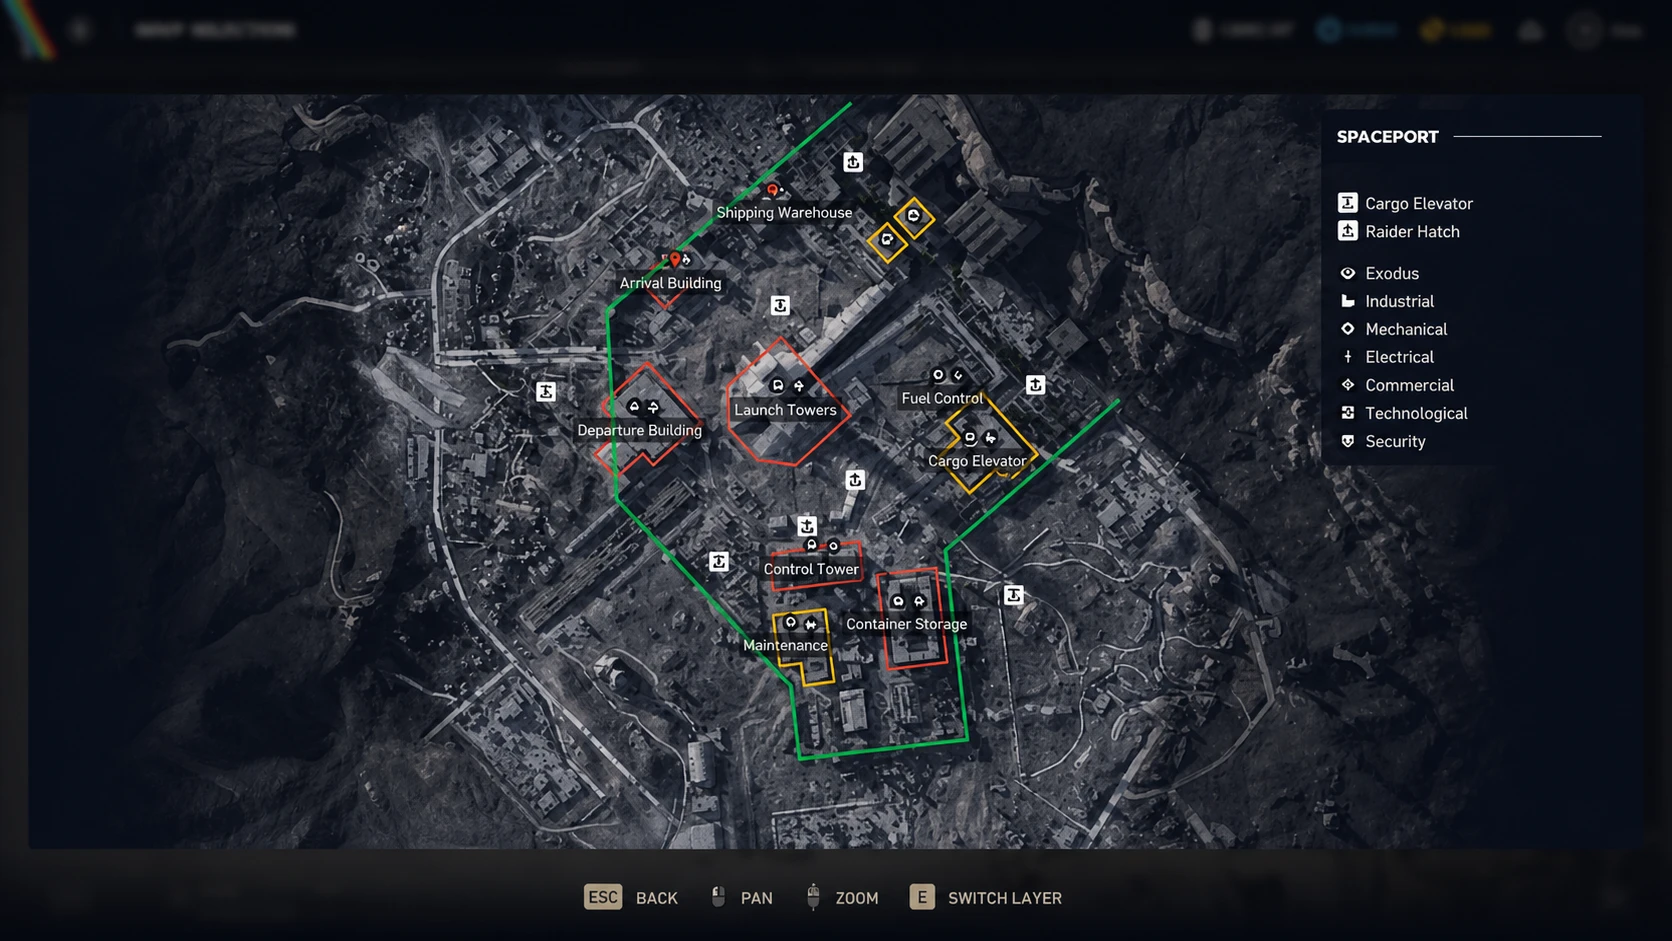
This challenge only counts damage to aerial ARCs while you are inside the Spaceport walls, which means Wasps, Hornets, Fireflies, and Vaporizers. The POIs that count as inside the walls include the Arrival and Departure buildings, the launch tower, and the control tower. Both tower roofs give clean sightlines, but they also draw heavy player traffic, so stay alert.

Tip: A Rocketeer inside the walls is worth far more than a string of small flyers, so prioritize one if it appears and you have the tools to deal with it.
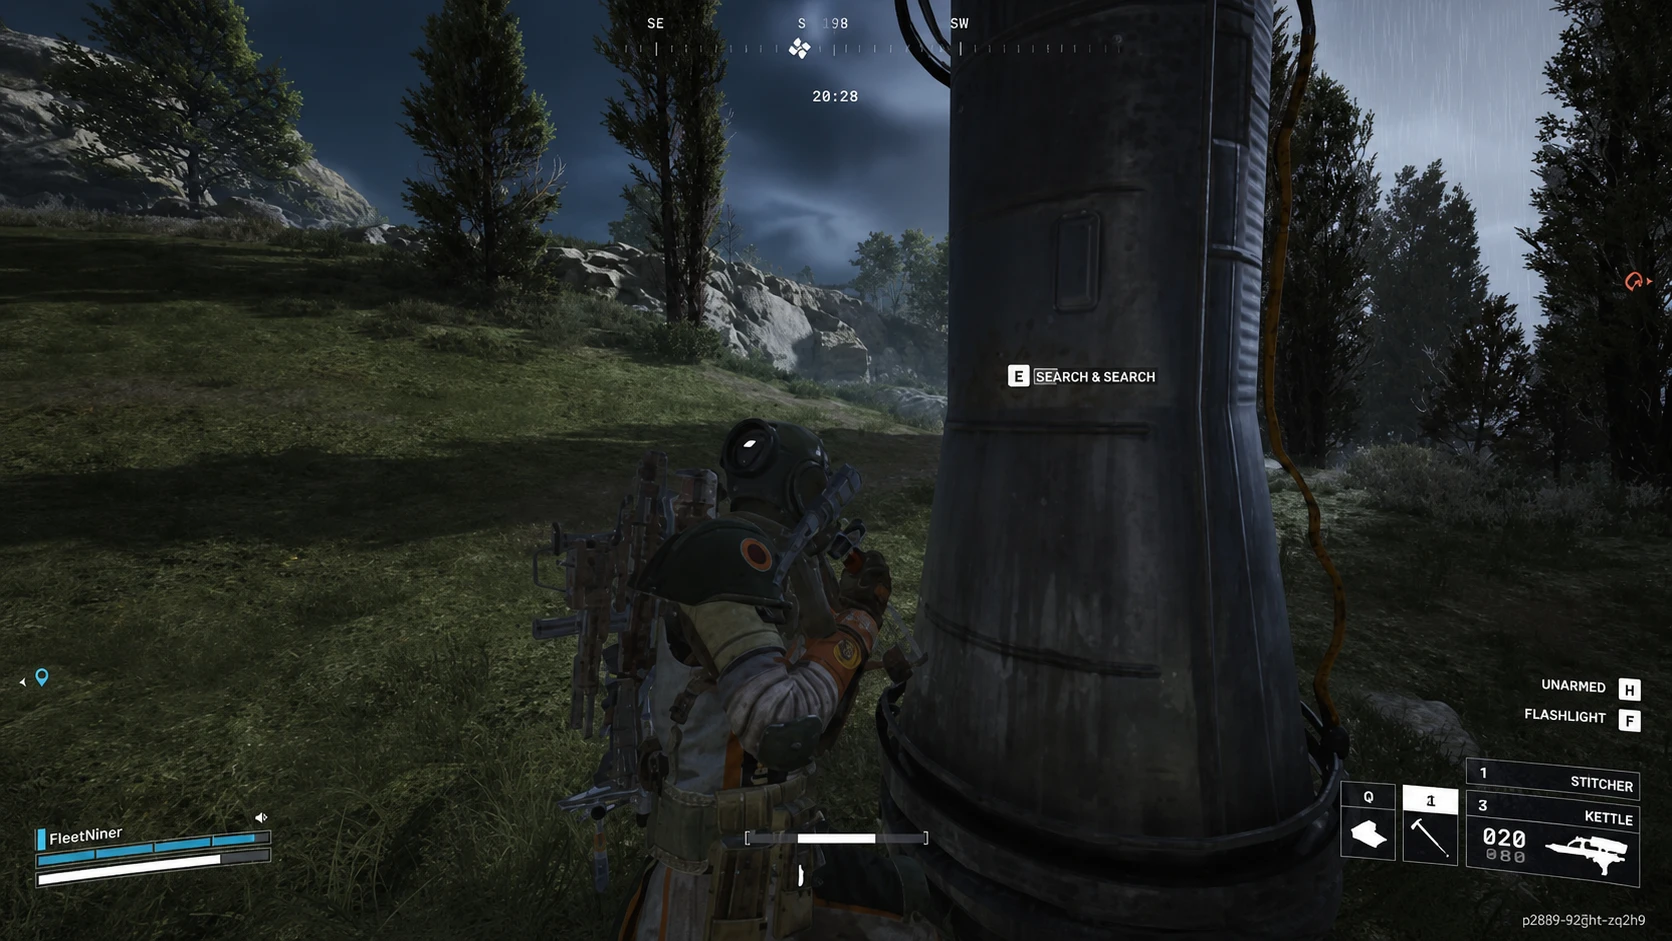
Search Supply Drops
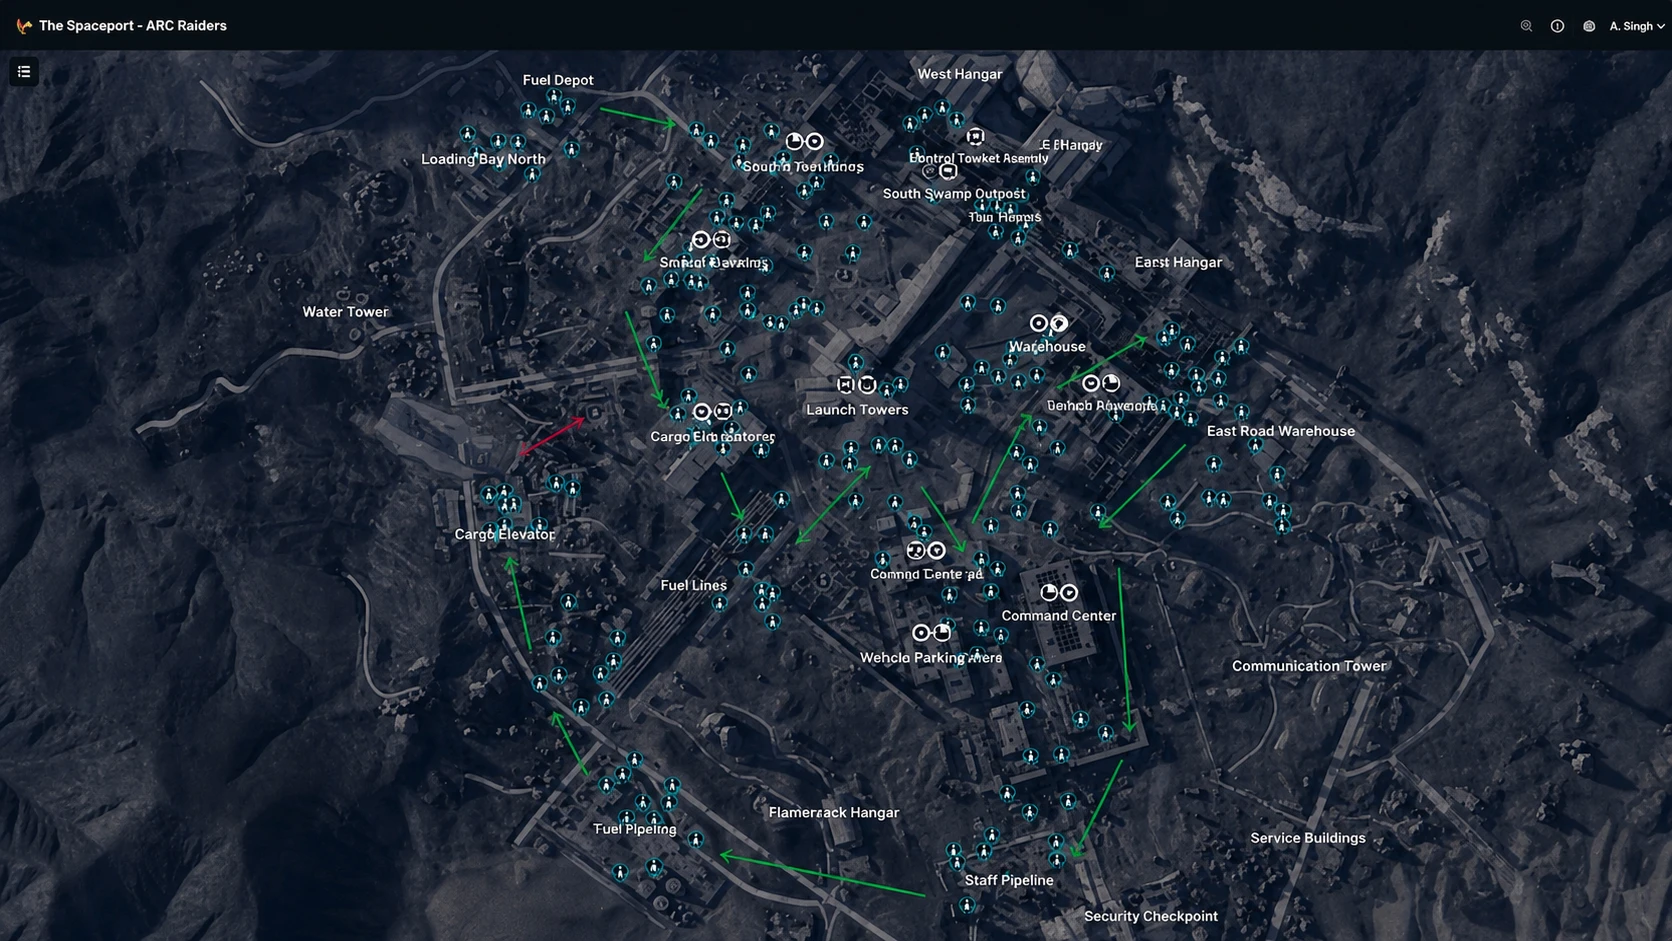
Supply drops are the most contested objective this week. You call a crate down from a supply station, wait for it to land under its parachute, then breach and search it. Searching a drop someone else called also counts. You need at least three searched drops, and Spaceport is the strongest map for it. Running this solo is safer, since duos and trios turn the call stations into firefights.

Supply call stations appear across every topside map. The table below lists the known POIs so you can plan a route that strings several together in one run.
| Map | Supply call station POIs |
|---|---|
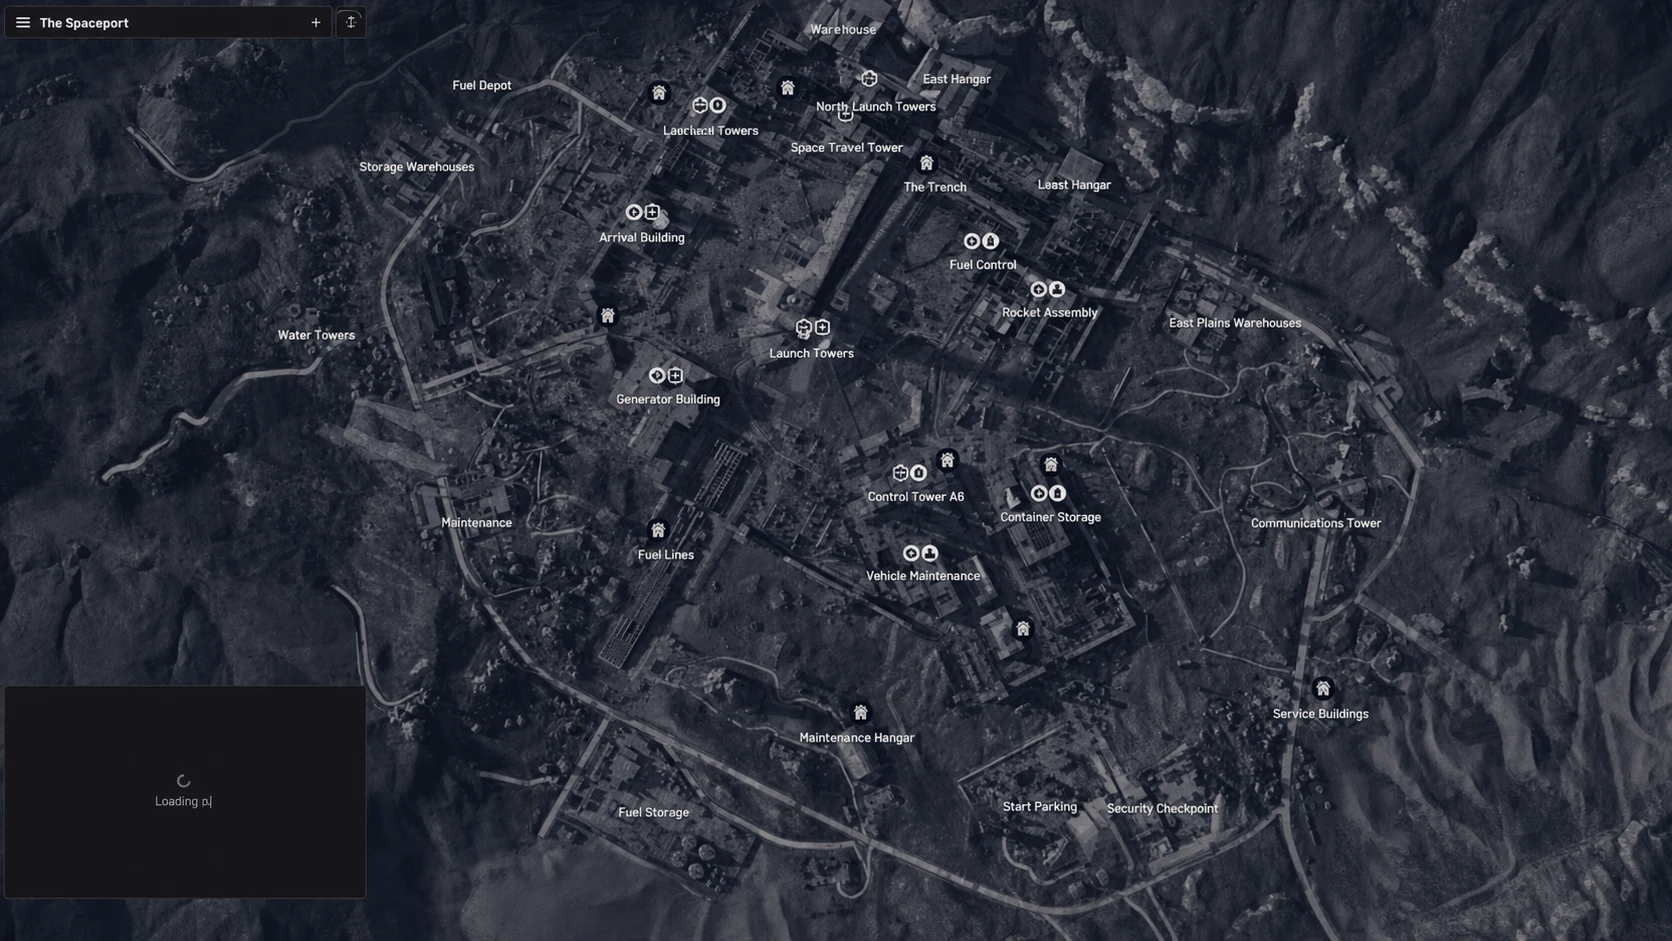
| Spaceport | Fuel Lines, Departure Building, Arrival Building, Container Storage, Control Tower A6, Vehicle Maintenance, North Trench Tower, South Trench Tower, Shipping Warehouse |
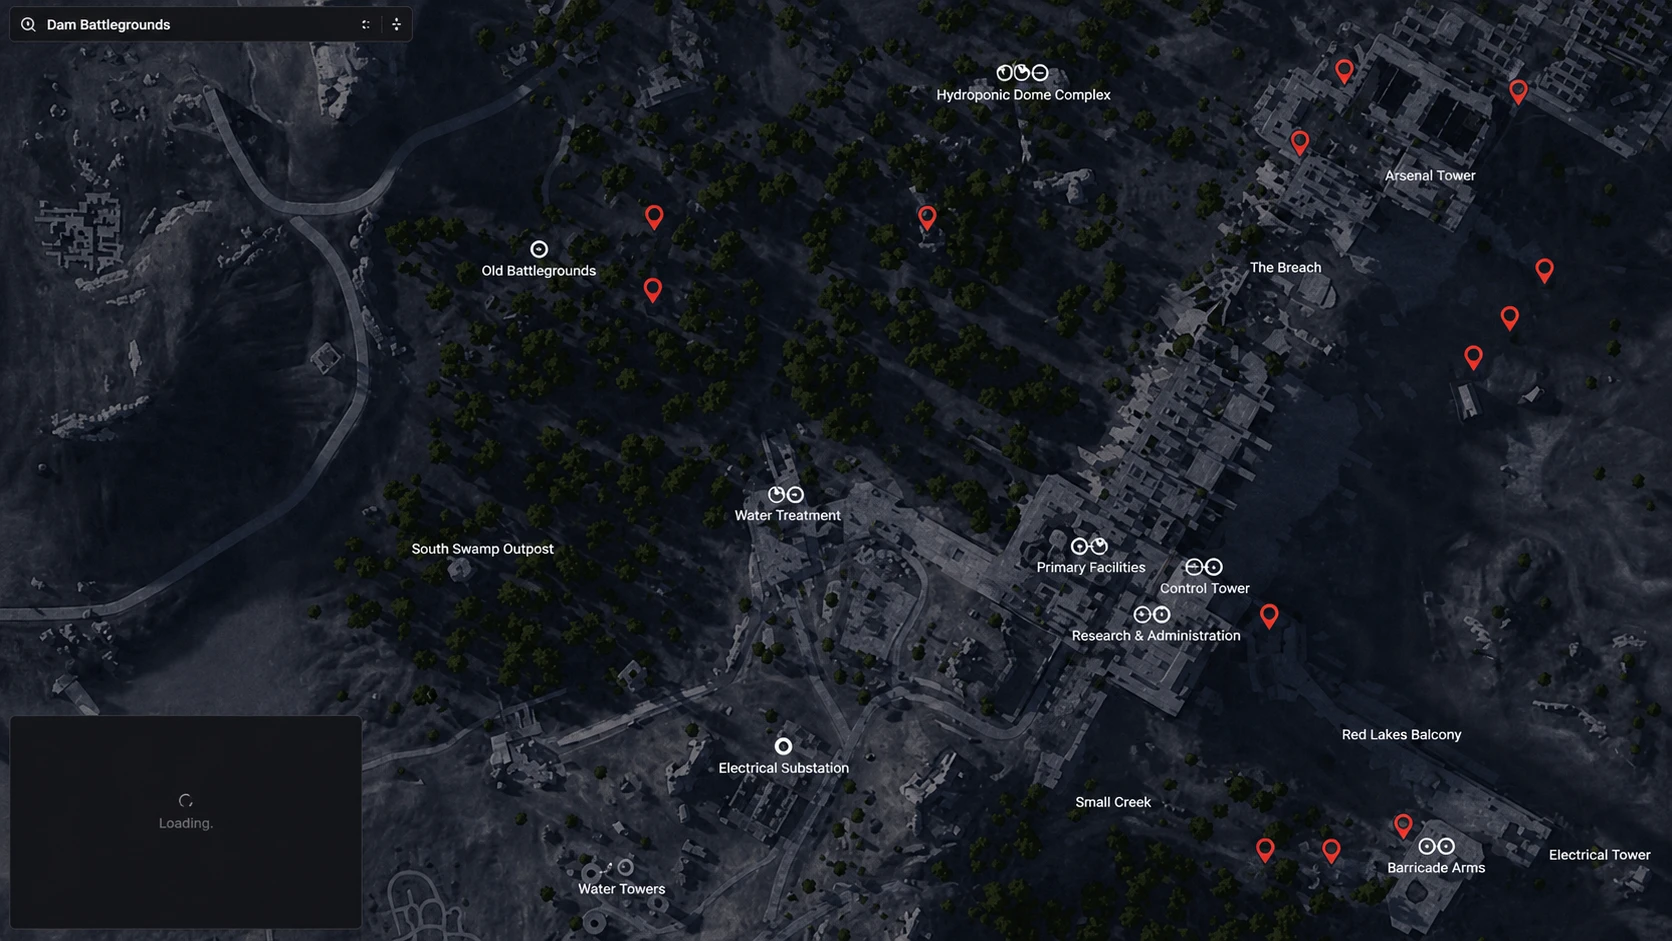
| Dam Battlegrounds | Hydrophonic Dome Complex, Pipeline Tower, Old Battlegrounds, Primary Facility, Water Treatment, Testing Annex, Red Lakes |
| Buried City | Plaza Rosa, Piazza Arbusto, Research, Parking Garage, Library, Grandioso Apartments |
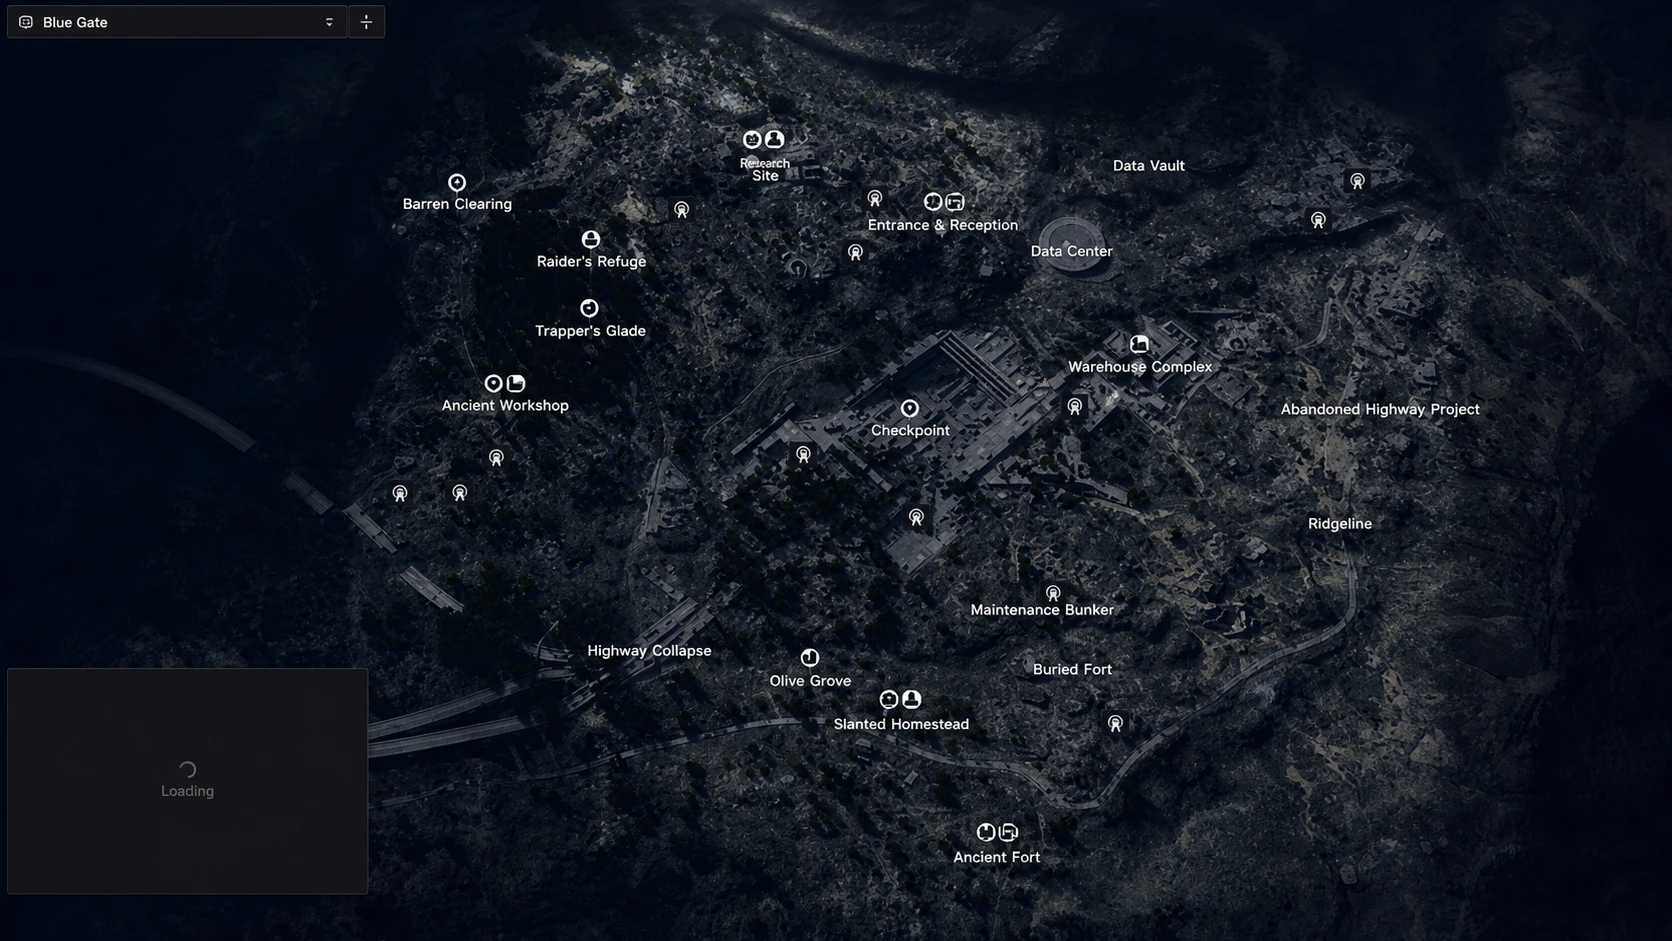
| The Blue Gate | Warehouse Complex, Gate Control Room, Pilgrim’s Peak, Maintenance Bunker, Village, Adorned Wreckage, Broken Earth |
Damage Leapers
Leapers sound intimidating, but the math is forgiving here. A single Leaper carries about 1,100 HP, and the challenge rewards damage rather than the kill, so even one or two Leapers can fill all three stars. They cover huge distances with their jumps, so funnel them into tight spaces where they cannot maneuver.
Bring an Anvil, Bettina, or Renegade with four to six stacks of ammunition, a shield with rechargers, and bandages. Two Wolfpack grenades or a hullcracker will down a Leaper fast, and the two-Wolfpack method keeps the fight cleaner. Blaze grenades thrown at the core also do heavy damage if you can land them close.
Destroy Pops
Pops are some of the easiest ARCs to clear because they carry no body armor. Each Pop is worth 400 points, and they glow with a blue light that makes them easy to spot from a distance, especially in the dark. A night raid makes this even simpler, and light ammo is enough to drop them, though an Anvil or Ferro with heavy ammo guarantees instant long-range kills.
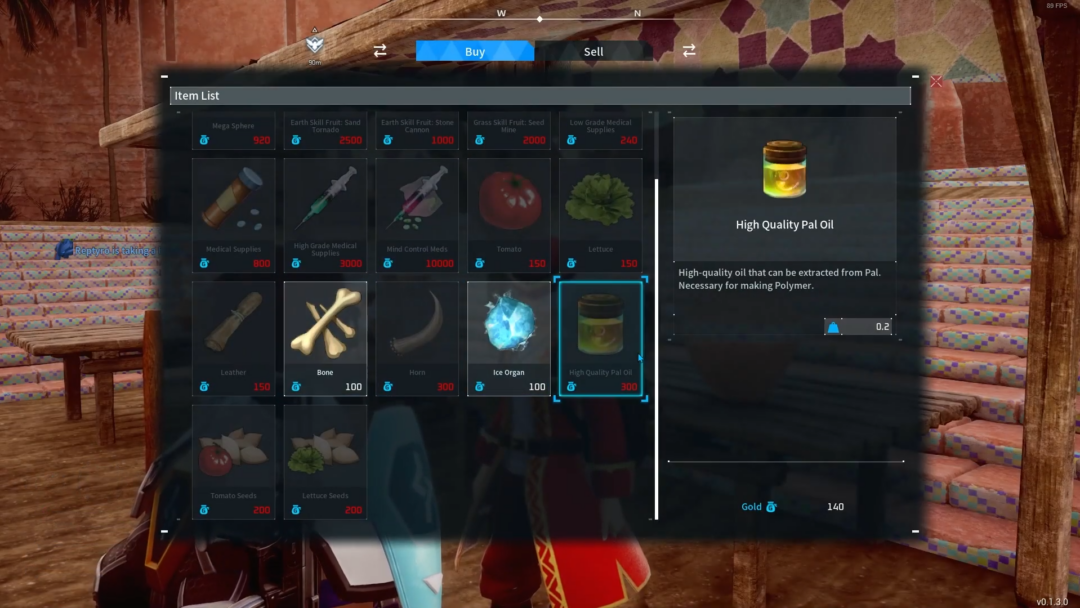
Search ARC Probes, Couriers, and Assessors
This challenge only asks you to breach and search deployable ARC structures. You do not need to pick up anything inside them, and searching a structure another player already opened still counts toward your progress. Spaceport offers the highest spawn rate for Probes and Couriers. Assessors are tied to the Close Scrutiny map event and are riskier to loot, so Probe and Courier hunting is the safer path.
The Electromagnetic Storm condition on Spaceport drops far more probes from the sky, and the flat terrain keeps them visible. Pack an Anvil or Bettina, four stacks of heavy ammo, a light shield with rechargers, and around 30 adrenaline shots so you can sprint between probes without stopping.

Confirm your stars and avoid wasted runs
You know a challenge worked when its star count updates in the Trials menu and your leaderboard position moves after extraction. The most common reason a run fails to register is simple. If you die before reaching an extraction point, every point you earned that raid is lost. Treat survival as part of the objective and pull out once your targets are met.
Clear all five challenges with healthy point totals and a clean extraction each time, and a top-20 finish on the leaderboard becomes very achievable, setting up a 2x rank jump once Trials refresh for the next week.