
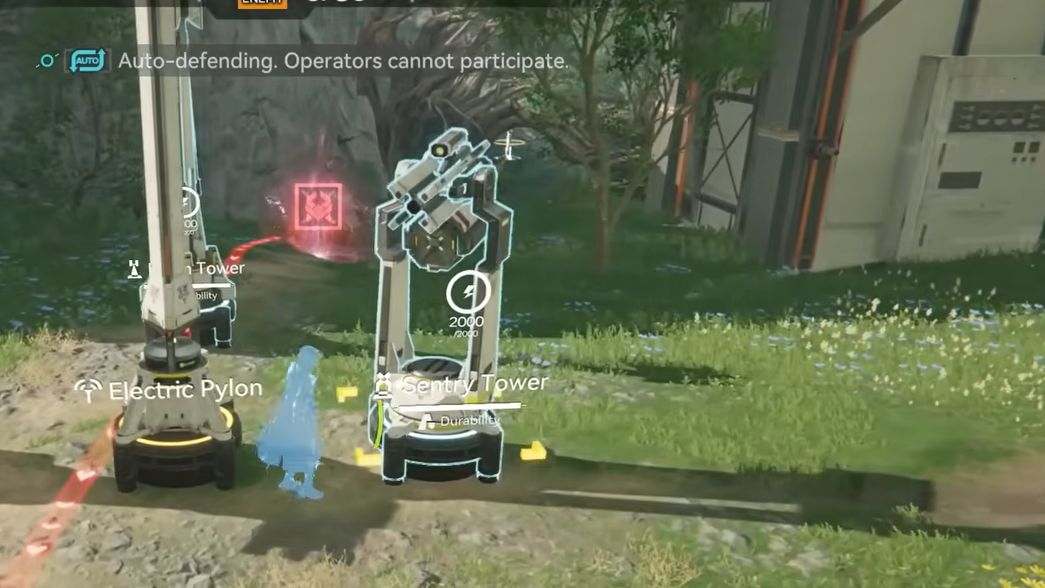
Imminent Incursion is Arknights: Endfield’s pure tower defense mode, and Auto-Defense is the strictest version of it. You don’t swing a weapon, you don’t dash in to clean up leaks; you place AIC combat facilities and watch them either hold or collapse.
Clearing these runs on Auto-Defense matters because they permanently raise an outpost’s Stock Bill Bonus Earning Chance. Skipping them means leaving long‑term currency on the table, especially once your industrial network spins up.
How Imminent Incursion and Auto-Defense work
Imminent Incursions are defensive scenarios that spawn at outposts. Each one asks you to protect Command Cores from enemy waves using AIC combat facilities, with two possible modes:
- Operator Intervention lets you fight alongside your turrets.
- Auto-Defense locks out operators and turns the stage into a pure tower defense puzzle.
You unlock Imminent Incursion by finishing the Defense Construction side mission at the Refugee Camp outpost. After that, other outposts can start rolling their own Incursions once they reach the required level.
Every Imminent Incursion is tied to the outpost it appears at. Clearing a difficulty in Operator Intervention gives that outpost a temporary boost to Stock Bill Bonus Earning Chance. Clearing the same difficulty again on Auto-Defense upgrades that boost into a permanent bonus for that location.
That permanent increase is what makes Auto-Defense feel mandatory if you care about the outpost stock market and long‑term resource flow. You can delay them while you level and unlock stronger facilities, but eventually you want them all done.
Basic flow: starting an Auto-Defense run
Imminent Incursion runs follow a fixed sequence.
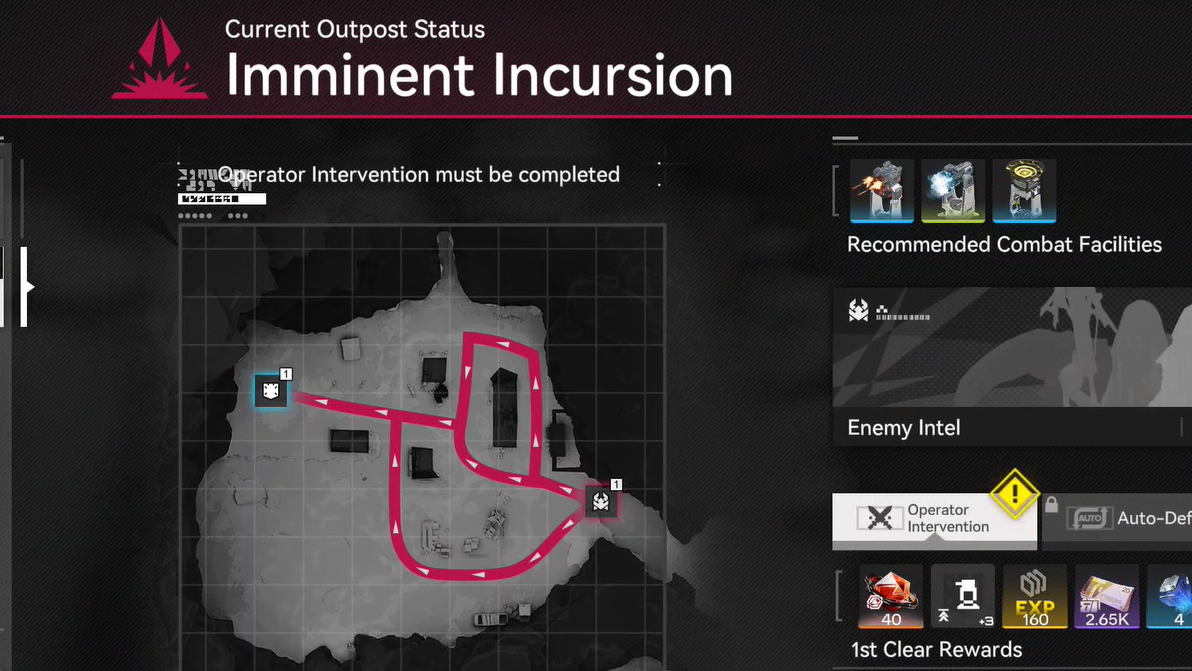
Step 1: Travel to an outpost that shows the Imminent Incursion icon. A red icon means there are still incomplete levels or modes you haven’t cleared.
Step 2: Walk up to the Early Warning Terminal in that outpost. Interacting with it opens the Imminent Incursion interface.
Step 3: Pick a Risk level. Risk controls enemy stats, types, and sometimes even path layouts, so higher Risks are not just more HP; they can be structurally different maps.
Step 4: After choosing a Risk, pick Operator Intervention or Auto-Defense. Auto-Defense only unlocks once you’ve already cleared that Risk level with Operator Intervention at least once.
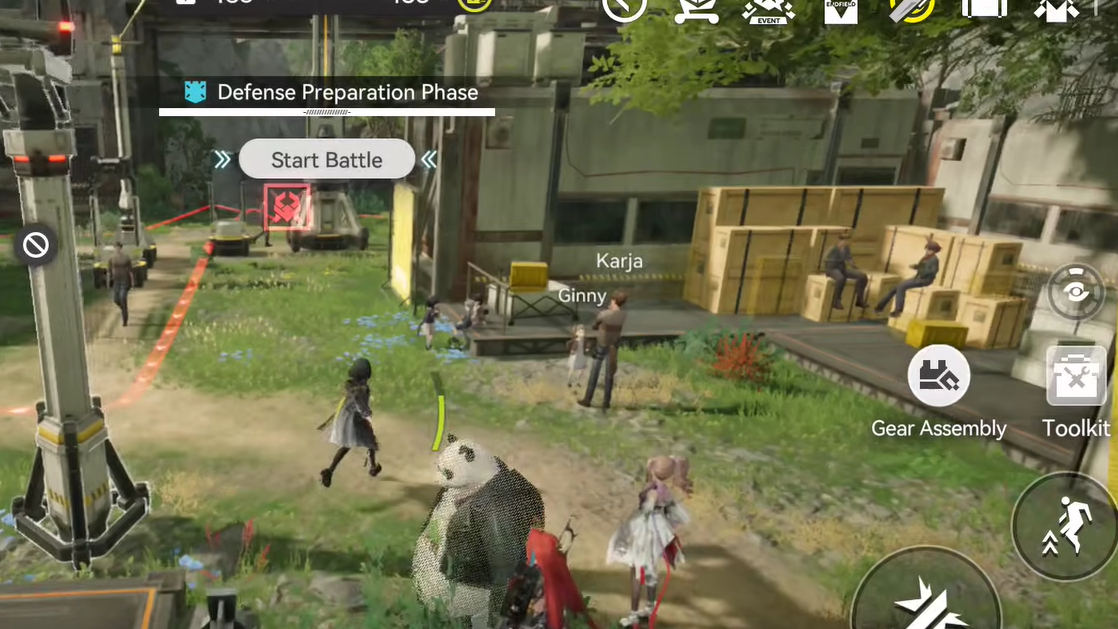
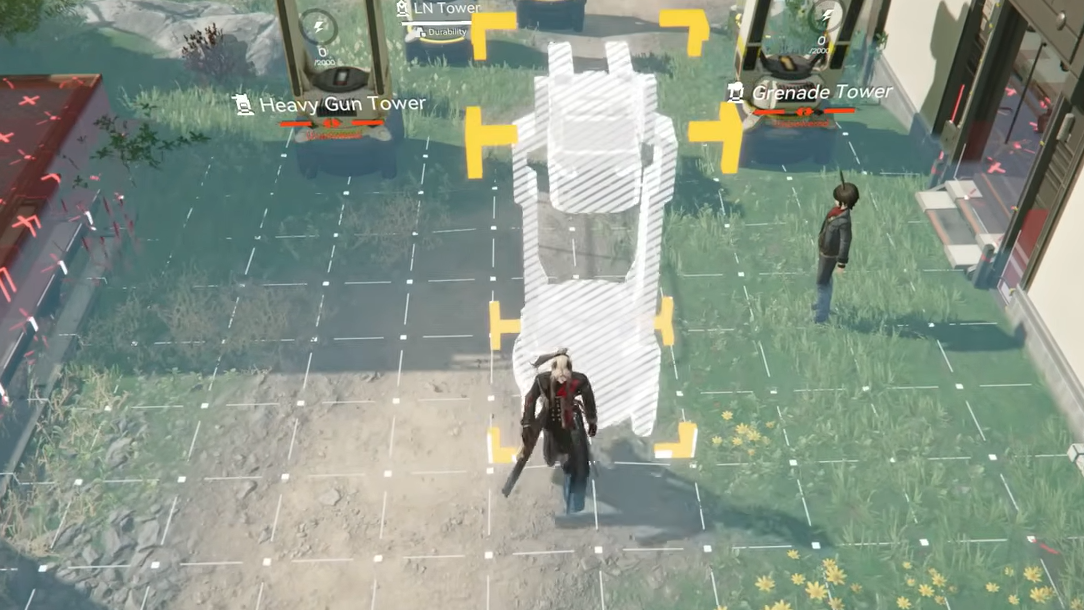
Step 5: On the battlefield, place pylons/relays to power your turrets, then deploy combat facilities within range of the enemy paths. You’re limited to a specific number of turrets for that stage, so every slot matters.
Step 6: When your layout looks solid, start the battle. In Auto-Defense, you can’t jump in to rescue a lane; you only watch how your layout performs and adjust after a failure.
Why Auto-Defense feels harder than Operator Intervention
Operator Intervention is forgiving: you can plug holes with your controlled character, clean up fast enemies, or body‑block for a few seconds while a turret cycles. Auto-Defense removes all of that. A few specific traits make it spike in difficulty as you climb:
- No emergency patches. If a lane collapses, you can’t rotate in to save it. Any weakness in range coverage or focus fire shows immediately.
- Tight turret caps. Each level sets a hard cap on combat facilities. Later Auto-Defense maps expect you to solve the puzzle with almost no redundancy.
- Path and wave changes at higher Risk. Higher Risk levels don’t just buff HP; they can reroute paths, add new enemy types, or compress waves, punishing layouts that only handle one pattern.
- Heavy elites with unique mechanics. Executioner‑style elites can frenzy or otherwise spike their damage and speed. If they reach your backline with buffs active, Command Cores vanish fast.
This is why players hit walls on stages like Refugee Camp Auto-Defense Level 2 or Infra-Station Auto-Defense 2 and 3. Surviving isn’t about over‑leveling a favorite turret, but about where and what you place.
Core Auto-Defense layout principles
Some principles apply to almost every Imminent Incursion map, no matter the outpost.
Spread damage along the path, not just at the gate. Clumping every turret at the spawn looks satisfying, but it often leaves enemies with enough health to slip through later. Stagger your guns so enemies take damage across multiple segments of the route.
Anchor AoE at intersections. Grenade and other AoE towers get the most value where paths cross or bend. Placing them at intersections lets them hit multiple lanes or at least twice along an L‑shaped turn.
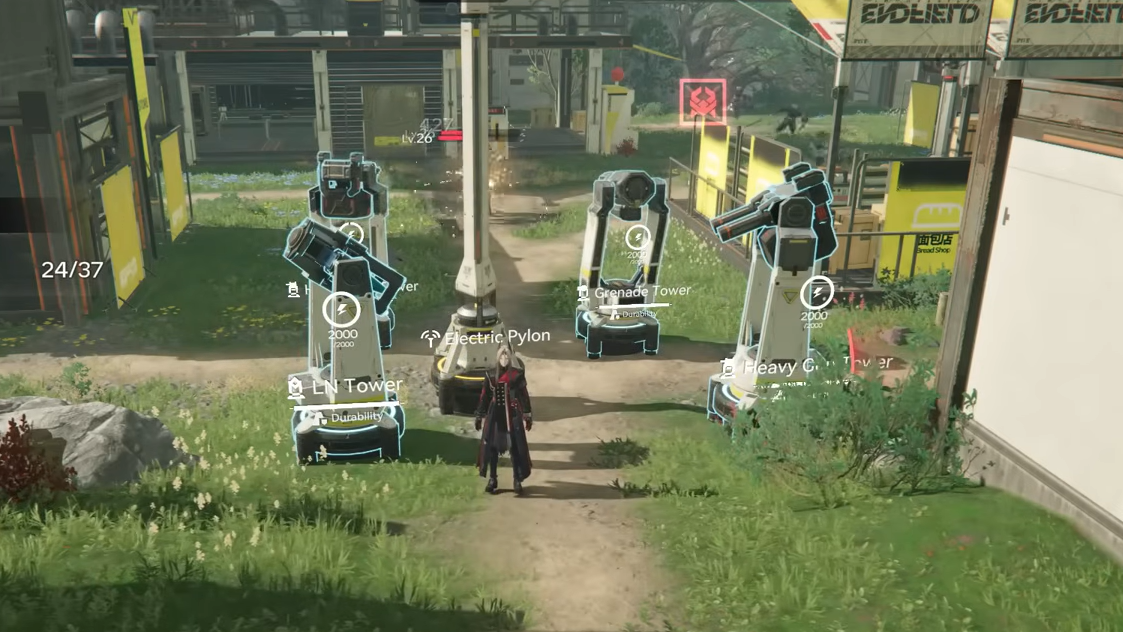
Mix turret types. Fast‑firing Heavy Gun Towers chew through weak trash, while slower, higher‑damage beams or artillery handle elites. Relying on a single turret type often leaves you exposed to either swarms or armor.
Use stuns and slows as force multipliers. Omnidirectional Sonic Towers and LN Towers can stall enemies long enough for your damage turrets to cycle again. A single well‑placed stun tower covering a choke point is often worth more than another raw damage gun.
Accept small leaks when needed. For a clear, the only thing that matters is that Command Cores stay standing. Letting a few low‑impact enemies walk so you can fully counter the dangerous ones is often the correct call.

Refugee Camp Auto-Defense Level 2: handling executioners
Refugee Camp’s second Auto-Defense level is where many players hit their first real wall. The main pressure point is a lane of executioner enemies that can frenzy and rip through the Command Cores if they arrive while buffed.
A layout that has worked in practice leans on controlling the back half of the map instead of trying to delete everything at spawn.
Step 1: On the executioners’ route, anchor two Heavy Gun Towers at the corners of the back path, spaced so they cover different segments of that approach. The goal is to trigger executioner frenzy early, then keep them in sustained fire until the buff expires, ideally before they touch your Core defenses.
Step 2: Use push or control effects (where available in that stage) so that when executioners are forced back, they walk into the overlapping fields of those two Heavy Gun Towers rather than toward your Cores. You want them contesting your guns, not your objectives.
Step 3: Allocate the remaining slots to deal with normal waves: three more Heavy Gun Towers, one LN Tower, and one Grenade Tower have cleared this map. The extra Heavy Guns shred light mobs, the Grenade Tower covers cluster spawns at intersections, and the LN Tower slows or briefly locks dangerous packs in place.
This configuration leaves very little slack. Tweaks like swapping a nearby Heavy Gun for a second Grenade Tower can work better if your problem is dense waves rather than elite HP. Sonic towers can also be valuable here if you can position them to both stall executioners and cover a multi‑lane choke, but they’re easy to waste if they only ever lock a single, already‑doomed target.
Originium Science Park and Infra-Station Auto-Defense: reading lanes and caps
Later outposts introduce maps like Infra-Station and Originium Science Park, whose Early Warning Terminals serve similar Auto-Defense stages at higher overall intensity.
Common failure patterns on these maps look like this:
- Lanes that seem quiet for most of the run suddenly flood after a certain kill count, overwhelming a single underpowered turret.
- The turret limit feels too low to “properly” cover every lane, encouraging over‑investment in one direction while another collapses.
For example, on an Auto-Defense 3 layout where lane 3 suddenly spawns too many enemies around the 40‑kill mark, most of the difficulty comes from mid‑run lane reassignment, not early pressure. To answer that, layouts that clear the stage usually:
- Stack more damage and control on the late‑flood lane than intuition suggests at the start.
- Use multi‑lane coverage at bends so one AoE facility contributes to both the calm early lane and the later swarm.
- Accept that a quieter lane might only get a single turret plus some shared splash, because that lane never becomes the primary threat.
On Infra-Station Auto-Defense, the confusing turret counter can also lead players to under‑build. If you think “7/8” means you have already placed seven towers and the eighth is forbidden, you’re handicapping yourself by one facility. The mode only blocks placement when the left side of that fraction pushes above the right.
Stock Bills and whether to rush Auto-Defense
Every completed Imminent Incursion increases the outpost’s chance to earn bonus Stock Bills whenever that facility generates them. The difference between Operator Intervention and Auto-Defense is simple:
- Operator Intervention clear: temporary Stock Bill Bonus Earning Chance increase.
- Auto-Defense clear at the same Risk: permanent Stock Bill Bonus Earning Chance increase.
Because these are one‑time clears rather than rotating events, there’s no timer forcing you to tackle the hardest Auto-Defense levels as soon as they appear. Leaving them for later while you unlock more powerful combat facilities is a valid choice.
If you enjoy the tower defense puzzle and want Stock Bills online sooner, it’s worth focusing on one outpost at a time, fully clearing its Operator Intervention runs and then its Auto-Defense runs at each Risk level before moving on. If you find Auto-Defense tedious, you can safely push the story and regional development first and treat these as long‑term infrastructure projects you check in on periodically.
Auto-Defense in Arknights: Endfield looks unforgiving because it is. It’s also one of the cleanest expressions of the game’s outpost combat facilities, forcing you to think about ranges, intersections, and wave timing without the safety net of operator micro. Once you internalize a few maps’ logic and the value of permanent Stock Bill bonuses, it stops feeling like a chore and starts feeling more like a high‑stakes blueprint test for the network you’ve built.