
Arknights: Endfield leans hard into daily structure. Between sanity runs, factory loops, and overworld routes, it is easy to log in, do “some stuff,” and still leave value on the table. The game expects you to treat dailies as the backbone of your progression, both for gacha currency and for long-term account power.
Arknights: Endfield daily reset times
Endfield doesn’t use a single global reset; it aligns daily rollover with three main time zones. The core reset time is:
| Region time base | Daily reset |
|---|---|
| UTC-5 | 15:00 (3:00 PM) |
| UTC+8 | 04:00 |
| UTC+1 | 21:00 (9:00 PM) |
Each regional server uses one of these anchors. Daily tasks, sanity refills, Depot node limits, overworld material nodes, and store refreshes tied to the “day” all follow that schedule.

All main Arknights: Endfield daily activities
Endfield’s routine revolves around seven repeatable systems. Some are sanity sinks, some are passive economy, and some are soft caps you chip at every day.
| Daily system | Primary payoff |
|---|---|
| Daily Activity Points | Operational EXP, battle pass EXP, Oroberyl, sanity item, combat record, Protoprism, Arms INSP |
| Protocol Space | Operational EXP, Promotion materials, T-Creds, Skill Up materials |
| Outpost Management | Stock Bills and Outpost Prosperity |
| Ship Management | Credits and a mix of basic materials |
| Operator Gifts | Relationship (synergy) gains and character-specific missions |
| Depot Nodes | Free crafted materials via player deliveries |
| Daily Overworld Route | Ascension materials for characters and weapons |
You do not have to touch everything every single day, especially early. But a consistent baseline around Activity Points, sanity spending, and your economic loops (Stock Bills, Credits, T-Creds) will keep you on pace for events, banners, and higher-end combat.
Daily Activity Points: the non‑negotiable login task
Daily Activity Points are the closest thing Endfield has to a “do this or you are burning currency” warning. Hitting the cap pays out a compact bundle:
- Operational EXP and 2,000 Pass EXP for your progression/pass track
- 200 Oroberyl, the premium headhunt currency
- 1 Emergency Sanity Booster and 1 Advanced Combat Record
- 5 Protoprism and 2 Arms INSP Set pieces
You don’t complete this by running a special dungeon. You get points for things you were going to do anyway: spending sanity, clearing tasks, and interacting with other dailies. If you simply plan a normal play session around your sanity and a couple of overworld objectives, the Activity track tends to fill itself.
Priority: Always make sure the bar is capped before reset. That daily 200 Oroberyl compounds quickly and is a large part of how free and low‑spend players reach 120‑pull milestones on featured banners.
Protocol Space: targeted farming for levels and skills
Protocol Space is the repeatable combat content you dip into when you need something specific. Each protocol variant leans toward a different reward combination:
- Operational EXP for account level
- Promotion materials for raising operator level caps
- T-Creds for general upgrading and gear/weapon building
- Skill Up materials for raising combat skill ranks
Protocol runs cost sanity, so they sit in the same budget as story, side content, and other sanity‑gated stages. The late game is heavily limited by T-Creds and skill materials; Protocol Space is where you shore up those bottlenecks when free sources run dry.
Daily habit: Spend sanity here once you’ve cleared any limited‑time stages and grabbed your Activity Points. If you are short on T-Creds specifically, pick protocols that list them as a main drop and save your free, non‑sanity methods for buying out T-Cred bundles elsewhere.
Outpost Management: building your Stock Bill economy
Outposts are the front‑end of Endfield’s factory game. They’re tied to regions, have their own prosperity stat, and generate Stock Bills when you trade production into them. Stock Bills, in turn, power some of the most important stores in the game.
On a daily cadence, Outpost Management boils down to two actions:
Step 1: Log into each active outpost and sell or deliver your produced items. This converts your factory output into Stock Bills and raises Outpost Prosperity, which increases how much the outpost can pay you in future trades.
Step 2: Spend a slice of those Stock Bills in the regional Stock Redistribution store on items that have weekly or limited stock, especially gear templates, detectors, and unique upgrades.
Setting up the outposts and their supply chains is front‑loaded work; visiting each one to offload goods is the repetitive part of the daily loop. Once your networks are in place and you know which goods are profitable for each region, selling produce becomes a quick checklist that sits alongside your sanity runs.
Ship Management: your second passive resource loop
The ship functions as another layer of passive production. Different onboard facilities generate Credits and materials that you can sell or feed back into crafting. Like the outposts, the ship is about keeping lines moving rather than manual grinding.
Step 1: Open Ship Management and collect everything that has finished its production cycle. This usually includes Credits and various basic resources.
Step 2: Queue new production using recipes that fit your current bottlenecks or trade needs, then exit. The ship keeps running while you are off doing combat or even offline.
Touching the ship once per day is usually enough. The payoff is “invisible” until you hit a point where you are no longer short on Credits while pushing multiple characters and weapons at once.
Operator Gifts: daily relationship caps and side missions
Endfield ties character depth and side content to a relationship system. Raising synergy with an operator unlocks character‑focused missions with both rewards and lore drops.
Gifts are the direct way to push that relationship bar. There is a hard cap on how many gifts you can hand out per operator per day, so skipping it slows your access to these missions.
Step 1: During exploration and routine play, pick up any giftable items you encounter. These are scattered in the overworld and come from various interactions.
Step 2: Before reset, open the gift interface and distribute items to the operators you care about most until you hit the daily cap for them.
If you only have time to focus on a few characters, keep the gifts concentrated there. Spreading them thinly across the entire roster will unlock missions more slowly for everyone.
Depot Nodes: fast deliveries once you build routes
Depot Nodes are delivery hubs sprinkled around the map. Other players issue requests to these nodes; you fulfill them by physically delivering the required materials to the correct depot. The benefit is a stream of free materials without spending sanity.
At first, Depot Nodes feel tedious because each route is long, and your traversal tools are limited. Over time, you unlock and place zipline anchors and other movement shortcuts that let you chain depots together.
Daily pattern: Once your ziplines are in place, set aside a few minutes to run a loop that hits all the active depots you care about. Turn in deliveries, collect the rewards, and move on. The upfront investment in route building turns this from a chore into a quick, high‑value sweep.
Daily Overworld Route: limited ascension materials
Not every resource can be printed in your AIC. Specific character and weapon ascension materials only exist in the open world, in a fixed quantity per day. Once those nodes are exhausted, they do not respawn until the next reset.
These materials appear across Talos II and are region‑specific. Because you cannot brute‑force them with sanity or factory output, they quietly become one of the stronger long‑term gates on progression.
Step 1: Identify which ascension items your current core team and weapons need, then mark their known locations on your map or mentally plan a loop.
Step 2: Run your route once per day, gathering only what you actually need. After reset, the world nodes repopulate, and you can repeat the circuit.
Early on, this route can be short. As your roster grows and you unlock more zones, the daily sweep becomes more valuable and a bigger chunk of your routine time.
How dailies feed your currency and gacha plans
Underneath all of these systems sit three currencies that define how fast you can build and pull:
- Oroberyl for buying headhunt permits across banners
- Origeometry as a premium item that can be converted into Oroberyl or sanity
- T-Creds as the core upgrade money for levels, gear, and weapons
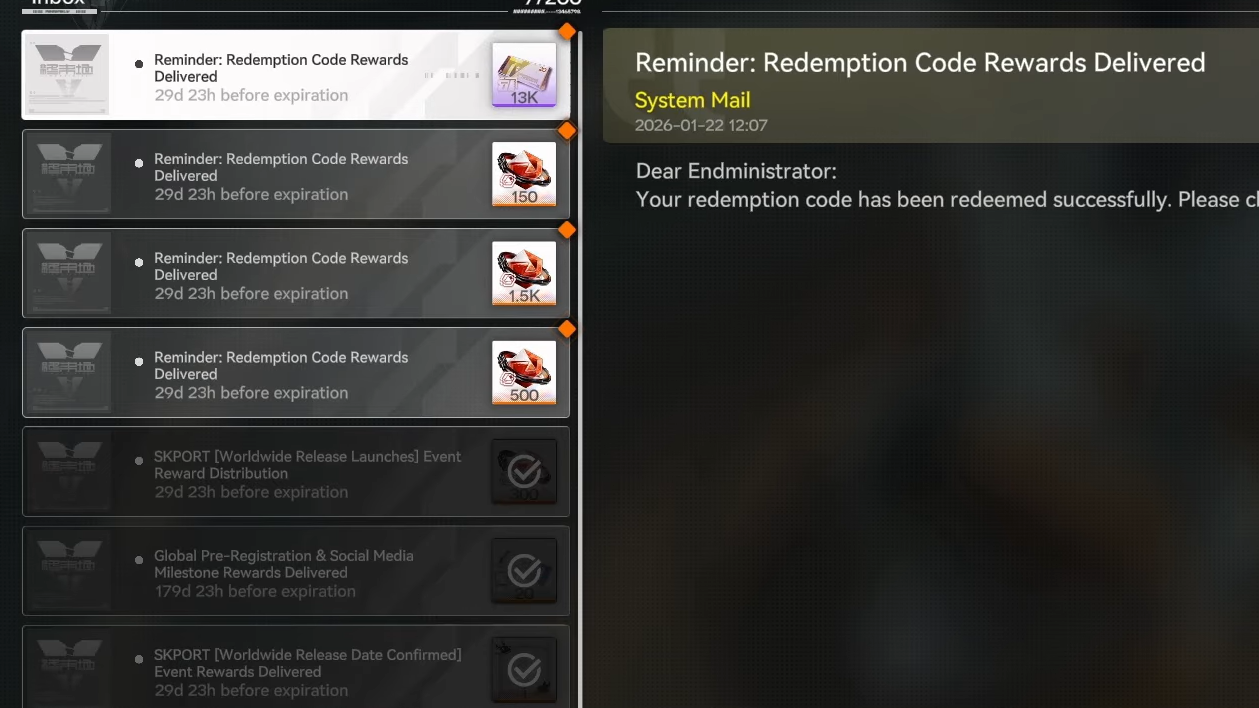
Oroberyl comes from almost everything you do: dailies, open‑world chests that can drop 150 in one go, account levels, events, and operation‑manual style tasks. The 200 Oroberyl from Daily Activity Points alone is a major slice of your regular intake.
Origeometry is much more constrained. You can buy it with real money or obtain it as a reward in main quests. Converting it to Oroberyl yields 75 Oroberyl per unit. It can also refill sanity, but that’s rarely an efficient use unless you are deliberately pushing a specific event or ladder.
T-Creds are where many players feel the late‑game squeeze. You need them every time you:
- Level an operator or weapon
- Build or tune gear via the factory
- Assemble Essence‑related upgrades
You can farm T-Creds directly with sanity, but that should be a last resort. Daily tasks, Stock Redistribution stores, limited Quota Exchange caps each patch, and chests or small objects in the world are all free or semi‑free sources you should clear first. Once those are exhausted, Protocol Space runs for T-Creds become your pressure valve.
Why this matters for gacha: Endfield’s featured character banners use a 80‑pull six‑star pity, a 50/50 on whether that six‑star is the rate‑up, and a 120‑pull hard guarantee for the rate‑up that does not carry over between banners. That structure makes daily Oroberyl income crucial. Missing days doesn’t just slow your next character; it directly cuts into how reliably you can hit those 120‑pull thresholds over a patch cycle.
Daily structure for busy players
Put together, Endfield’s daily layer can easily fill 60–120 minutes if you chase everything. If you have less time, it helps to know what is genuinely time‑sensitive and what can wait.
High priority every day
- Cap Daily Activity Points for the 200 Oroberyl and EXP
- Spend sanity on something that moves you forward (story, Protocol Space, key materials)
- Run your Daily Overworld Route for ascension material caps
- Hand out Operator Gifts to a few key characters up to the daily cap
Medium priority, but powerful over a week
- Visit every Outpost and trade for Stock Bills, then buy limited‑stock items
- Collect and restart Ship production
- Clear an efficient Depot Node loop once your zipline routes are in place
On days when you only have 20–30 minutes, touch sanity, Activity Points, and your overworld materials first. On days with more room, layer in factory, outposts, and depot logistics. That pattern keeps your account’s core currencies growing without forcing you into multi‑hour grinds every single reset.
Once those anchors are in place, you can start thinking about bigger questions—when to save for a 120‑pull banner guarantee, how far to push factory optimization, and which operators deserve your limited high‑end skill materials. The daily structure is what gives you the resources to make those choices on your own terms.