Reading the map in Arma Reforger comes down to one skill, which is matching what you see around you to a grid square on the map. Once you can do that, you can call out your own position, mark enemy spots, and follow directions from other players without guesswork.
Quick answer: Read coordinates as Eastings first, then Northings (vertical line number, then horizontal line number). Equip your compass, look at nearby landmarks to fix your bearing, then right-click the matching grid square and add a Custom Marker.
How grid coordinates work: Eastings and Northings
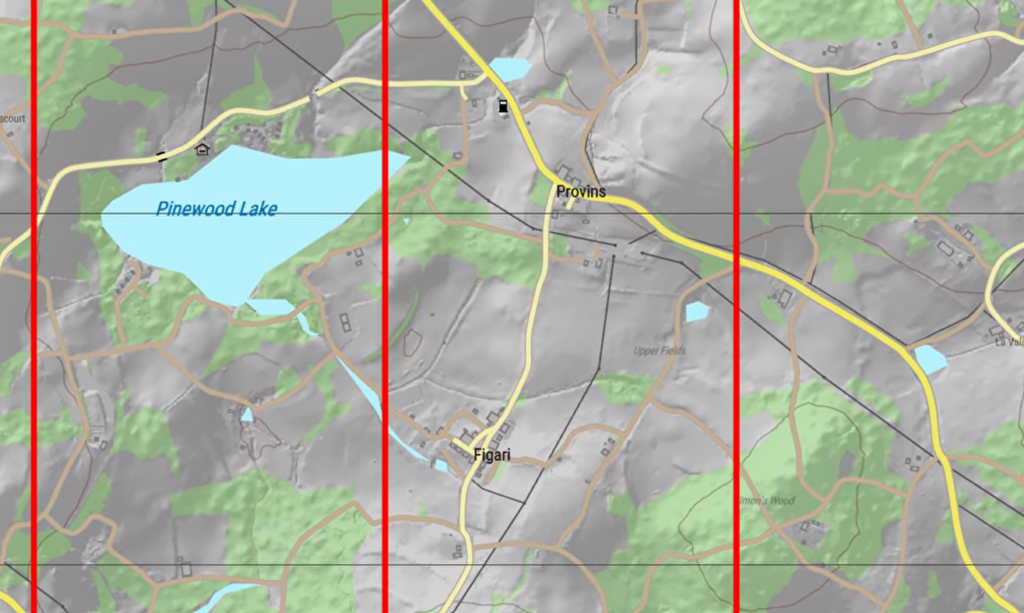
The grid lines on the map have names. The vertical lines are Eastings, and the horizontal lines are Northings. As you move right, or east, the Eastings numbers climb. As you move up, or north, the Northings numbers climb.
A simple memory trick keeps the order straight. You go “along the corridor” first by reading the Eastings, then “up the stairs” by reading the Northings. So a coordinate like 027-013 means vertical line 27 and horizontal line 13.
One detail matters when you locate the square itself. Always pick the square that sits to the right of the vertical line and above the horizontal line. That is the cell the coordinate refers to.
| Term | Line direction | Read order |
|---|---|---|
| Eastings | Vertical lines (numbers rise going east) | First |
| Northings | Horizontal lines (numbers rise going north) | Second |
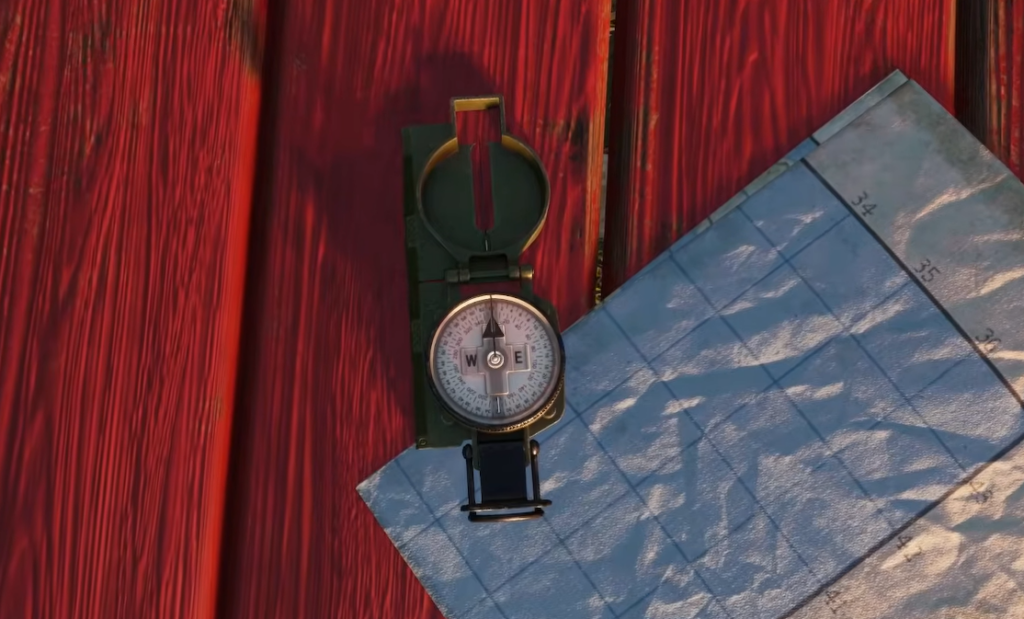
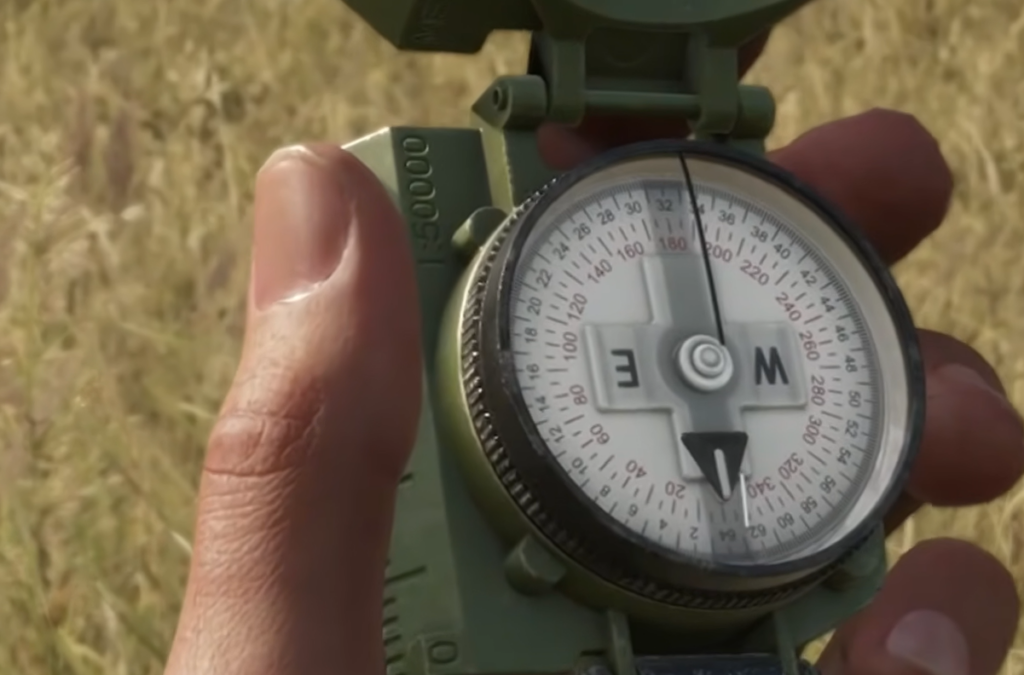
Find your own position using the compass
Reading a coordinate is half the job. To place yourself on the map, you match real landmarks to the symbols printed on it. The compass is the tool that tells you which direction each landmark sits relative to you.
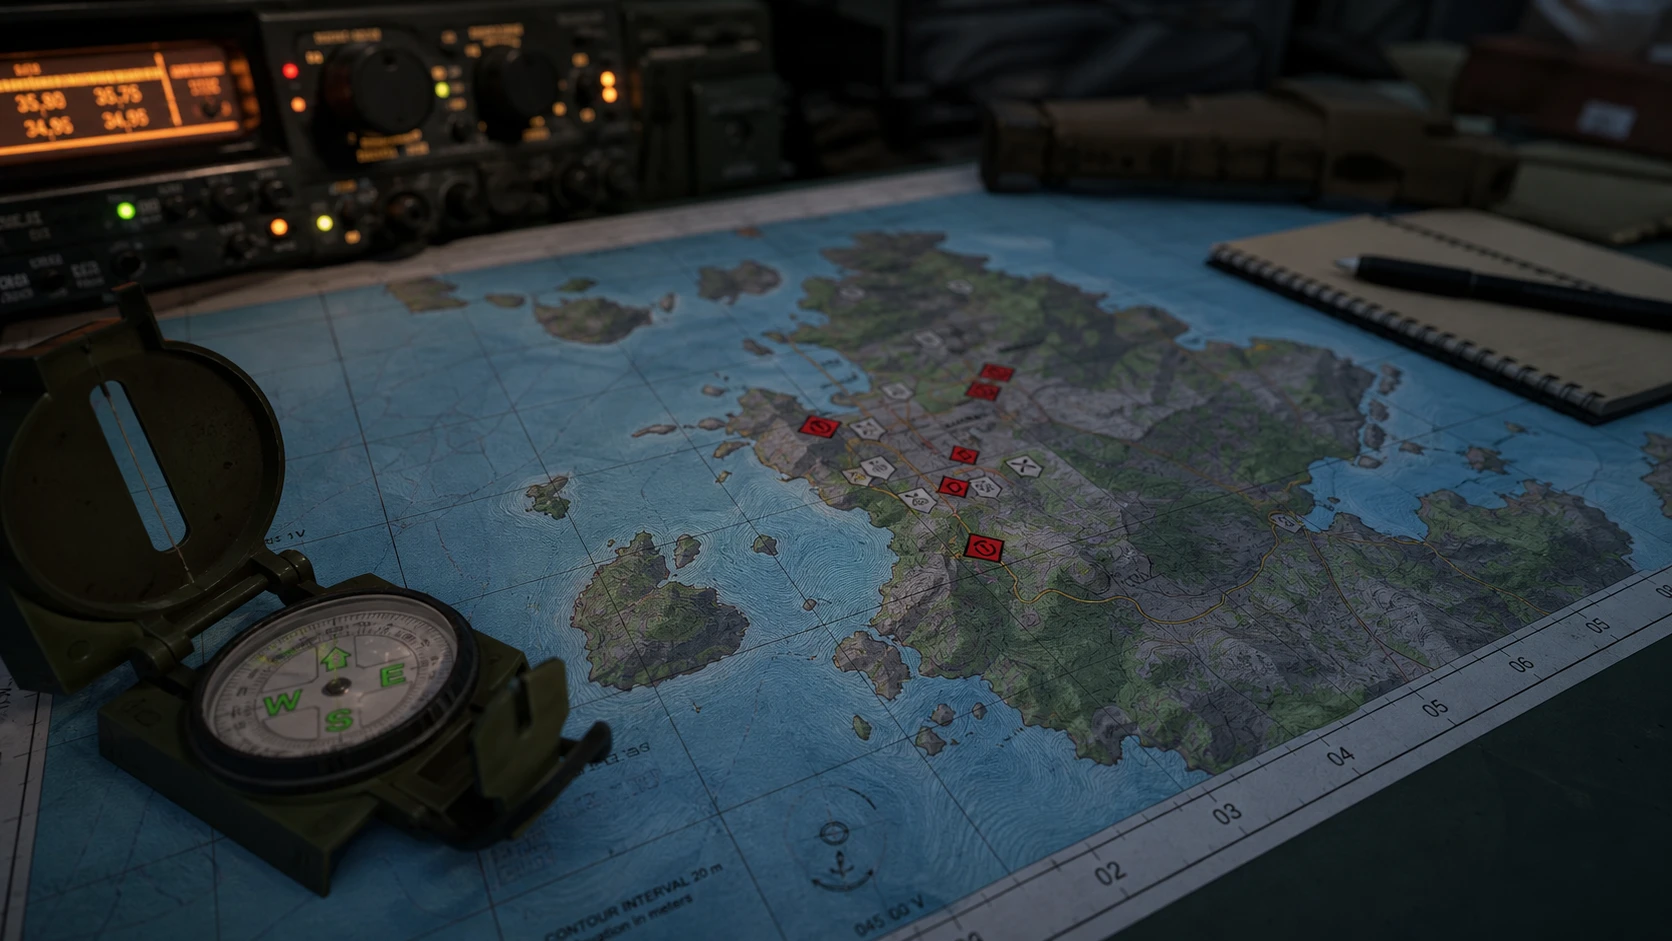
Mark a grid square on the map
Note: The tutorial first asks you to mark 034-017, then 023-017. For the second objective, you must place the marker inside the barn area within that grid; otherwise the game will not count it as correct. After marking, drive the car to the marked location to finish the task.
How to know your marker registered
You will know the mark was accepted when the tutorial advances to the next objective. If nothing changes, the marker is in the wrong square or, in the barn case, outside the required interior. Re-check the Eastings and Northings, confirm you selected the cell up and to the right of the two lines, and place the marker again.
Optional: a mod that shows your position
If you want a faster reference while learning, the community mod “Where Am I” by ValterB marks your current location on the map with a red circle and a line for your facing direction. It adds a toolbar button that recenters the map on you and works across game modes as long as the mod is enabled. It is hosted on the official Arma Reforger Workshop.
Once the grid logic clicks, you will not need much else. Read Eastings before Northings, use the compass to fix your bearings against landmarks, and confirm with a ground feature before you drop a marker. That same routine carries over from the tutorial to live matches, where accurate grid callouts keep your team coordinated.