
Printing over a wireless connection streamlines workflow and eliminates cable clutter, but successful setup on a Windows 11 PC requires following precise steps to ensure your printer and computer communicate on the same network. Misconfigurations, missing drivers, or network mismatches can prevent your PC from recognizing or using the printer, causing delays and frustration. The instructions below detail multiple methods for connecting a wireless printer to Windows 11, starting with the most reliable approaches and covering manual alternatives for unique network environments.
Connect a Wireless Printer Using Windows 11 Settings
Step 1: Confirm your wireless printer is powered on and connected to the same Wi-Fi network as your Windows 11 PC. Consult your printer’s display panel or manufacturer documentation if you’re unsure about network status. This step is critical; mismatched networks prevent detection.
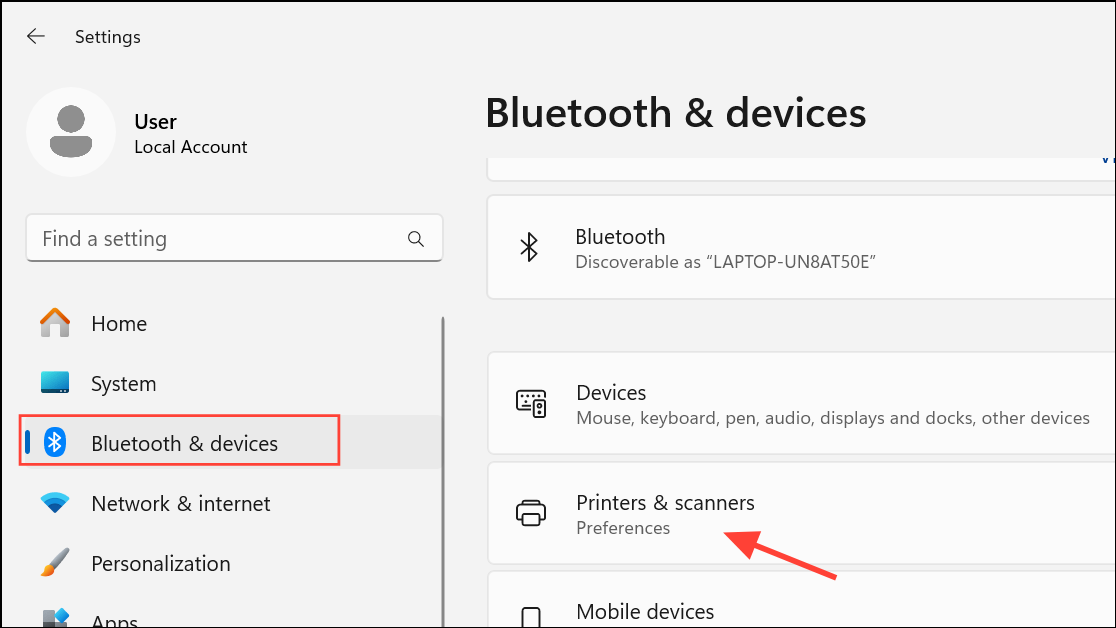
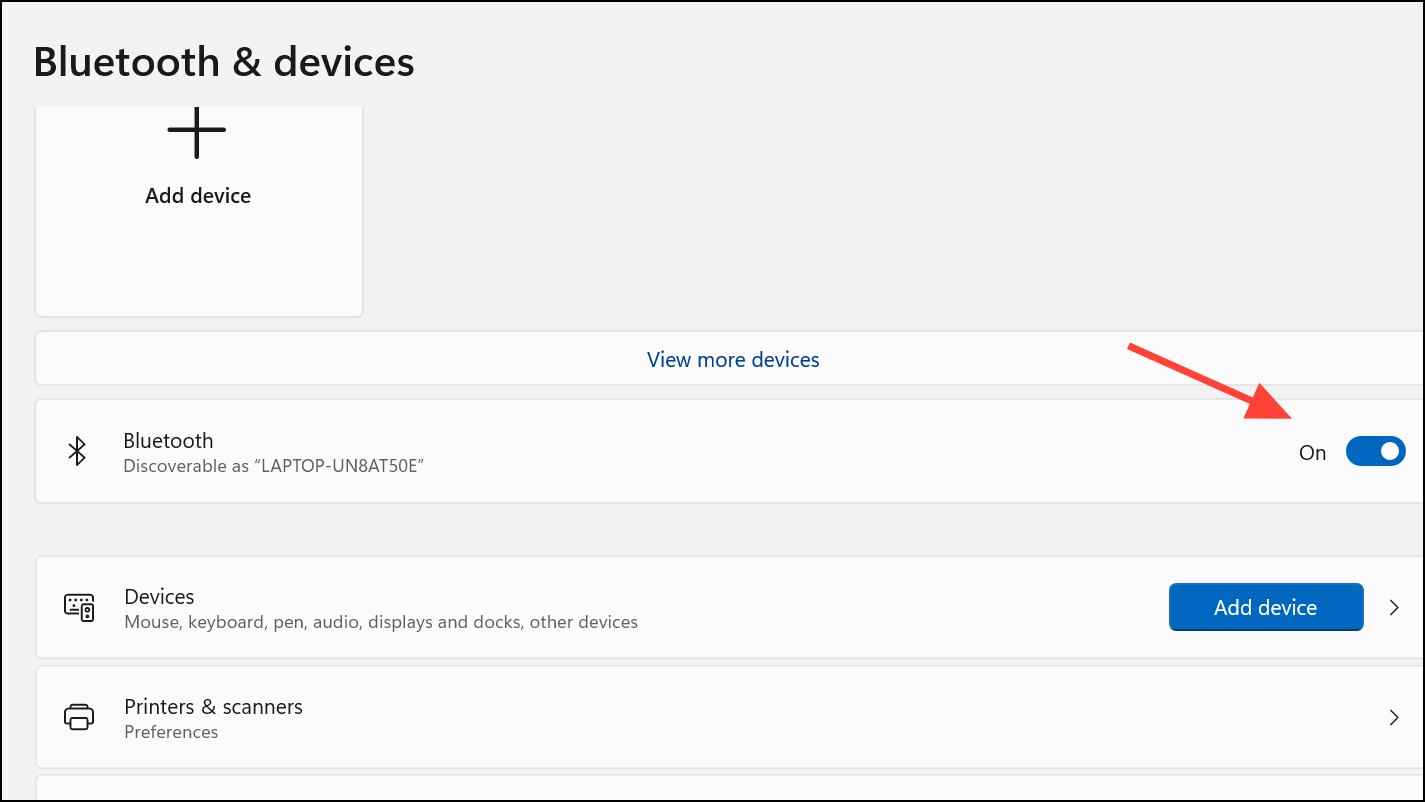
Step 2: On your Windows 11 PC, open the Start menu, then select Settings. Navigate to Bluetooth & devices and select Printers & scanners.
Step 3: Review the list of installed printers. If your wireless printer appears, it’s already connected and ready for use. If not, proceed to the next step.
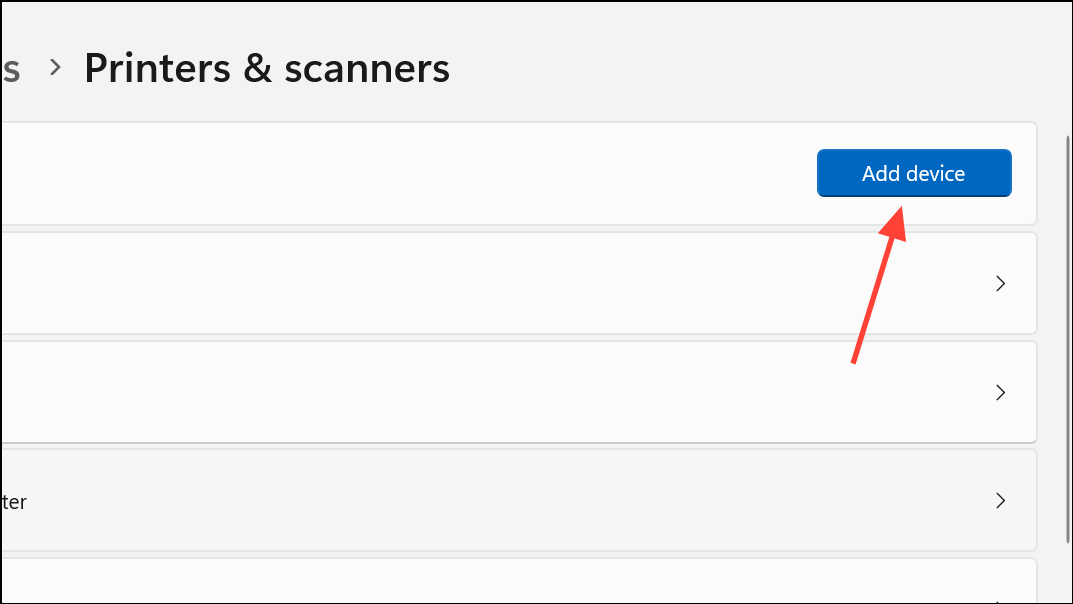
Step 4: Click Add device near the top right. Windows will scan for available printers and display a list. This process may take several minutes, especially on busy networks.
Step 5: Locate your printer in the list and click Add device next to its name. Windows will install the necessary drivers. If prompted, follow any on-screen instructions to complete driver installation.
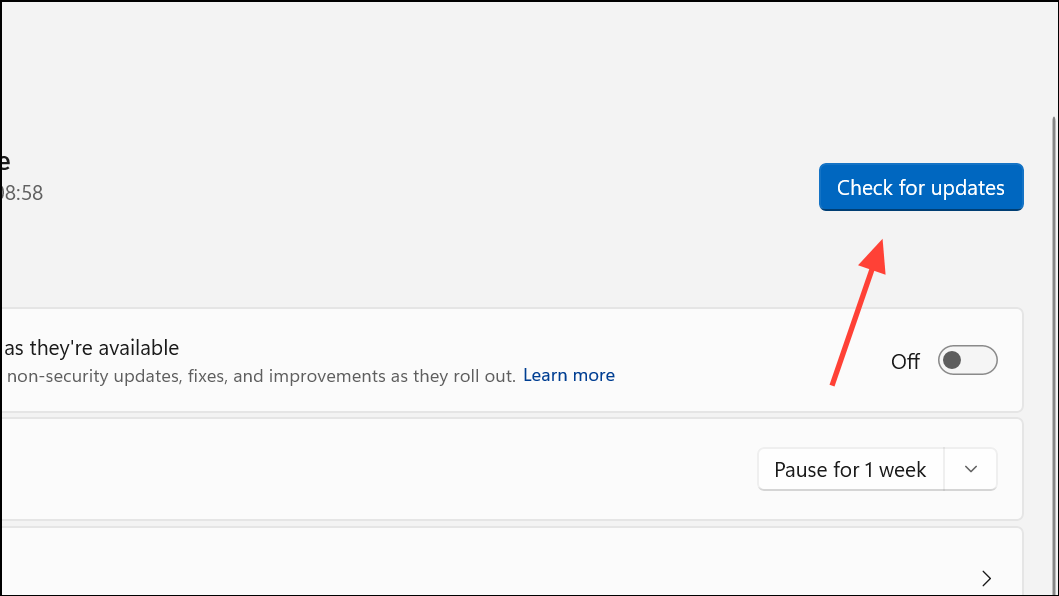
Step 6: Once installation finishes, consider running Windows Update to check for updated printer drivers. Updated drivers can unlock advanced features and improve reliability. To do this, return to Settings, select Windows Update, and click Check for updates.
Step 7: Print a test page to confirm successful setup. Open Printers & scanners, select your printer, and choose Print a test page.
Manually Add a Wireless Printer Using IP Address or Hostname
Some printers or network setups may prevent automatic detection. In these cases, adding the printer manually using its IP address or hostname is often effective.
Step 1: Obtain your printer’s IP address or hostname. This information is usually found on the printer’s display panel, in its network settings menu, or by printing a network configuration page from the printer.
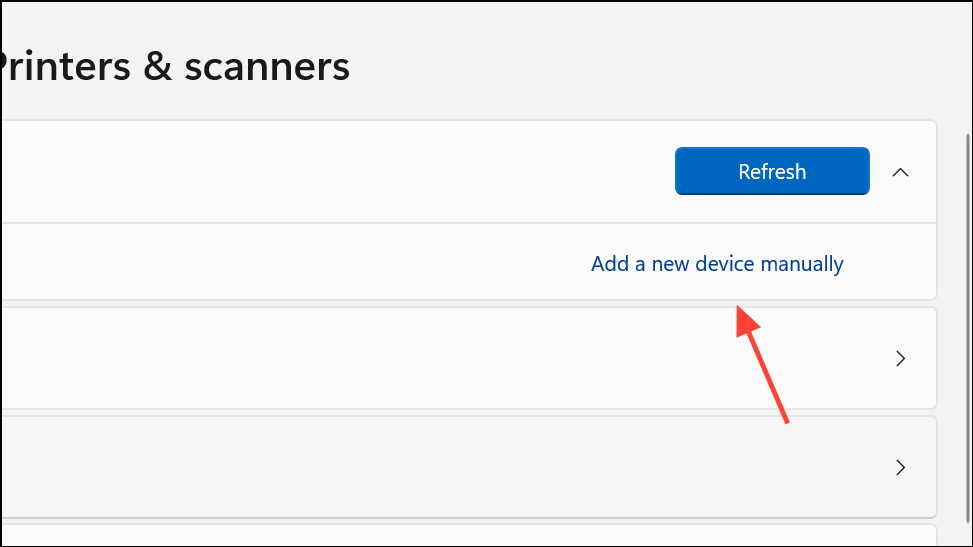
Step 2: On your Windows 11 PC, go to Settings > Bluetooth & devices > Printers & scanners and click Add device. Wait for the “Add manually” option to appear, then click it.
Step 3: Select Add a printer using an IP address or hostname. Change the device type to TCP/IP Device, then enter the printer’s IP address or hostname in the field provided. Click Next.
Step 4: Windows will attempt to detect the printer and may prompt you to install or select a driver. If your printer model appears, select it; otherwise, use a generic driver or download the latest driver from the manufacturer’s website.
Step 5: Assign a name to the printer and decide whether to share it with others on the network. Choose Do not share this printer if you don’t want network sharing. Click Next to finish installation.
Step 6: Print a test page to verify that the printer is working correctly.
Install a Bluetooth Printer
Bluetooth printers require pairing before use. This method is suitable only for printers that support Bluetooth connectivity.
Step 1: Enable Bluetooth on both your printer and Windows 11 PC. On your PC, open Settings > Bluetooth & devices and toggle Bluetooth on.
Step 2: Put your printer into Bluetooth pairing mode. Refer to the printer’s manual for instructions, as methods vary by brand.
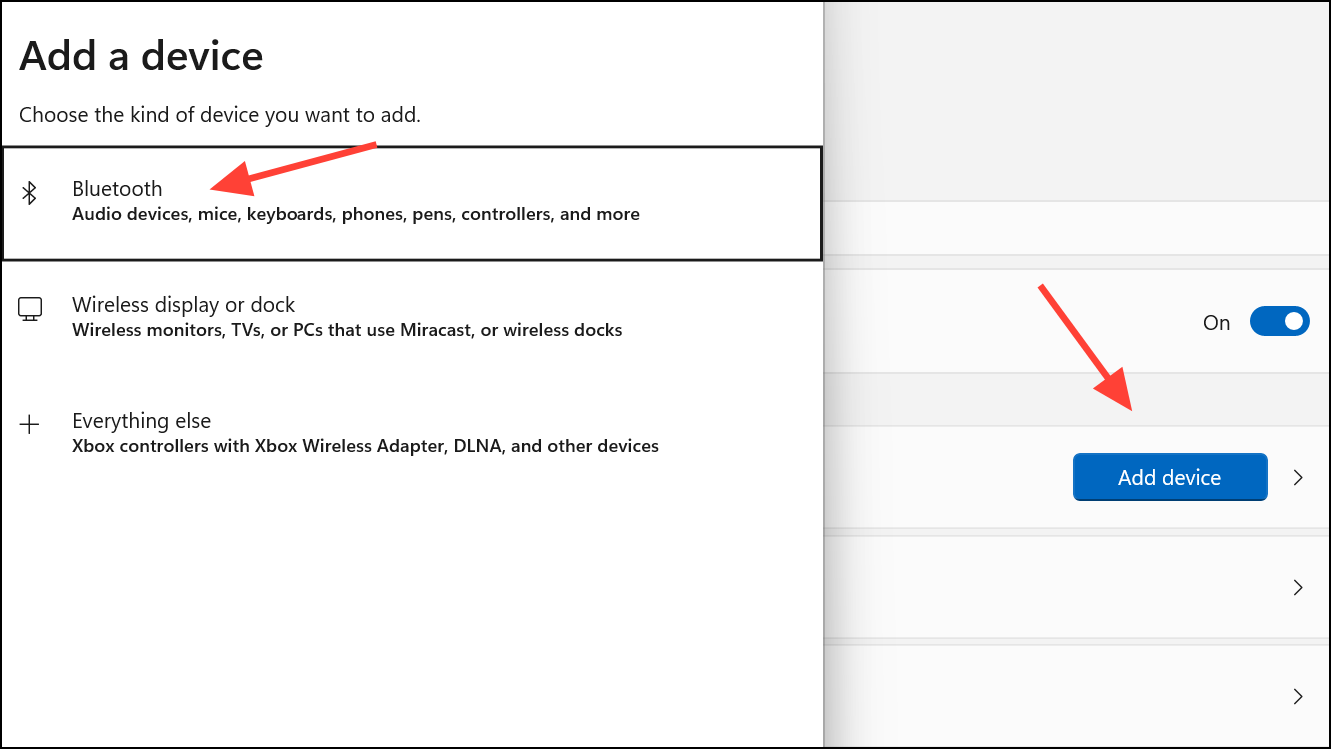
Step 3: On your PC, under Bluetooth & devices, click Add device, then select Bluetooth. Choose your printer from the list of available devices and follow prompts to complete pairing and installation.
Step 4: Print a test page to confirm the printer is operating as expected.
Troubleshoot Connection Issues and Driver Problems
Connection failures often result from mismatched Wi-Fi networks, outdated drivers, or Windows security settings. To resolve these obstacles:
- Ensure your printer and PC are on the same wireless network. Double-check SSID (network name) and security protocol compatibility (e.g., WPA2-Personal).
- Forget unused or conflicting Wi-Fi networks on your PC to prevent confusion during printer discovery. Go to
Settings>Network & internet>Wi-Fi>Manage known networksand remove outdated entries. - Run Windows Update to install the latest printer drivers. If your printer is not detected, visit the manufacturer’s website and download the newest Windows 11-compatible driver.
- On ARM-based PCs or Windows 11 S Mode, use only drivers and apps from the Microsoft Store or Windows Update, as third-party installers may be blocked.
- If prompted for network credentials when connecting to a shared printer, confirm the username and password for the host PC are correct. Network sharing requires the host PC to be powered on and connected.
Share a Printer Across Multiple Windows 11 PCs
Sharing a printer over your home or office network allows multiple devices to access a single printer. Begin by connecting the printer to a primary Windows 11 PC and ensuring it’s working locally.
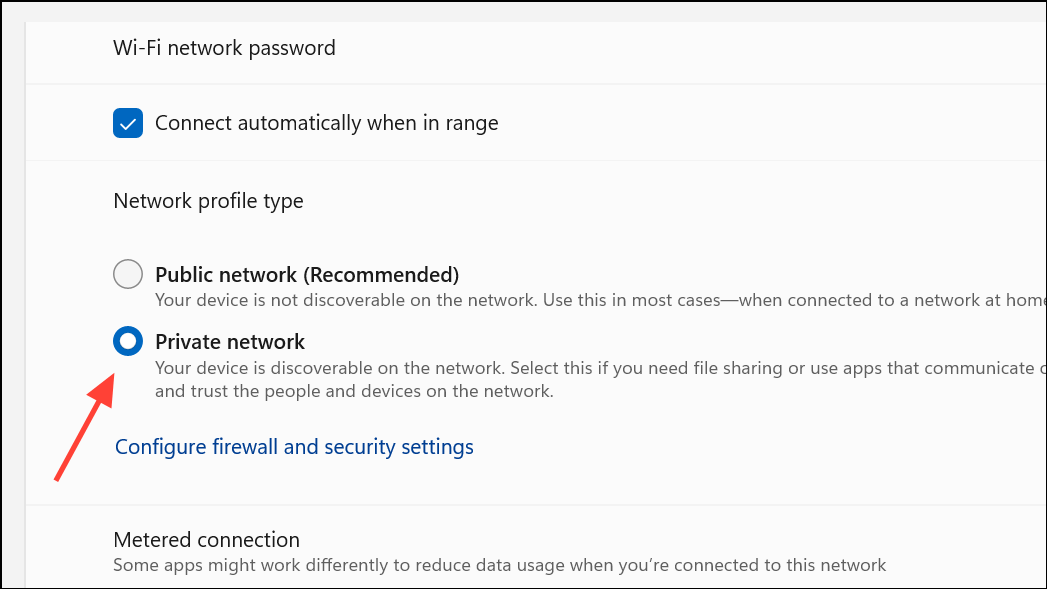
Step 1: Set your network profile to Private for trusted sharing. Go to Settings > Network & internet, select your network, and confirm Private network is chosen.
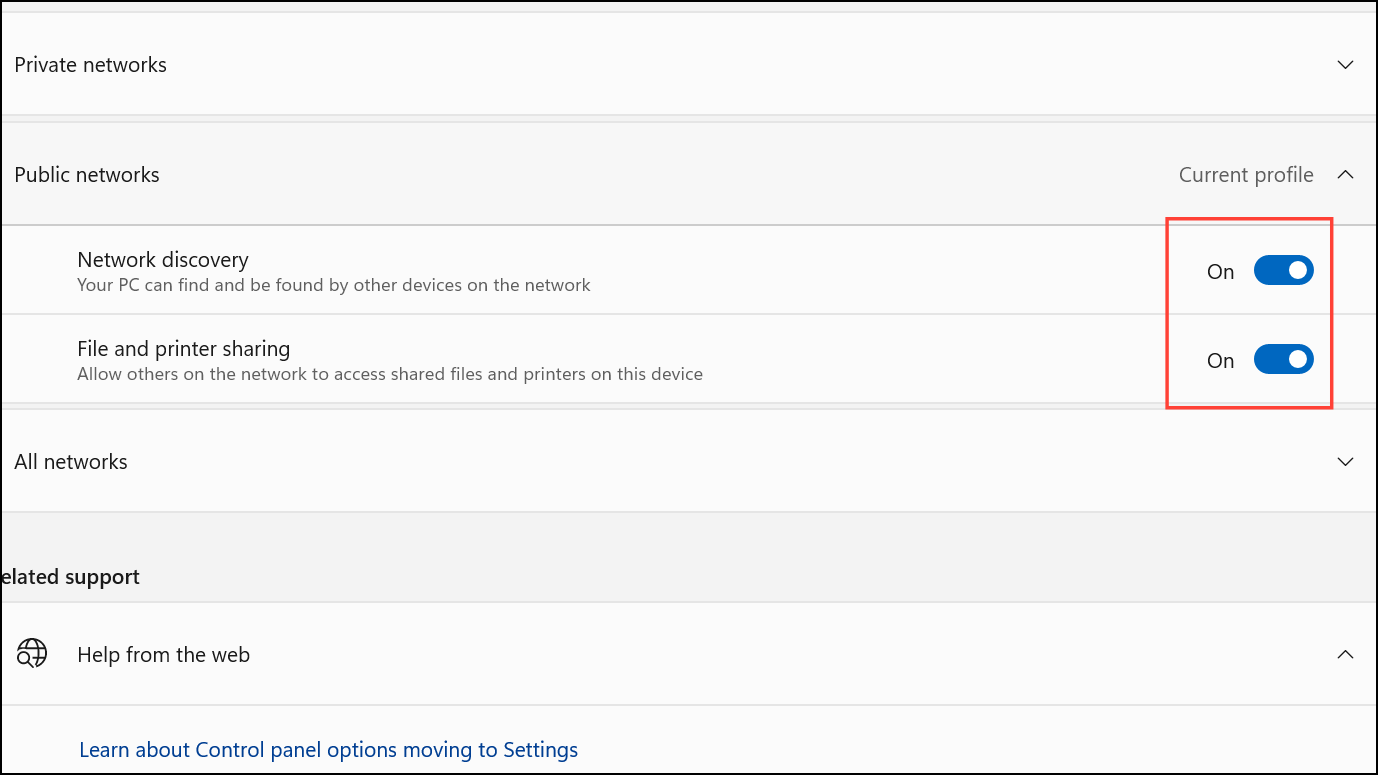
Step 2: Enable network discovery and printer sharing. In Settings > Network & internet > Advanced network settings > Advanced sharing settings, turn on both Network discovery and File and printer sharing for private networks.
Step 3: Share the printer by selecting it under Printers & scanners, opening Printer properties, and enabling Share this printer in the Sharing tab. Note the share name for use on other PCs.
Step 4: On secondary PCs, add the shared printer from Printers & scanners by clicking Add device. If the printer isn’t listed, select Add manually, choose Select a shared printer by name, and enter the path using one of these formats:
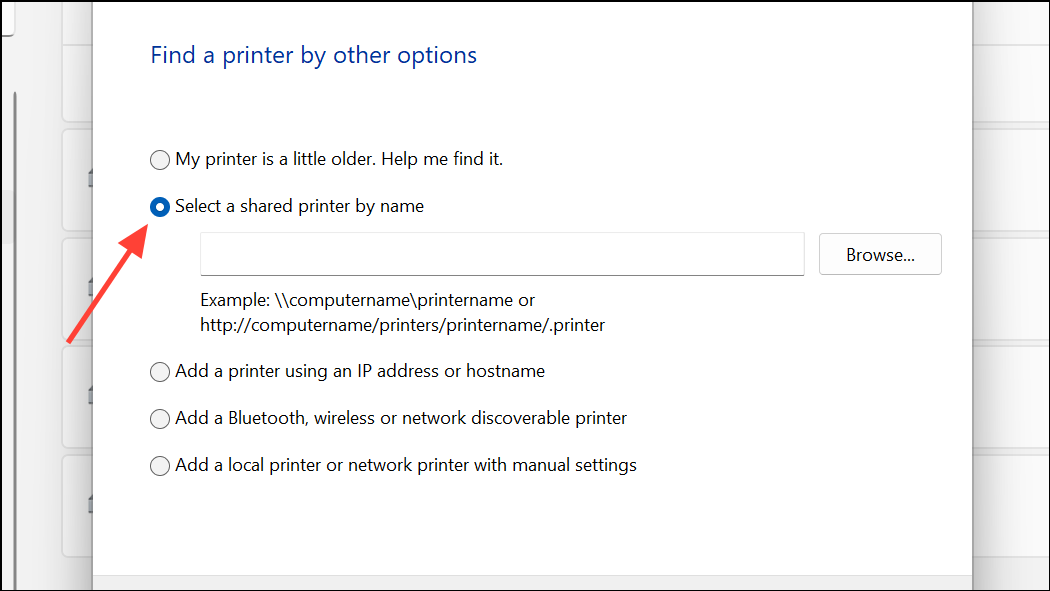
\\computer_name\printer_name\\ip_address\printer_name
Follow prompts to complete installation, entering credentials if required.
Wireless printing on Windows 11 delivers flexibility and efficiency once the printer and PC are correctly configured on the same network. If automatic setup fails, manual IP configuration or sharing options provide alternative paths to reliable printing.