
Shortcuts and Automator in macOS 26 offer robust automation options, but the real productivity gains happen when workflows can run automatically—triggered by specific events instead of manual initiation. Setting up automations based on triggers like time, app launches, or system changes eliminates repetitive actions and speeds up daily routines. Here’s how to build and optimize trigger-based automations in macOS 26, using both native and third-party solutions.
Automating Workflows with Shortery for Advanced Triggers
Shortcuts on macOS has historically lagged behind its iOS counterpart in automation triggers, lacking the Automations tab that allows time-based, app-based, or system event triggers. macOS 26 addresses this gap natively, but you don’t have to wait—Shortery, a free app, lets you assign a wide range of triggers to your Shortcuts workflows right now.
Step 1: Download and install Shortery from the Mac App Store. Shortery enables triggers such as app launches, Focus mode changes, folder updates, display and power states, and scheduled times. This flexibility means you can automate actions like running a backup when a drive mounts or switching audio outputs when a specific app opens.

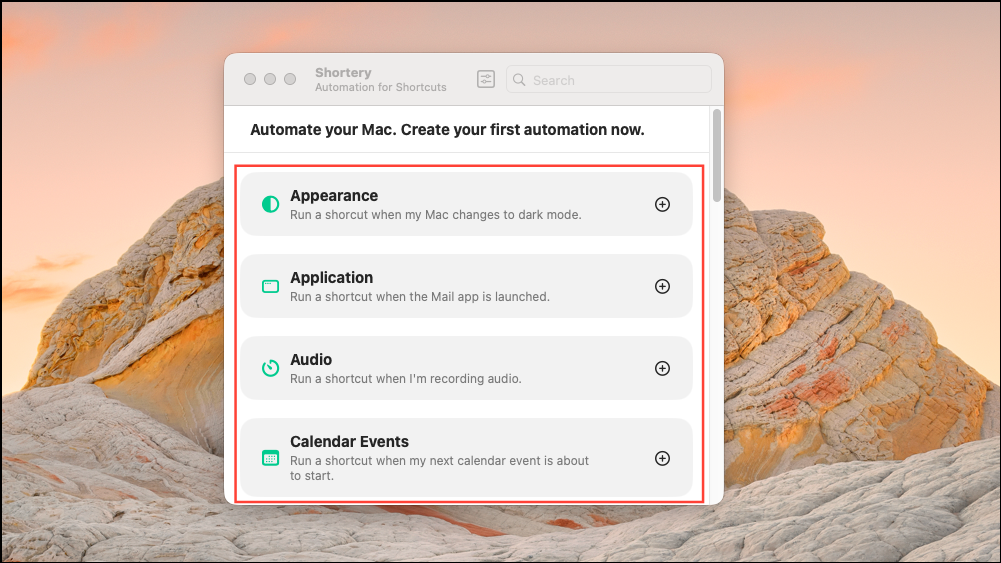
Step 2: Open Shortery and select “Add Shortcut Trigger.” You’ll see a list of trigger types, including Application, Time, Folder, Power, and more. Choose the trigger that matches your desired event—such as launching an app, connecting to a network, or a specific time of day.
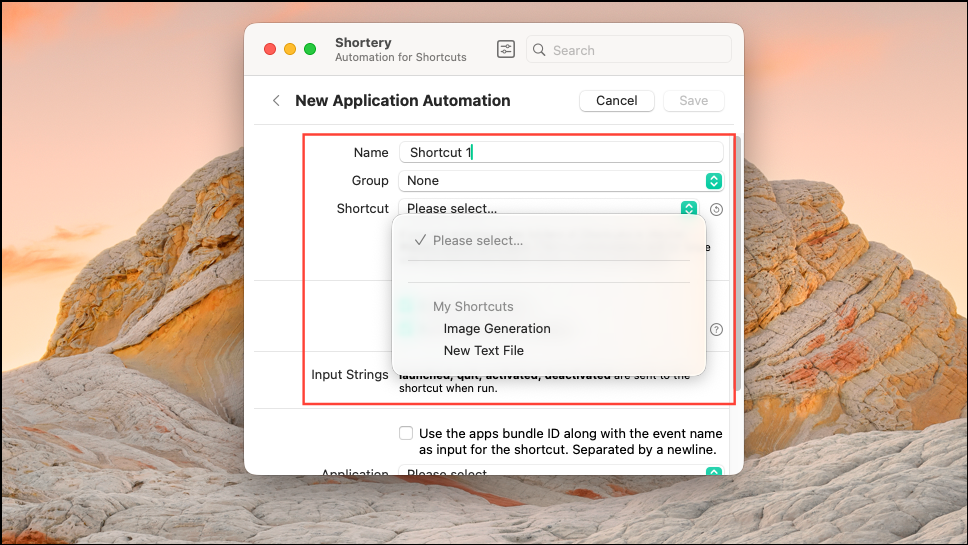
Step 3: Assign a name to the Shortcut and choose a Group as well as an action for it. You can add the Shortcut to an existing Group if it exists, or create a new one for it.
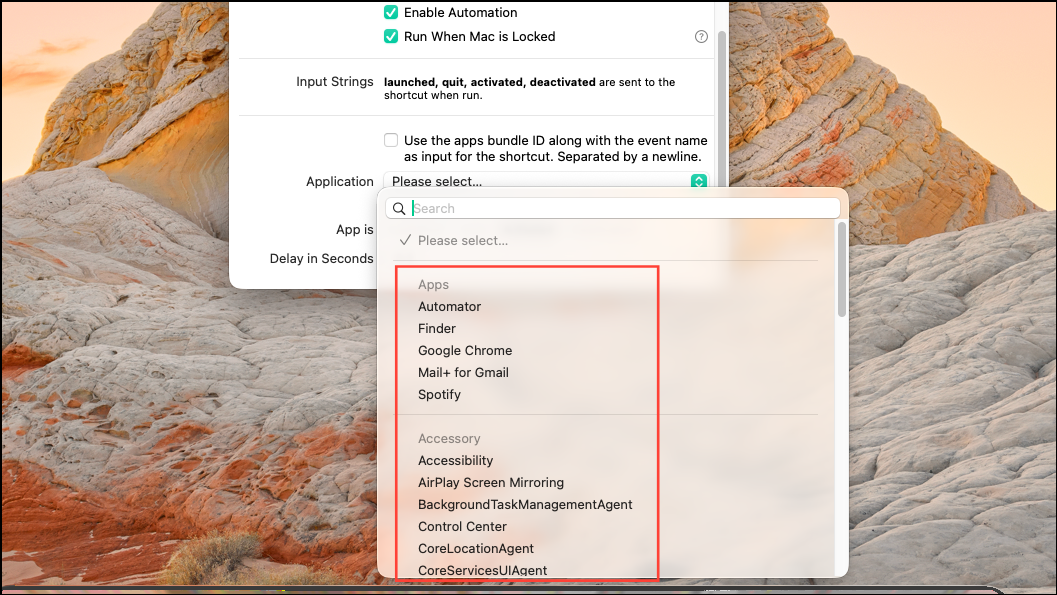
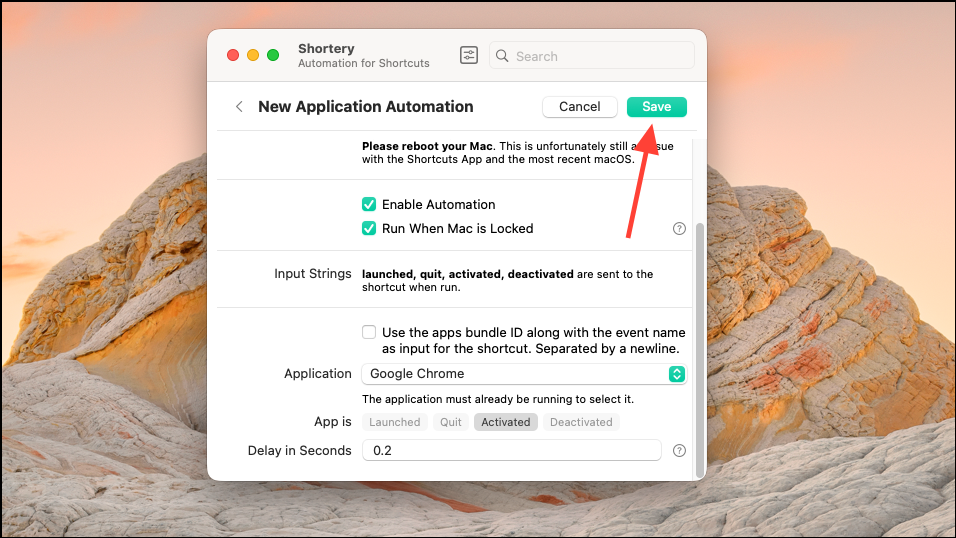
Step 4: Scroll down and click the Application dropdown menu to select an application that will launch when you use the Shortcut.
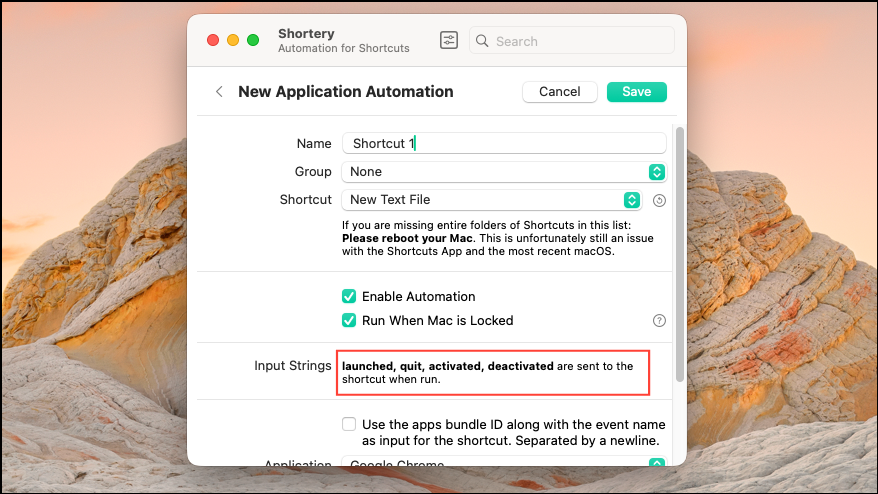
Step 5: Configure trigger options. For app triggers, you can specify whether the Shortcut runs when the app launches, quits, becomes active, or inactive. For time-based triggers, set the schedule as needed.
Step 6: Save your trigger. Shortery will now monitor for the specified event and automatically run the linked Shortcut when it occurs. This setup removes the need to remember manual steps or intervene in routine tasks.
Shortery’s free version covers most trigger types, with advanced options available via a one-time in-app purchase. For most users, the basic feature set is sufficient for powerful automations.
Using Automator for Folder and File-Based Triggers
Automator remains a staple for file and folder automations on Mac. Folder Actions let you monitor directories for changes—such as new downloads or specific file types—and process them automatically.
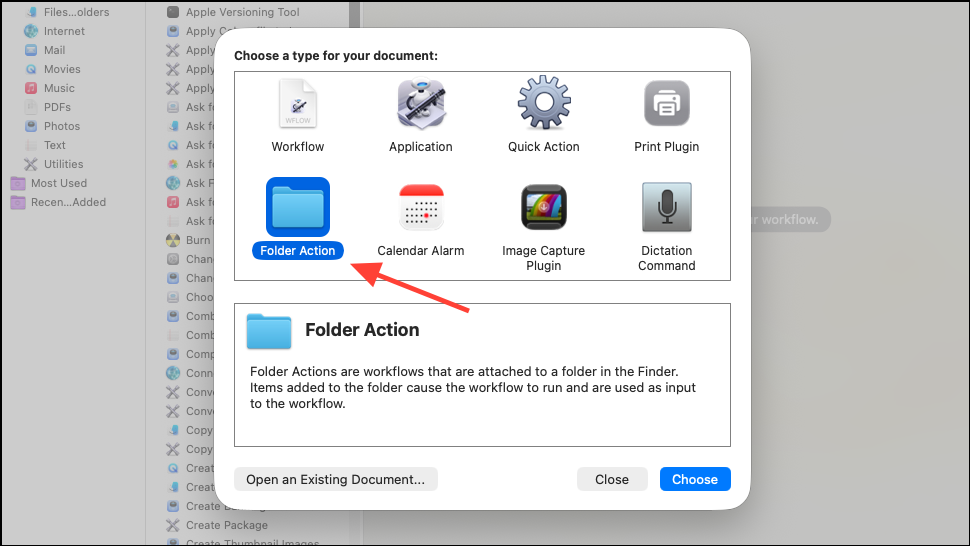
Step 1: Launch Automator and select “Folder Action” as the new workflow type. This workflow will attach to a specific folder and respond to changes within it.
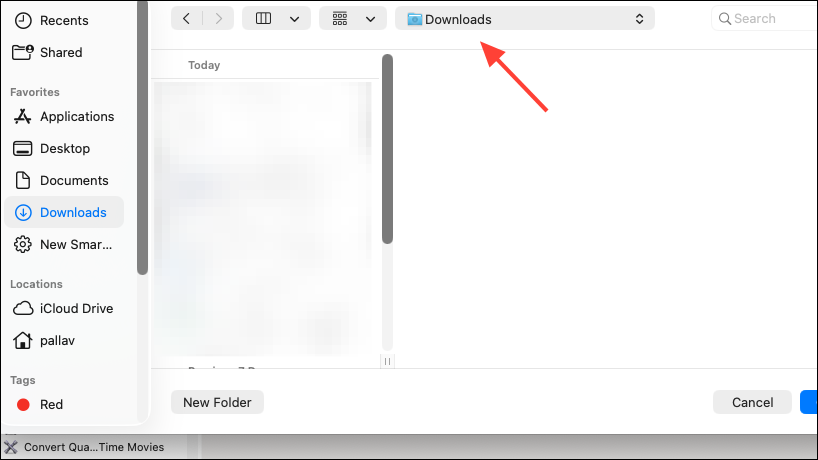
Step 2: Choose the target folder, such as Downloads or a custom directory where files accumulate.
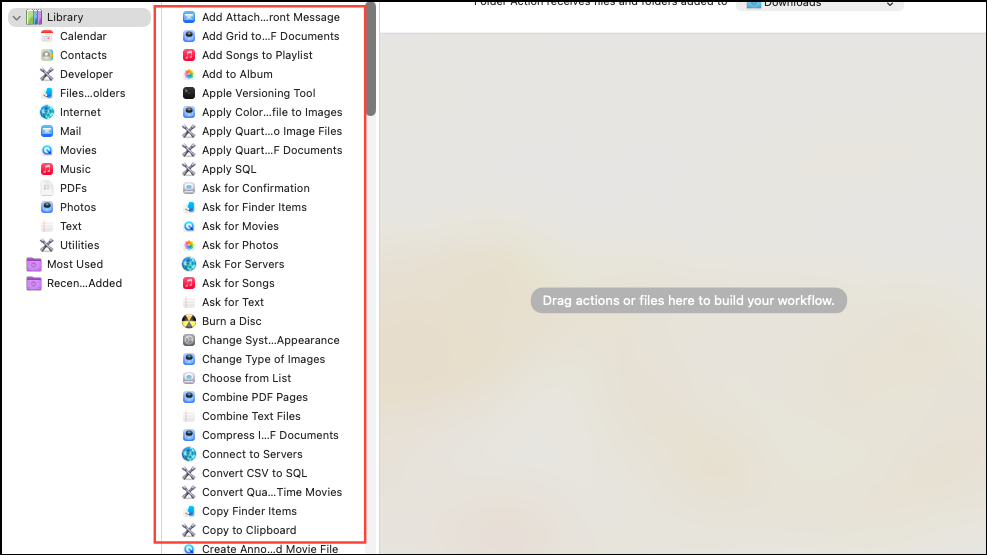
Step 3: Add actions to define what happens when files enter the folder. For example, filter for PDFs or images, then move them to organized subfolders, rename them, or trigger a script for further processing.
Step 4: Save the workflow. Automator will now monitor the folder and execute the workflow automatically whenever files matching your criteria appear.
Automator’s Folder Actions are ideal for sorting, archiving, or processing files without manual intervention, and they pair well with Shortcuts for more complex automations.
Creating Quick Action Workflows for Contextual Automation
Quick Actions in Automator allow you to run workflows directly from Finder, the Services menu, or the Touch Bar. While not trigger-based in the background, they streamline repetitive tasks by making automations instantly accessible wherever you work.
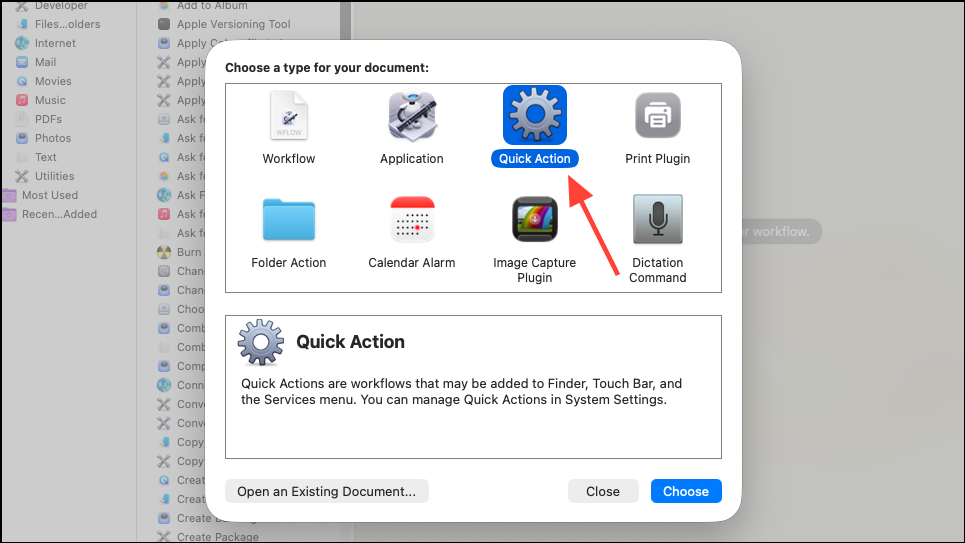
Step 1: Open Automator and select “Quick Action” as the workflow type. This workflow can receive files, folders, or text as input from Finder or other apps.
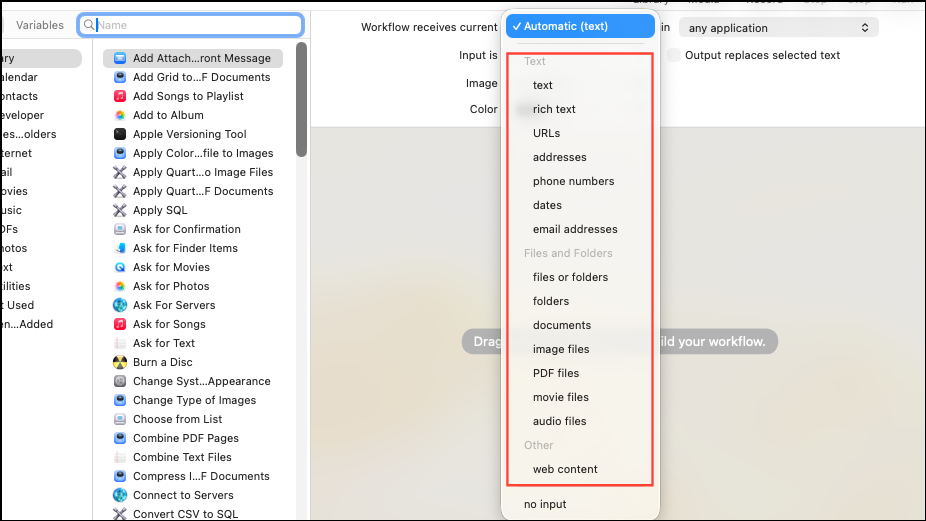
Step 2: Specify the input type—such as files, folders, or text—and configure any additional options, like whether the workflow output replaces selected text or is displayed as a menu item.
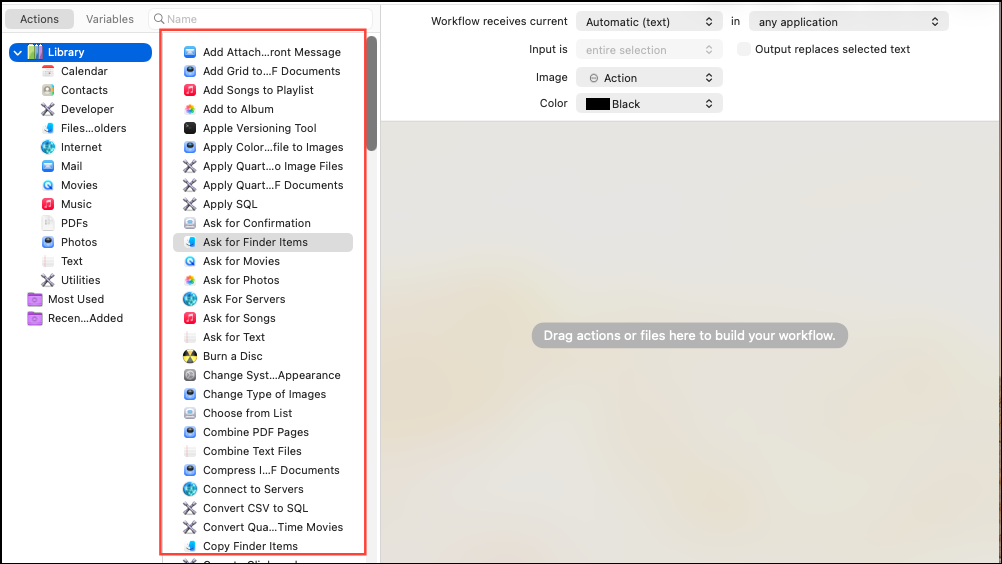
Step 3: Add the actions you want to automate. For example, batch-renaming files, resizing images, or running scripts.
Step 4: Save the Quick Action. It will now appear in Finder’s context menu, the Services menu, and can be mapped to keyboard shortcuts or added to the Touch Bar for rapid access.
Quick Actions are best for tasks you perform frequently but still want some manual control over, like processing selected files or text.
Setting Up Keyboard Shortcuts for Instant Workflow Execution
Mapping automations to keyboard shortcuts accelerates access to your most-used workflows. This method is especially useful for Quick Actions or Shortcuts that you want to trigger on demand without navigating menus.
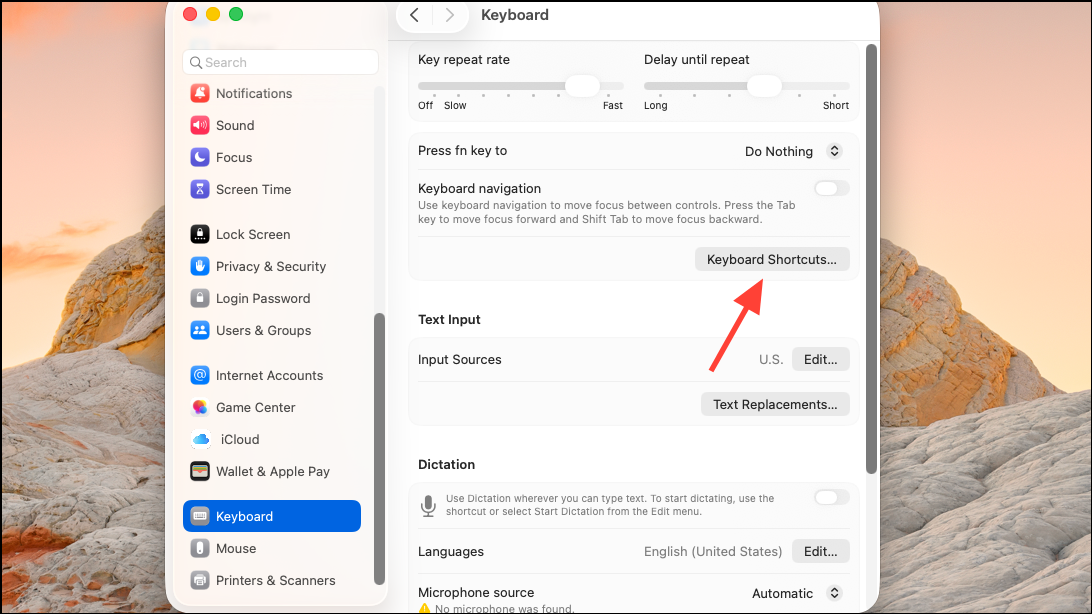
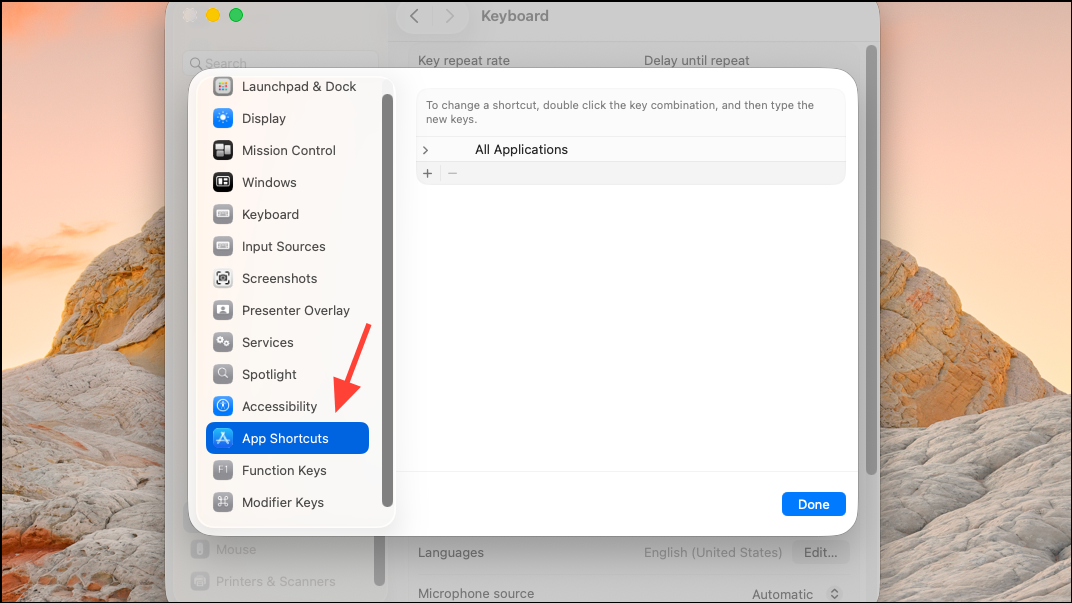
Step 1: After creating a Quick Action or Shortcut, open System Settings and navigate to Keyboard > Keyboard Shortcuts.
Step 2: Find the Services or Shortcuts section, locate your workflow, and assign a custom keyboard shortcut using the ⌃⇧⌘ (Control-Shift-Command) or any preferred combination.
Step 3: Test the shortcut to ensure it runs the automation as expected. This approach is ideal for actions like opening key websites, toggling audio devices, or inserting date stamps.
Leveraging Third-Party Tools for Event-Based Automation
For those seeking even more granular control, third-party utilities like EventScripts and Trypa offer advanced event triggers—such as connecting to Wi-Fi networks, mounting drives, or detecting Bluetooth devices. These tools can run shell scripts, AppleScripts, or Shortcuts in response to a wide variety of system events.
Step 1: Download and install the event-based automation tool of your choice. EventScripts and Trypa are popular options, each supporting a broad range of triggers.
Step 2: Open the app and browse the available event triggers—ranging from network changes, device connections, app launches, to power and display events.
Step 3: Link the desired event to a script or Shortcut. For example, purge system RAM when quitting a virtual machine, or run a backup script when a specific drive mounts.
Step 4: Save and activate the automation. The tool will now monitor for your chosen events and execute the linked actions automatically, providing a level of automation not available through built-in macOS tools alone.
While these apps may require a small purchase for full functionality, they can automate nearly any scenario, especially when paired with scripting knowledge.
Setting up automation triggers in macOS 26 streamlines repetitive tasks, cuts manual steps, and frees up time for more valuable work. Experiment with Shortery, Automator, and third-party tools to build a workflow that matches your daily habits and needs.