
Replacing the power core is the key mechanic in TASK Master for Borderlands 4. Kilo calls out rapid-fire inputs that expire after roughly 4–6 seconds, so the fastest path to success is learning how the core swaps work and executing the full button/lever sequence cleanly.
Unlock and pickup
TASK Master unlocks after finishing this side-quest chain: The Kairos Job → Free for the TASKing → TASK and Ye Shall Receive. Pick up TASK Master from Kilo in The Launchpad (The Howl, The Fadefields).
Reach the Order pod
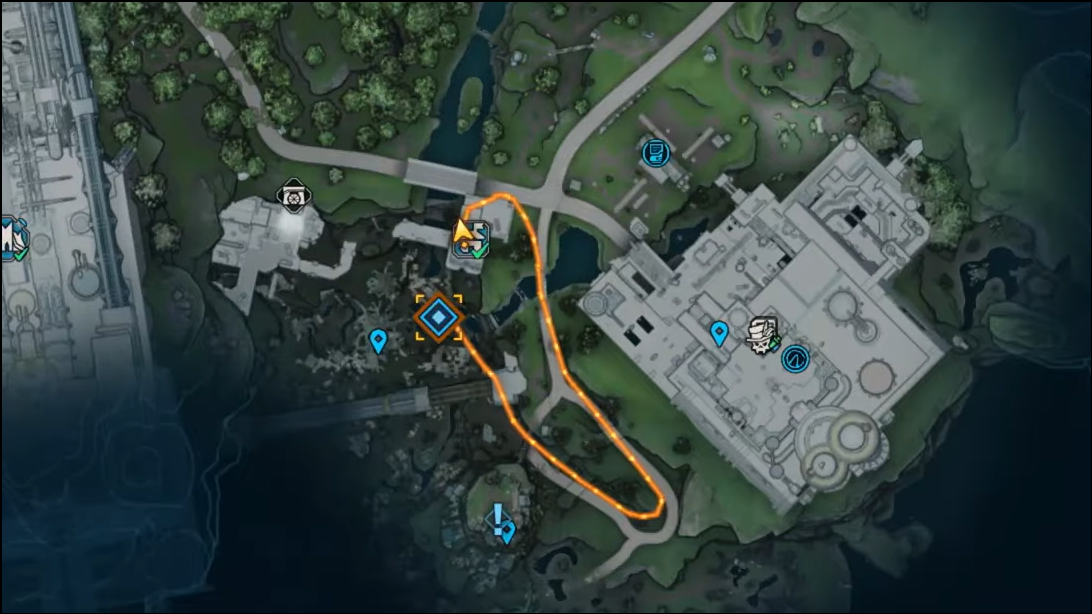
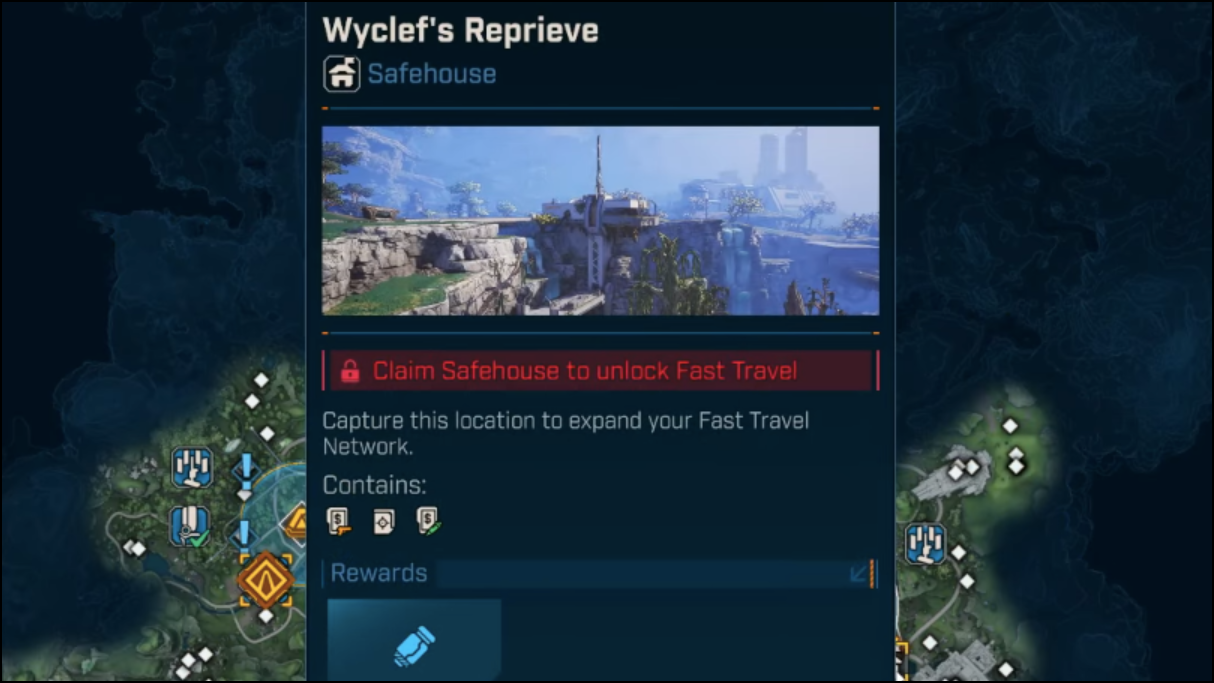
Travel to Mirehome in the Idolator’s Noose region (southeast of The Howl). The Order pod sits on a ruined building. If you have Wyclef’s Reprieve Safehouse, fast travel there to shorten the run.
Power core mechanics at a glance
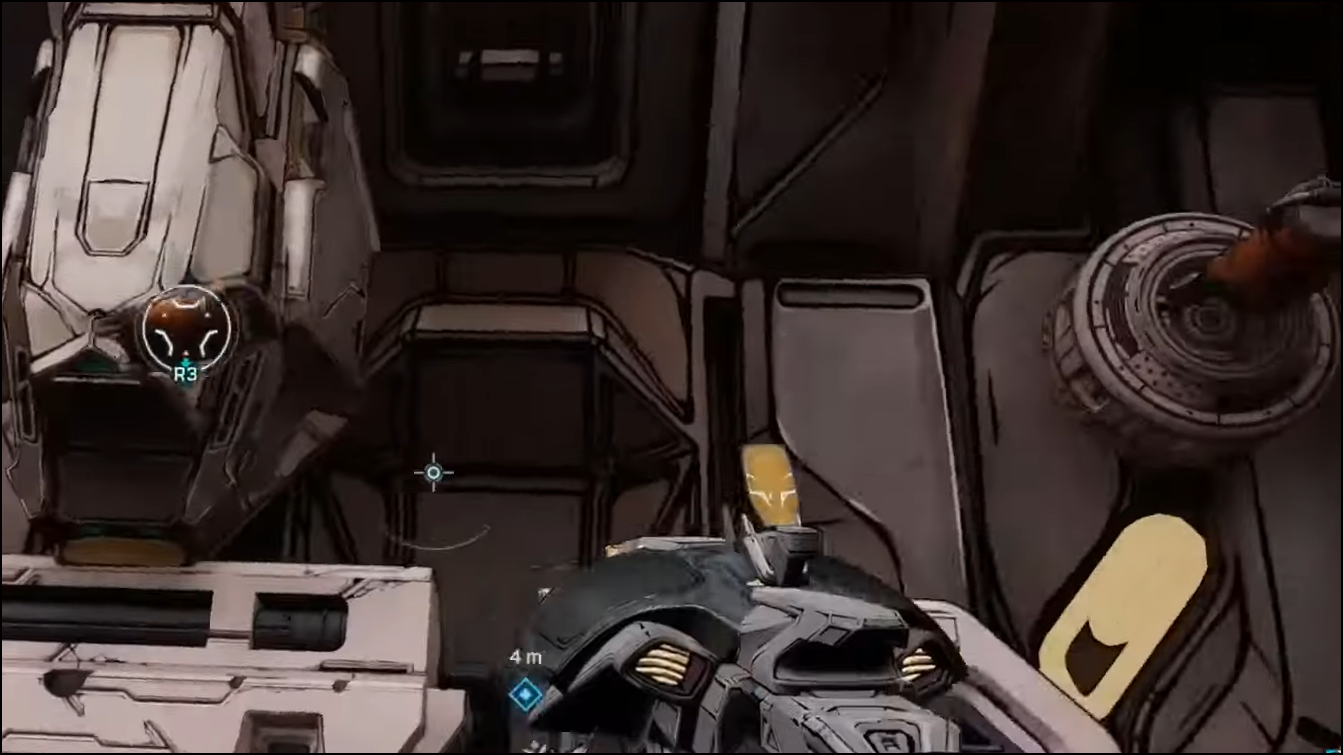
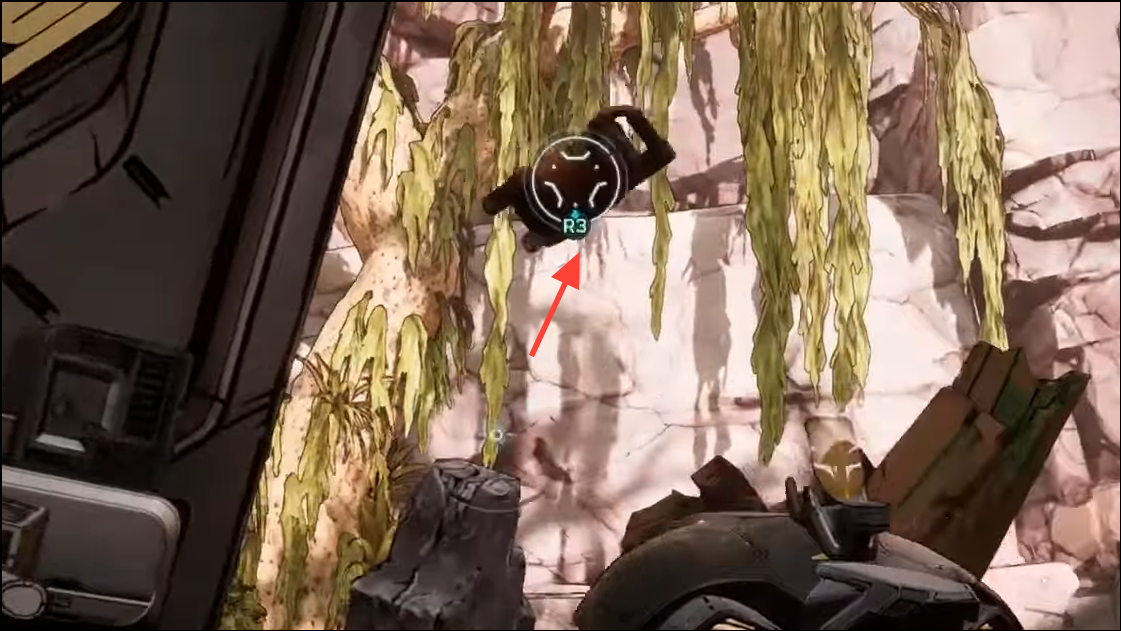
The pod has two core points you’ll interact with:
- Upper-left: where you pull a core from.
- Upper-right: round socket where you place the core.
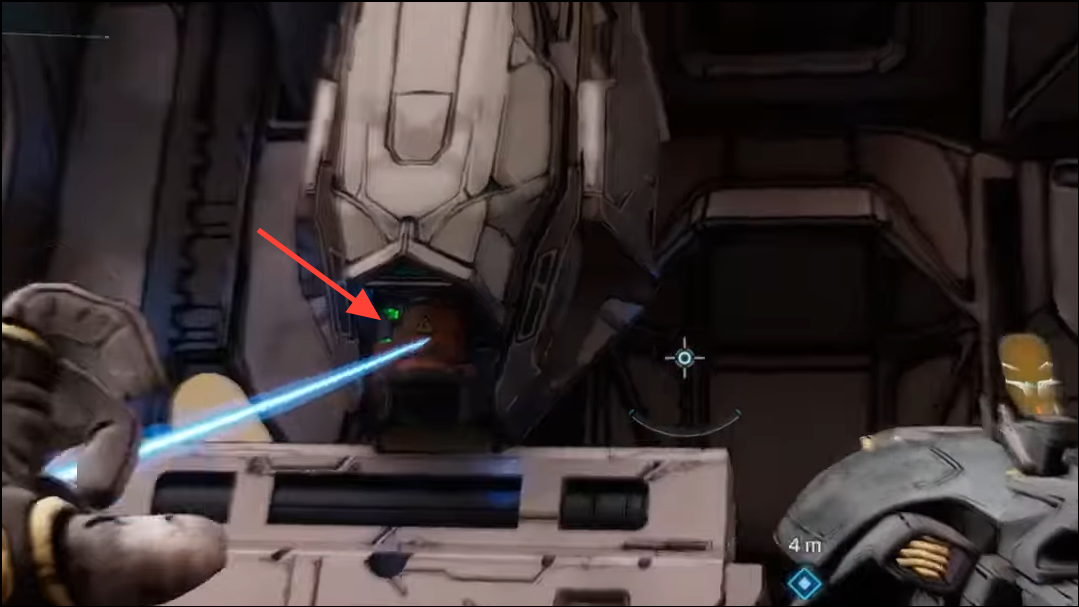
Use the grappling hook to handle the core. “Replace power core” means pull from upper-left and throw into the upper-right socket. “Remove power core” means grab the core from upper-right and throw it away (off the pod). Kilo also mixes in trick prompts like “don’t pull the lever”; on those, do nothing and wait for the next call. There’s a difference between “press” (use your interact) and “melee” (hit it with a melee attack).
Replace/remove the core reliably
Step 1: Face the pod so both the upper-left storage point and upper-right socket are in view. This reduces camera pans and speeds up throws.
Step 2: For “Replace power core,” grapple the core from the upper-left, then aim the reticle at the round upper-right socket and throw. A clean, short toss is fastest and most reliable.
Step 3: For “Remove power core,” grapple the core from the upper-right socket and immediately throw it off the pod so it no longer occupies the socket. Avoid dropping it at your feet where it can be re-grabbed by accident.
Step 4: Before any “melee button” prompt, make sure you’re not holding a core. If you are, toss it clear first; melee won’t register while holding the core.
Step 5: When Kilo says “don’t [action],” stand still until the next prompt appears. Any input during a “don’t” instruction fails the sequence.

Full input sequence (timed prompts)
Perform each instruction promptly; ignore inputs that begin with “Don’t.”
Step 1: Flip switch.
Step 2: Replace power core.
Step 3: Pull lever.
Step 4: Don’t flip switch (wait).
Step 5: Press button.
Step 6: Melee button.
Step 7: Shoot panel.
Step 8: Remove power core.
Step 9: Don’t pull lever (wait).
Step 10: Shoot panel.
Step 11: Flip switch.
Step 12: Melee button.
Step 13: Replace power core.
Step 14: Press button.
Step 15: Press button.
Step 16: Melee button.
Step 17: Press button.
Step 18: Remove power core.
Step 19: Flip switch.
Step 20: Pull lever.
Step 21: Shoot panel.
Step 22: Pull lever.
Step 23: Flip switch.
Step 24: Replace power core.
When done correctly, the pod opens and reveals a reward chest.
Troubleshooting: sequence failures and common pitfalls
Step 1: If “Remove power core” fails immediately, confirm you’re pulling the core from the upper-right socket and throwing it away from the pod. Removing the wrong core or letting it fall back onto the machine can invalidate the step.
Step 2: If “Melee button” doesn’t register, you’re probably still holding a core. Toss it clear first, then melee.
Step 3: If inputs time out, reposition so all controls and the core sockets are within a short camera swing. Timers are roughly 4–6 seconds, and long pans cost you steps.
Step 4: If “don’t” steps keep failing, remove your finger from interact/melee/fire during those prompts. Even a micro-input can reset the sequence.
Step 5: Missed “Shoot panel” inputs can be a crosshair issue. Aim center-mass on the panel and fire a quick, single shot to save time for the next prompt.
Rewards
- EXP.
- Cash.
- Eridium.
- Random weapon from the pod’s chest.
Mastering the two core moves and keeping calm during “don’t” prompts makes this puzzle straightforward. After a clean run, grab your loot and move on to your next bounty.