
Switching the Recycle Bin icon in Windows 11 streamlines desktop customization, giving your workspace a look that matches your preferences or retro themes. The process relies on built-in system settings, so you don’t need third-party tools or registry edits. This approach ensures that both the empty and full states of the Recycle Bin reflect your chosen style.
Change the Recycle Bin Icon Using Desktop Icon Settings
Step 1: Open the Settings app by pressing Win + I. This shortcut launches the central configuration panel for your Windows device.
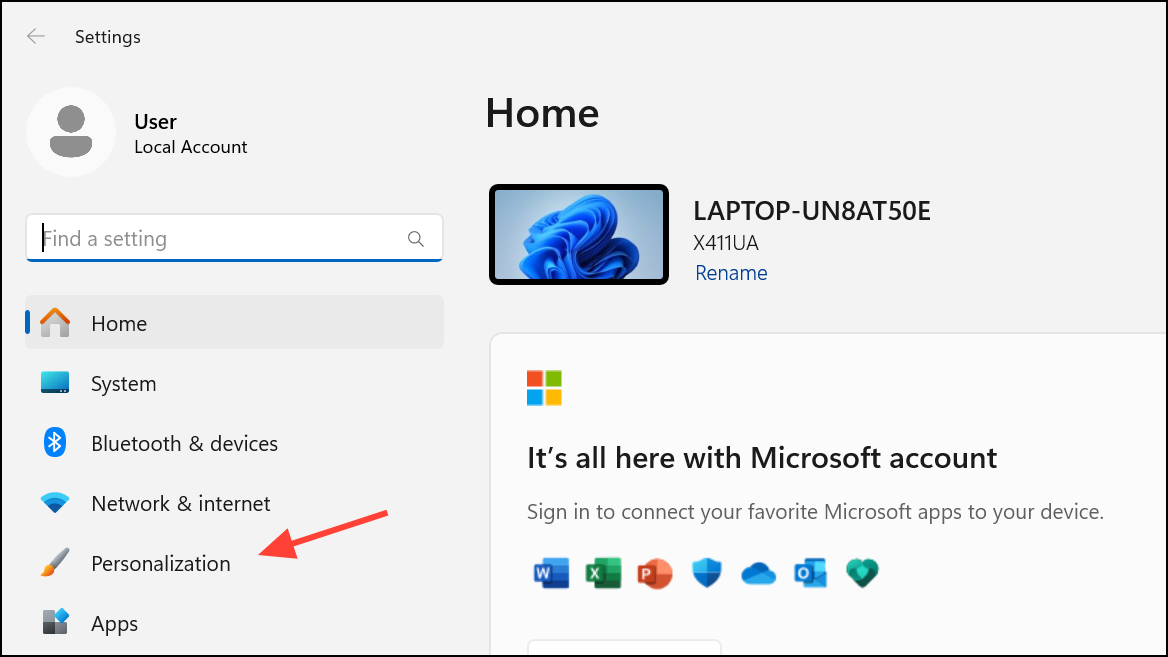
Step 2: In the Settings window, select Personalization from the left sidebar. This section manages appearance-related options, including background, colors, and themes.
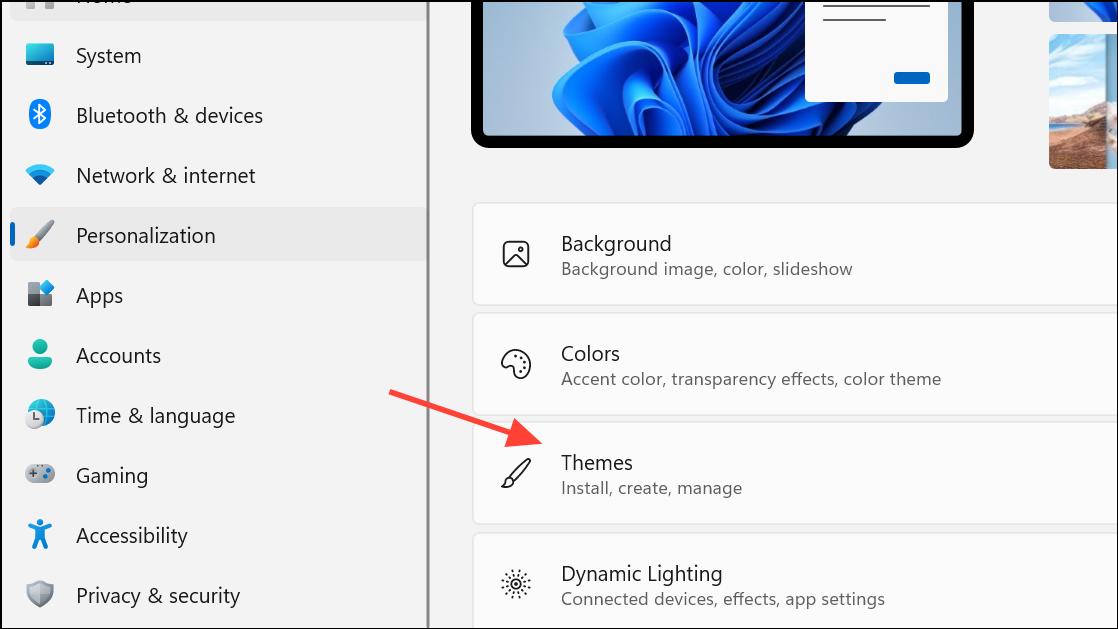
Step 3: Within Personalization, click on Themes. This area controls theme-related features, including desktop icons.
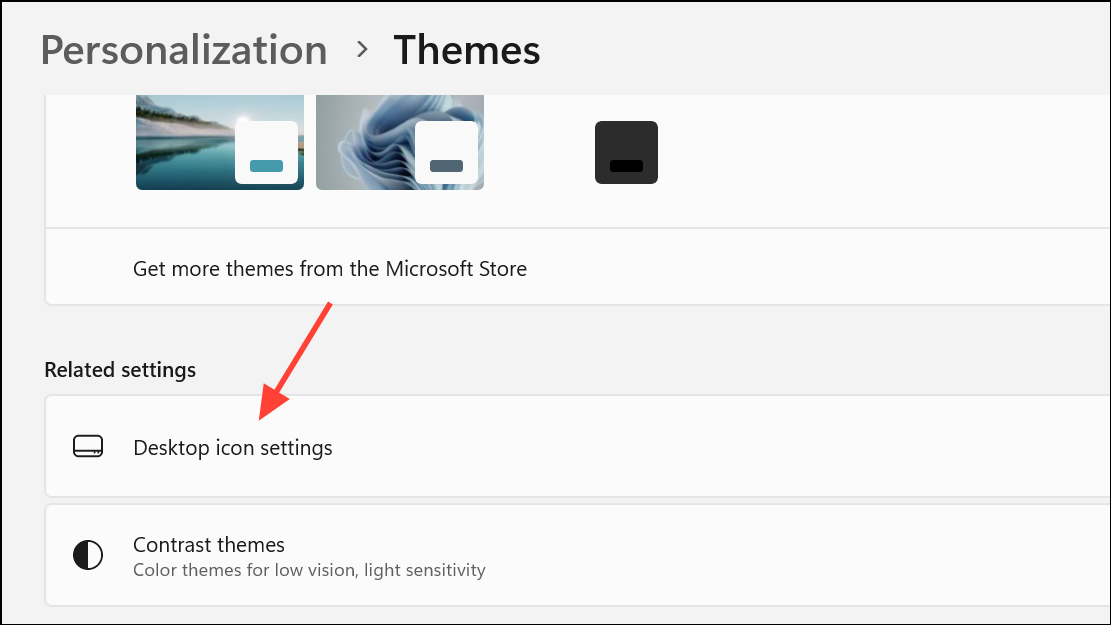
Step 4: Scroll down and select Desktop icon settings under the “Related settings” section. This opens a dialog box listing all system icons available for the desktop.
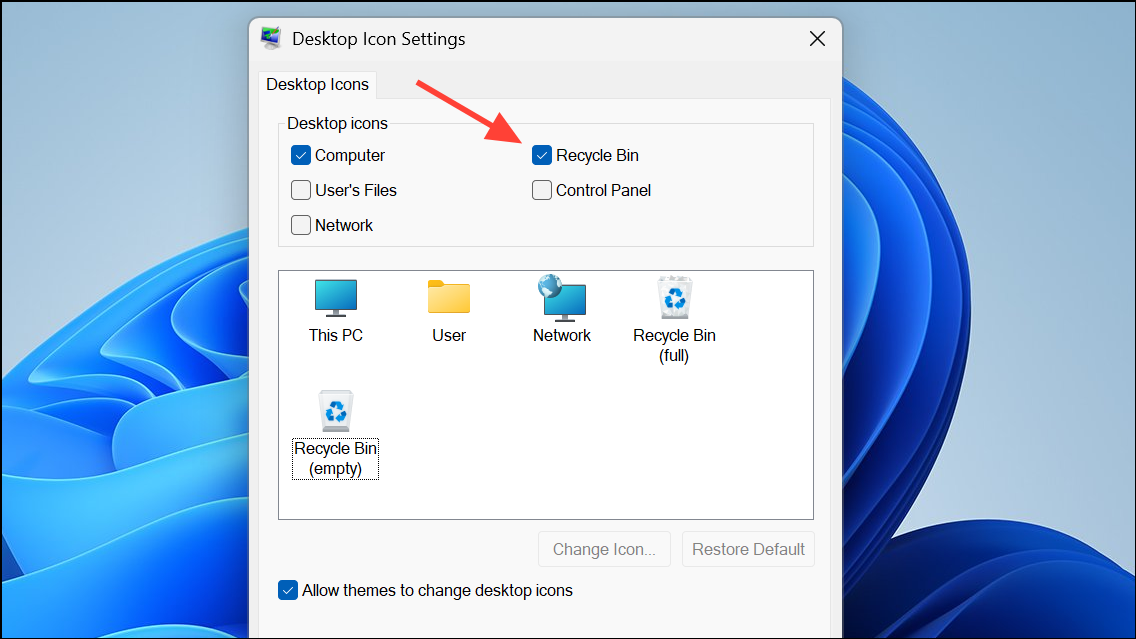
Step 5: In the Desktop Icon Settings dialog, select either Recycle Bin (full) or Recycle Bin (empty)—or both, if you want to change each state individually. Click the Change Icon button. This brings up a selection window displaying available icons.
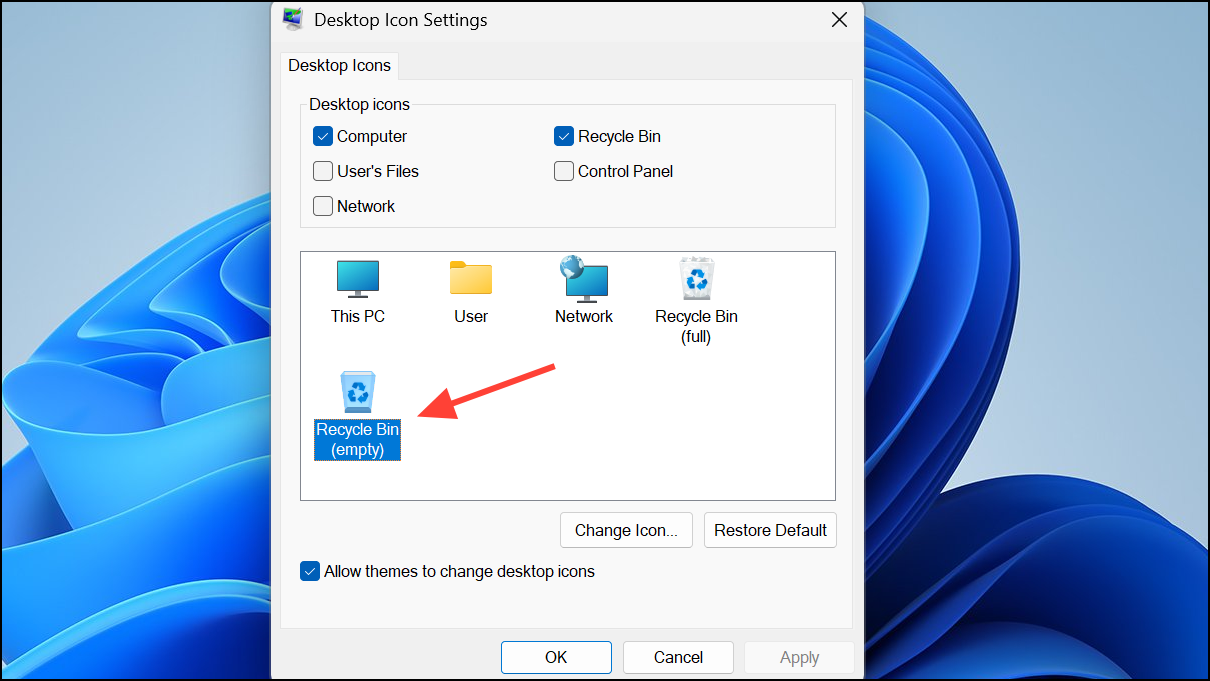
Step 6: Pick an icon from the built-in list or click Browse to navigate to a custom .ico file on your computer. For users aiming for a classic or Windows 98 look, download or create an appropriate icon in .ico format before this step.
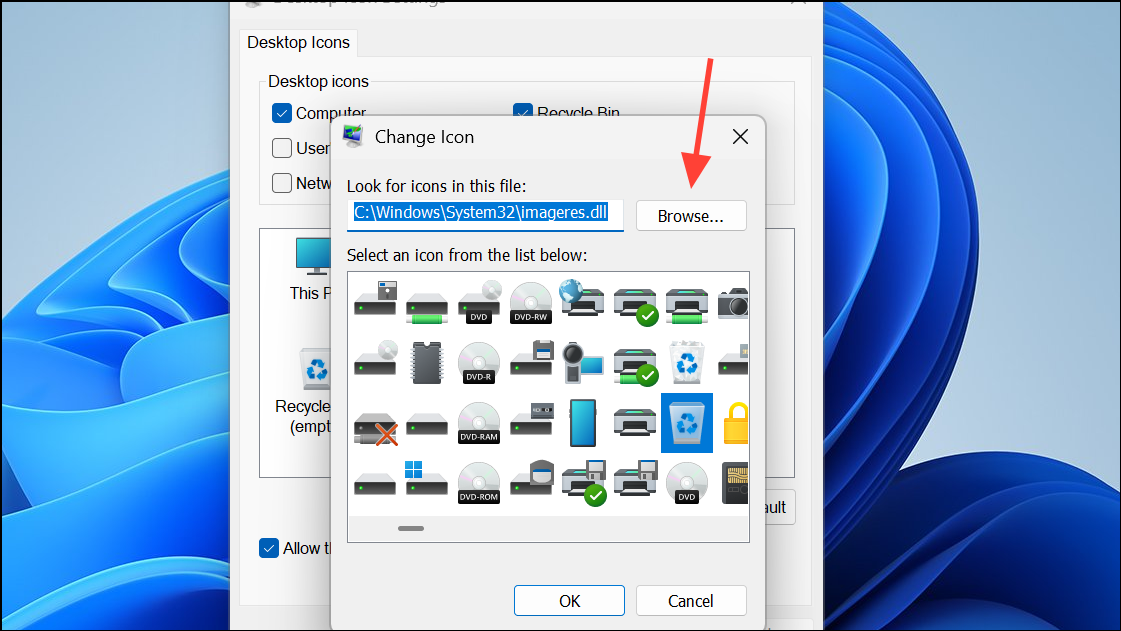
Step 7: After selecting your icon, click OK to close the icon picker, then Apply and OK in the Desktop Icon Settings dialog to confirm your changes. The Recycle Bin icon updates immediately on your desktop.
To prevent themes from automatically changing your custom icon, uncheck the option labeled Allow themes to change desktop icons before applying changes. This setting ensures that your preferred icon remains in place even when switching Windows themes.
Alternative: Create a Custom Recycle Bin Shortcut with a New Icon
If the standard method does not work due to profile restrictions or system issues, you can create a custom shortcut that functions as a Recycle Bin link and assign it a unique icon.
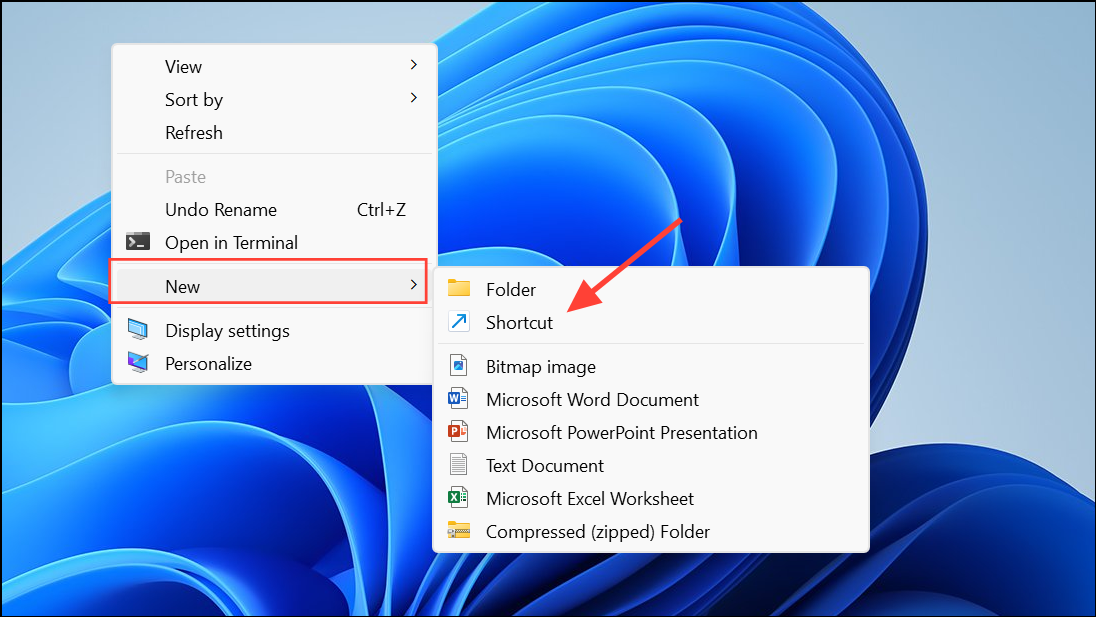
Step 1: Right-click an empty area on your desktop and choose New > Shortcut. This launches the shortcut creation wizard.
Step 2: In the location field, paste the following command:
explorer.exe shell:RecycleBinFolder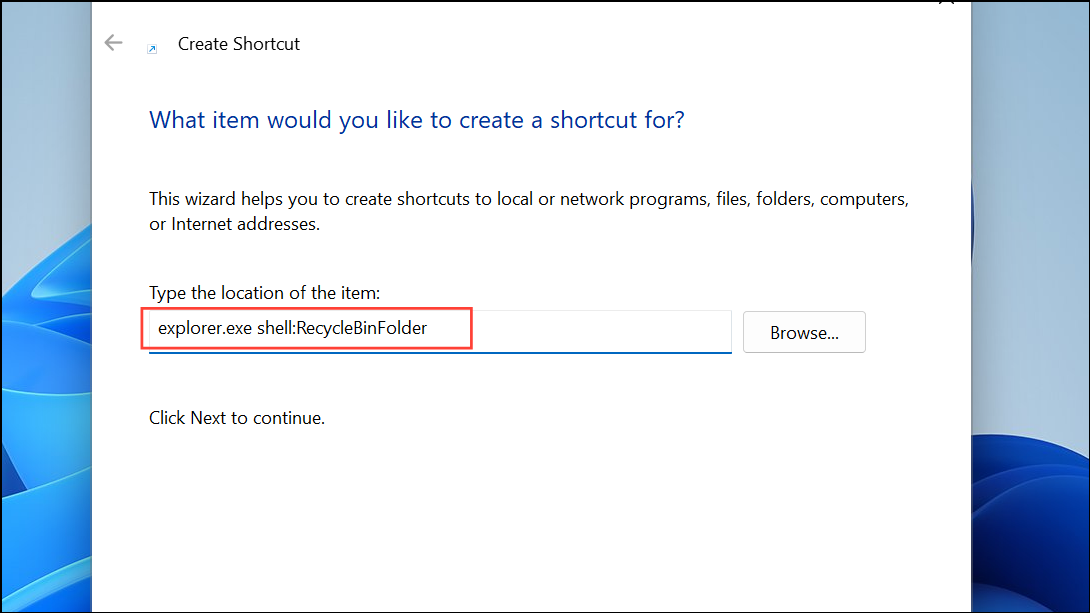
This command opens the Recycle Bin folder when the shortcut is used.
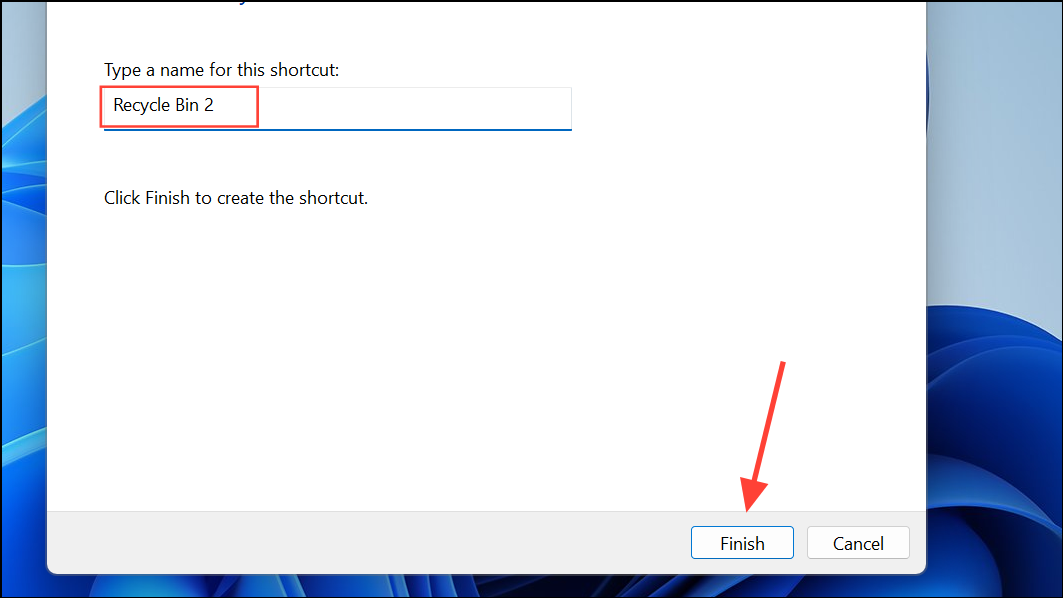
Step 3: Click Next, then name your shortcut (for example, “Recycle Bin”). Click Finish to place the shortcut on your desktop.
Step 4: Right-click the new shortcut and select Properties.
Step 5: Under the Shortcut tab, click Change Icon. Browse for your preferred .ico file or select from the default system icons, then confirm your choice with OK.
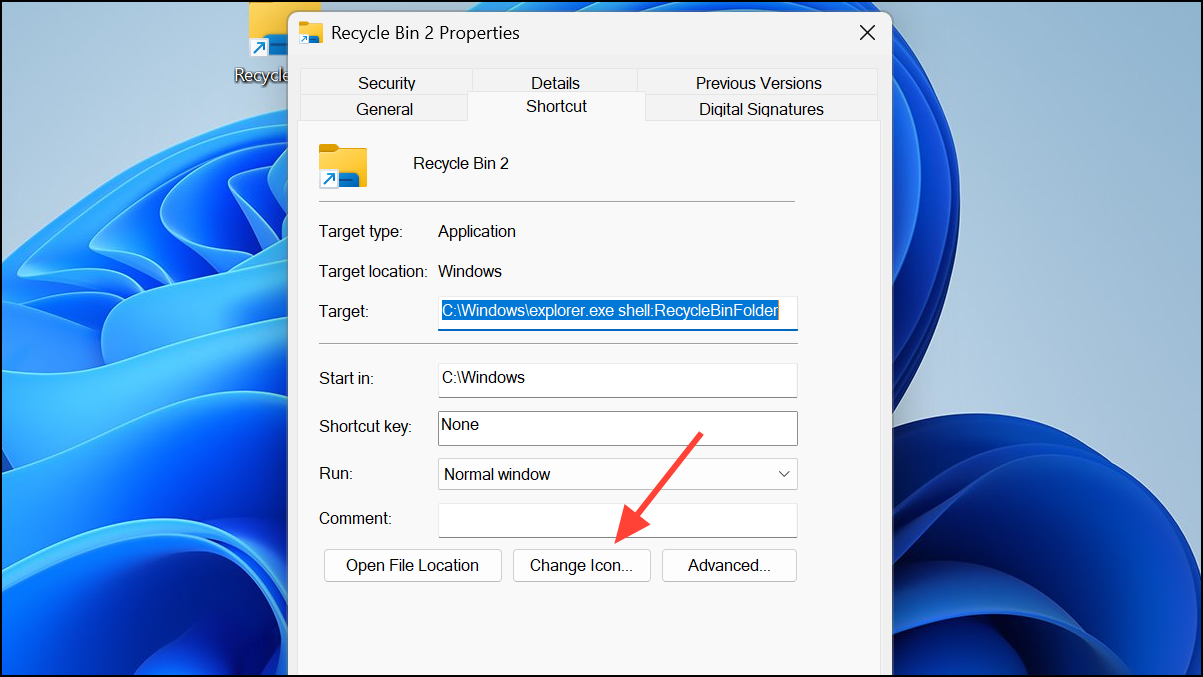
Step 6: Click Apply and OK in the Properties window. Your custom shortcut now displays the chosen icon and opens the Recycle Bin when double-clicked.
This method is especially useful if the original Recycle Bin icon is missing or unresponsive, or if you want to pin the Recycle Bin to the taskbar by right-clicking this shortcut and selecting Pin to taskbar.
Restoring or Adding the Default Recycle Bin Icon
Sometimes, the Recycle Bin icon may disappear from your desktop due to accidental changes or system glitches. To restore it, revisit the Desktop icon settings (as described above) and ensure the Recycle Bin checkbox is ticked. Click Apply and OK to bring the icon back.
If this method fails, an alternative is to create a special folder that acts as the Recycle Bin:
Step 1: Right-click your desktop, select New > Folder, and name the folder exactly as follows:
Recycle bin.{645FF040-5081-101B-9F08-00AA002F954E}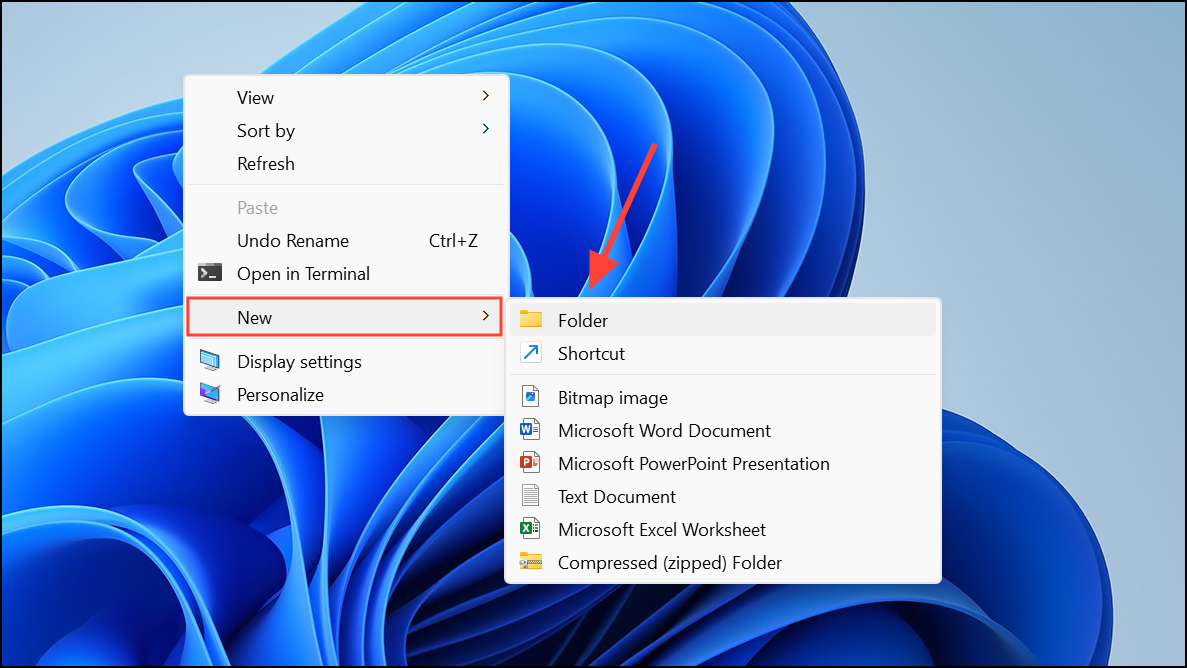
After pressing Enter, the folder transforms into a working Recycle Bin icon. This workaround is particularly helpful if the standard settings method does not restore the icon.
Customizing the Recycle Bin icon in Windows 11 gives your desktop a unique look and can make it easier to spot at a glance. If you ever want to revert to the default icon, repeat the steps above and select the original icon from the built-in list.