
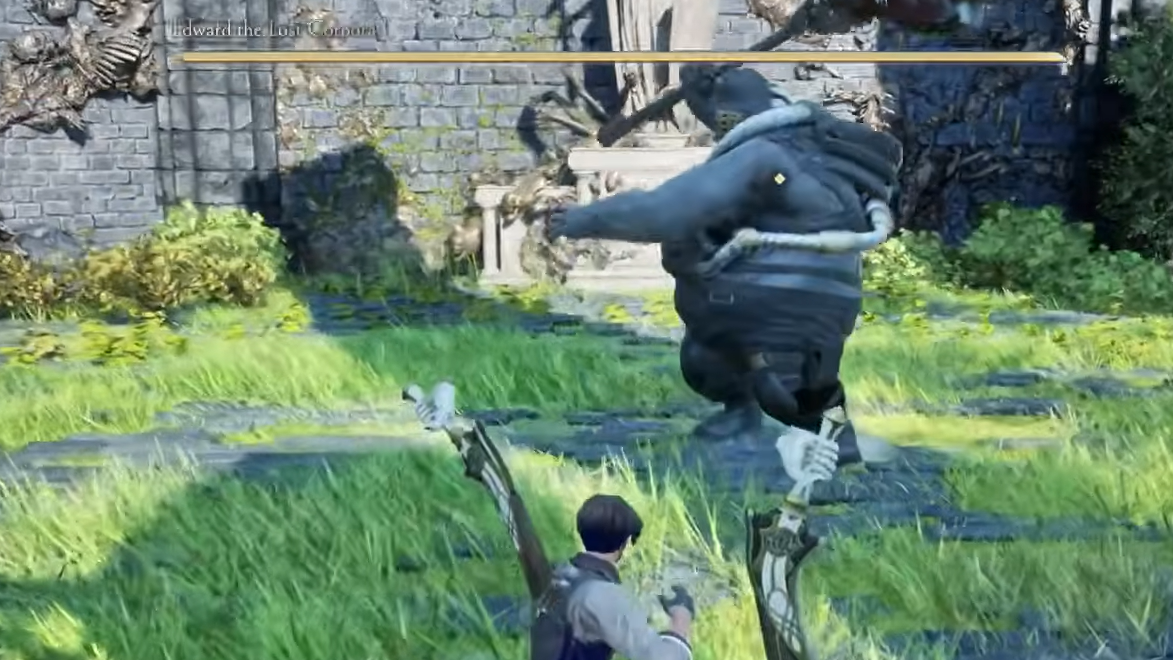
Edward the Lost Corporal is a heavy, slow boss at the end of the Ruins on the south side of MagMell Island during the Mastering Control of Time quest. He wields a massive hammer and relies on wide, telegraphed swings and a dangerous blood-area attack.
Quick answer: Stay close enough to bait hammer combos, dodge toward his sweeps or backwards from vertical slams, circle behind him to punish the recovery, and immediately sprint or dodge away when his left arm glows red and blood spheres start falling. Defeating him awards 1,500 Haze and the Formae Power Enhancing Forma key item.
Edward the Lost Corporal location and rewards
| Detail | Value |
|---|---|
| Region | MagMell Island |
| Exact area | Ruins (southernmost / end room) |
| Quest context | Mastering Control of Time |
| Boss type | Mini Boss |
| Primary reward | Formae Power Enhancing Forma (key item forma) |
| Additional reward | 1,500 Haze |
You know the encounter is complete when Edward’s health bar is fully depleted, the arena fog disappears, you receive 1,500 Haze, and Formae Power Enhancing Forma is added to your inventory. Afterward, a Return Monument appears behind the researchers, allowing a fast return to the dungeon entrance, and Valentin’s related mechanic request can be advanced by talking to the motorcycle mechanic.
Edward the Lost Corporal moveset and how to avoid each attack
Edward’s damage is high but every move needs momentum, giving clear dodge windows. Learning these patterns is the entire fight.
Red spheres / Blood Rain AoE
Edward briefly stops, raises or charges his free left arm, which glows faint red, then red spheres or blobs fall around him and leave lingering dangerous ground effects.
As soon as the glow or arm raise starts, back away or roll out of melee range. Do not stay in the puddles; they inflict heavy damage over time. Once the rain ends and the ground effect fades, you have a safe opening to move back in.
Horizontal hammer swings and Side Sweep
These are his main lateral attacks. He winds the hammer behind him and swings in a wide arc, often chaining one to three horizontal hits.
When you see the first wind-up, dodge toward the swing direction or diagonally past his side. Dodging into the sweep rather than away gives better invulnerability timing and often places you behind him. Pause a moment after the first swing to confirm if a second or third is coming; punish only when the chain clearly ends, and the hammer finishes its arc.
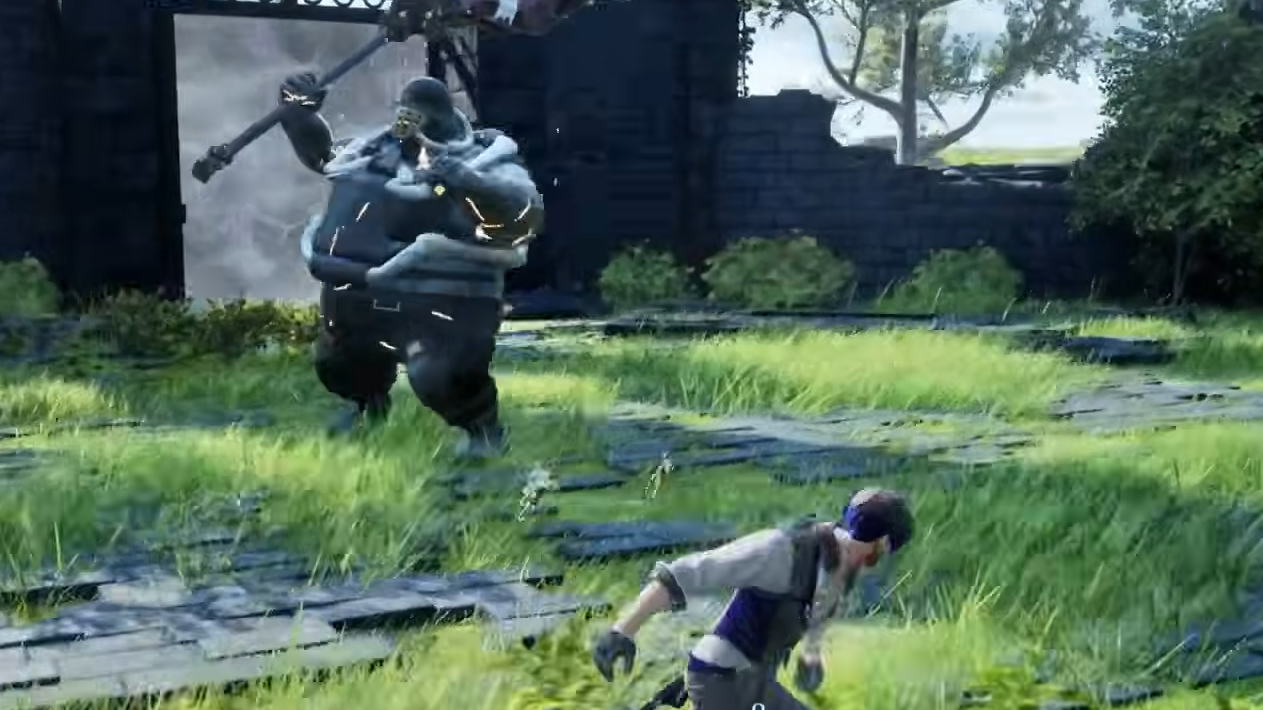
Vertical / Overhead slams and Triple Slam
For vertical attacks, Edward lifts the hammer above his head and slams it straight down. Variants include a single Overhead Slam, a Triple Slam, or a faster Triple Single-Hand Overhead Slam sequence.
- Single Overhead Slam: backstep or roll sideways as the hammer starts dropping; punish the long recovery.
- Triple Slam: roll out on the first hit, then stay just outside the impact zones until the third slam lands before counterattacking.
- Triple Single-Hand Overhead Slam: similar pattern but slightly faster; start dodging as soon as his leg and mace rise, and avoid committing to damage until the third slam ends.
Tackle / Shoulder charge / Bump
Edward sometimes shifts into a brief stance, with a faint white air outline or a slight kneel, then surges forward with his shoulder while still holding the mace.
Wait for the forward burst, then dodge left or right across his line, not backward. The charge distance is short; once it whiffs, he pauses and is vulnerable from the side or back.
Warcry knockback
At roughly half health, he can briefly power up and unleash a loud shout that knocks back nearby targets.
If you are in melee range when his body tenses and the shout starts, roll away to avoid the knockback. After the effect, he returns to his usual pattern, and you can resume baiting swings.
Best positioning and attack windows
Stay behind Edward whenever possible
Edward does not attack directly backward with his hammer. Most swings cover a frontal cone or wide sides, so being behind him sharply reduces risk. Circle around him during the wind-up of any hammer attack, using side dodges to slip past his hip. Once you reach his back, deliver a short combo and then disengage before he turns.
Use Noah as a distraction
Noah is active in this encounter and behaves as a mobile partner who continues attacking even during Edward’s slow moves. Let Noah hold aggro when possible. While Edward faces or walks toward Noah, move to the rear and attack in short bursts, then back off if Edward starts reorienting toward you.
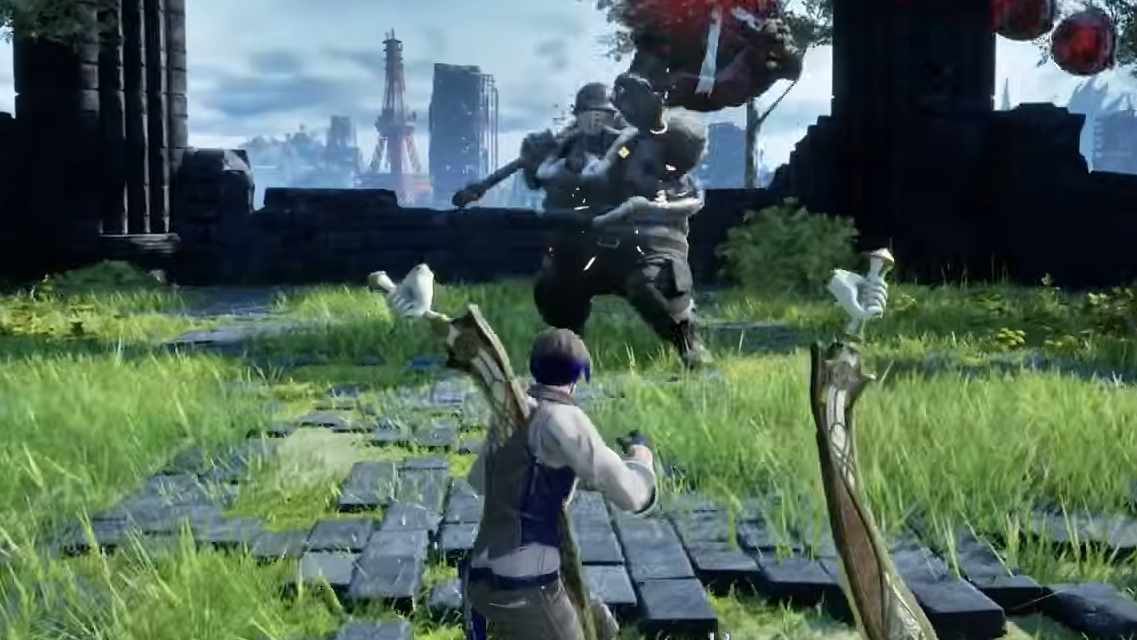
Managing drain attacks and blood buildup
Edward builds up blood status as you and Noah land hits. When red and yellow lines start appearing across his body, he is approaching a state where a Jail drain or Super Drain Attack can land.
Once he is vulnerable to a drain, you can close in and perform it to restore ichor. If this coincides with his Blood Rain AoE, you must decide whether the ichor gain is worth the damage from standing briefly inside the puddle. Executing the drain is always successful if he is in the right state, but lingering in the AoE will cost a noticeable chunk of health.

Effective weapon choices and engagement range
Edward’s slow, deliberate movement makes him vulnerable both to close-range circling and to ranged pressure.
- Heavy melee weapons (greatswords, hammers, halberds) can safely connect after any completed combo due to his long recovery animations.
- Bayonets and long-range formae can chip his health from a distance during down times, especially while you wait for Blood Rain to finish.
- Stateman’s Longbow on the way to the arena can be used but deals relatively low damage compared to melee punishes on his recovery windows.
Keep the fight at mid-range by default: close enough to bait hammer swings, far enough that you can step or roll out of Blood Rain without sprinting across the entire arena.
Common failure reasons and how to avoid them
| Problem | Preventive action |
|---|---|
| Taking heavy DoT from Blood Rain | Retreat immediately on the first sign of a red glow on his left arm; re-enter only after ground effects vanish. |
| Getting clipped by late swings in combos | Wait to see if swings chain before punishing. Attack only after the final slam or sweep clearly finishes. |
| Being knocked back into other hits by Warcry | Roll out when his mid-fight shout animation begins; avoid lingering at his feet when his HP is around half. |
| Dodging away from sweeps and still getting hit | Dodge toward horizontal sweeps to maximize invulnerability timing and slip inside the arc. |
Once you consistently step out of Blood Rain and only punish after full combos, Edward the Lost Corporal becomes a controlled, repeatable fight that reliably yields Formae Power Enhancing Forma and 1,500 Haze.