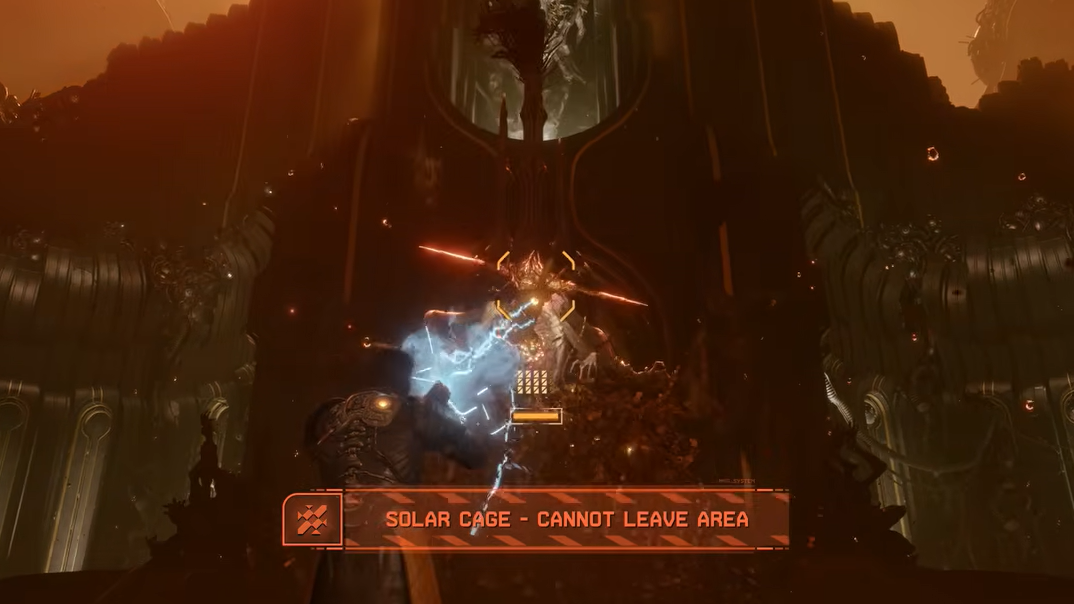
The Consort encounter sits right after the tutorial in Saros, locking you inside a Solar Cage arena with a tiny health pool and a level one Eruptor Hand Cannon. The fight looks like a wall, and for most players it functions like one, ending in a scripted death that pushes the story forward and unlocks the Come Back Stronger trophy.
What the Consort fight is
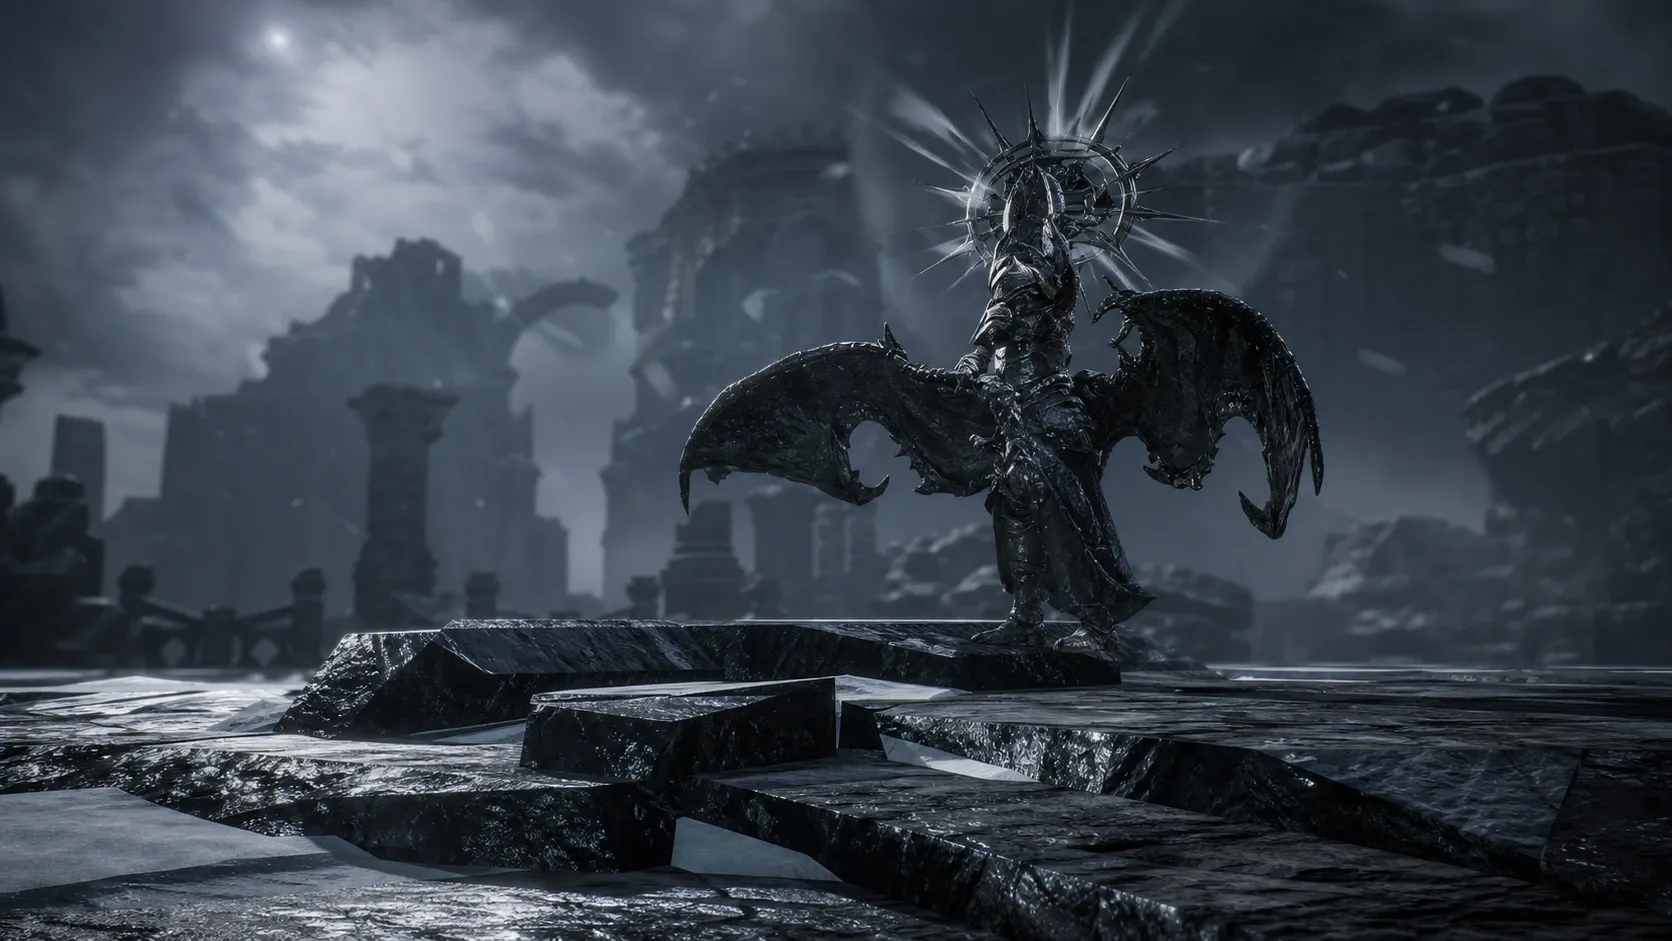
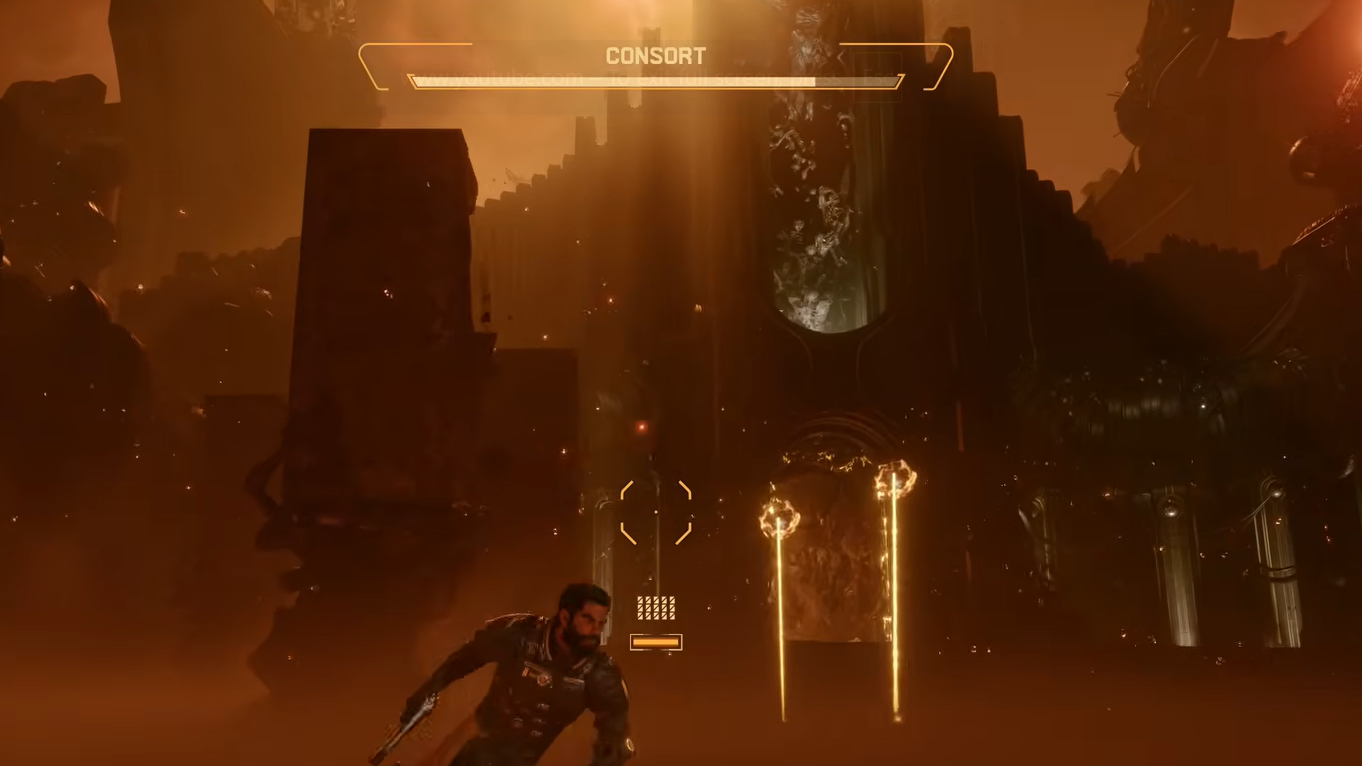
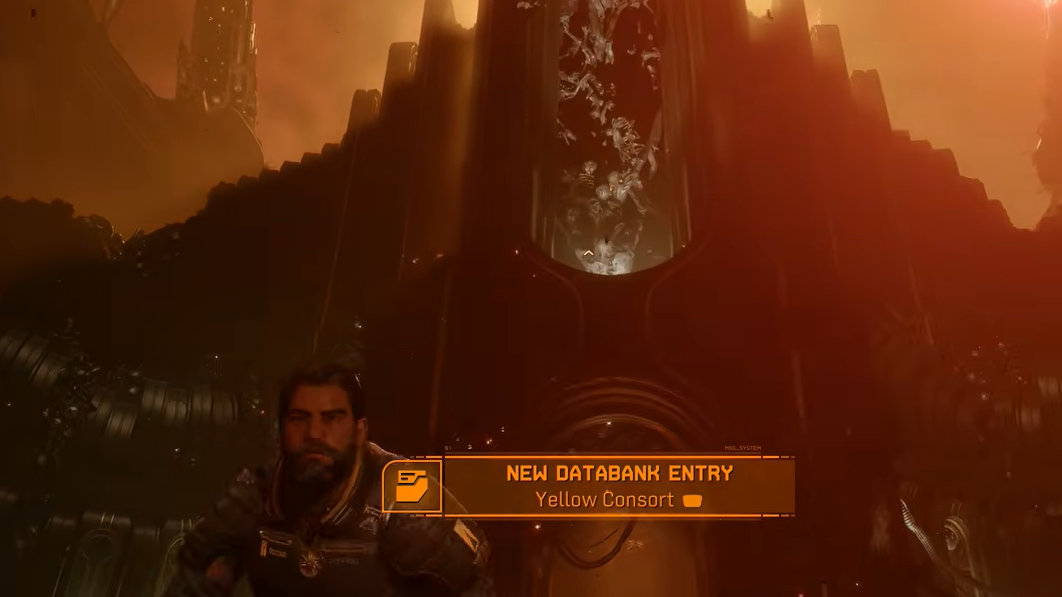
Consort is the introductory boss in Saros, fought immediately after you pick up your starting weapon. The arena is sealed by a Solar Cage barrier with a “CANNOT LEAVE AREA” prompt, and a single boss health bar labeled CONSORT sits at the top of the screen. Pillars scattered around the room give you cover, which is the only real defensive resource you have at this stage.
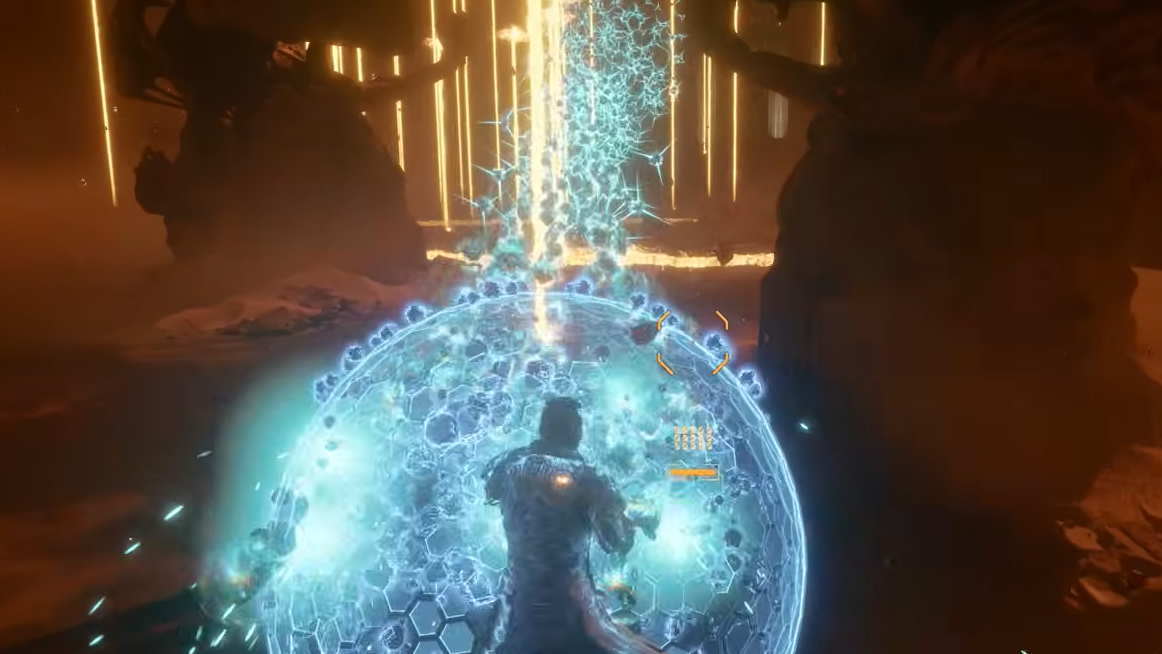
Your loadout is fixed and minimal. You have the level one Eruptor Hand Cannon, a small health bar, and a hex-shaped energy shield triggered by holding R1 on PS5. The shield drains quickly and cannot fully absorb the heavier attacks, which is the core reason the fight is built to end in defeat.
Why the fight is treated as unwinnable
The encounter is tied directly to a story beat. Falling to Consort triggers the Come Back Stronger trophy, a resurrection cutscene, and the opening credits sequence. The base assumption is that you will die, the character will rise, and the actual game will begin from there.
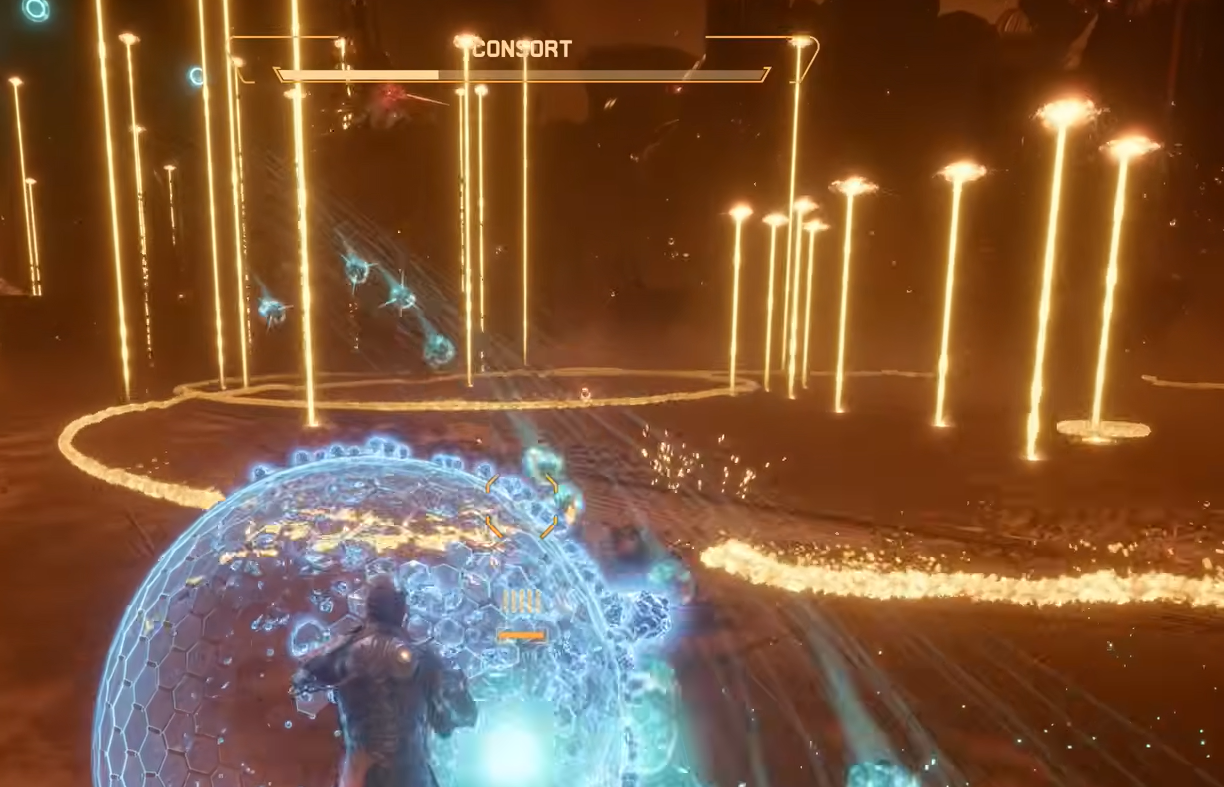
The damage profile reinforces this. Yellow and gold beam attacks that erupt from the ground stack damage faster than your starting kit can mitigate, and the larger blue projectile volleys can break through your shield if you try to tank them. Without upgrades, there is no realistic way to brute-force the boss using defense alone.
Consort attack patterns
Even though the fight is scripted to end in defeat, the attacks are real and the boss can be whittled down if you read the patterns carefully. The moveset is consistent enough to learn during the encounter itself.
| Attack | How to handle it |
|---|---|
| Red projectile grid | Dodge through the gaps in the grid pattern. |
| Tri-burst blue projectiles | Absorb with shield or sidestep the burst. |
| Large blue projectile volley | Block what you can and break line of sight behind a pillar. |
| Yellow ground beams (rising swipe) | Roll perpendicular to the beam path. |
| Yellow expanding beam explosions | Move out of the radius before they detonate. |
| Red homing projectiles (3 bursts) | Long dodge laterally; appears in the second half. |
| Spiral red projectiles | Dodge through the open arc in the spiral. |
How to actually defeat Consort
If you want to push for the win, your strategy comes down to consistent chip damage and disciplined cover use. The Eruptor Hand Cannon does fire fast enough to slowly drain Consort’s health bar, but you need long survival windows to make it count.
What happens if you win
Beating Consort flips the expected outcome. The Solar Cage barrier dissipates with an on-screen “SOLAR CAGE DISSIPATED” prompt instead of dropping you into the death cutscene. A structure on the far side of the arena opens, and a small reward sequence plays out before the game returns to its scripted opening.
| Reward | Details |
|---|---|
| Leucenite | Roughly 150 units dropped after the fight ends. |
| Halcyon | Special resource used for Armor Alteration, picked up from the opened structure. |
| Story progression | Walking through the back portal triggers the opening credits and continues the game normally. |
The Halcyon pickup is the most distinctive payoff. It is flagged on screen as a special resource for Armor Alteration, which is not typically available this early in a normal run.
What happens if you lose
Losing is the default path and costs you nothing. When your health bar empties, the game does not show a standard game-over screen. A pop-up introduction sequence plays, the Come Back Stronger trophy unlocks, and a cutscene shows your character being resurrected. From there, the main game opens up with your basic starting equipment and skills, and you progress to the early biomes where Lucenite, shield upgrades, and additional weapons become available.
Should you try to win?
Going for the win is purely optional and mostly a curiosity run. The story continues either way, and the resurrection cutscene that follows a loss is a deliberate narrative beat rather than a punishment. The trade-off is straightforward: skip the cutscene and walk away with extra Leucenite plus a Halcyon, or take the loss and watch the intended opening play out. Both paths land you at the same point in the game shortly after.