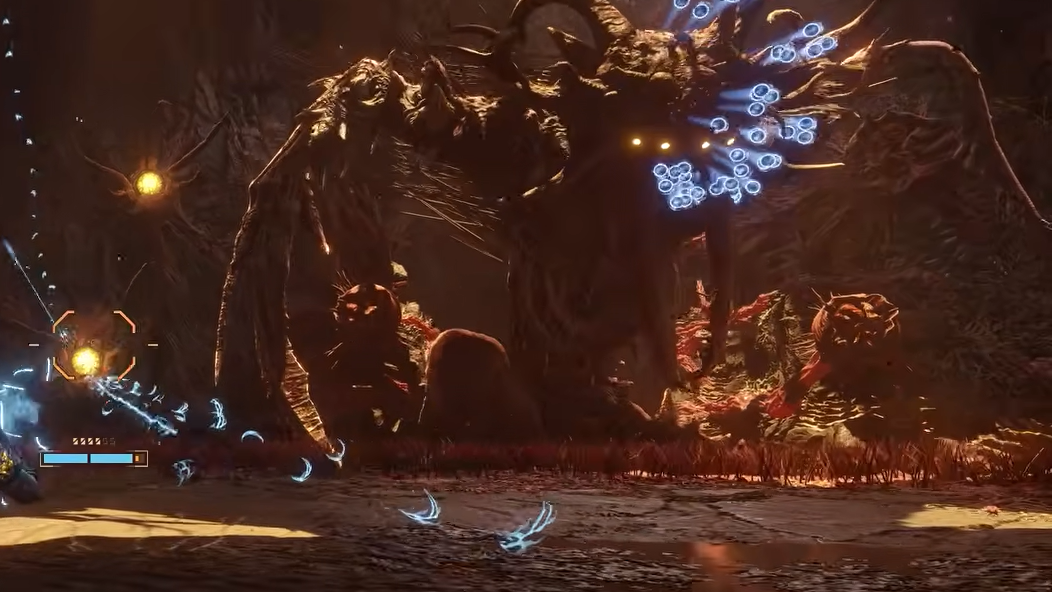
Prophet is the first major boss in Saros, sitting at the end of the Shattered Rise biome as a tangled biomass fused into the surrounding flora. The fight stretches across three health bars, and the arena itself works against you, so reading attack tells matters more than raw damage output.
Arena hazards in the Shattered Rise boss room
The fight takes place in a circular arena ringed with thick red grass that slows Arjun’s movement. Stepping into that outer band during a barrage is usually fatal, so keep your footwork inside the clean inner ring for the entire fight.
Prophet itself is rooted to the back wall and never moves. That fixed position means you can predict the firing angles, but it also means the arena is your only variable. The layout reaching Prophet is procedurally arranged each run, but the boss room itself stays consistent.
How to make Prophet vulnerable
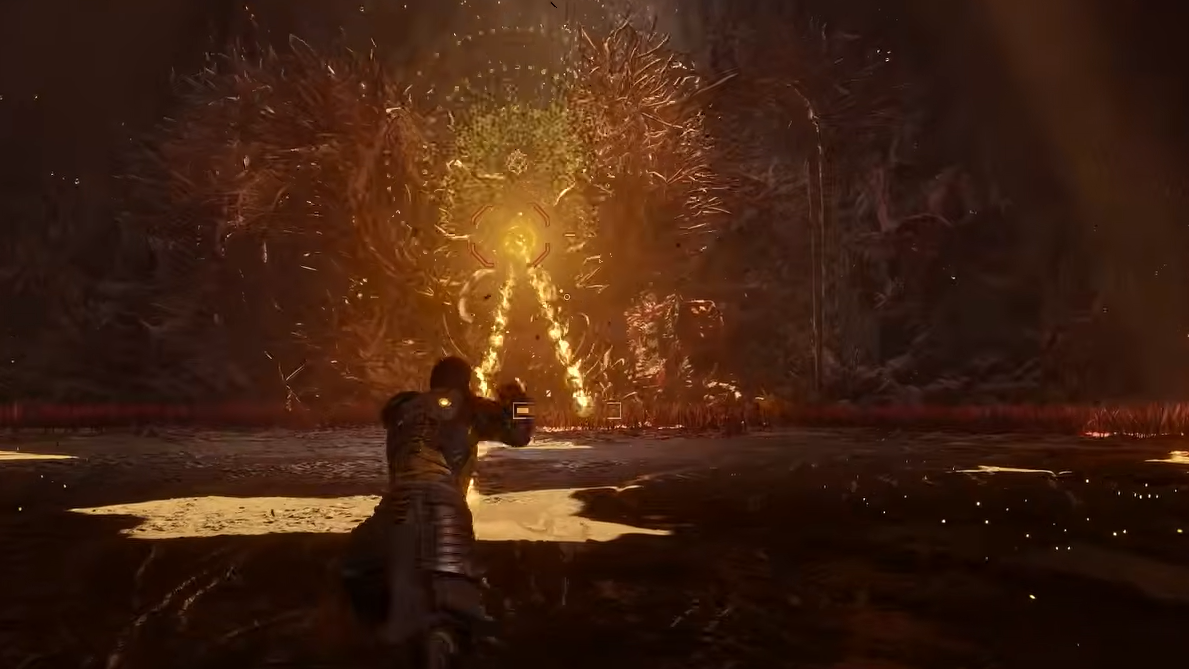
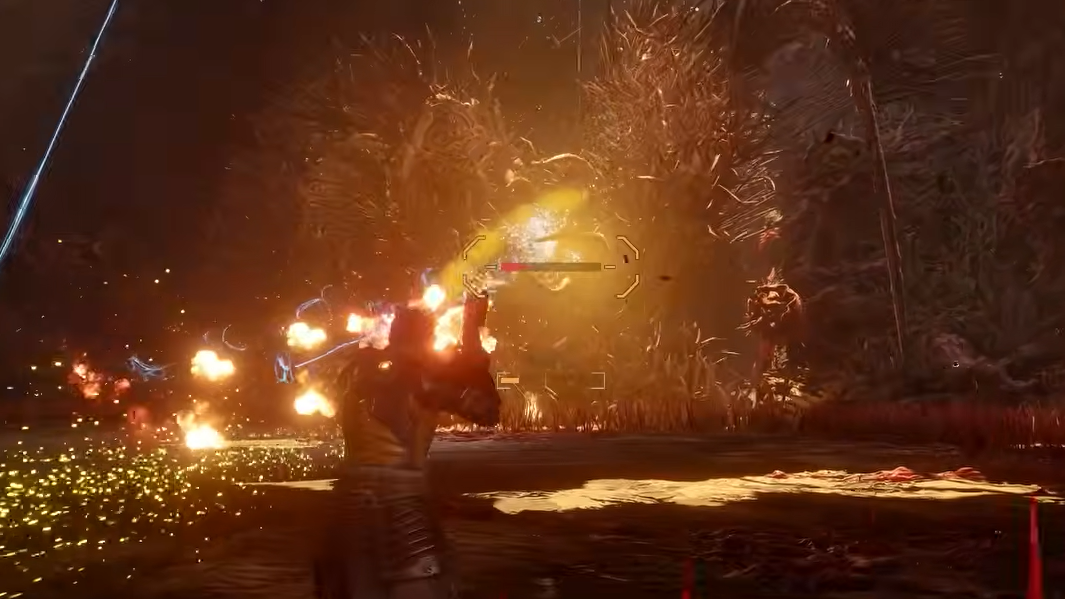
Prophet’s health bar shows dashes across it whenever the boss is sealed, signaling damage immunity. To break that state, destroy the glowing tentacled creatures clinging to the walls on either side of the boss. Once they are all cleared, Prophet splits open down the middle and exposes its core.
The boss reseals itself periodically through every phase, and new tentacled creatures will respawn on the walls. Each damage window is short, so prioritize clearing the wall enemies the moment they reappear rather than chasing extra hits on a sealed boss.
Prophet’s core attack toolkit
| Attack | Tell | Counter |
|---|---|---|
| Diagonal/horizontal yellow waves | Small yellow dust burst in the wave’s orientation | Run, dash through, or jump (jump for horizontal) |
| Ground-sweeping yellow bursts | Projectiles travel along the floor in segmented bands | Stand in the gaps in Phase 1; jump in Phase 2 onward |
| Yellow circular shockwave | Comes from the large claw on Prophet’s right side | Dash through or jump over; expect 1–3 in succession |
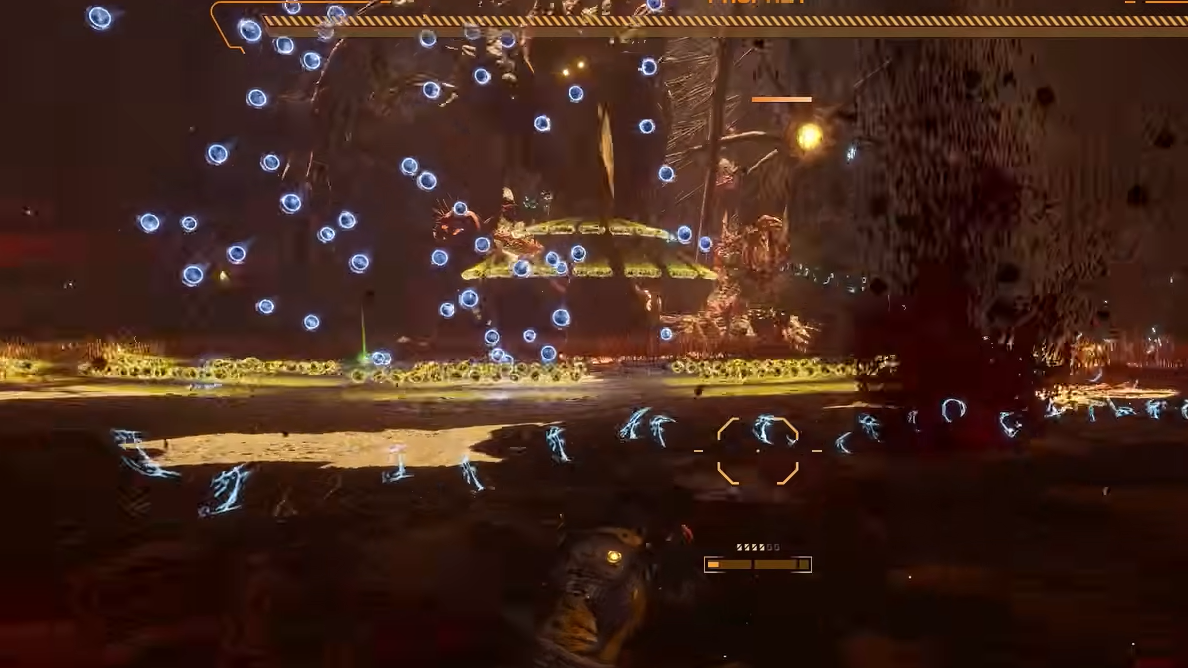
| Blue projectile cluster | Wide imprecise spread of non-homing bullets | Sidestep out of the cluster’s general area |
| Homing blue arrow volley | Wall of bullets that narrows into arrow shapes | Hold shield up for the entire animation |
Just before each diagonal or horizontal volley, a small yellow dust puff appears in the exact orientation the projectiles will travel. Watching for that tell is the most reliable way to commit to a dodge direction early.
Phase 1: Learn the loop
The first health bar is the teaching phase. Prophet opens with a wall of blue projectiles, then layers in segmented yellow ground waves. While dodging, focus fire on the wall tentacles to crack the boss open.
Once you start damaging the core, the primary attack appears: a set of three projectile waves. The first goes one diagonal, the second the opposite diagonal, and the third sweeps horizontally. Side dashes handle the diagonals cleanly, and a jump clears the horizontal sweep.
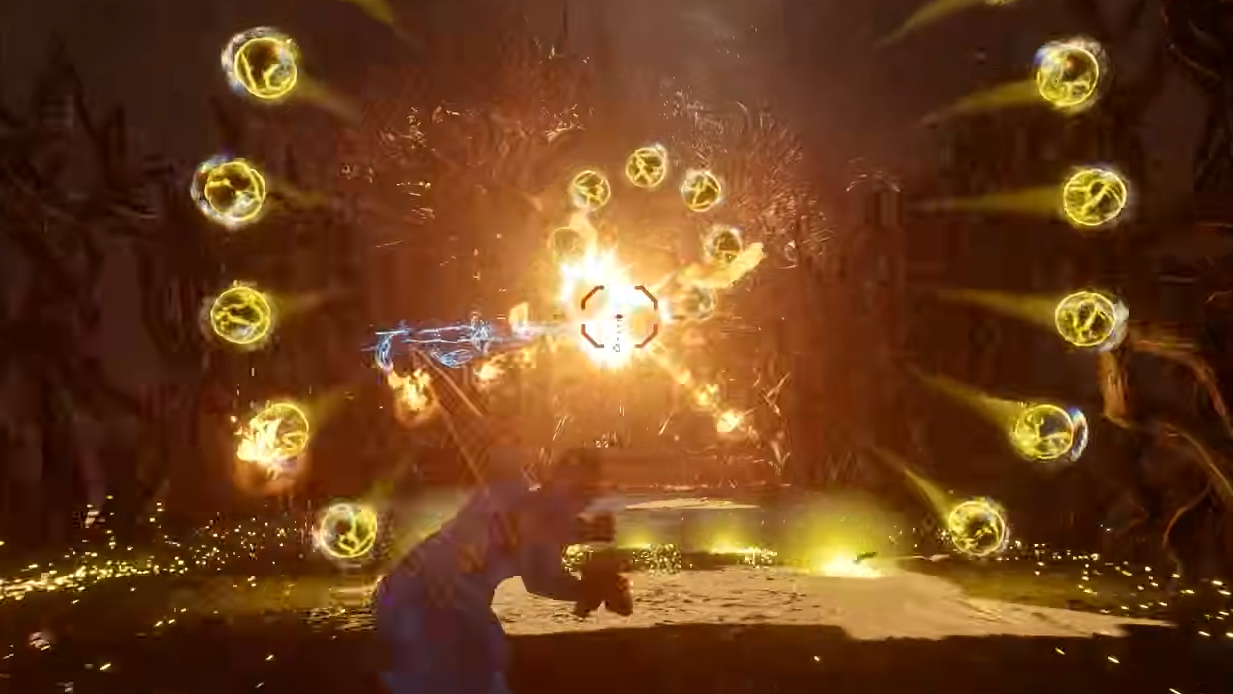
After the wave set, Prophet often summons five homing blue orbs that charge sequentially. These cannot reliably be dodged. Hold the Soltari Shield up through the full animation and follow with a Power Weapon shot to refund integrity and reset the meter.
Phase 2: Arena clutter and faster waves
After the first health bar drops, Prophet arcs blob projectiles across the arena. Each blob lands and creates a small patch of red grass that slows you, then detonates in a 360-degree burst of yellow projectiles. Destroy these blobs as quickly as possible to keep the floor clean.
The ground sweep returns, but the segmented gaps are gone. The wave now covers the full span of the arena, so jumping is the only consistent answer. The diagonal/horizontal volleys also gain one or two extra waves per set, demanding longer dodge sequences.
A new attack introduces several concentric rings of yellow projectiles fired toward your position simultaneously. Read the gaps and slide between them rather than trying to outrun the entire pattern. The wall tentacles still need to be destroyed every time Prophet reseals.
Phase 3: The compressed arena
When the second health bar drops, large tendril walls rise on both sides of Arjun, forming a narrow corridor directly in front of Prophet. There are no new attacks here, but everything from the previous phases comes faster and chains together with much less recovery time.
Pinball between the two tendril walls to handle the diagonal sweeps, and jump every horizontal wave and ground burst. Shield use becomes more important since there is less room to create distance, and Power Weapon shots double as both damage and pattern interruption.
End the fight as quickly as you can. The primary three-wave attack is the hardest move to avoid in the compressed space, so any time the boss is exposed, prioritize damage over conservative play.
Loadout and survival tips
- Unlock Second Chance from the Halcyon upgrades before the boss run. It grants one extra life mid-fight, which often decides the encounter.
- Auto-Hit on early weapons lets you focus on movement. Hold fire and weave through dodges rather than aiming precisely.
- Reload during attack animations you are already dodging, so you are never caught with an empty magazine when a damage window opens.
- Pick up Aether drops only when your integrity is low. Collecting at full integrity converts it to Lucenite, which is fine, but wastes the heal.
Rewards and what unlocks next
Defeating Prophet drops roughly 400–450 Lucenite on a base run, with more available later when modifiers are active. The Prophet trophy unlocks for clearing the Overlord of the Shattered Rise, and a new Databank entry is added.
Behind the boss arena, a passage leads to a teleporter that returns Arjun to The Passage. Activating it opens access to the Ancient Depths, the second biome in Saros, and unlocks the broader teleport network for future runs.