
System clutter slows down quick access to settings and distracts from focused work. On macOS 15 (Sequoia), organizing the menu bar and Control Center widgets directly addresses this by letting you choose which controls appear, where they’re located, and how you interact with them. This targeted customization reduces wasted time searching for toggles and keeps your desktop tidy.
Adjusting Menu Bar Controls and Icons
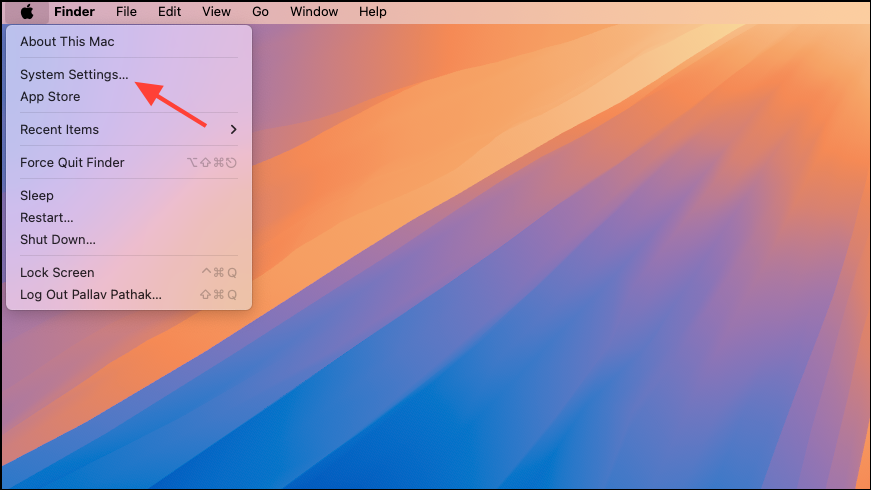
Step 1: Open the Apple menu and select System Settings. This central hub contains all system-level preferences, including those for the menu bar and Control Center.
Step 2: In the sidebar, click Control Center. This section lists all available system controls that can be shown in the menu bar or Control Center.
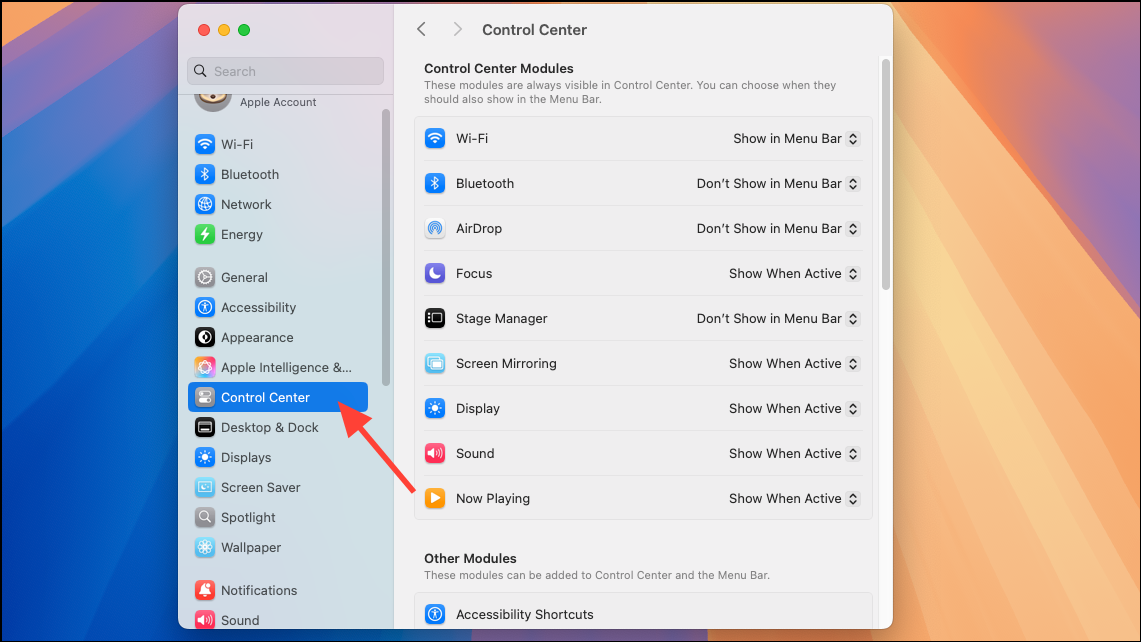
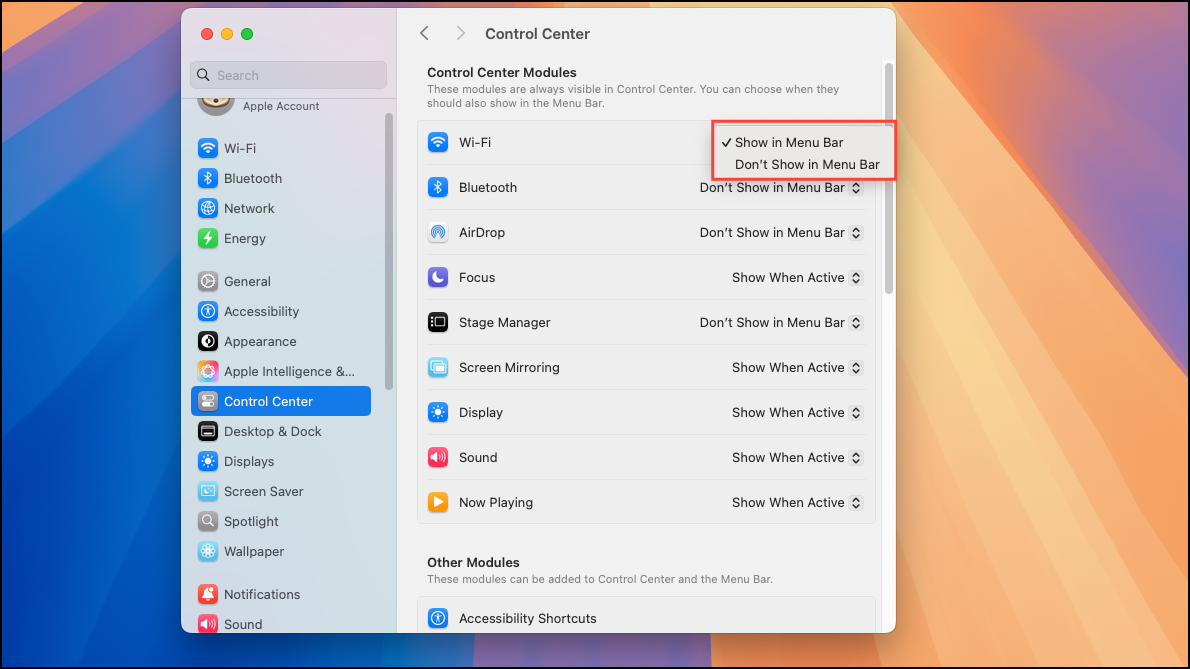
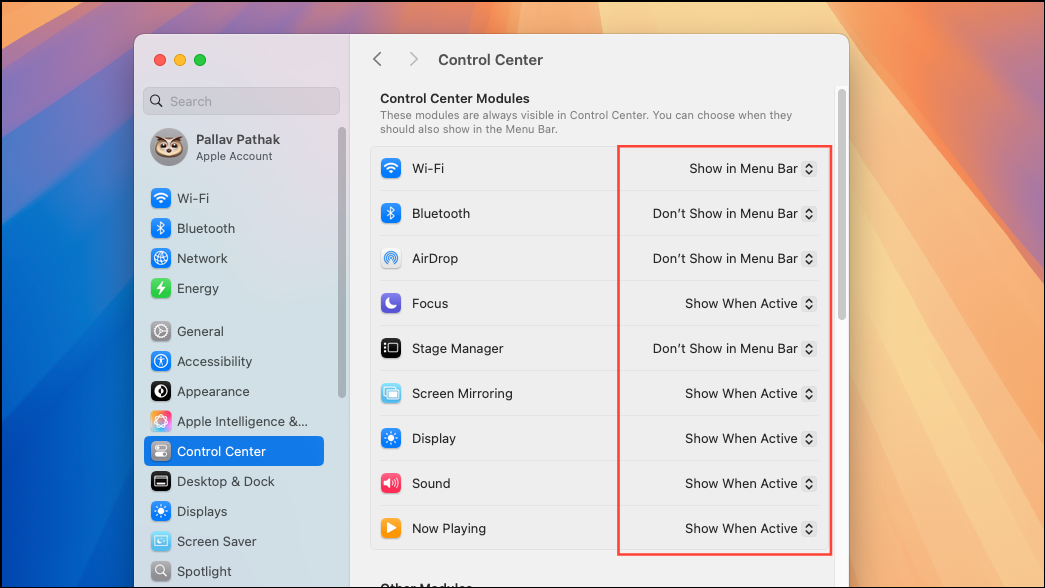
Step 3: For each module (such as Wi-Fi, Bluetooth, Sound, Display, Focus, or Screen Mirroring), use the dropdown menu next to its name. Choose between Show in Menu Bar, Don’t Show in Menu Bar, or Show When Active. This determines when and where each icon appears, letting you remove unused controls or keep important ones visible at all times.
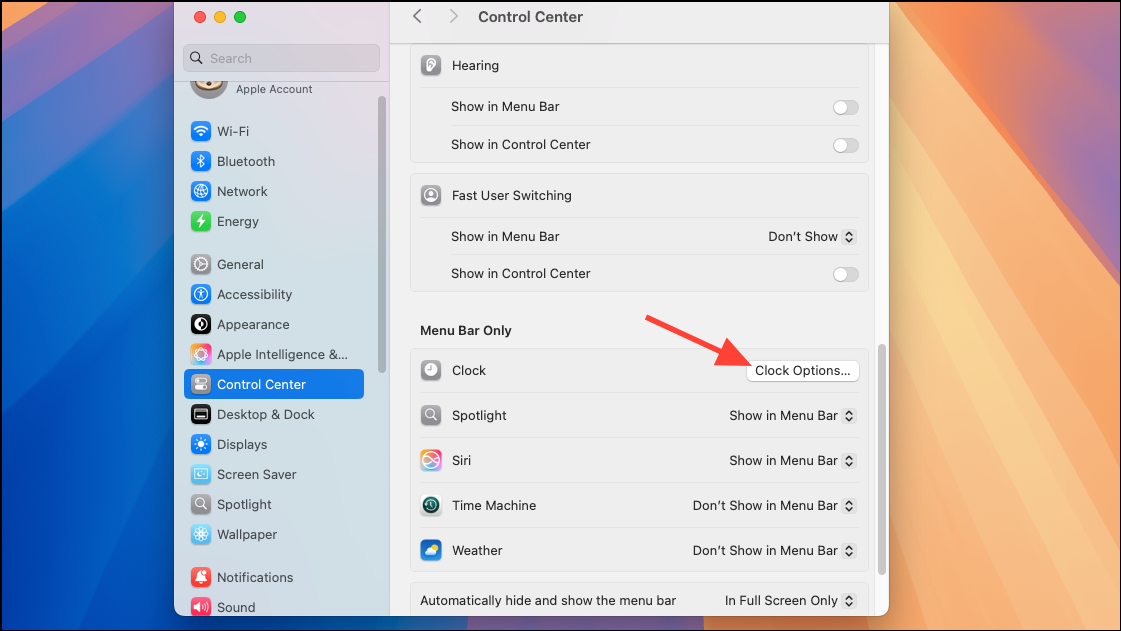
Step 4: For modules listed under "Other Modules" (like Accessibility Shortcuts or Fast User Switching), toggle the switch to include or exclude them from the menu bar and Control Center. This gives you flexibility to display only the controls you use regularly.

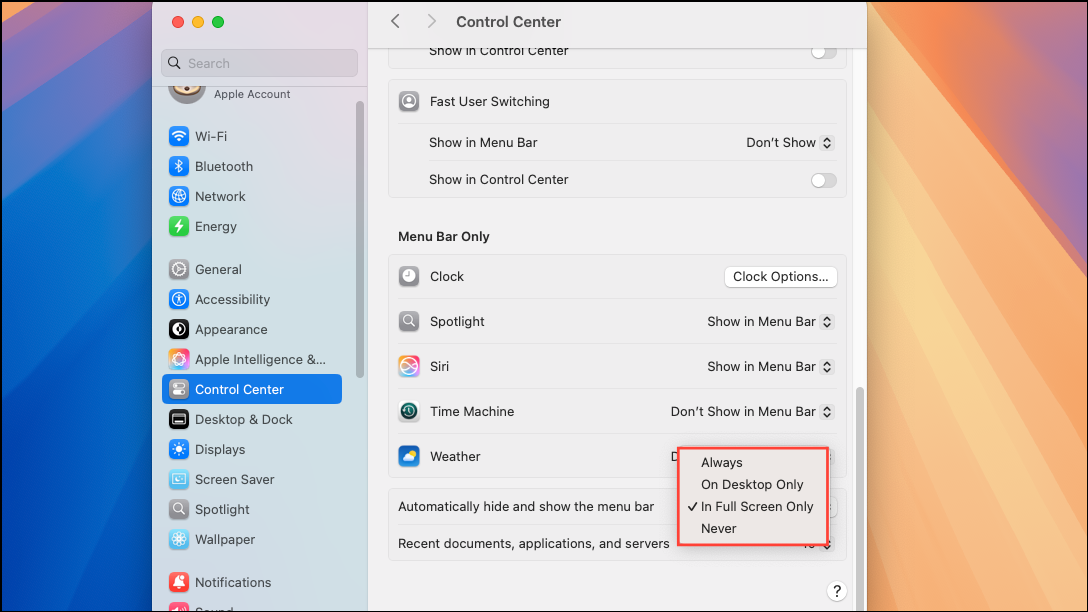
Step 5: In the "Menu Bar Only" section, configure items such as the Clock, Siri, Spotlight, VPN status, and Time Machine. While these cannot be added to Control Center, you can choose whether they appear in the menu bar and adjust their display options. For example, click Options next to the Clock to set its format.
Step 6: To rearrange menu bar icons, hold the Command key, click the icon you want to move, and drag it to your preferred location. Release the icon to drop it in place. This lets you group related controls together for faster access.
Step 7: To hide the menu bar when not in use, scroll to the relevant setting in System Settings > Control Center and enable auto-hide options. This maximizes screen space and keeps distractions to a minimum.
Customizing Control Center Widgets
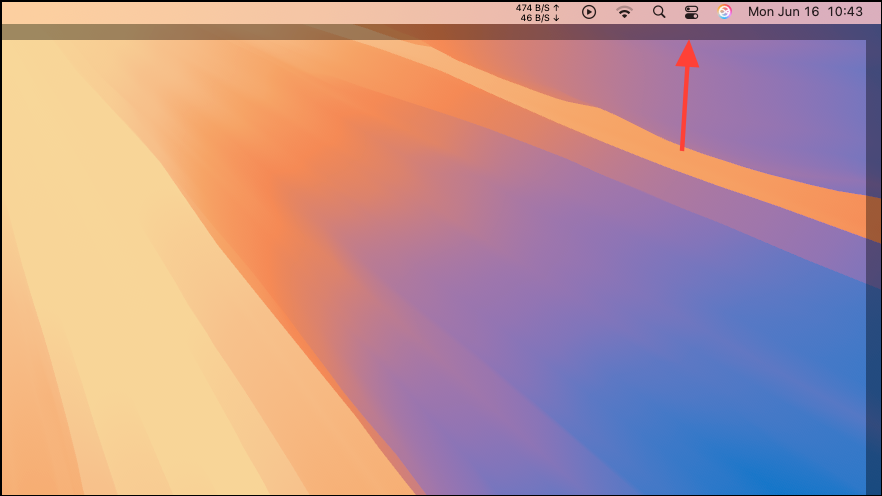
Step 1: Click the Control Center icon (two stacked toggle switches) in the top-right corner of your menu bar. This opens the Control Center overlay, displaying quick-access controls for system settings.
Step 2: To adjust which controls appear, click the Edit Controls button at the bottom of the Control Center. This launches the customization panel, where you can add, remove, or rearrange widgets.
Step 3: Browse the available controls. Click Add to Control Center to include a module, or Add to Menu Bar if you want it as a standalone menu bar icon. Modules can include Wi-Fi, Bluetooth, Sound, Display, Focus, and more.
Step 4: To remove a control, click the minus icon next to it in the list. You can also drag controls out of the Control Center or menu bar to remove them instantly.
Step 5: Rearrange controls by dragging them within the customization panel. The new order is reflected immediately in the Control Center, giving you quicker access to your most-used settings.
Step 6: For macOS 15, certain controls can only be shown in Control Center or the menu bar, but not both. Adjust each to match your workflow and minimize unnecessary clicks.
Adding and Customizing Desktop and Notification Center Widgets
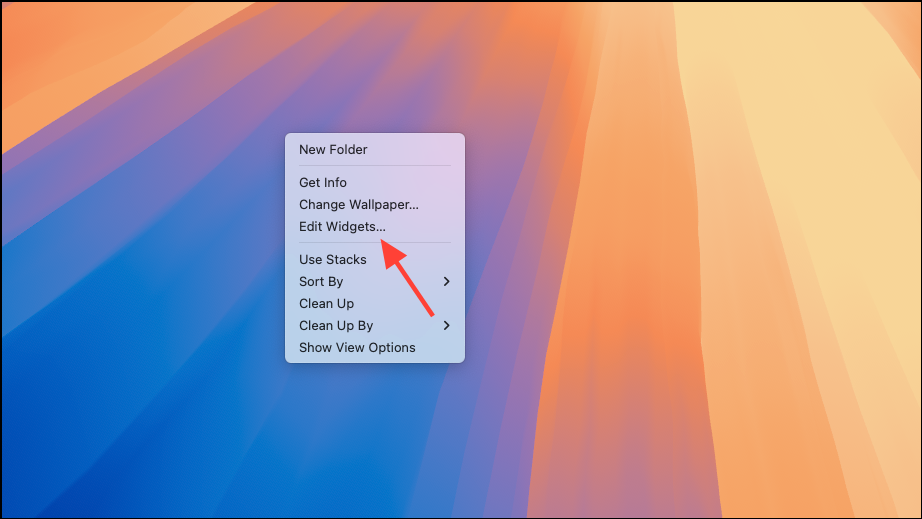
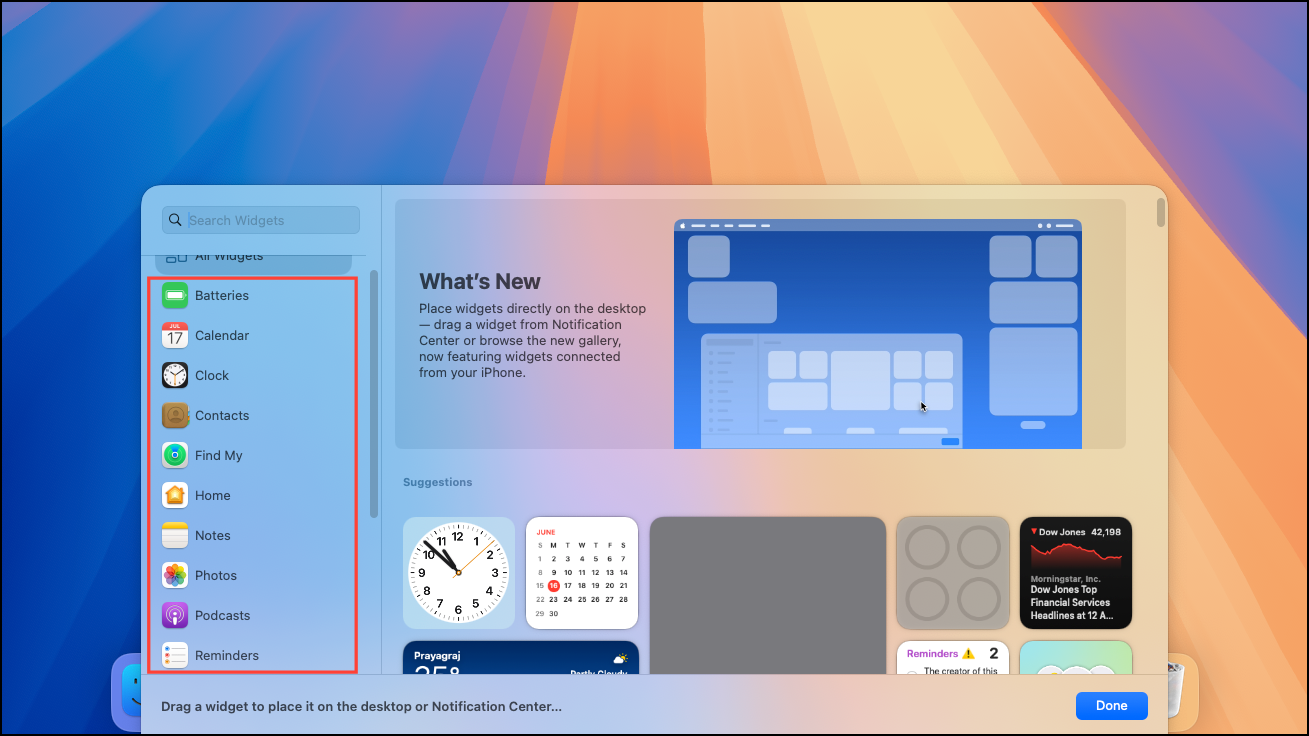
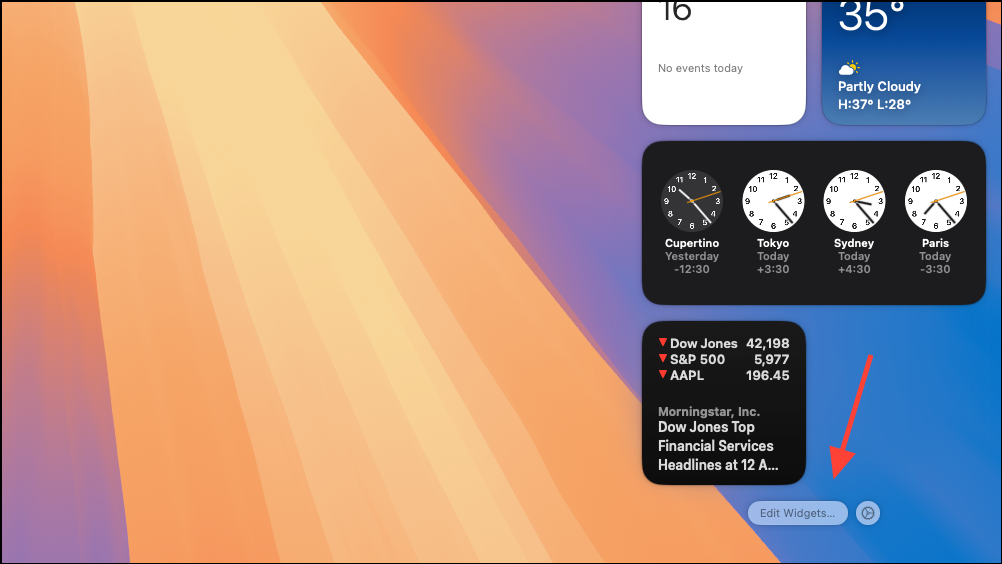
Step 1: To add widgets to your desktop, Control-click the wallpaper and select Edit Widgets. The widget gallery opens, displaying available widgets by category.
Step 2: Search for a widget or browse categories. Click a widget to automatically place it on your desktop, or drag it to a specific spot for manual placement. This allows you to monitor information like weather, calendar events, or reminders directly from your desktop.
Step 3: To add widgets to Notification Center, click the date and time in the menu bar. At the bottom of Notification Center, select Edit Widgets. Drag widgets into Notification Center or click them to add instantly.
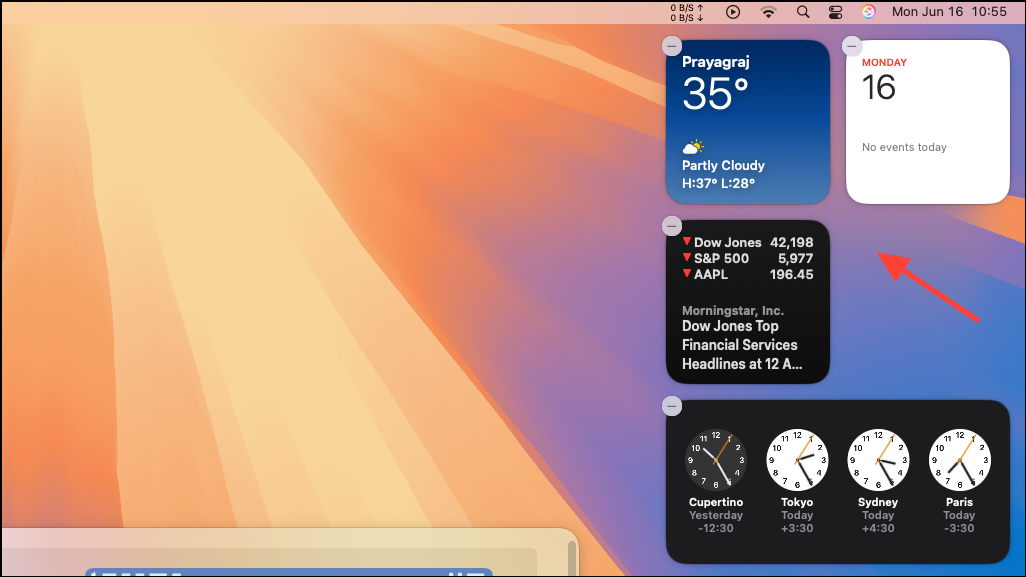
Step 4: Rearrange widgets by dragging them to a new location. To remove a widget, click its Remove button or Control-click the widget and select Remove Widget.
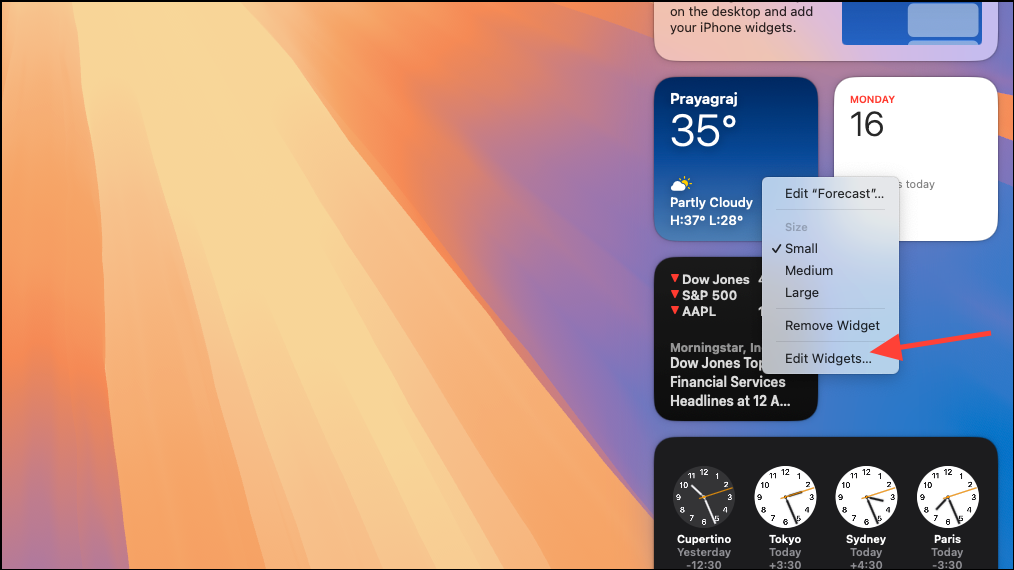
Step 5: To customize a widget, Control-click it and choose Edit [widget name]. Adjust settings such as displayed information or widget size. If the option to edit isn’t available, the widget’s content is fixed.
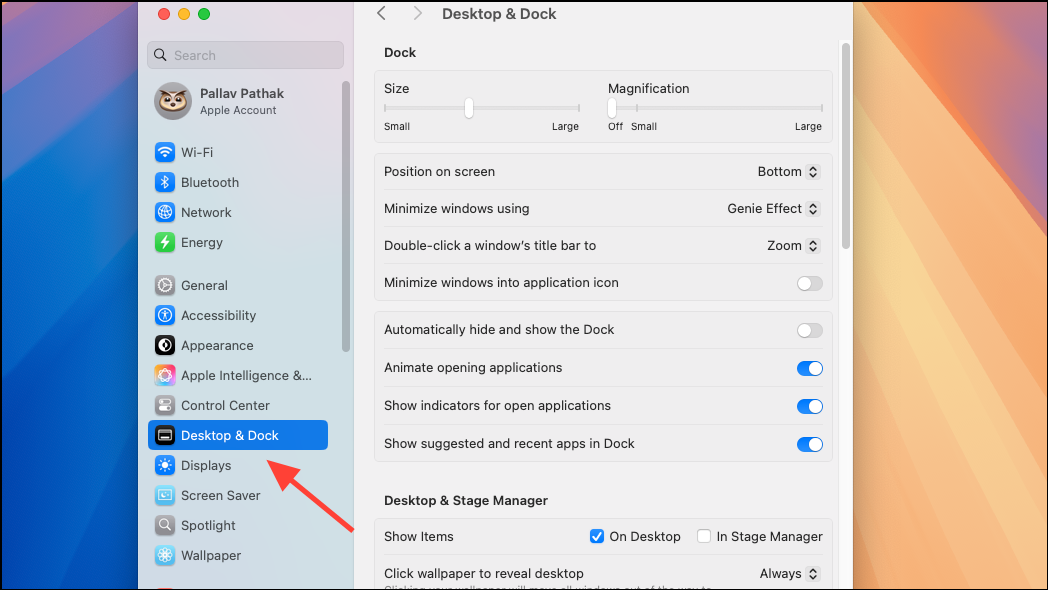
Step 6: To use widgets from your iPhone, ensure your iPhone is running iOS 17 or later and is signed in to the same Apple ID as your Mac. In System Settings > Desktop & Dock > Widgets, enable Use iPhone widgets. These will now be available in your widget gallery for placement on the desktop or Notification Center.
Step 7: Adjust global widget settings in System Settings > Desktop & Dock > Widgets. Options include toggling widget visibility on the desktop or in Stage Manager, and choosing between automatic, monochrome, or full-color widget styles.
Managing Third-Party Menu Bar Items
Applications from outside Apple can add their own icons to the menu bar—think cloud storage, VPNs, or productivity tools. To manage these:
- Open the application and look for a
SettingsorPreferencesmenu. Many apps let you choose whether their icon appears in the menu bar. - If the app does not provide such an option, you may need to quit the app to remove its icon. For persistent icons (like cloud sync tools), quitting may also disable core features.
- Third-party utilities such as Bartender allow for deeper menu bar management, including hiding, rearranging, or grouping icons that macOS does not let you move or remove natively. Note that some system icons, such as the Control Center itself, cannot be hidden or changed without advanced system modifications.
For advanced users, it is technically possible to alter system icons using resource editing tools, but this requires disabling System Integrity Protection (SIP) and carries risks. Most users should avoid this approach, as it may compromise system security and stability.
Customizing your menu bar and Control Center widgets on macOS 15 streamlines daily tasks, minimizes clutter, and puts your most-used controls within easy reach. Regularly reviewing these settings helps keep your workspace efficient and tailored to your needs.