
Windows Search Indexing steadily consumes disk space as it catalogs files, emails, and other content to speed up search results. When storage space gets tight, the indexing database can become a significant source of disk usage and system lag. Disabling Windows Search Indexing is a direct way to reclaim disk space and reduce unnecessary background activity, especially on devices where fast search is less important than available storage.
Disabling Windows Search Indexing via Services
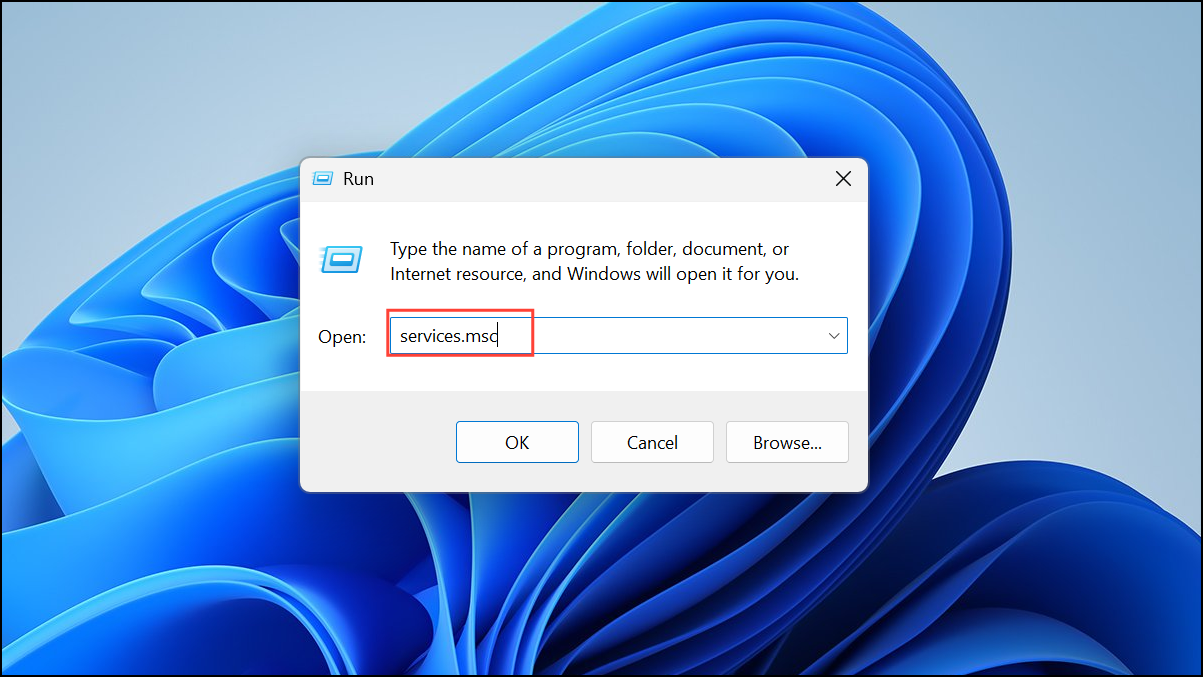
Step 1: Open the Windows Services Manager by pressing Windows + R to launch the Run dialog, then typing services.msc and pressing Enter. This panel lists all background services running on your system.
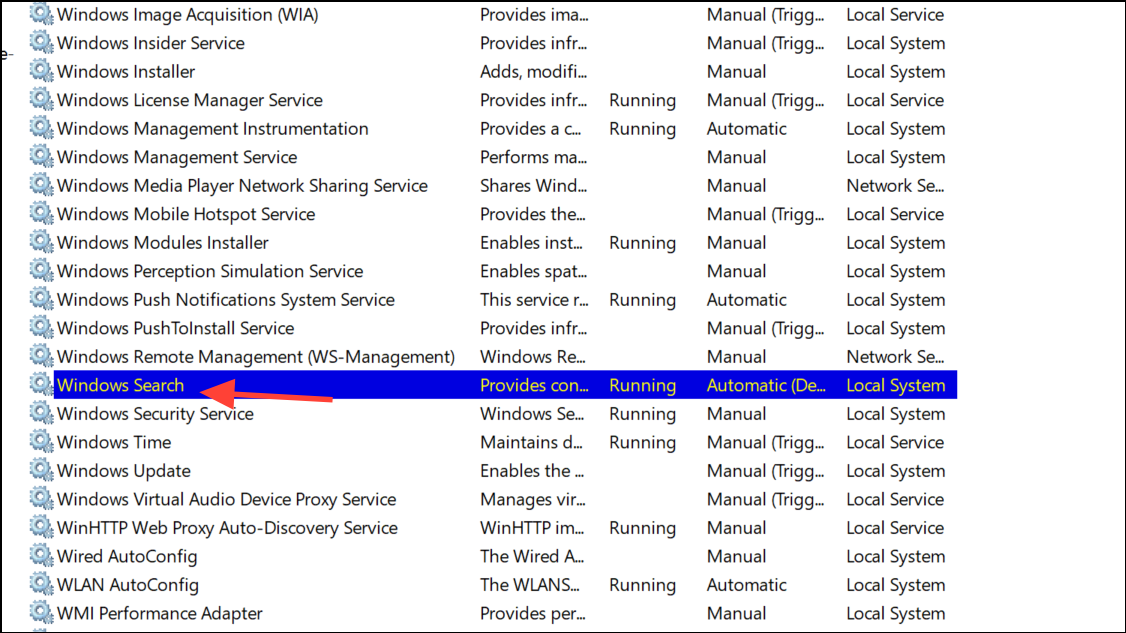
Step 2: Scroll through the list until you find Windows Search. Double-click this entry to access its properties window.
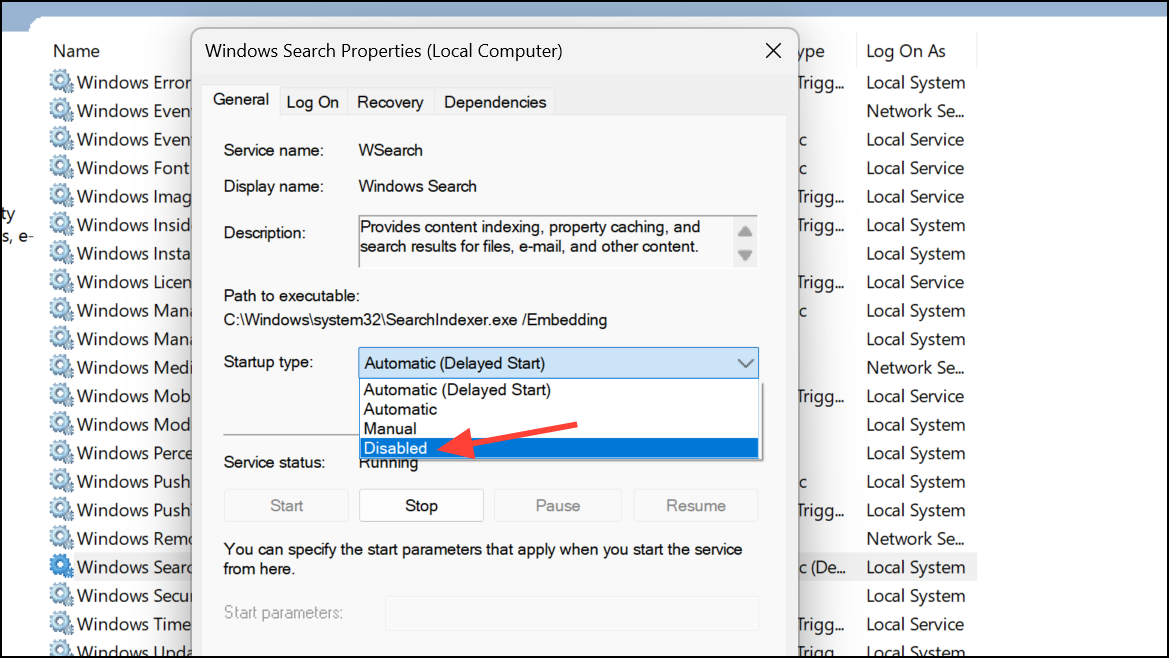
Step 3: In the properties window, locate the Startup type dropdown menu. Set this to Disabled. This prevents the indexing service from starting automatically after a reboot.
Step 4: Click the Stop button to immediately halt the Windows Search service. Wait for the service status to change to Stopped.
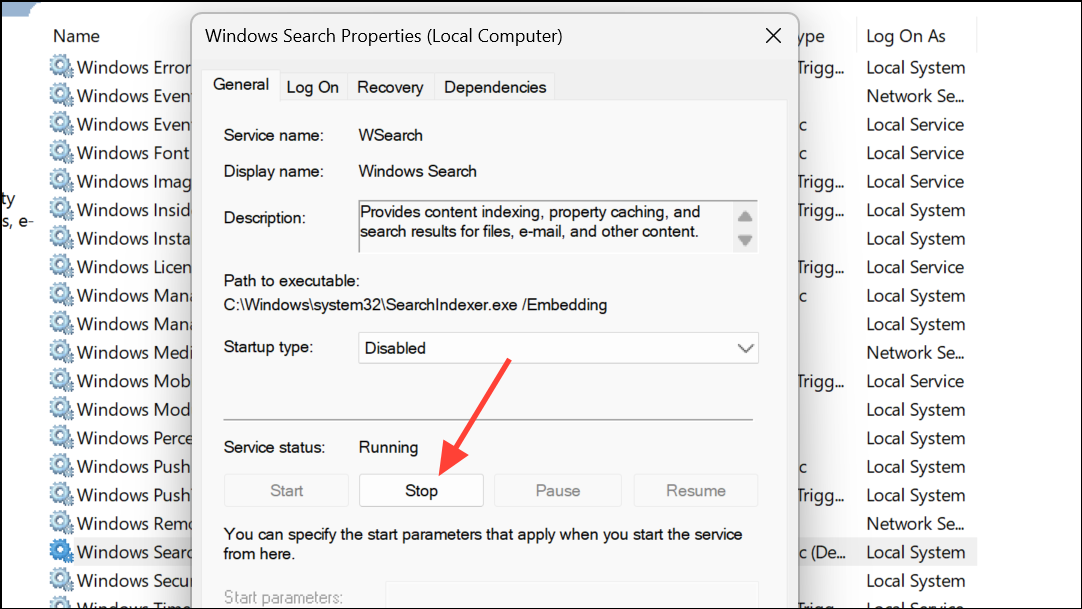
Step 5: Click OK to save your changes and close the properties window. At this point, Windows Search Indexing will no longer run, and no new data will be added to the index database.
Disabling Search Indexing Using Command Prompt
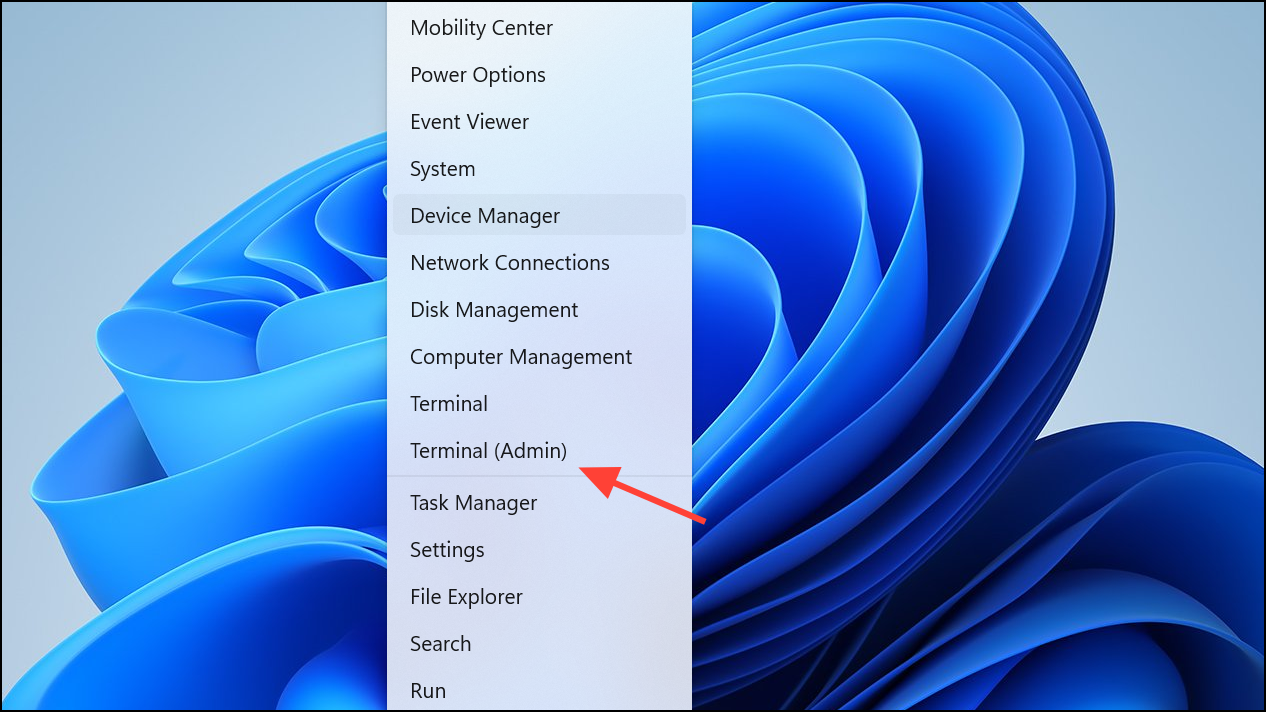
Step 1: Open an elevated Command Prompt by pressing Windows + X and selecting Windows Terminal (Admin) or Command Prompt (Admin) from the menu.
Step 2: Enter the following command to stop the indexing service and prevent it from starting automatically:
sc stop "wsearch" && sc config "wsearch" start=disabled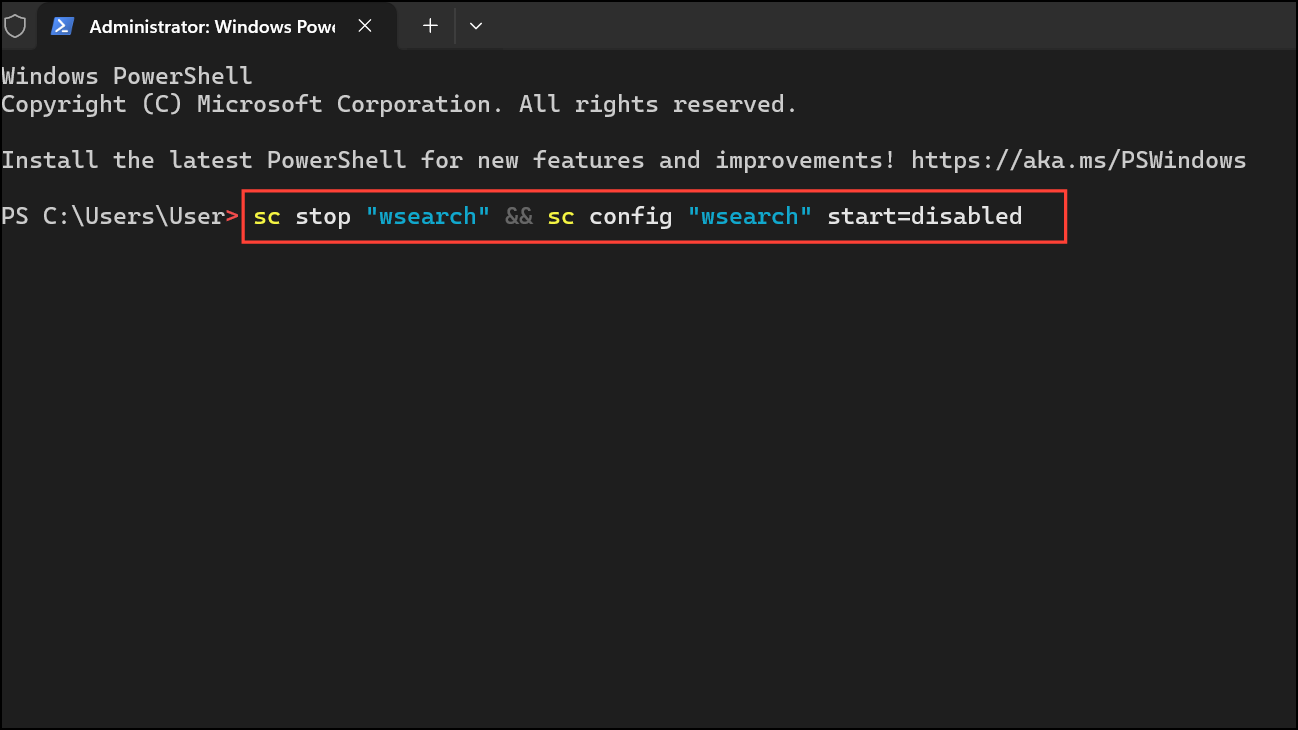
This command immediately stops the Windows Search service and sets its startup type to disabled, ensuring it won’t run on future boots.
Step 3: Close the Command Prompt window. The change takes effect immediately, and Windows will no longer maintain or update the search index database.
Freeing Up Disk Space Used by the Index Database
Even after disabling Windows Search Indexing, the existing index database may still occupy disk space. To remove it:
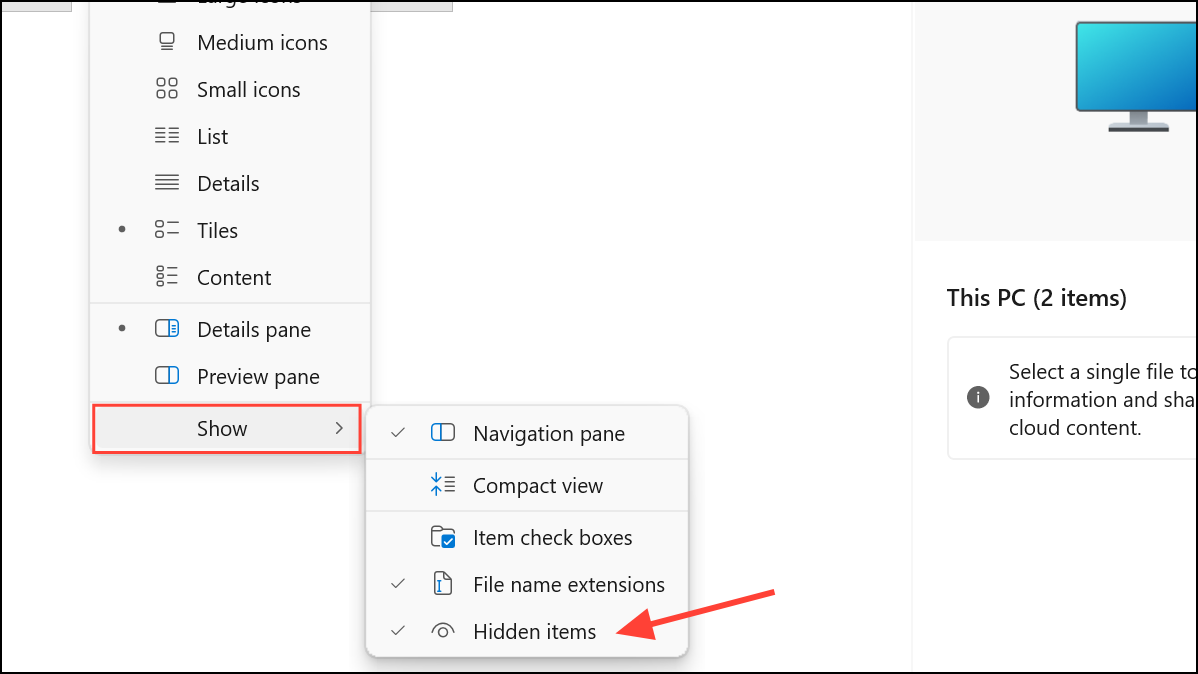
Step 1: Open File Explorer, click the "View" button at the top, go to "Show", and enable "Hidden Items".
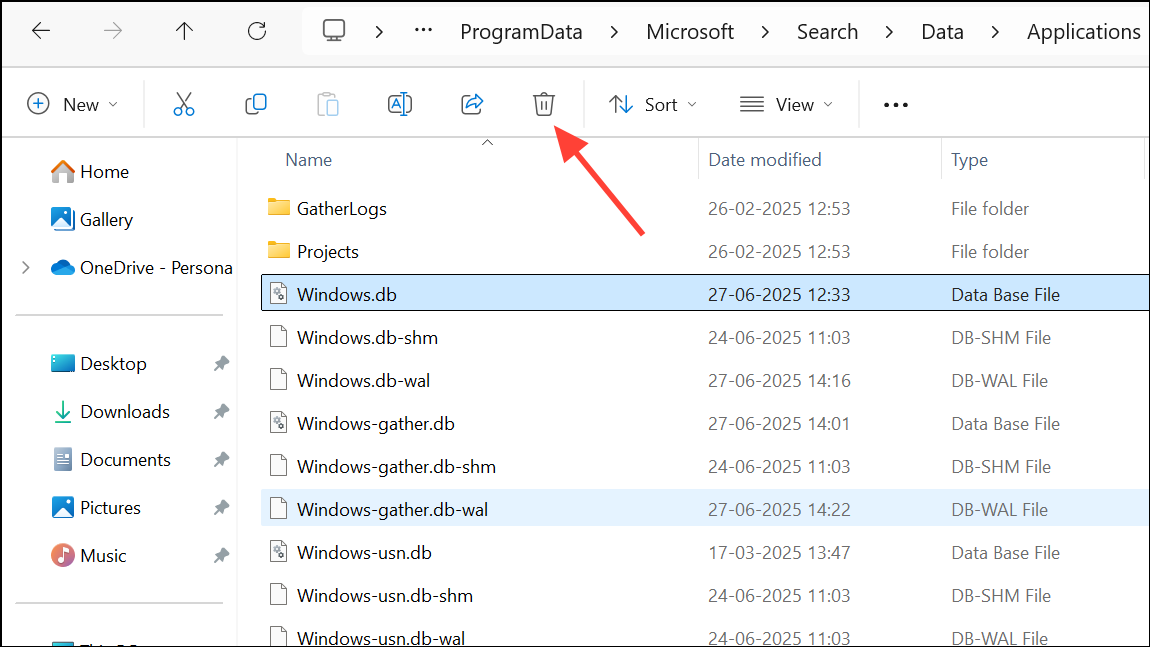
Step 2: Navigate to C:\ProgramData\Microsoft\Search\Data\Applications\Windows.
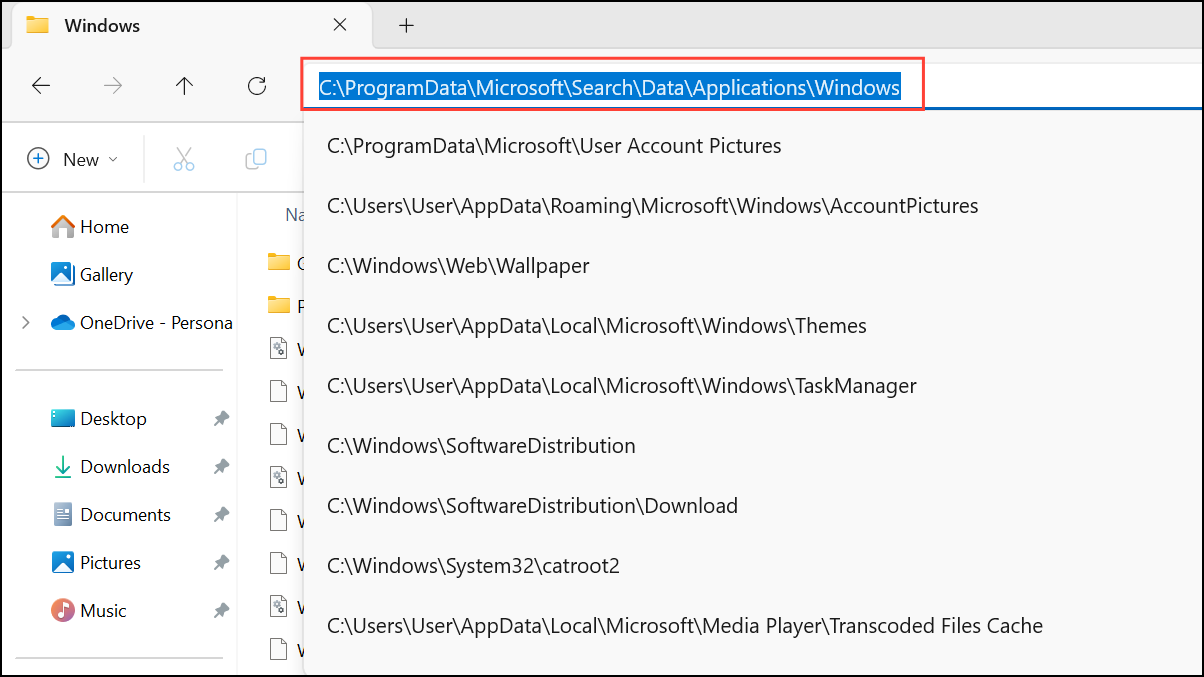
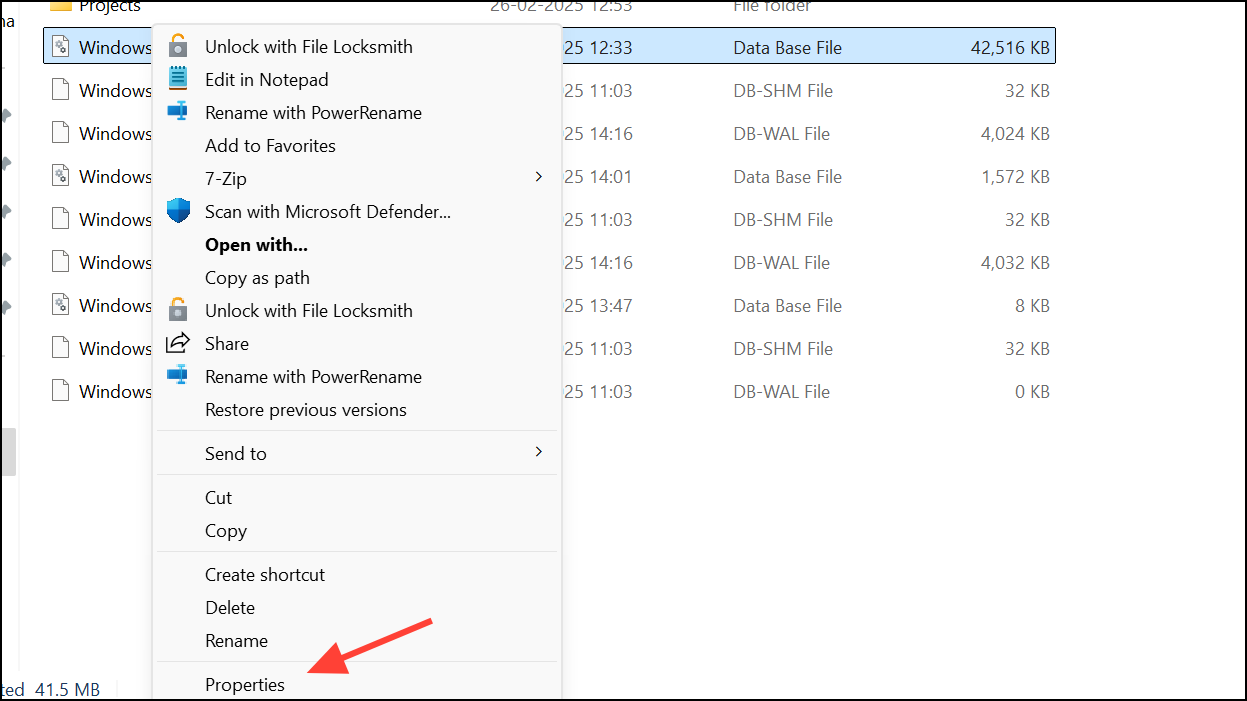
Step 3: Locate the file named Windows.db (on Windows 11) or Windows.edb (on Windows 10). Right-click the file and select Properties to check its actual size on disk.
Step 4: If you want to reclaim the disk space, first ensure the Windows Search service is stopped (as above), then delete the Windows.db or Windows.edb file. This permanently removes the old index, freeing up space.
Disabling Indexing for Specific Drives or Folders
If you want to keep some search functionality but reduce disk usage, you can exclude certain drives or folders from indexing instead of disabling the service entirely.
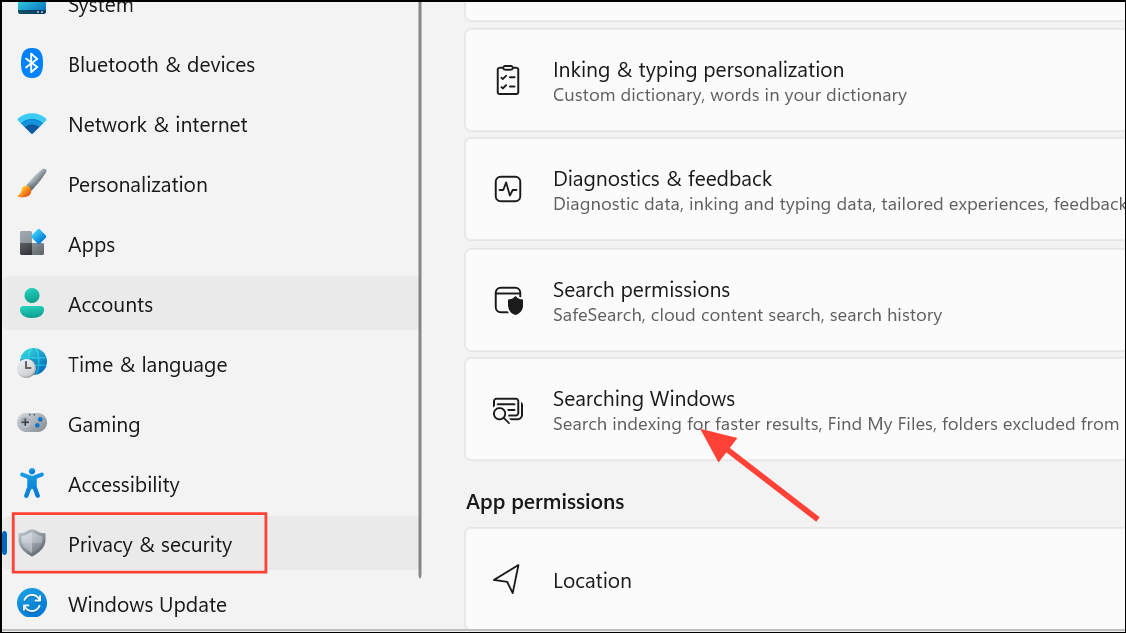
Step 1: Open the Settings app by pressing Windows + I, then go to Privacy & security > Searching Windows.
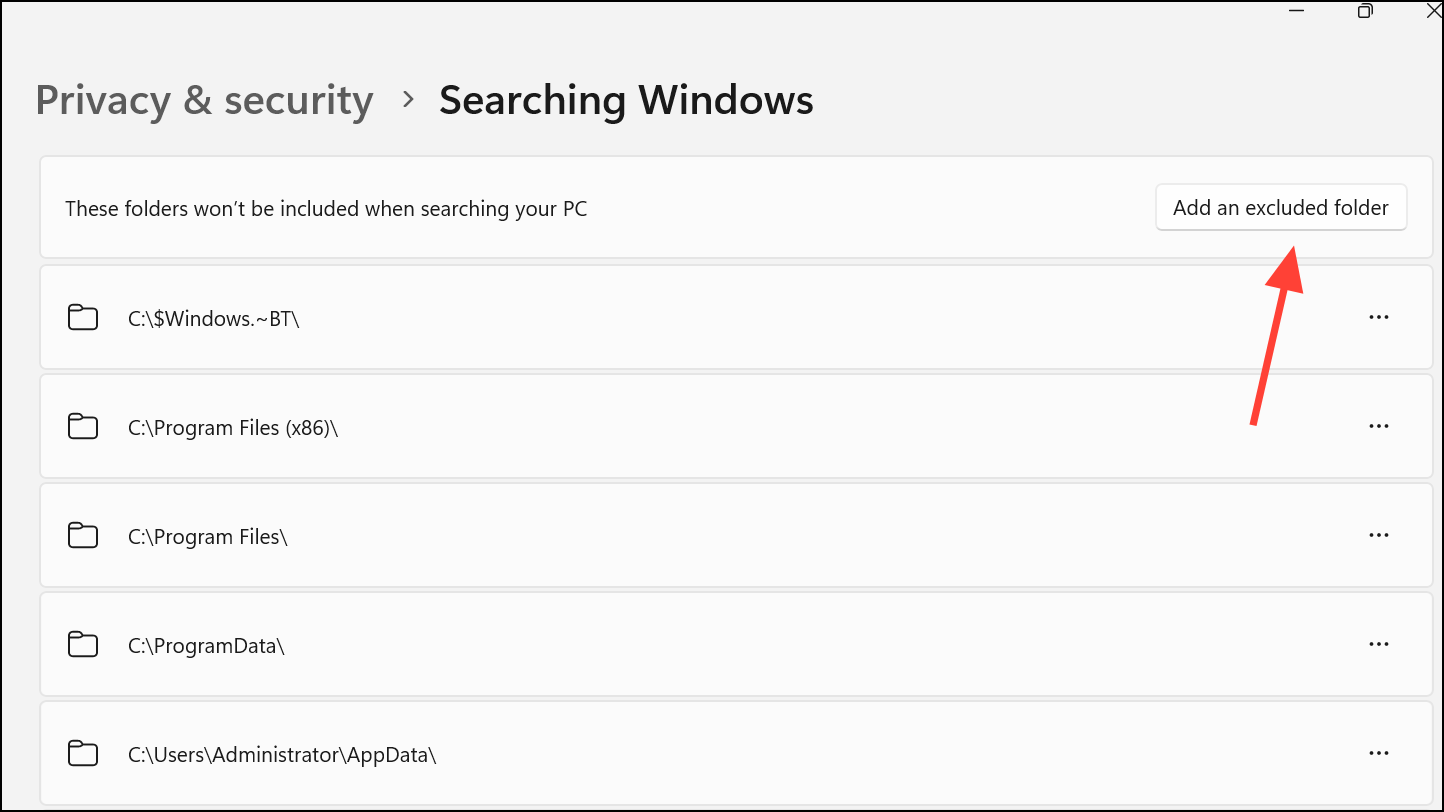
Step 2: Under Exclude folders from enhanced search, click Add an excluded folder. Select any folders or drives that you want to leave out of the index. The index database will stop tracking these locations, reducing its size and system impact.
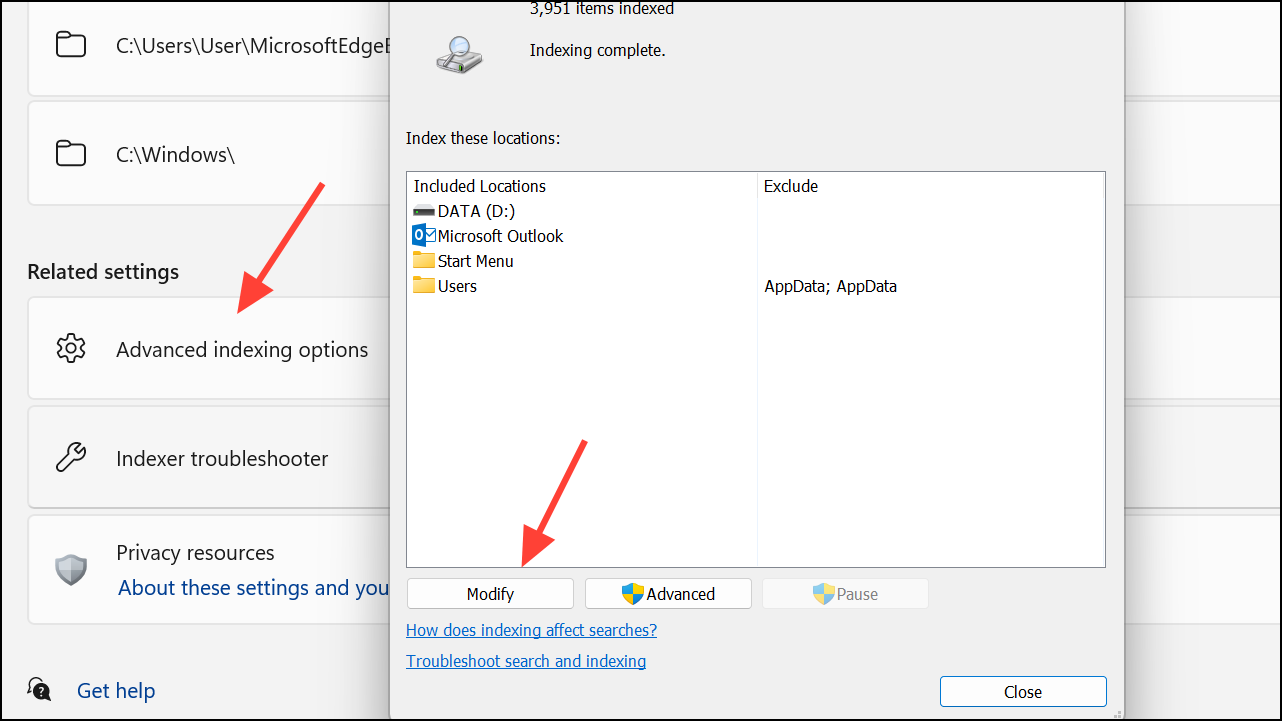
Step 3: For more advanced control, click Advanced indexing options. In the Indexing Options dialog, click Modify to add or remove indexed locations, or click Advanced to adjust file type indexing.
Effects and Considerations When Disabling Indexing
Disabling Windows Search Indexing immediately stops the background process that catalogs files and metadata for quick search results. This can result in a noticeable reduction in disk activity and may free up gigabytes of storage, depending on the size of your previous index.
However, searches performed from the Start menu, File Explorer, or within apps like Outlook will now take longer, as Windows must scan files directly each time you search. If you frequently search for content across your drives, you may notice a slower response. On the other hand, if you rarely use search or have limited storage, the tradeoff is often worthwhile.
If you want to re-enable indexing later, simply reverse the steps above: set the Windows Search service to Automatic (Delayed Start) and start it again, or use the appropriate command in Command Prompt.
Disabling Windows Search Indexing in Windows 11 is a reliable way to free up disk space and reduce background resource usage, especially when storage is at a premium. If you need fast search later, you can always turn indexing back on and rebuild the index as needed.