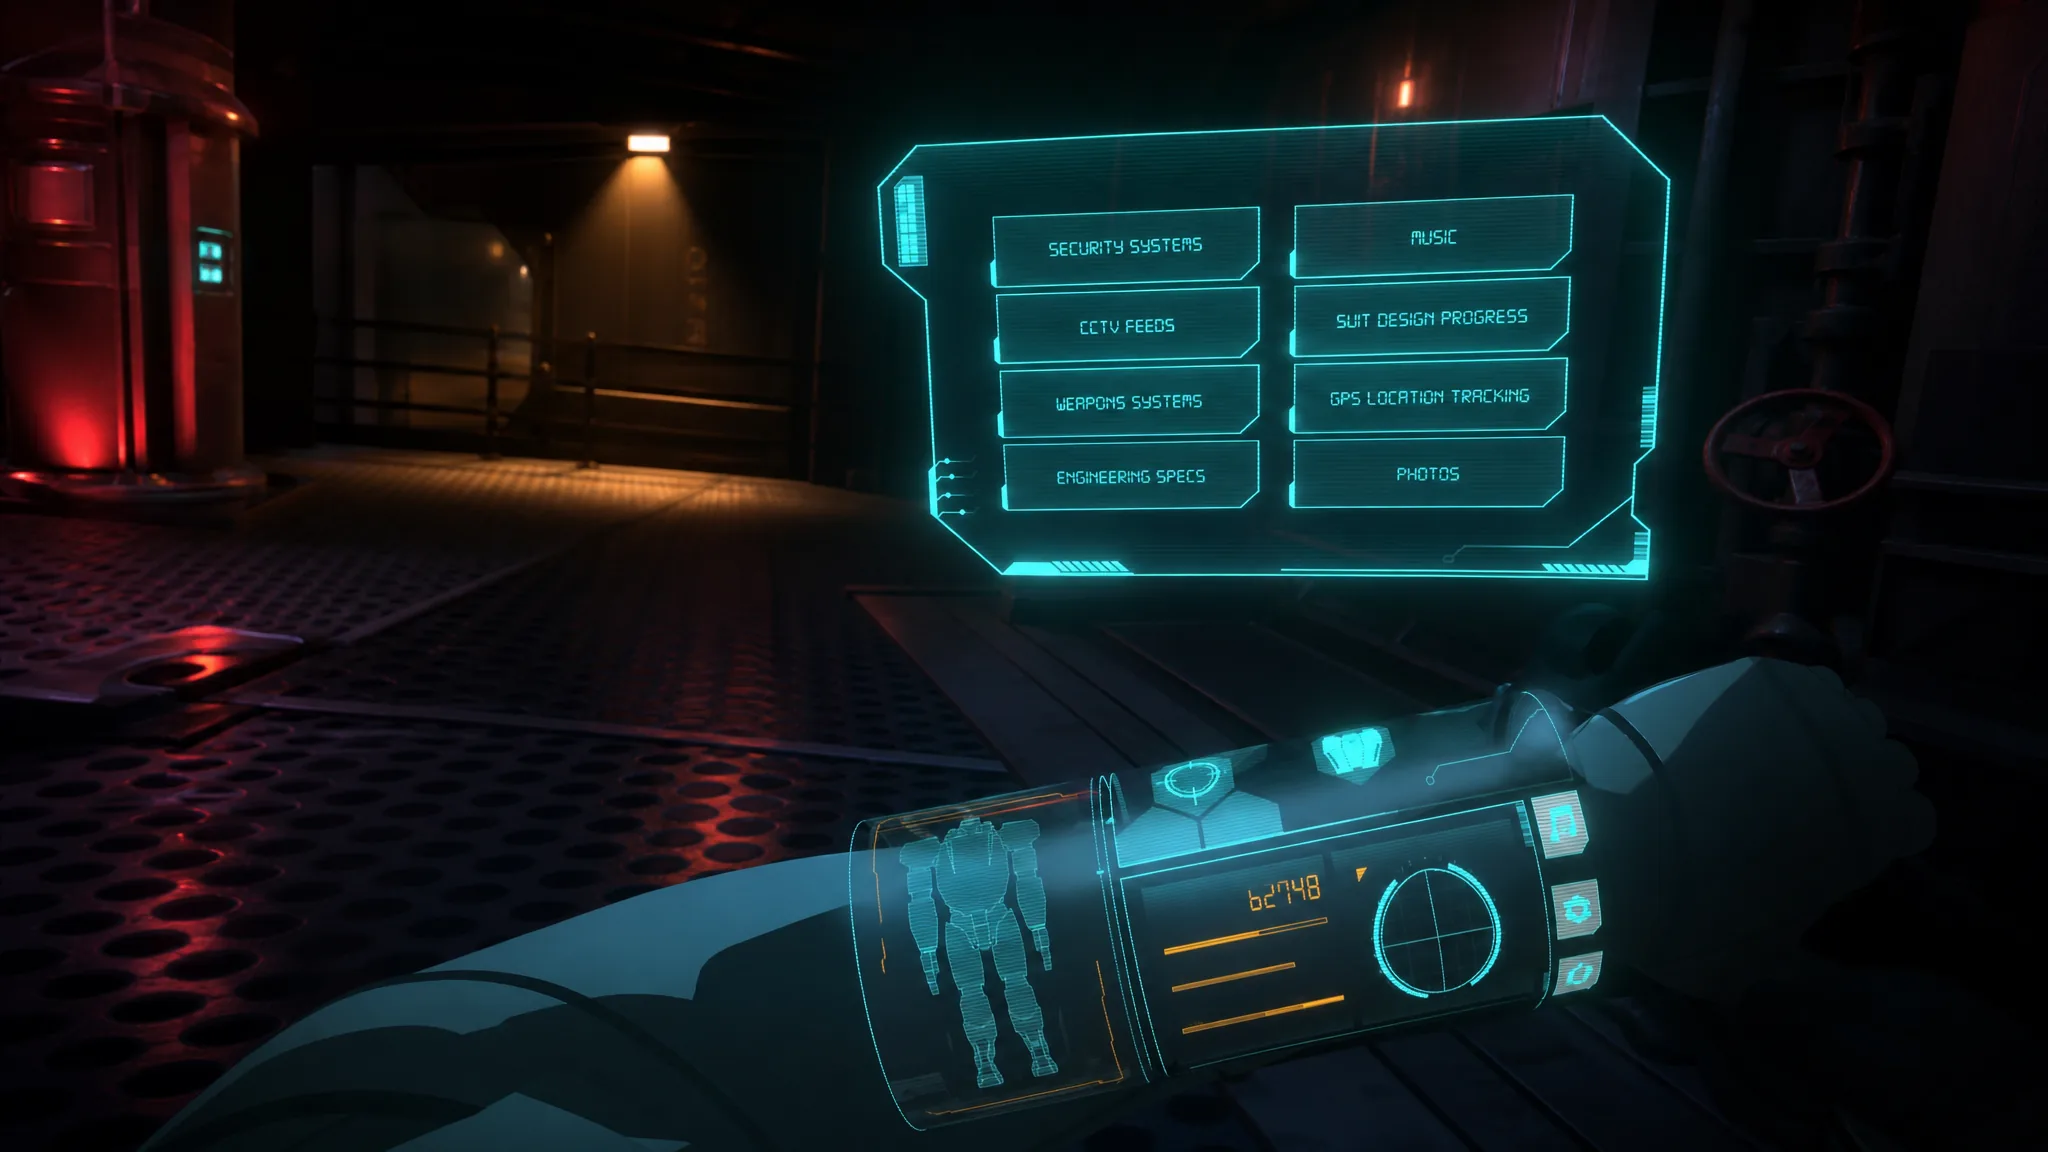
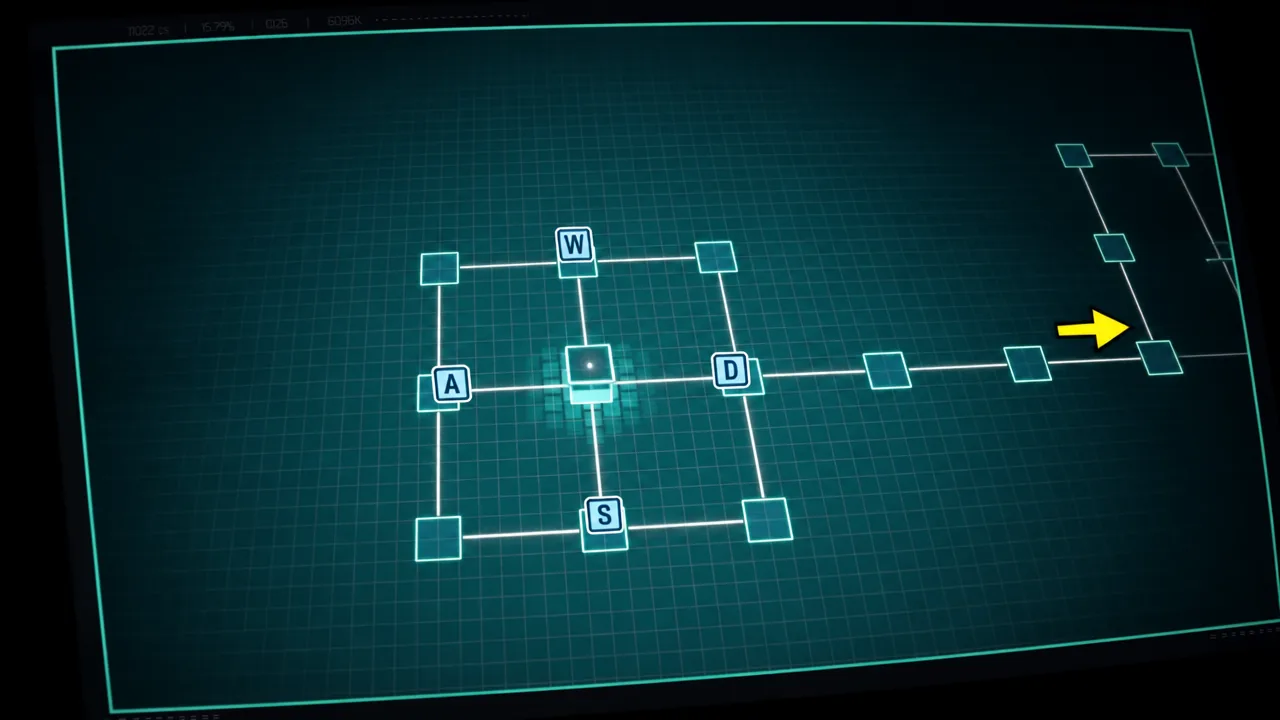
The first hacking sequence in Dispatch shows up during Episode 1, right after the hand-to-hand fight in Shroud’s hideout, when Robert grabs a tablet to break into the security system. You move a cube-shaped avatar across a grid, activating nodes and entering short arrow codes to build a path to the exit. There is no antivirus enemy and no electric charge mechanic here, which makes this the gentlest hack in the game.
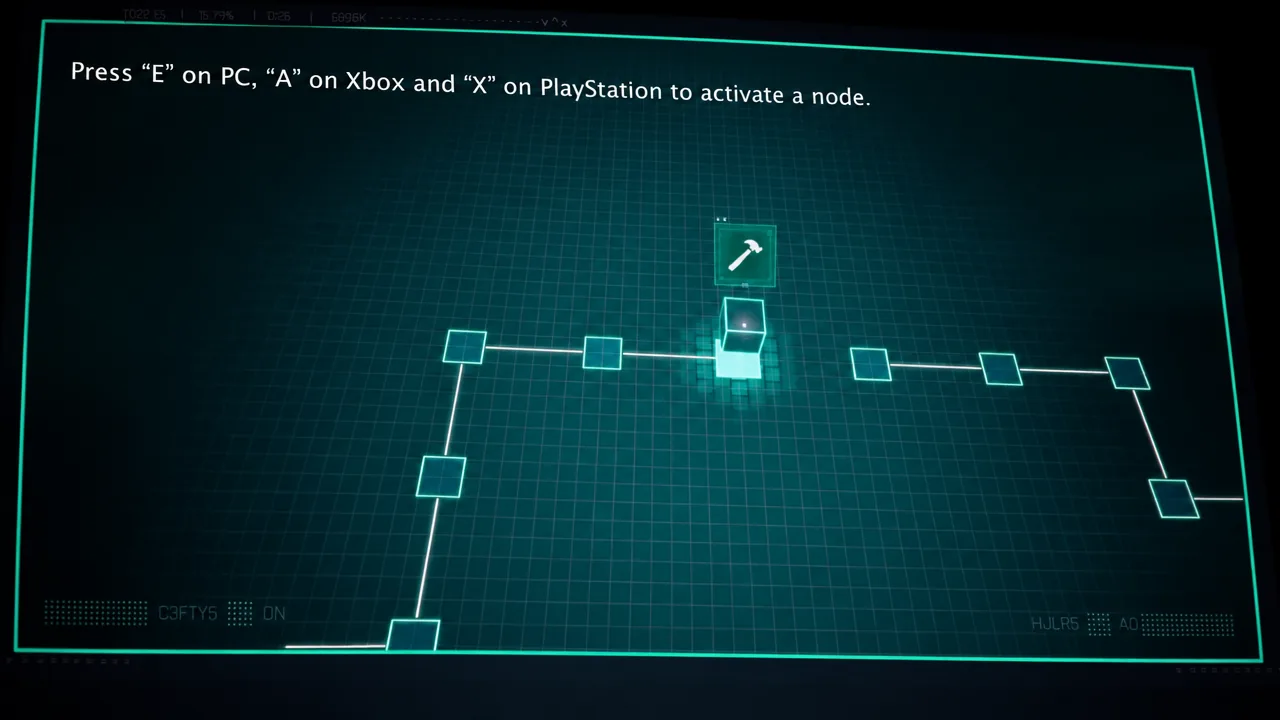
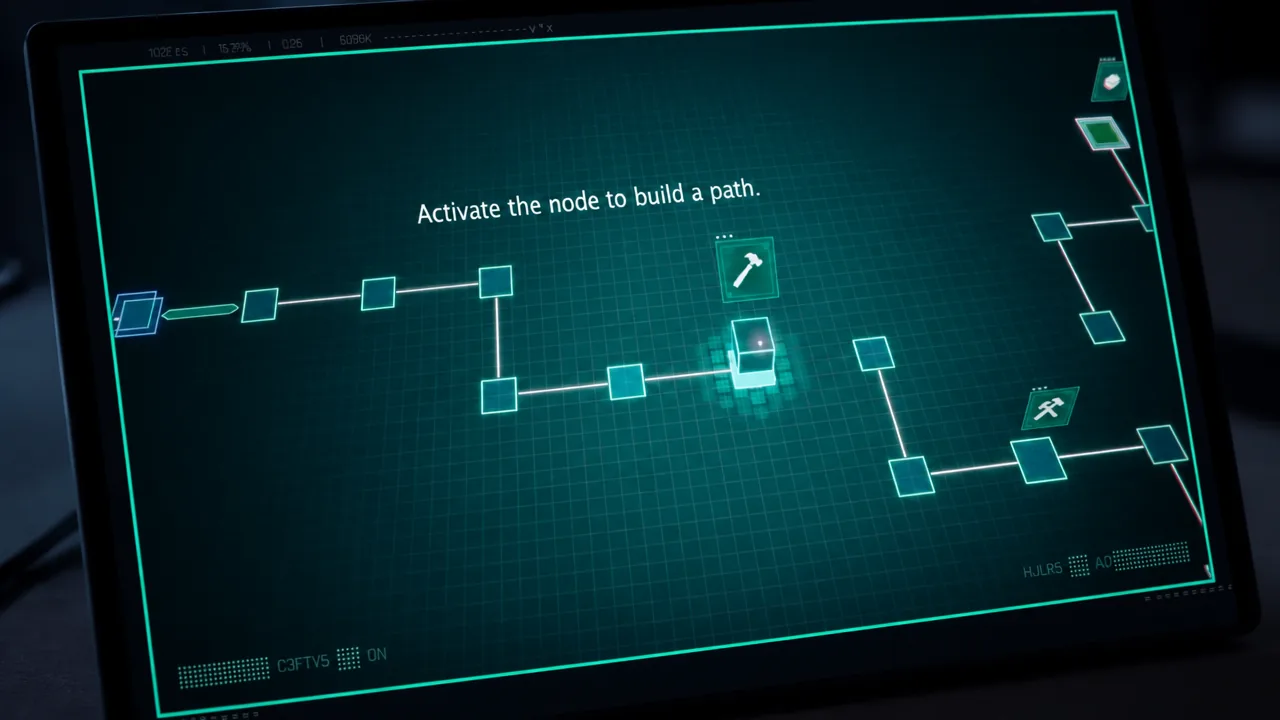
Quick answer: Move right four nodes, then up and right to the hammer node. Activate it and input Up, Right. Reach the second hammer node and input Up, Left, Right. At the double-hammer node, activate once, take the upper branch to download spatial data, return and reactivate for the lower branch to download again, then push to the end node and activate it. Reactivate the double-hammer node a final time, take the upper path, download the last spatial data, and move onto the freshly unlocked node to finish.
Controls for the hacking minigame
You steer the cube with WASD on PC or the arrow keys, and with the D-pad or stick on console. Activating a node uses the confirm button, which changes depending on your platform.
| Action | PC | Xbox | PlayStation |
|---|---|---|---|
| Move the avatar | WASD | D-pad / stick | D-pad / stick |
| Activate a node | E | A | X |
Note: read each arrow prompt before you touch anything. The timer is forgiving as long as you avoid panic inputs and unnecessary backtracking.
Full walkthrough of the Episode 1 hack
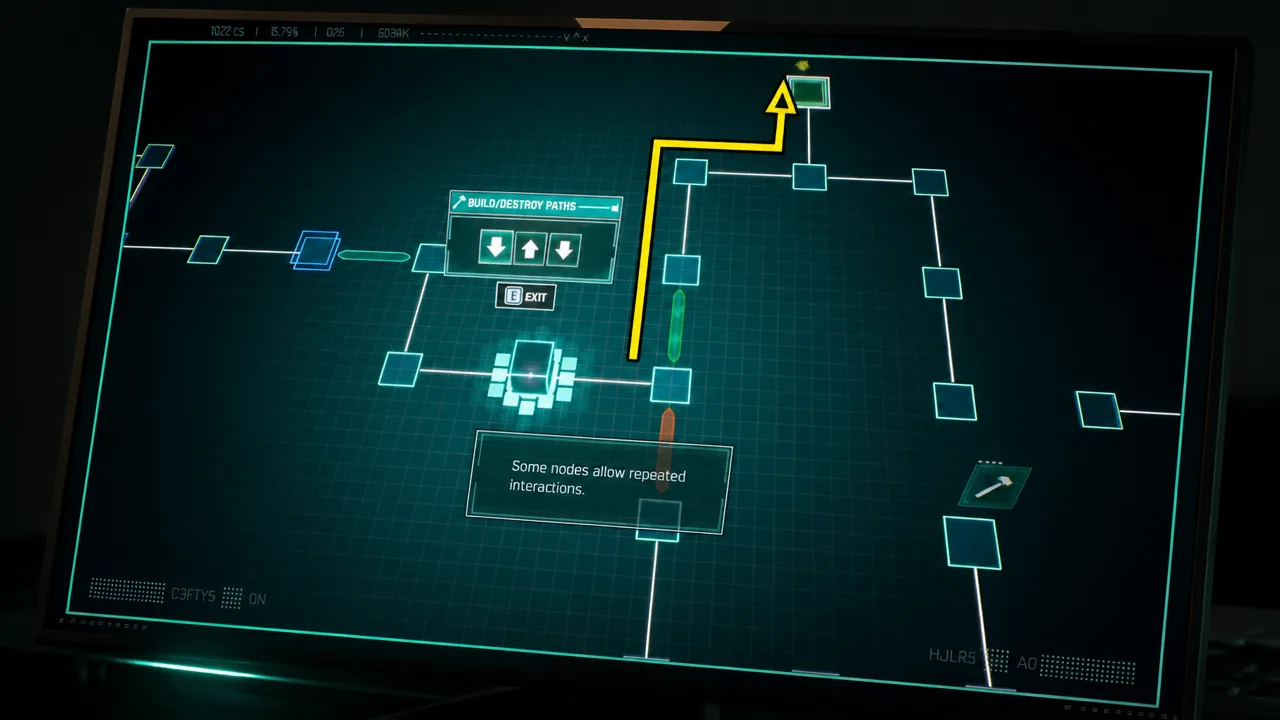
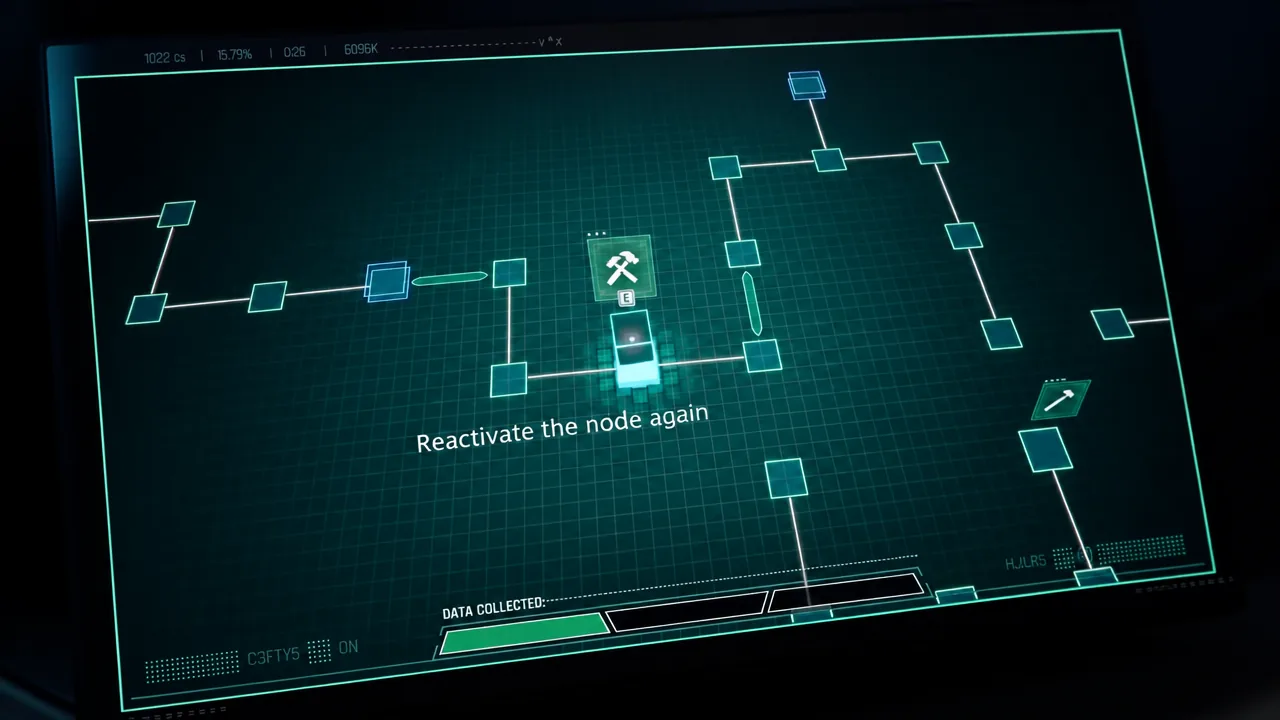
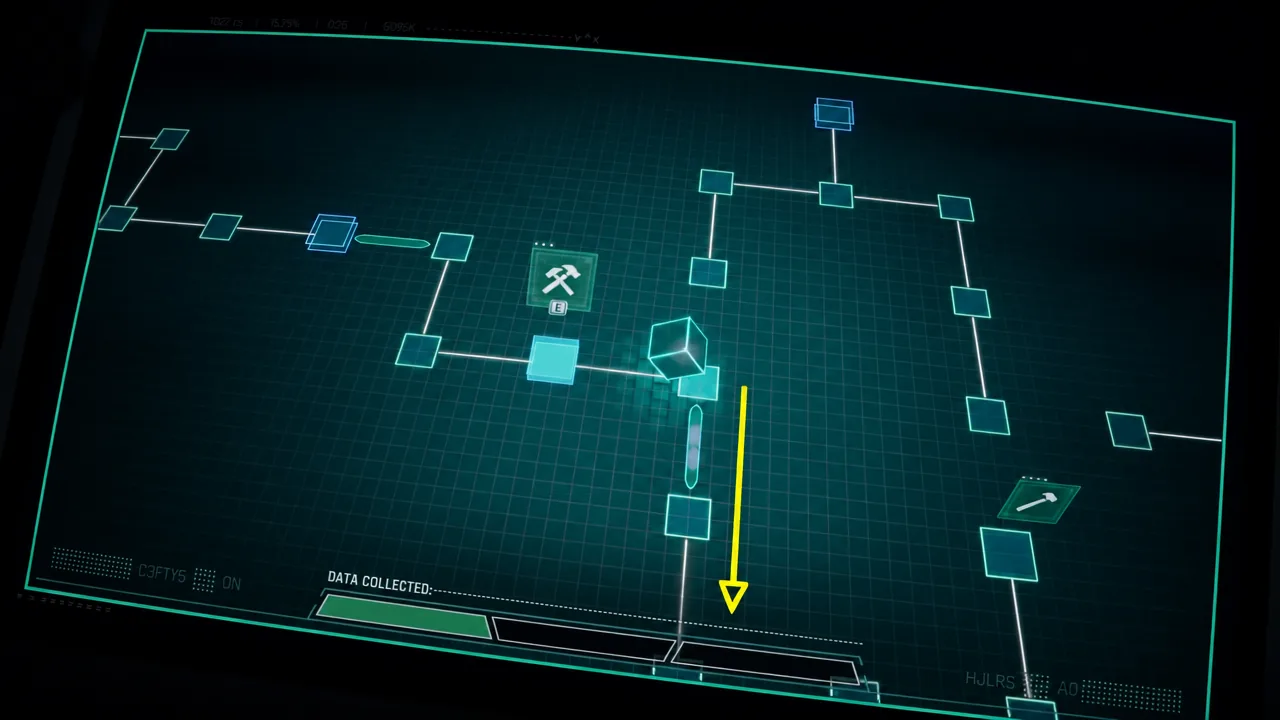
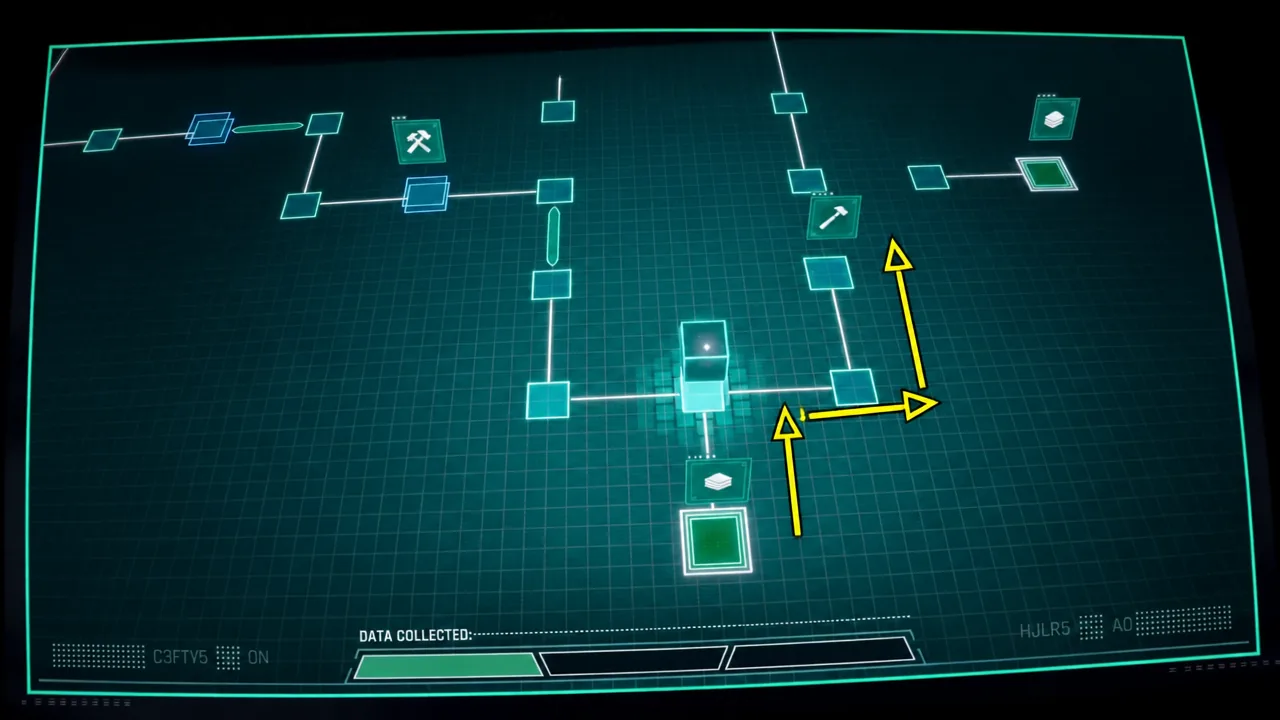
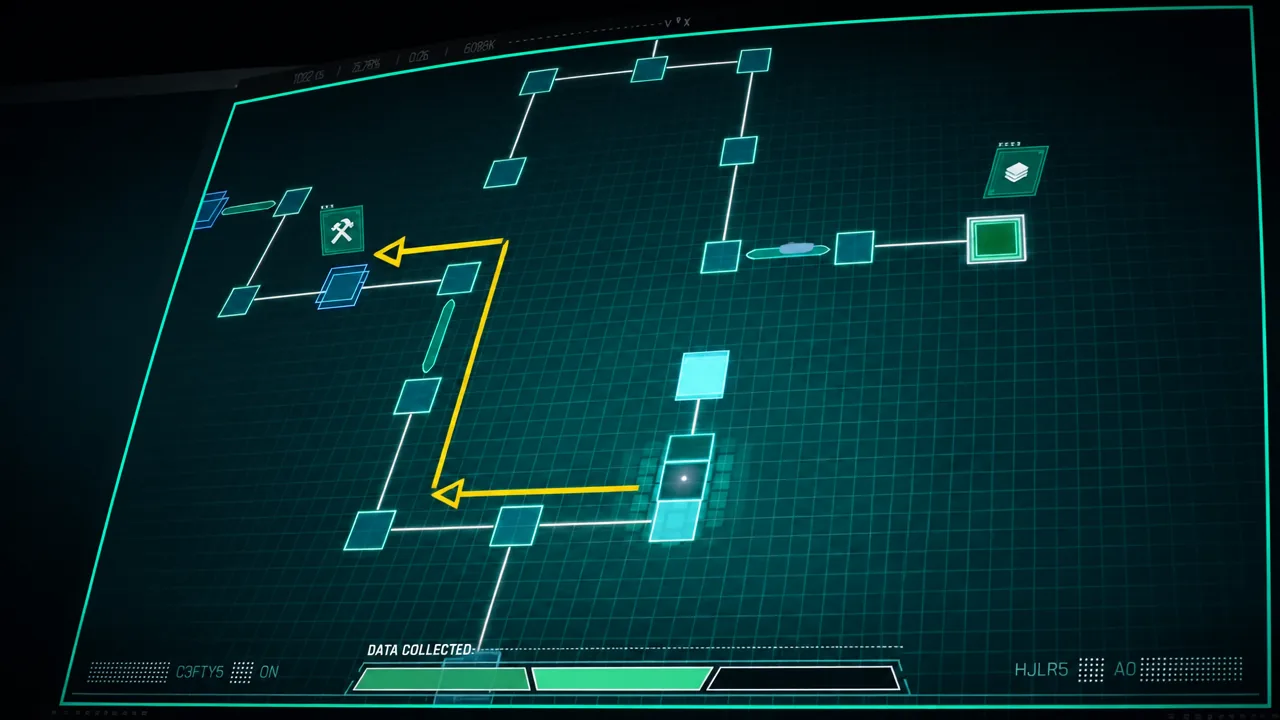
How to know the hack worked
Once the cube lands on the final unlocked node with all spatial data collected, the puzzle closes on its own and the story resumes, sending Robert on to confront Toxic. This first hack is a scripted tutorial and cannot be permanently failed, so it does not put a mark on your shift record the way later hacks can.
If the timing ever gets in your way here or in tougher later episodes, you can remove the pressure entirely. Open Settings, go to the General tab, and toggle on Unlimited Hacking Attempts so a failed run resets instantly without penalty. Keep in mind that if you are chasing the “H4ck3d by R0b3rt” achievement, you still need to complete every hack across the run, and this Episode 1 sequence counts as the very first of those.