

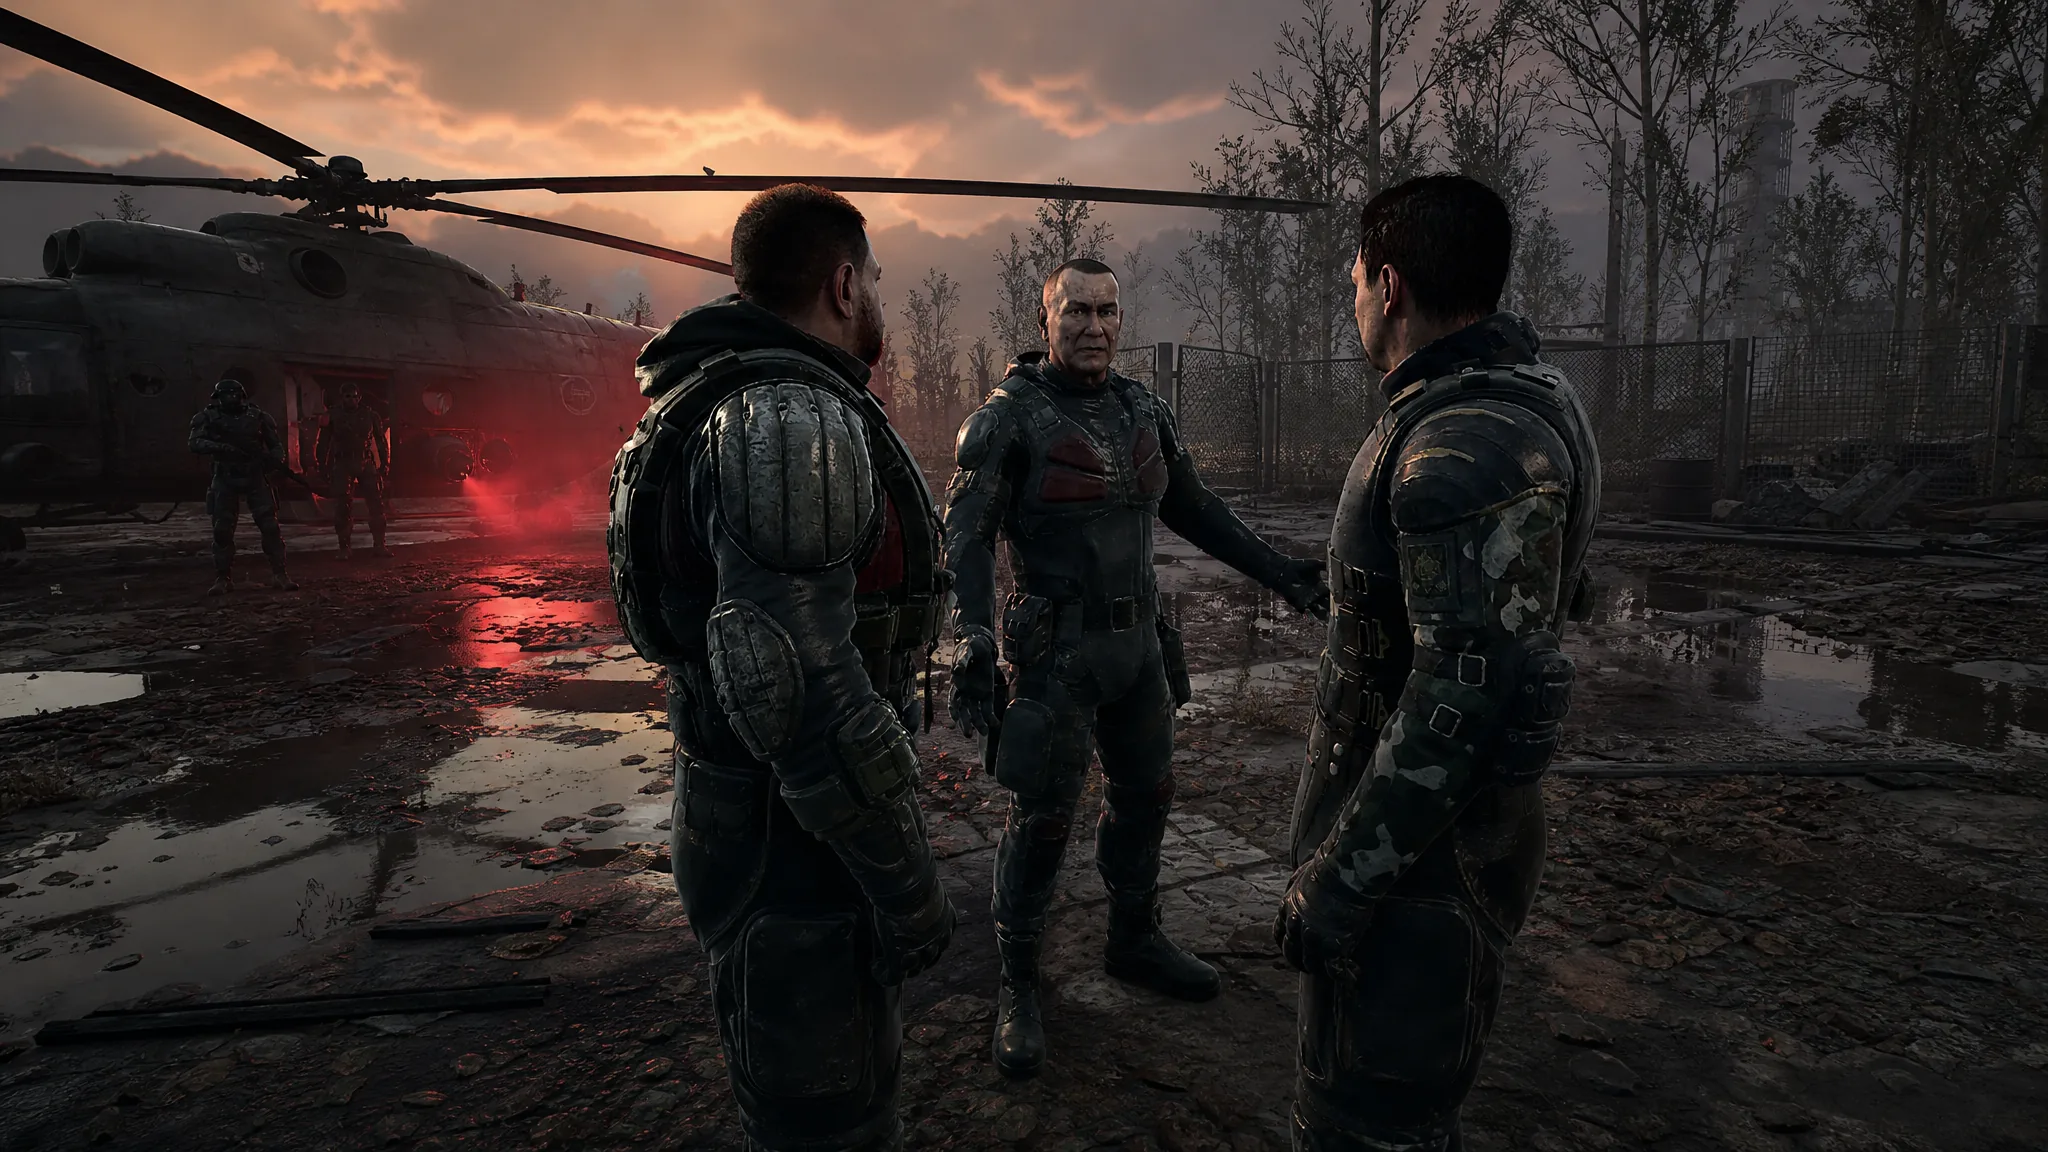
Distant Mirage closes out the first half of the Cost of Hope expansion for S.T.A.L.K.E.R. 2. It picks up the moment In the Heart of the Iron Forest ends, with Skif standing over a wounded Lukash and no obvious answer as to who put him there. Everything that follows takes place underground, where a Pseudogiant, a brand-new mutant, and two keypads stand between you and the surface.
Quick answer: Follow the glow sticks down the ladder, run from the Pseudogiant instead of fighting it, destroy the device on the Amok’s back before shooting its front, loot Fenrir for gate code 3008, climb back to the surface, then head to Kurin camp and speak with Mavka.
Distant Mirage codes, rewards, and key items
Two keypads gate the route out, and both codes are fixed. The mission payout and the sellable mutant part are worth noting before you start dumping loot to save weight.
| Item | Detail |
|---|---|
| Gate code (required) | 3008, taken from Fenrir’s PDA and Group’s Patch |
| Blue locker code (optional) | 8536 |
| Hand of Amok | Looted from the Amok, sells for 18,000 Coupons |
| Mission reward | 12,000 Coupons |
Tip: bring a shotgun. The whole underground stretch is close quarters, and the Amok fight is decided at point-blank range.
Find the traces of Lukash’s murderers
From the Oasis, walk forward until you spot glow sticks scattered on the ground. They mark the trail the whole way, so treat them as your waypoints rather than trusting the map.
Follow the sticks downhill and skirt the anomaly on its left side. Keep tracing the line of lights and you will reach a ladder leading down into the tunnels. Save here — the next section starts immediately and does not give you a moment to prepare.
How to escape the Pseudogiant underground
A Pseudogiant starts chasing you the instant you reach the bottom of the ladder. The corridors are far too tight to fight it, and there is no reward for trying. The intended solution is a straight sprint through a fixed route.
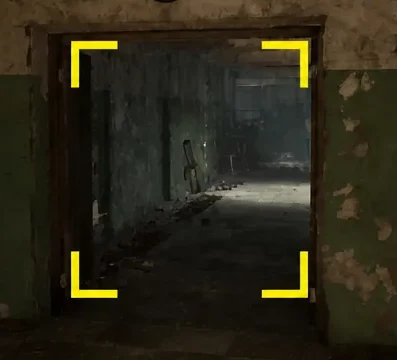
Once you reach the open area, cross to the far side and continue up the stairs. On the left you will find a sealed room packed with explosive barrels. Leave that door shut. Opening it detonates the barrels and will take a huge chunk out of your health, and there is nothing inside worth the risk.
How to kill the Amok in Cost of Hope
Push past the barrel room and drop into the large lower section to trigger the Amok, one of the new mutants introduced with the expansion. Shooting it head-on at the start does nothing at all — its front is immune until you break the device mounted on its back.
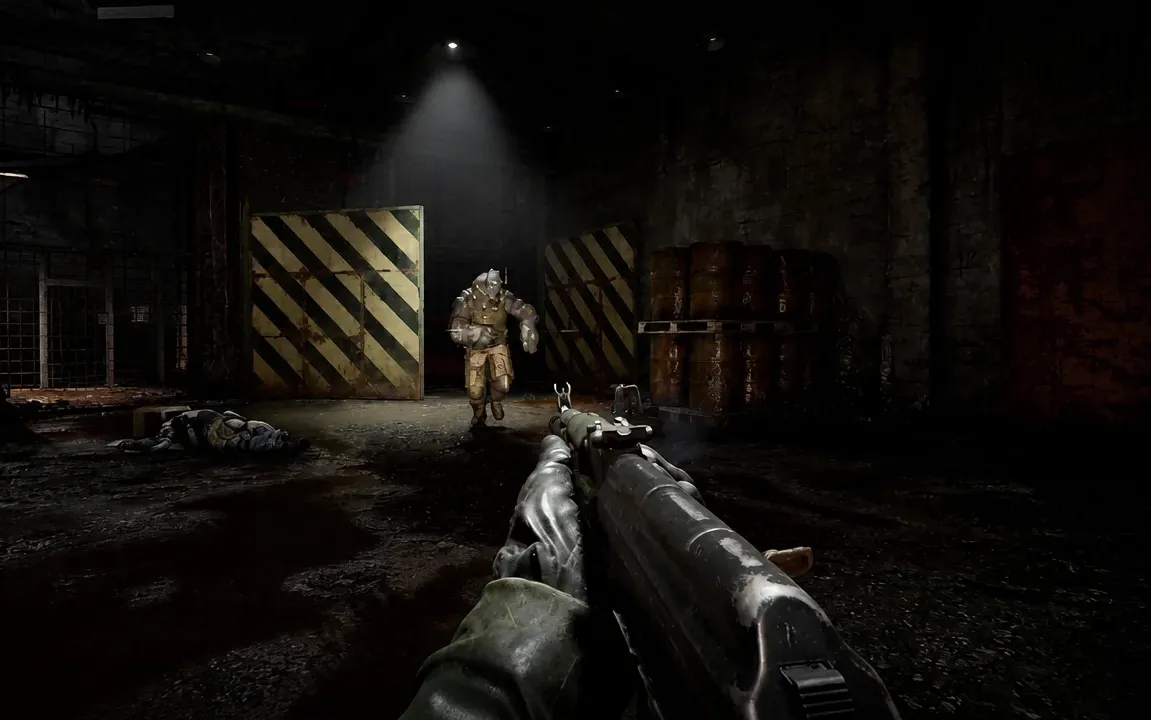
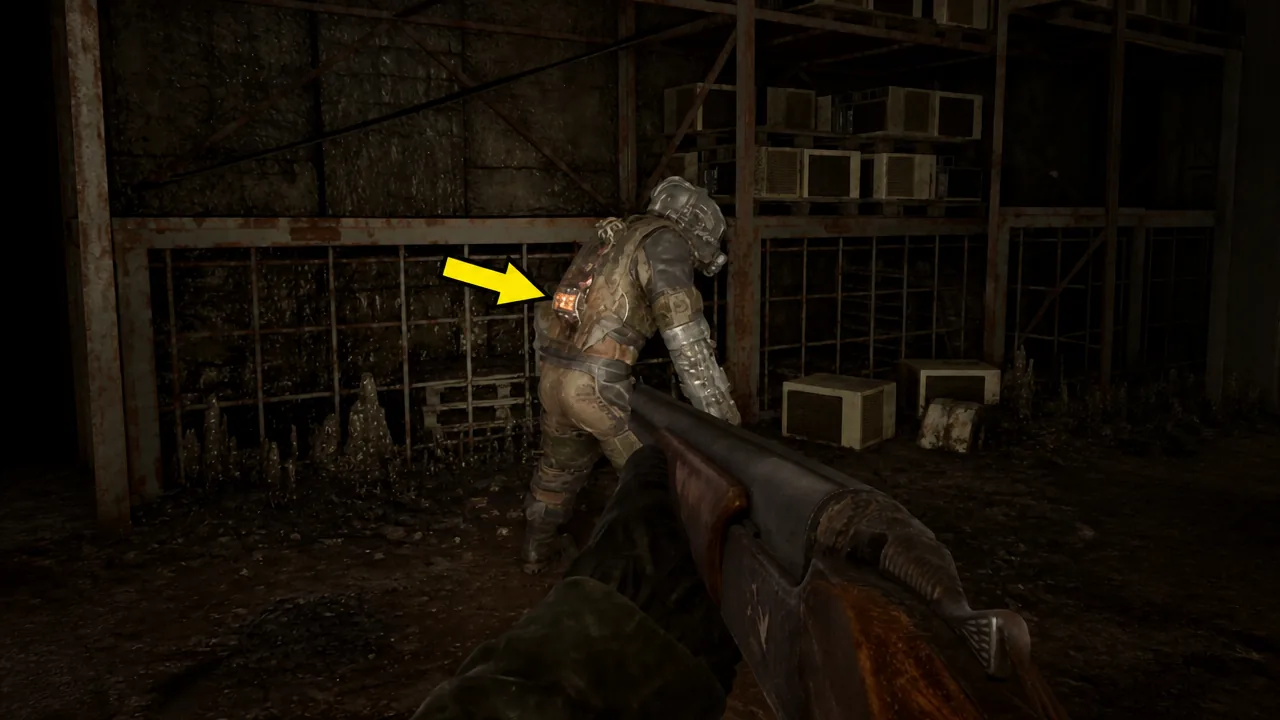
Search the corpse afterwards for the Hand of Amok, a trophy worth 18,000 Coupons at any trader.
Loot Fenrir’s body for gate code 3008
Nearby lies Fenrir. Search his body and take both the PDA and the Group’s Patch. Reading the PDA gives you the number you need for the locked gate: 3008. Skip this and the mission cannot progress, since the gate is the only way up.
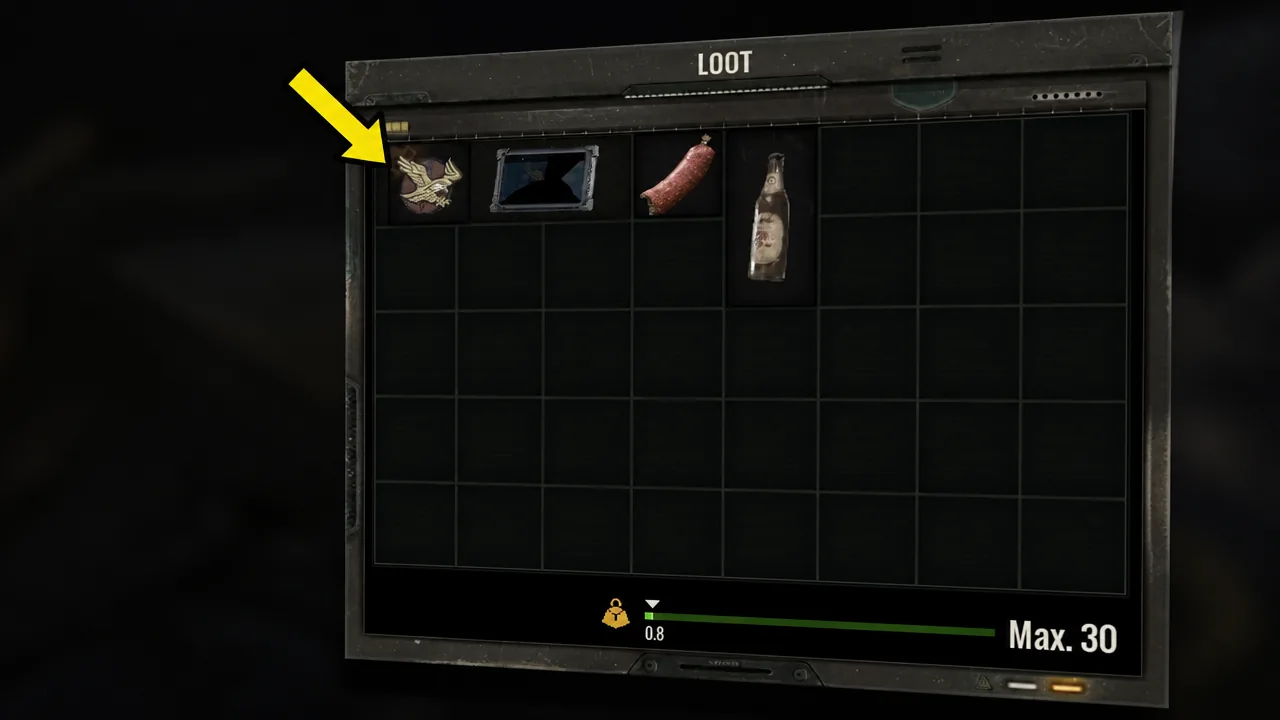
Get to the surface
Punch 3008 into the keypad on the gate and head up the stairs behind it. Jump the gaps to reach the upper level, then step out onto the balcony and pull the red lever. That drops a ladder, which matters more than it looks — the platforming section that follows is easy to fall from, and the ladder saves you a long climb back if you do.
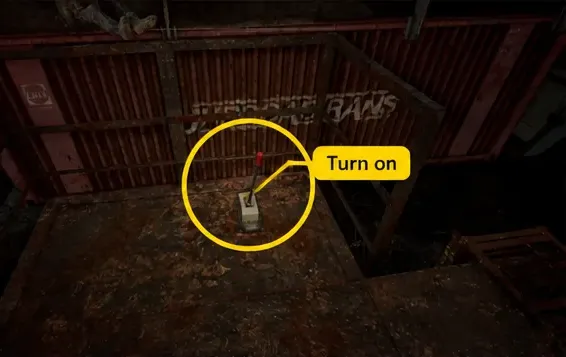
Jump onto the railway wagon, then leap across the open gap to land on the balcony on the opposite side. Keep going straight ahead, take the stairs up, continue forward, and use one more set of stairs to climb higher again.
Blue locker code 8536 (optional loot)
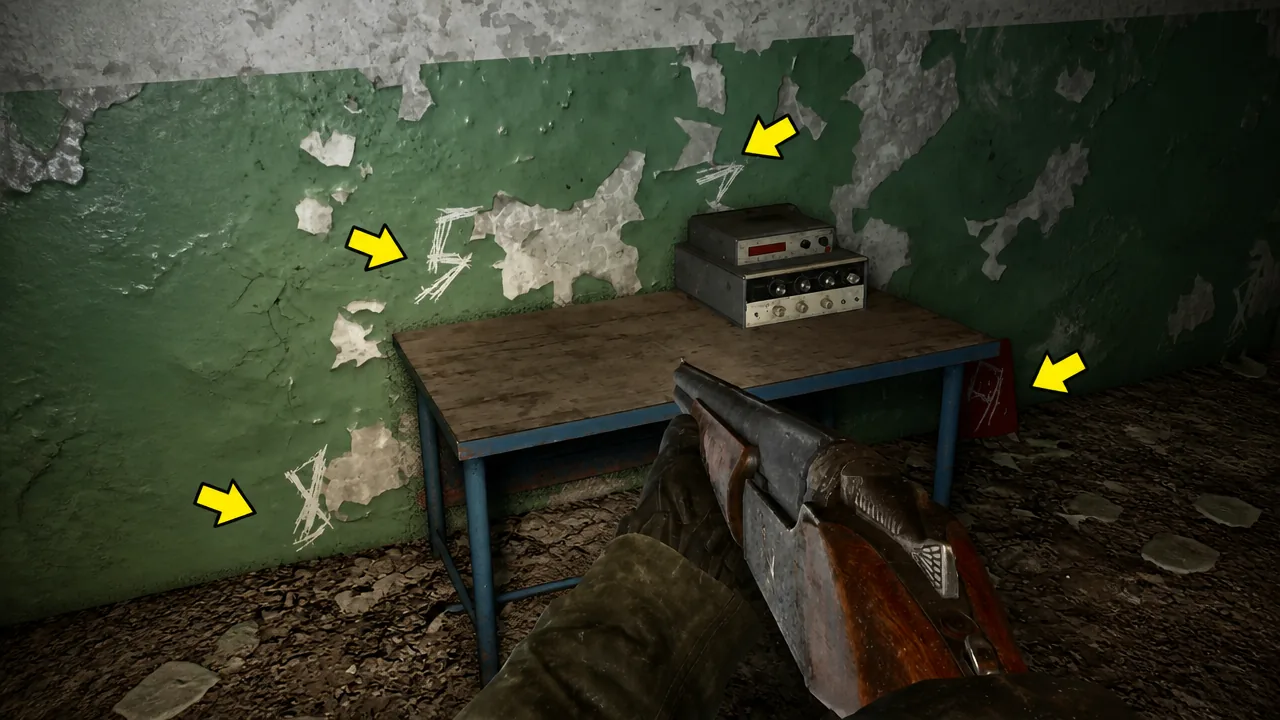
Through the next door is a room with a password-protected blue locker. It is entirely optional, but the contents are worth the detour. The code is 8536.
If you want to work it out yourself, the digits are written on the wall to the left — break the box in front of them to expose the full sequence. There is a second copy scrawled in a notebook on the right, but that one is written upside down, which is what trips most players up.
Return to Kurin camp and speak with Mavka
Leave the building and travel to Kurin camp. Opening the door triggers a lengthy cutscene that reframes a large part of the story so far. Partway through, Myklukha asks who might be responsible for the massacre; the dialogue options here do not lock you out of anything, so answer however you like.
Once the scene ends, talk to Mavka. That conversation closes out Distant Mirage and pays 12,000 Coupons. If the quest log still lists the mission as active, you have not spoken to Mavka yet — she is the final trigger, not the cutscene.
How to unlock the second part of Cost of Hope
Finishing Distant Mirage ends the first half of the expansion. What you do next depends on the start option you picked when you began the DLC.
| Start option | What unlocks part two |
|---|---|
| Early Start | Continue the base campaign and finish the A Minor Incident main mission |
| Advanced Start | Wait four in-game hours, or sleep at a hub |
Advanced Start is the quicker path back into the expansion, since a single sleep at any hub is enough. If you are playing S.T.A.L.K.E.R. 2 for the first time, though, there is no need to rush it — the second half will open up naturally as you work through the main story.





