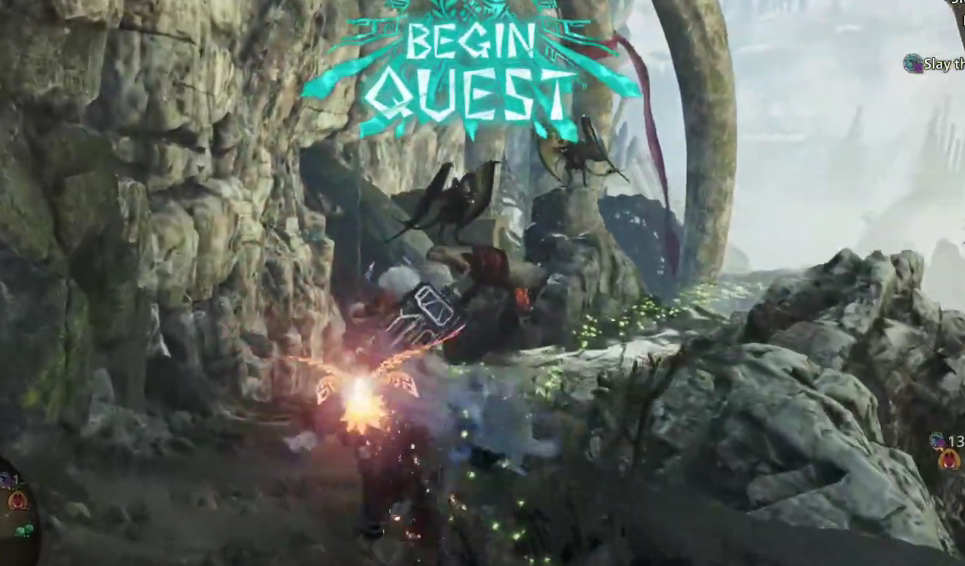
Doshaguma of the Hollow is a limited-time Challenge Quest in Monster Hunter Wilds that drops a single Doshaguma into the Wounded Hollow arena and locks you into one of three preset loadouts. Hunters at HR 16 or higher can enter from the Arena Quest Counter in the Grand Hub, and clear times determine which pendants land in your reward pool.
Quick answer: Pick Set A (Heavy Bowgun), open with Demon Ammo into the dirt for the attack buff, charge your Ignition Gauge with Flaming Ammo, then dump Wyvernheart Ignition on Doshaguma’s head and forelegs to slay it under 5’00”.
Quest requirements and availability
The quest is currently active as a rerun and ends on May 26, 2026, at 16:59 PT. It starts from the Arena Quest Counter inside the Grand Hub, which itself unlocks after you reach HR 16 and speak with Tetsuzan in Suja. Pendant rewards earned during the live window can be claimed afterward from the Support Desk.
| Field | Value |
|---|---|
| Locale | Wounded Hollow (arena) |
| Target | Doshaguma (one individual) |
| Objective | Slay the Doshaguma |
| HR requirement | HR 16 or higher |
| Build | Preset only (Set A, B, or C) |
| Current window | May 12 – May 26, 2026 (16:59 PT close) |
Rank thresholds and pendant rewards
Rankings are based purely on clear time. Any participation earns the two baseline pendants, while an A Rank clear adds the Mark of Mastery, so all three pendants are reachable in a single sub-five-minute run.
| Rank | Clear time | Pendant unlocked |
|---|---|---|
| A | 5’00″00 or faster | Doshaguma: Mark of Mastery (plus both participation pendants) |
| B | 10’00″00 or faster | Mark of Contest, Mark of Bravery |
| C | 50’00″00 or faster | Mark of Contest, Mark of Bravery |
Preset loadouts
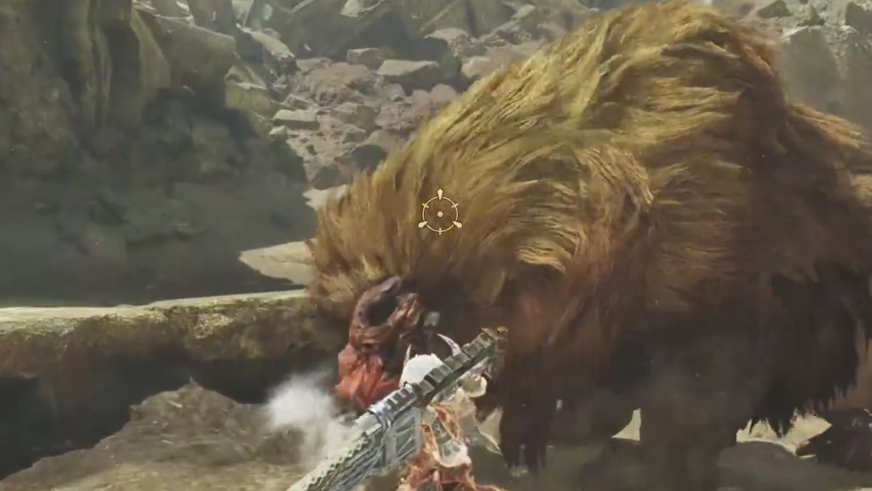
You cannot bring your own gear. Choose one of three fixed sets at the quest board before deployment. The Heavy Bowgun in Set A is the fastest route to A Rank for solo play because it punishes Doshaguma’s close-range moveset from a safe distance.
| Set | Weapons | Notable supplies |
|---|---|---|
| Set A | Quematrice Espada III (Great Sword) and Bone Shooter III (Heavy Bowgun) | Max Potion x10, Whetfish Fin+ x10, Steadfast Jewel【1】 x3, Evasion Mantle |
| Set B | Princess Regalia I (Insect Glaive) | Max Potion x2, Shock Trap x1 |
| Set C | Nu Osminog I (Lance) | Max Potion x2, Might Seed x10, Adamant Seed x10, Friendship Jewel【1】 x2 |
Recommended A Rank route with Heavy Bowgun (Set A)

Doshaguma weak points and openings
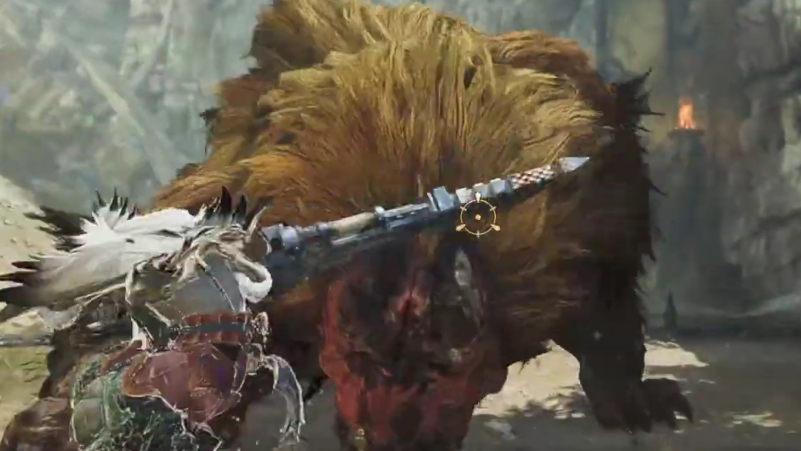
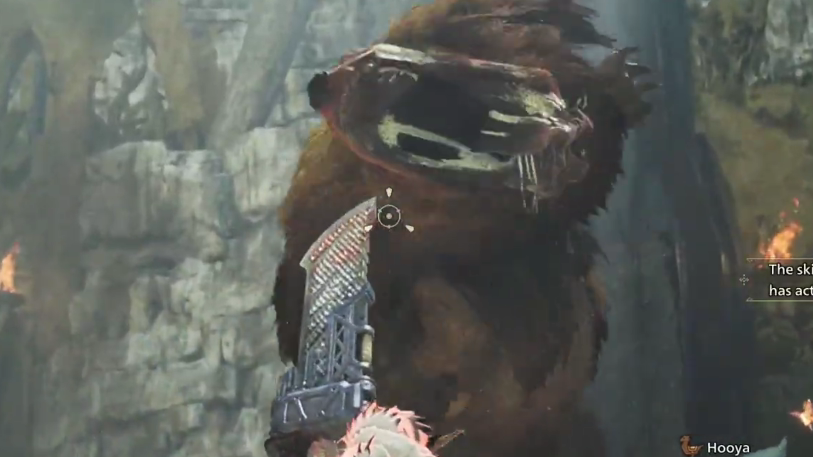
Doshaguma takes the most damage on the head and forelegs, with Ice as the strongest elemental weakness and Thunder as a secondary option. The fixed loadouts are all raw-damage focused, so element does not factor into this specific quest, but you should still prioritise the same physical zones.
Two openings matter for fast clears. The first is the belly wound during the rear-up animation, which guarantees a Focus Strike knockdown. The second is the brief stagger after Doshaguma’s double-paw slam, when its forelegs are planted and exposed. Avoid trading hits immediately after a roar unless you are certain the full follow-up has ended.
How to confirm you cleared A Rank
The hunt ends the moment Doshaguma is slain, and the timer freezes. The results screen displays your clear time and assigned rank letter. A time stamped at or below 5’00″00 confirms A Rank, and the Mark of Mastery is added to your pendant entitlement automatically. The pendants themselves are not handed out in the quest reward box. You collect them from the Support Desk after the event window closes.
If you slip past five minutes, simply requeue. The quest can be repeated freely while it is live, and only your best time counts toward the final pendant tally.