
ReadyBoost allows Windows to use a USB flash drive as extra memory cache, which can help speed up older systems with limited RAM. On Windows 11 22H2, some users notice the ReadyBoost tab is missing from USB drive properties, making it impossible to enable this feature directly. This issue can result from hardware limitations, drive formatting, or system configuration changes in the latest Windows updates. Addressing these factors restores the ReadyBoost option and lets you use your USB drive for improved system responsiveness.
Check USB Drive Compatibility and Format
Step 1: Insert your USB flash drive into a working USB port on your PC. Open File Explorer and locate the drive under This PC.
Step 2: Right-click the USB drive and select Properties. If the ReadyBoost tab is missing, your drive may not meet the requirements. ReadyBoost needs a USB 2.0 or 3.0 drive with at least 256 MB free space, and the drive must have a fast enough read/write speed for caching.
Step 3: If you are unsure about your drive's speed, try another USB drive, preferably a newer one. Drives with slow performance or insufficient space will not show the ReadyBoost option.
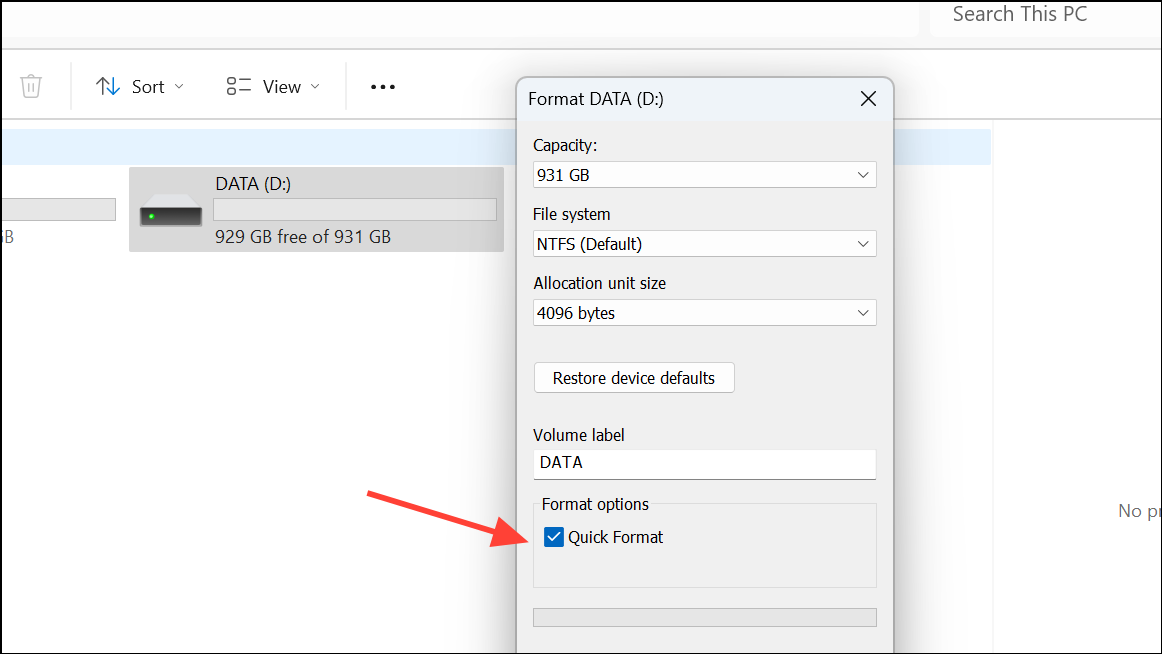
Step 4: Format the USB drive to NTFS or exFAT. Open File Explorer, right-click the drive, and choose Format. Select NTFS or exFAT as the file system, check Quick Format, and click Start. Formatting erases all data, so back up any important files first.
Step 5: After formatting, eject and re-insert the USB drive. Check Properties again to see if the ReadyBoost tab appears. If it does, you can now enable ReadyBoost and allocate space for system cache.
Check for System or Policy Restrictions
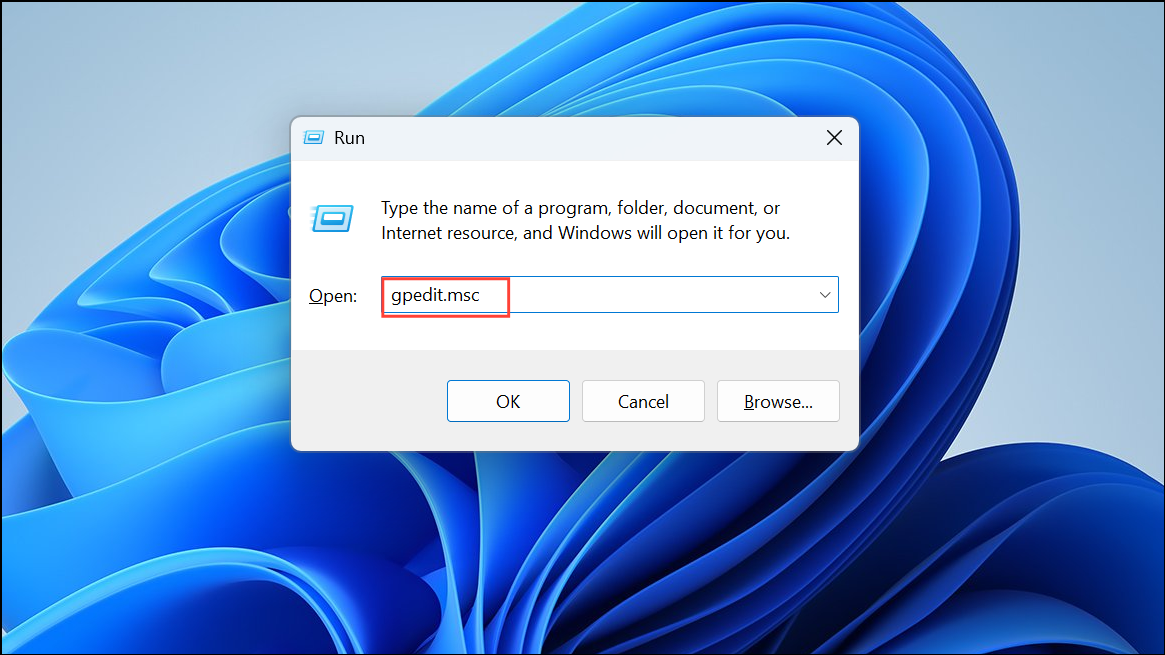
Step 1: Some organizations disable ReadyBoost through group policy or registry settings. To check for policy restrictions, press Windows + R, type gpedit.msc, and press Enter.
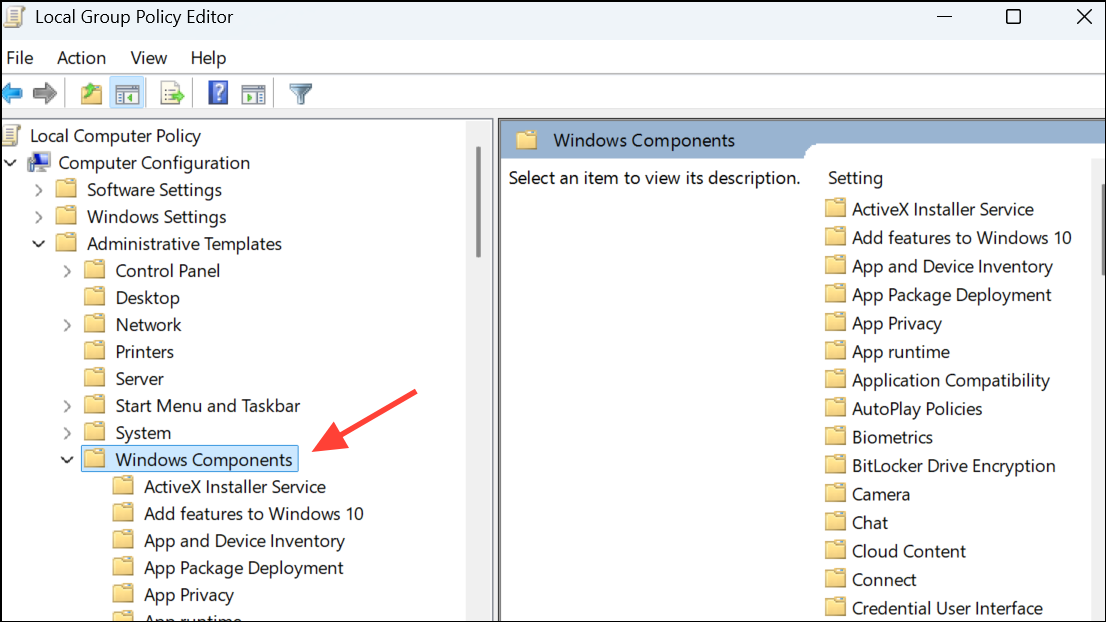
Step 2: Navigate to Computer Configuration > Administrative Templates > Windows Components > ReadyBoost.
Step 3: Double-click Do not allow ReadyBoost on removable drives and set it to Not Configured or Disabled. Click OK. If you are on a home edition of Windows, gpedit.msc may not be available, but most home systems do not restrict ReadyBoost by policy.
Step 4: Restart your computer and check the USB drive properties again. If the ReadyBoost tab is now visible, policy restrictions were the cause.
Update Windows and Drivers
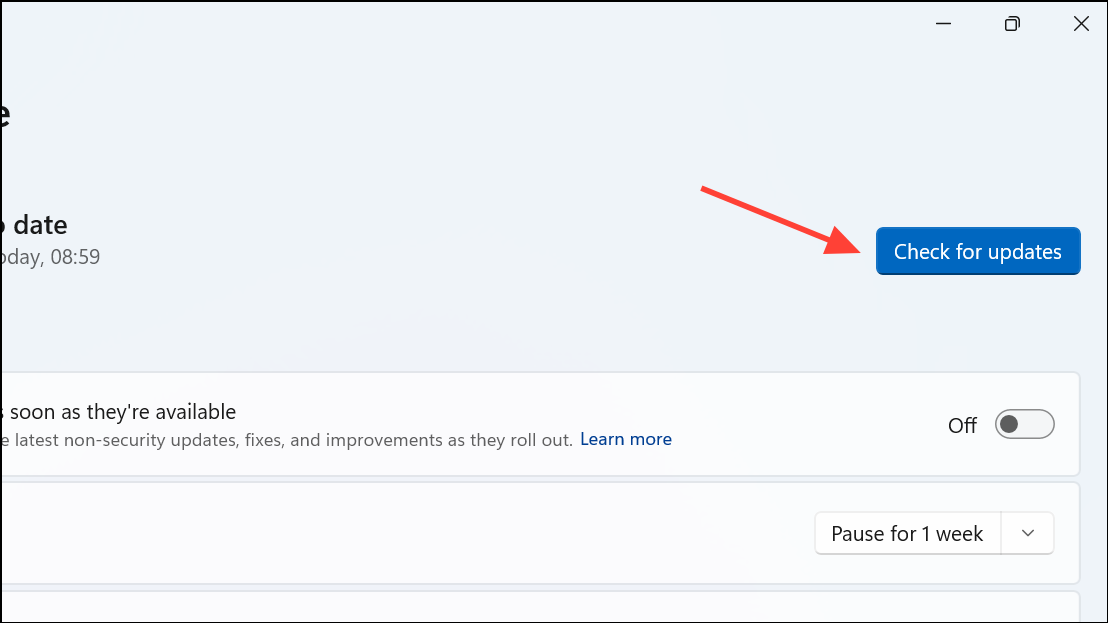
Step 1: Outdated system files or device drivers can prevent ReadyBoost from working. Open Settings and go to Windows Update. Click Check for updates and install any available updates. A system restart may be required.
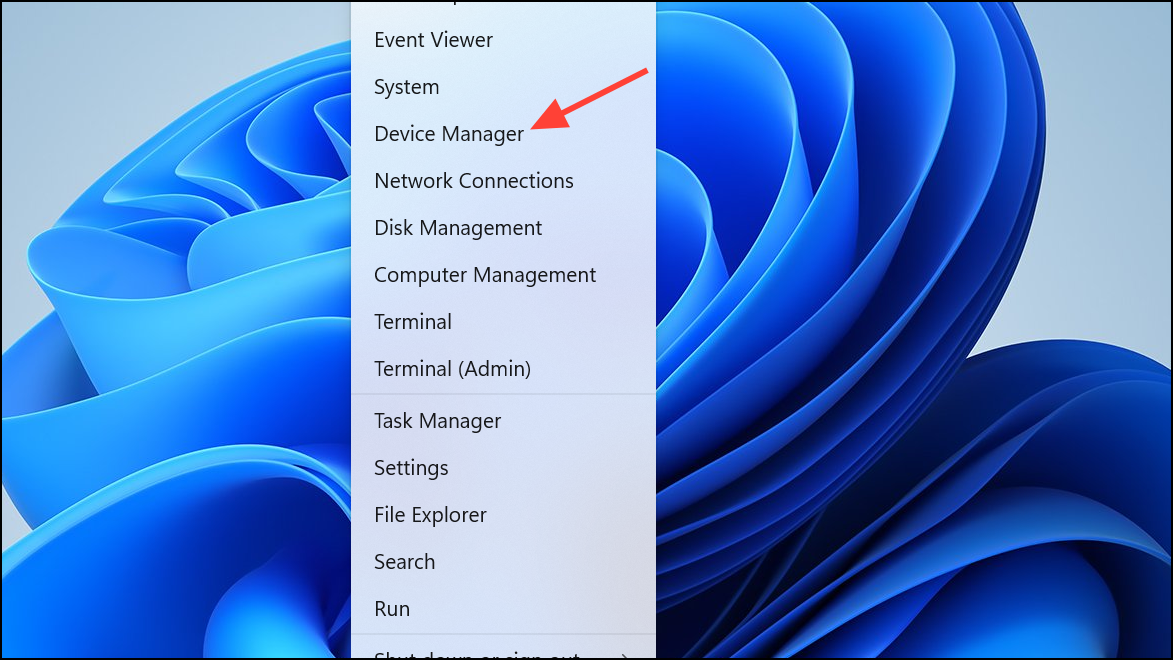
Step 2: Update your USB drivers. Right-click Start and select Device Manager.
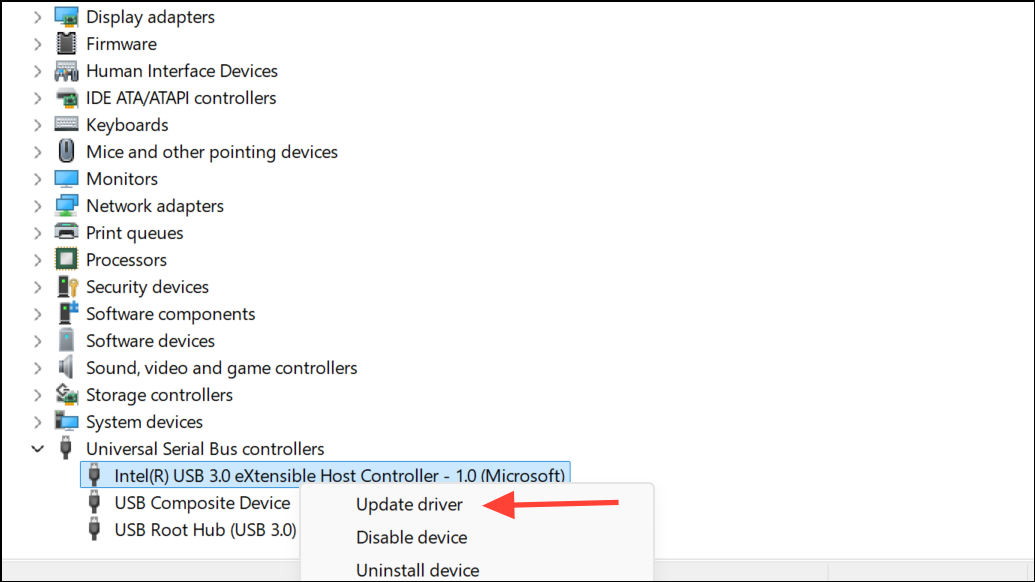
Step 3: Expand Universal Serial Bus controllers, right-click your USB drive, and choose Update driver. Select Search automatically for drivers.
Step 4: After updating, remove and reconnect your USB drive. Check if the ReadyBoost option has returned in the drive properties.
Try a Different USB Port or Drive
Step 1: Some USB ports may not support ReadyBoost due to hardware limitations or power settings. Move your USB drive to a different port, preferably a USB 3.0 port (usually marked with blue plastic inside).
Step 2: If using a USB hub, connect the drive directly to the computer instead. Hubs can sometimes interfere with device detection and performance.
Step 3: If the ReadyBoost tab is still missing, try a different USB drive to rule out hardware incompatibility.
By following these steps, you can restore the ReadyBoost option and use your USB drive to improve system performance on Windows 11 22H2. If ReadyBoost is not available after all troubleshooting, your system may already be optimized, or the feature may be deprecated on your hardware configuration.