The Ghost Bell hunt on the Far West map is a hidden objective called Restore the Great Bell. Finishing it in a single run unlocks the Bell Shot Joker, a card that gives weak spot hits a chance to spawn a healing ghost bell. You need to collect three shards by completing short shoot-the-sequence puzzles at fixed spots, then climb the church to ring the Great Bell.
Quick answer: Collect all three Ghost Bell shards in one run (north shoreline, middle-map rock overlook, and the stone circle south of the church), then return to the church in the southeast, climb to the top, and ring the Great Bell to unlock the Bell Shot Joker.
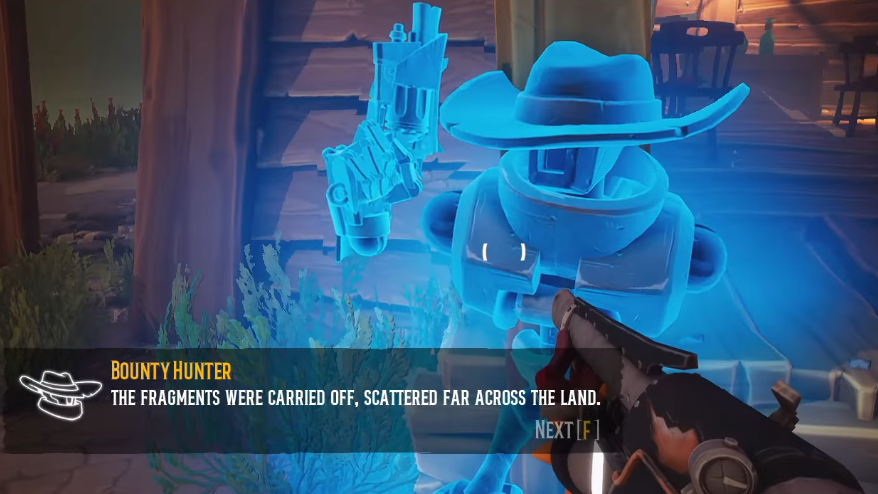
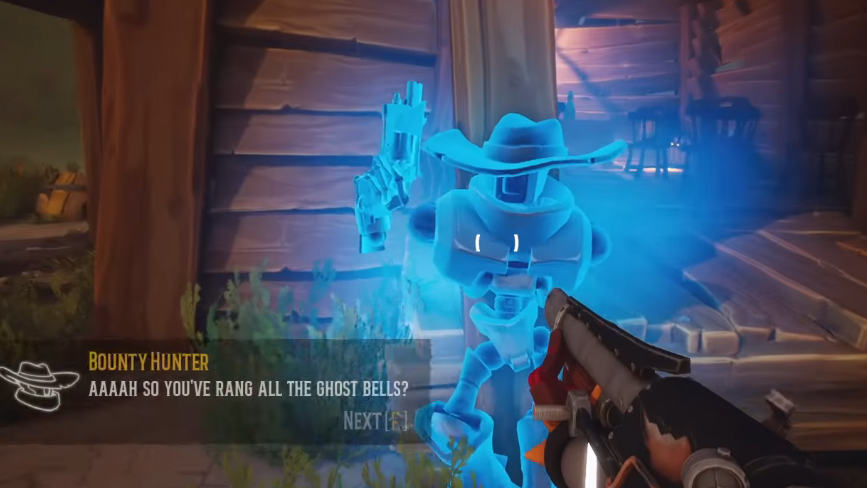
How the Ghost Bell quest works
The quest begins at the church in the southern/southeastern part of the Far West map. Speak with the Church Keeper at the entrance and climb to the tower to interact with the Great Bell. That activation flags the three shard locations for the current run.
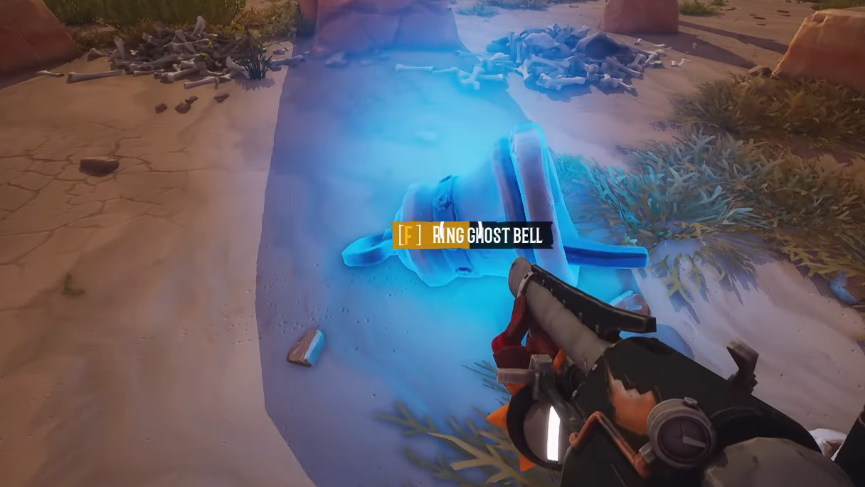
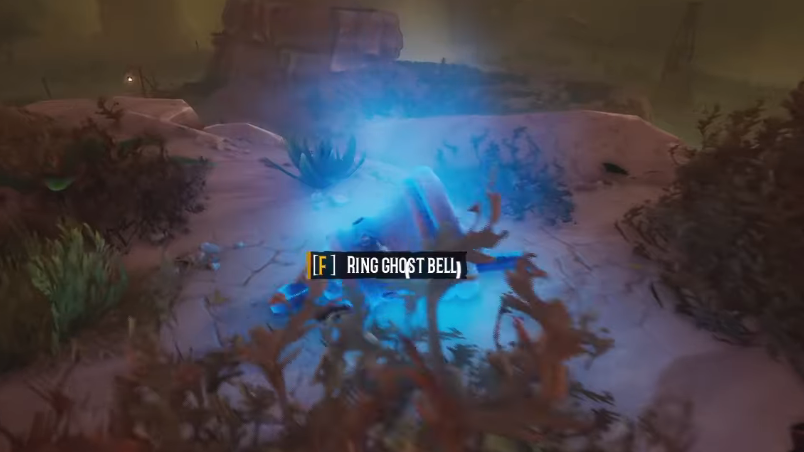
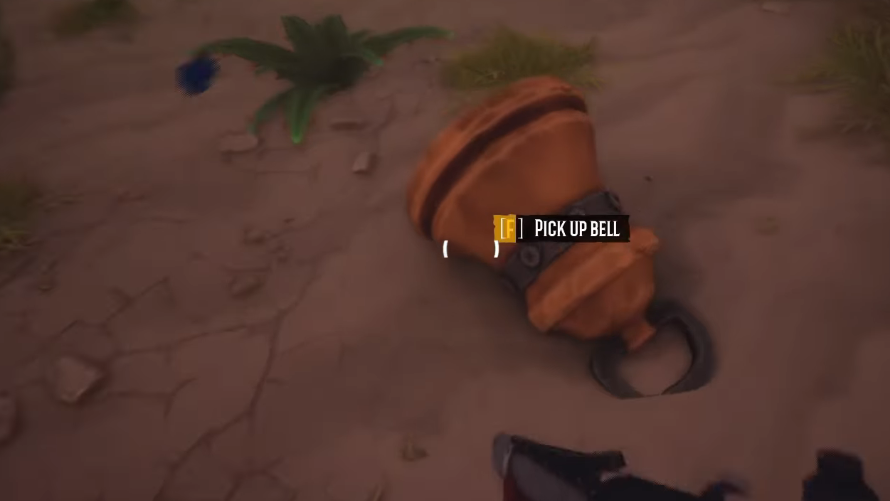
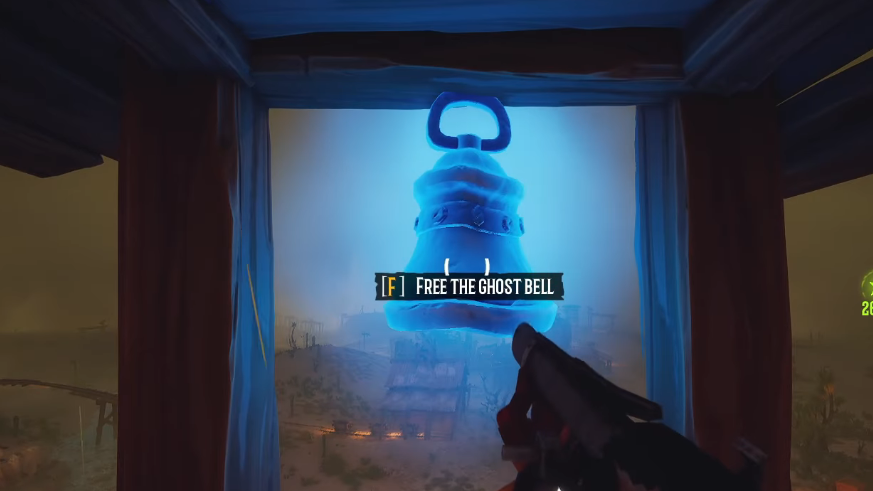
Each shard sits on the ground at its location. Interacting with it spawns a ring of glowing purple ghost bells in the air, each playing a tone in sequence. You must shoot them in the exact order the sounds played. If you miss a note, reinteract with the ground bell to replay the sequence and try again. After a clean solve, pick up the shard before leaving the area.
All Ghost Bell shard locations on the Far West map
| Shard | Region | Landmark to find it |
|---|---|---|
| Southern shard | South of the church, across the water | Semicircle of standing stones near broken train tracks |
| Central shard | Middle of the map, on a hill | Elevated rock overlooking a burning UFO crash |
| Northern shard | Top edge of the map, by the shoreline | Cluster of reeds at the water’s edge |
| Final turn-in | Southeast church | Great Bell at the top of the church tower |
Southern shard (rock circle south of the church)
Leave the church on its south side and cross the small body of water directly behind it. On the far bank you will see a hill flanked by broken train tracks and a ring of large standing stones. The shard rests on the ground in the center of that stone circle.
Activate the bell, watch the sequence of tones from the floating purple bells, then shoot them in order. Pick up the shard once the puzzle completes.
Central shard (elevated rock near the crashed UFO)
Head to the middle of the map and look for the burning UFO landmark. A tall rock overlooks it. Climb the rock to reach the second bell, which sits in the open on top.
The elevation here blocks most melee enemies, so it doubles as a safer puzzle spot. Trigger the sequence, shoot the ghost bells in order, and grab the shard before dropping back down.
Northern shard (shoreline at the top of the map)
Travel due north until you hit the coastline at the upper edge of the map. Follow the shore until you find a patch of tall reeds at the water’s edge. The shard is tucked beside the reeds.
This area tends to spawn multiple enemy groups at once, so clear the immediate threat before interacting with the bell. The memory puzzle works the same way as the other two shards.
Final step: Ring the Great Bell at the church
With all three shards collected, return to the church in the southeast. On the left exterior side of the building, use the stacked crates to parkour onto the lower roof, then climb the ladders up to the bell tower.
Interact with the Great Bell at the top. The Bell Shot Joker unlocks immediately on completion, so you do not need to survive or extract to keep the reward.
How to confirm the unlock worked
Completion is confirmed the moment you ring the tower bell. The Bell Shot Joker becomes available afterward at the gunsmith in the saloon, where it can be slotted into a weapon that has two open Joker slots.
| Bell Shot Joker | Detail |
|---|---|
| Effect | Weak spot hits have a chance to spawn a healing ghost bell |
| Trigger chance | 5% per weak spot hit |
| Active bell cap | Up to 2 healing bells at once |
| Joker slots required | 2 |
| Cost at gunsmith | 300 Souls |
Common reasons the quest does not complete
The puzzles themselves are forgiving because you can replay the sequence as many times as needed, so most failed runs come from procedural mistakes rather than combat.
| Issue | What goes wrong | Fix |
|---|---|---|
| Forgot to pick up the shard | Puzzle solved but shard left on the ground | Walk back over the shard before leaving the area |
| Did not ring the Great Bell | All three shards collected but no unlock | Return to the church tower and interact with the bell |
| Quest split across runs | Progress reset between missions | Collect all three shards and ring the bell within one run |
| Wrong shooting order | Sequence does not complete | Reinteract with the ground bell to replay the tones |
The cleanest route is to start the quest at the church, drop down to the southern stone circle behind it, swing northwest to the central rock above the UFO, then push to the northern shoreline before looping back to ring the tower bell. Done in that order, the entire chain fits comfortably inside a single Far West mission with time left over for the rest of your objectives.