
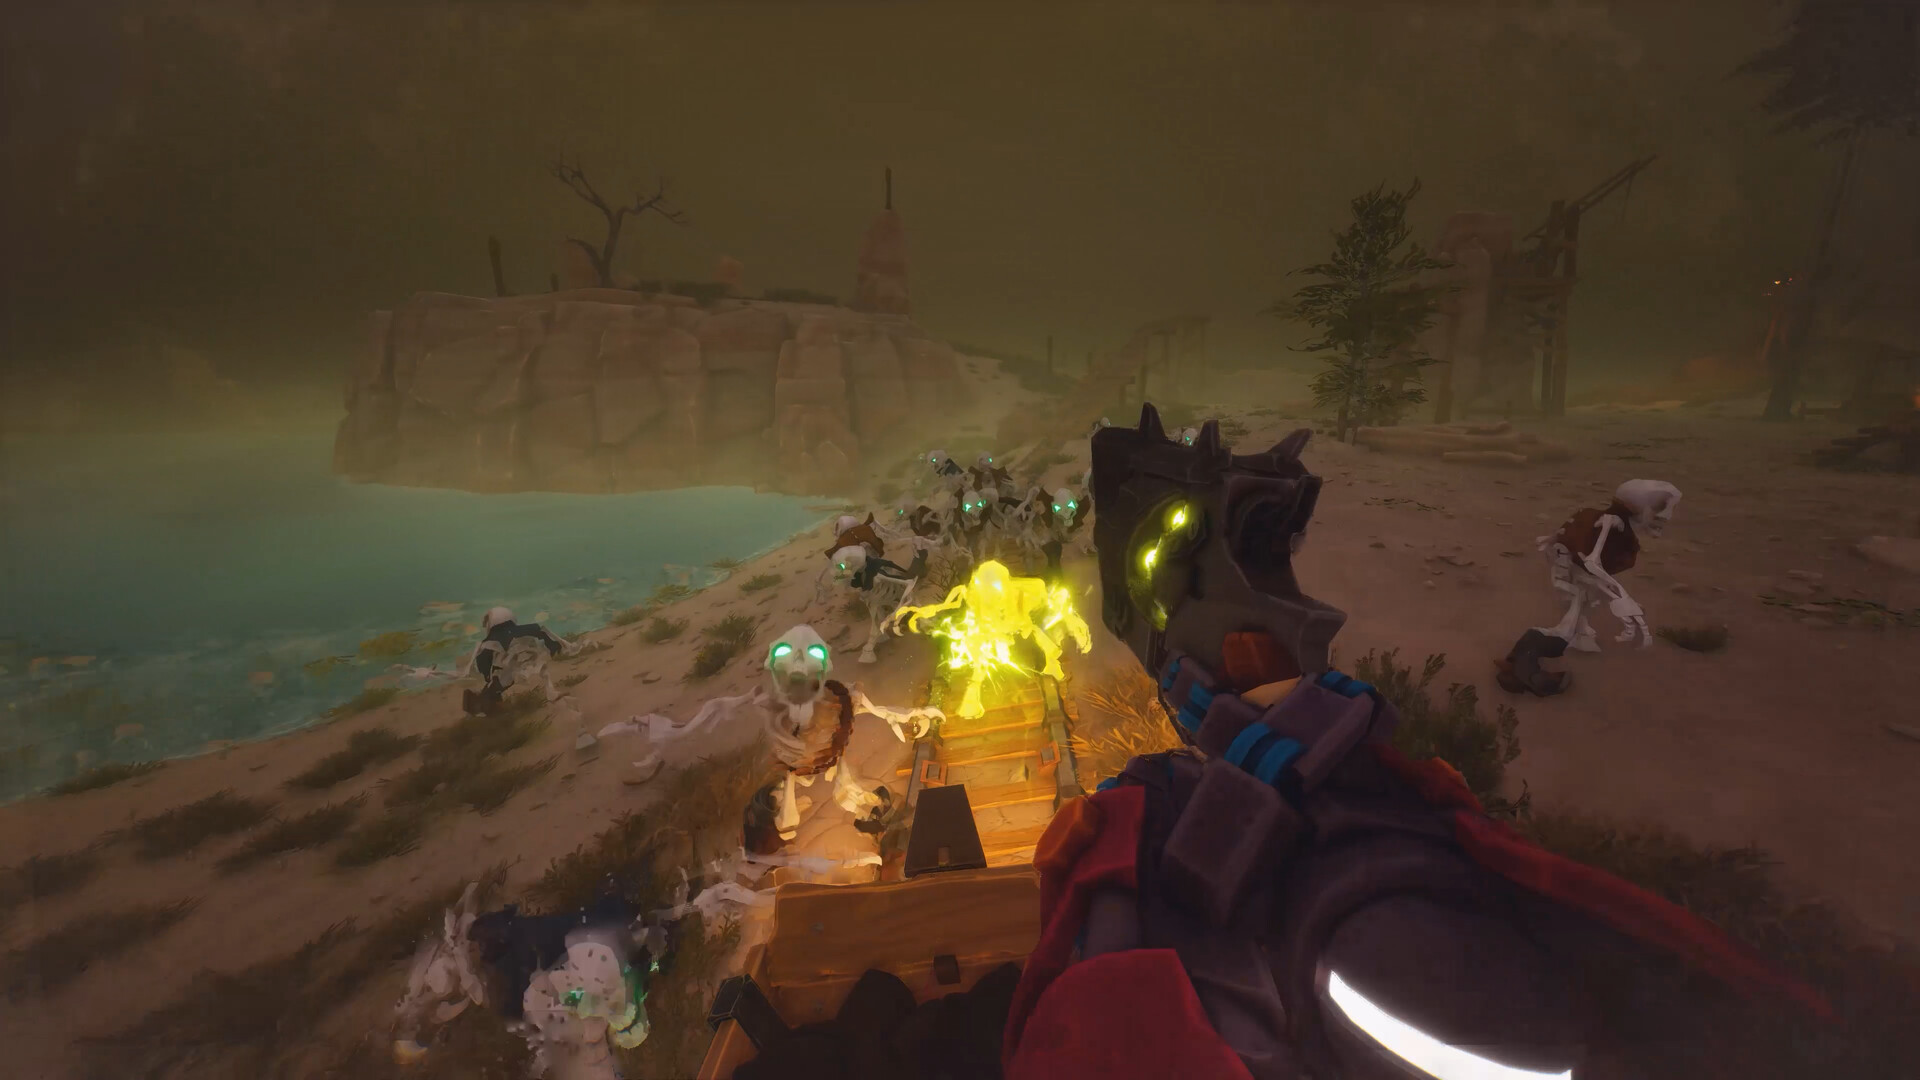
Far Far West is a co-op friendly Western roguelite from Evil Raptor and Fireshine Games where robot cowboys take bounties, sling spells, and extract with rewards. The early hours punish slow, scattered play, but a few mechanical habits change every run from a messy retreat into a clean payday. The points below focus on the systems most new players miss.
Quick answer: Manually set your weapon fragment target before every run, cast each spell line once for its one-time XP bonus, clear all side objectives before triggering the boss, and keep moving with dashes, jumps, and Roach.

Saloon priorities before each run
The Saloon is the persistent hub between runs. Gold and Souls earned in the field are spent here on permanent character stats, weapon perks, spell tree investments, and skins. Progress carries between runs, so even failed extracts move the meta forward.
Speed and health are the two stat upgrades that pay off earliest. Speed makes kiting and dodge spacing reliable on harder difficulties, and health gives a buffer against the unavoidable hits during boss adds. Jump-related upgrades and damage bonuses become more useful once your loadout is settled.
For weapon perks, gold-on-kill rolls compound quickly. Stacking a small gold drop chance across multiple slots turns ordinary clears into a steady income stream, which solves the most painful early-game bottleneck.
The Saloon also hosts a gambling shop that converts 250 Souls into a random perk between Common and Legendary. It is a luxury purchase. Direct stat upgrades come first, then occasional spins for high-value rolls like timed automatic revives.

Set your weapon fragment target manually
Weapon and utility unlocks are gated by fragments, and the game does not redirect fragment progress automatically once an item finishes. You have to open the loadout menu and pick the next target yourself. This is the quietest mistake in the early game because runs still feel productive while progress lands on something you already own.
Bosses drop fragments on kill, and several side activities feed the same currency. After every unlock, return to the menu and switch the tracked item to the next gun, utility, or eventually skin you want. You will know it worked because the unlock progress bar visibly updates on the new target after extraction.
Spell lines and fast XP
There are five spell trees: Pyro, Acid, Electric, Voodoo, and Cactus. Stronger abilities in each tree only unlock as the line levels, and lines only level through active casting. Sleeping on a tree early locks you out of its higher-tier tools later.
Each line grants a one-time XP bonus the first time you cast a spell from it during a run. Low-level spells generate very little XP from damage alone, so this bonus is the single biggest XP source early on. Equip and fire at least one spell from every available tree per run, even briefly, to bank those bonuses.
For raw casting volume, low-cooldown spells level fastest because you can spam them on cooldown without disrupting your build. Once a tree is invested, focus damage casts on the build you actually want to push.

Beginner spell loadout
Two picks carry early runs comfortably. Fireball from Pyro provides reliable area damage that scales well into mid-game. Voodoo Drain provides a free burst of healing on demand, which matters most in solo play where no one is reviving you.
Solo players benefit heavily from investment in Cactus. Deployable mines and turrets give you crowd control and damage you do not have to aim, which means you can kite while your structures handle the press. Once a third spell slot is available, fill it with whichever element matches the rest of your build.
Elemental attribute on the secondary weapon
Your secondary weapon carries an elemental attribute you choose between runs. Each behaves differently on hit:
| Element | On-hit effect | Best use |
|---|---|---|
| Pyro | 2 damage per tick while burning | Highest sustained DPS on priority targets and elites |
| Acid | 1 damage per tick, slows the target | Buying space against fast or grouped enemies |
| Electric | 1 damage per tick, chance to chain to nearby enemies | Crowd damage in dense packs where chains multiply value |
The element can be swapped between runs, so test each against the difficulty and map you are farming. Elemental hits also feed into spell interactions, so the secondary becomes a setup tool rather than just damage.
Spell combos that work
Combining spells produces effects stronger than the parts. A few reliable pairings:
- Lightning Strikes onto a Cactus mine converts the mine’s small line blast into a six-pointed AoE that wipes hordes.
- Voodoo Drain cast on lightning puddles, spawns candles that heal on pickup, turning a damage tool into a sustain engine.
- Firebeam plus Boing gives a mobility option that doubles as a damage pillar, useful for both repositioning and pushing elites.
- Wisp from Pyro plus Acid Rain keeps burn damage rotating between targets while corrosion ticks on the whole group.
The pattern is simple. Apply an element first, then drop a damage spell that interacts with it, then use a control or healing tool to stay alive while it ticks. Chain that loop instead of casting spells in isolation.
Map routing and Roach
Maps are large, and walking between objectives wastes the time that could be spent on side rewards. Roach, your robotic horse, is dramatically faster than running and should be treated as part of every route. Mount up between objectives by default.
White question marks on the map mark bonus rewards, including extra gold, Souls, temporary perks, and side puzzles. Hitting these on the way to your objective is worth the small detour. On Canyon specifically, finding all four medallions before the boss fight unlocks a cave with seven gold veins, which is one of the highest single-map gold payouts in the game.
Pick a goal before you drop. A gold run prioritizes veins and gold-themed side rewards. A soul run prioritizes haunted huts and soul camps. A blueprint run pushes the boss path on easier difficulty. Skip markers that do not serve the run goal.

Boss timing
When the stage boss dies, the map immediately shifts into infinite enemy waves. That is excellent for grinding kills with a finished build, and it is brutal if you still have side objectives or low health. Trigger the boss only after the rest of the map is handled.
Side rewards worth grabbing before the boss include graves, music discs, medallions, gold veins, soul camps, and haunted huts. Solo players especially should clear these first because the post-boss spawn rate makes cleanup much harder without teammates to share pressure.
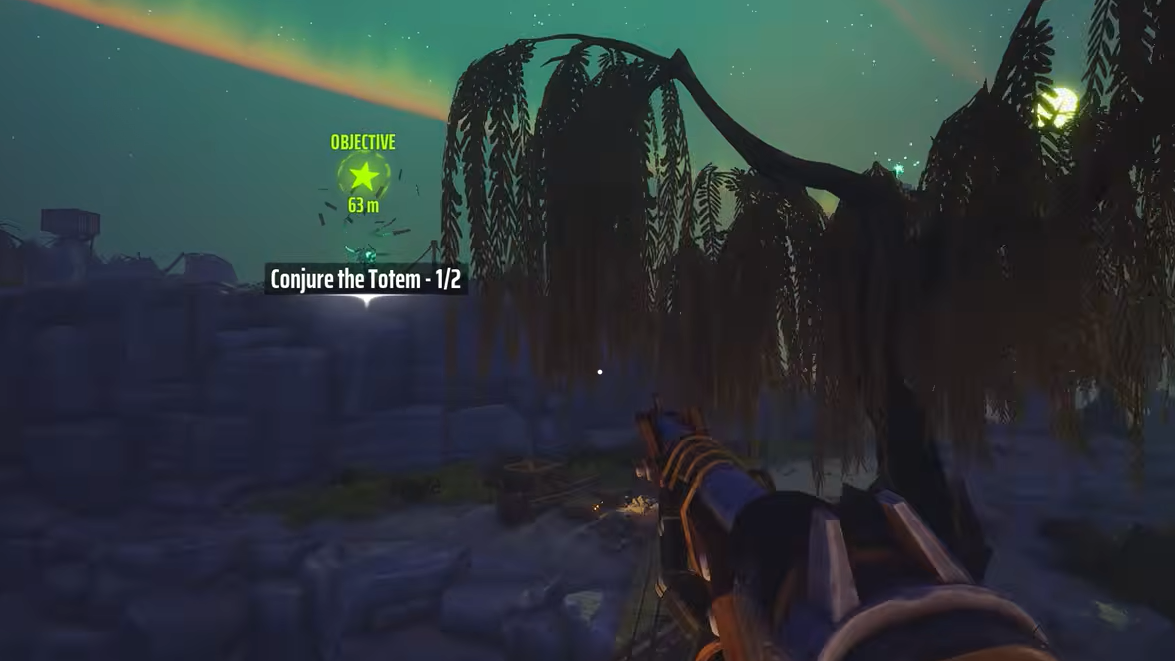
Note: secret-style objectives like medallions and bells reset if you extract before completing them in a single run. Standard NPC side quests track across runs, but secrets must be finished in one drop, or the progress is lost.
Mining gold the right way
Gold veins reward extraction method. Hitting a vein with the pickaxe yields the full payout, while blowing it up with dynamite or fire spells cuts the yield in half. The faster method is fine when you are racing the extraction timer, but on a dedicated gold run, you want clean pickaxe hits to maximize each node.
The Golden Tooth Joker stacks well with gold-focused builds on higher difficulties, where enemy density turns even small gold drop chances into noticeable income.

Combat habits that keep you alive
Movement is the single largest survivability factor. Standing still to shoot is the most common reason runs end. Strafe, dash, and jump constantly. On Nightmare difficulty, sniper enemies track perfectly unless you keep breaking the line of sight with movement.
Dash plus jump produces a short burst of horizontal momentum, and chaining the inputs immediately on landing keeps that momentum going. This makes melee enemies, including the Necromancer, once you get movement Jokers, very hard to land hits with.
Basic skeletons revive themselves unless their bones are broken. Half-finished kills create extra pressure during objectives and revives, so finish what you start. Enemy variety also matters. Flying targets, snakes, shielded enemies that need flanking, bazooka enemies, and gatling enemies each punish a different lazy habit, which is why mixed elemental tools beat single-purpose loadouts.
Drink healing potions as soon as you need them rather than hoarding. Mid-fight perk drops also restore health on pickup, but those drops become rarer at higher difficulties.
Picking the right difficulty
The best difficulty is the highest one you can extract from consistently. A failed Hard run pays nothing. A clean Normal run pays everything it promised.
Easy mode is genuinely useful for blueprint farming because it lets you speedrun to the boss, pick up loot goblins along the way, and use wells when they appear. Normal is the stable farming difficulty for most rewards. Higher difficulties become worthwhile after weapons, spells, and stats are deep enough to absorb the extra pressure.
Fast leveling through the tutorial
Character level is the main permanent upgrade. The tutorial mission is the fastest XP route for players who cannot blast through Nightmare runs. It rewards XP equivalent to a full easy mission and takes only a few minutes.
Build for speed when farming this way. Put stat points into Speed so you traverse the map faster, and equip mobility spells like Portal if available. Mix in normal runs occasionally so the grind does not become tedious, but the tutorial loop remains the fastest XP per minute for early character levels.
Far Far West rewards players who pick a goal before the run starts and build the route around it. Set the right fragment, cast every line for its bonus XP, route through Roach, and treat the boss as the last action on the map rather than the first temptation. Consistent extracts beat heroic failures, and the permanent progression means every clean run compounds into the next.