Far Far West gives you a limited spell wheel, so every slot you fill needs to pull weight against scaling waves of outlaws. The strongest picks are the ones that either wipe groups outright, multiply your damage through combos, or change the rules of an encounter. The weaker picks tend to be early-game crutches or single-purpose tools that fall behind once elemental reactions and late-wave density take over.
Quick answer: Contagion, Rain, Bandito, Portal, Thunderstrike, Firebeam, Surcharge, Corruption, and Doll are the S-tier spells worth prioritizing in any serious build.
Full Far Far West spell tier list
The ranking below covers every spell across the five elemental lines (Fire, Acid, Cactus, Electric, Voodoo). Tiers reflect raw power, scaling into late-game waves, and how well a spell holds up inside the game’s combo system.
| Tier | Spells |
|---|---|
| S | Contagion, Rain, Bandito, Portal, Thunderstrike, Firebeam, Surcharge, Corruption, Doll |
| A | Fireball, Wisp, Bubble, Geyser, Pistolero, Wallo, Swap, Strikes, Rescue, Ritual |
| B | Thrower, Mino, Decoyo, Boing, Finger Guns, Drain |
S-Tier spells: run-defining picks
These spells either delete waves on their own or warp the fight in ways no other slot can replicate. They scale into nightmare difficulty and pair cleanly with elemental reactions.
| Spell | Line | Why it sits in S |
|---|---|---|
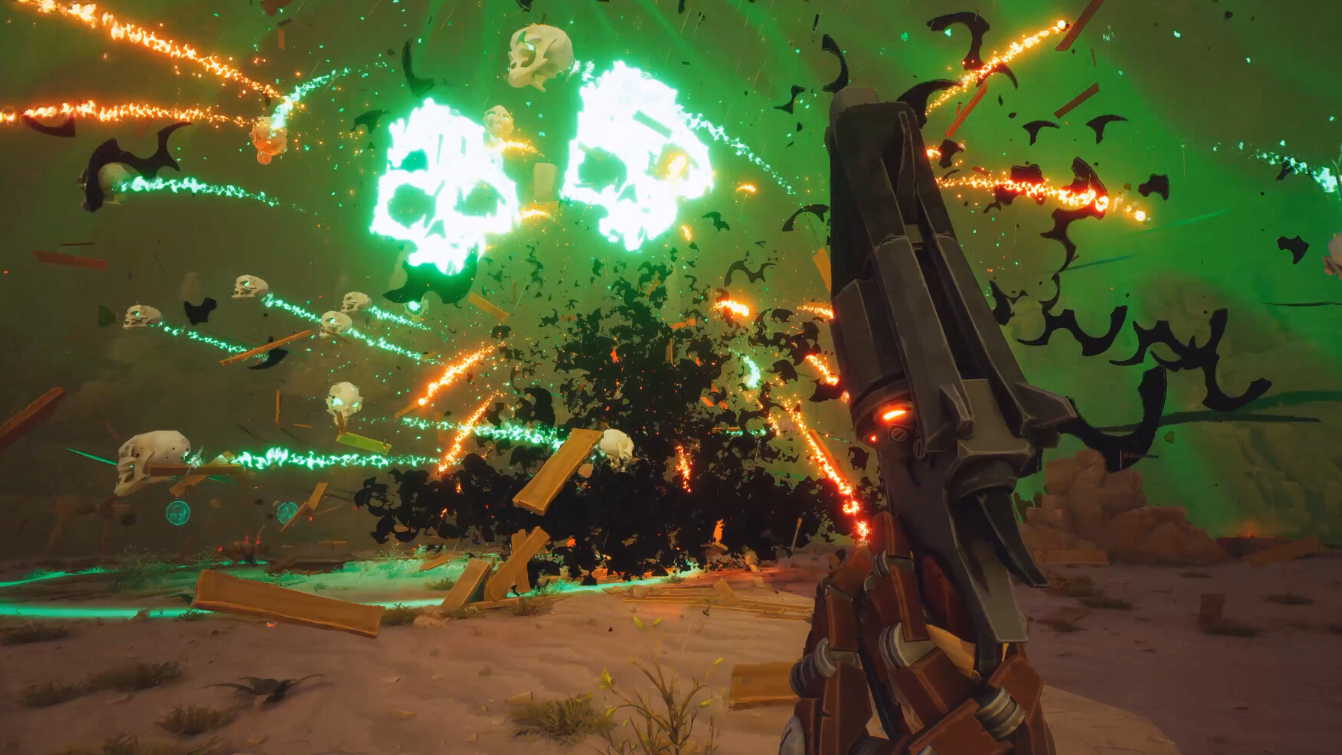
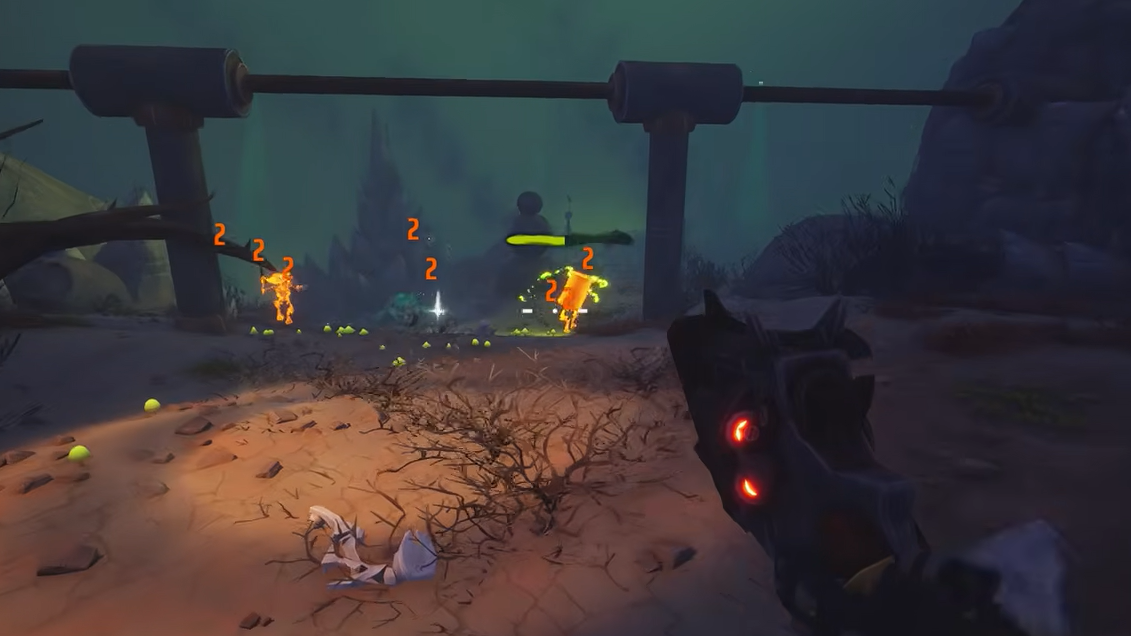
| Contagion | Acid | Corrodes a wide zone and tags enemies with chain-explosion deaths, snowballing through dense groups. |
| Rain | Acid | Persistent acid storm that wins fights through unavoidable attrition; pairs with lightning for storm chains. |
| Bandito | Cactus | Long-duration cactus golem that holds the frontline and lets you play aggressively behind it. |
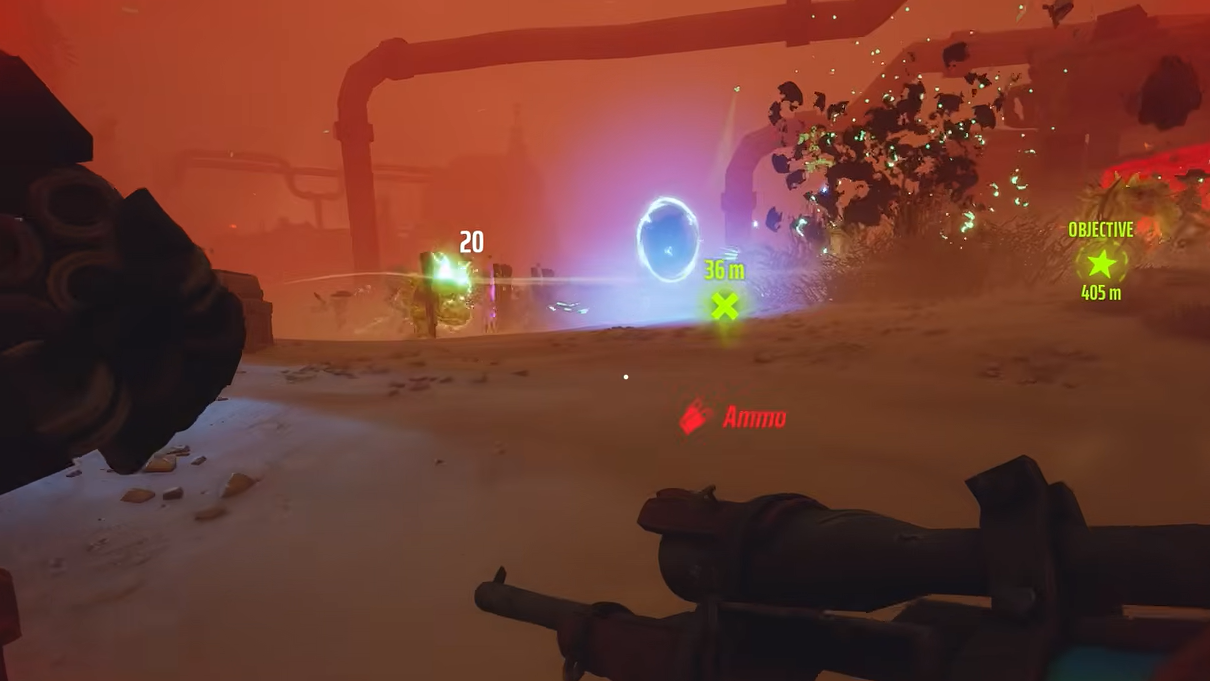
| Portal | Electric | Teleports allies and duplicates spell projectiles, acting as a damage multiplier and combo engine. |
| Thunderstrike | Electric | Massive lightning slam with huge burst and AoE; triggers reactions on Geyser and Rain. |
| Firebeam | Fire | Sustained beam that melts bosses and clears lanes, especially when paired with Portal or acid puddles. |
| Surcharge | Fire | Burns a wide area and detonates already-burning targets, turning small ignition stacks into wipes. |
| Corruption | Voodoo | Flips enemies to your side via doll control, turning hard waves into chaotic but favorable fights. |
| Doll | Voodoo | Drops an invincibility and speed zone for allies, swinging team fights and boss phases instantly. |
A-Tier spells: strong with setup
A-tier spells are reliable across the full run but lean on positioning, element pairing, or specific build perks to hit their ceiling. Most loadouts will include at least one of these to round out a S-tier core.
| Spell | Line | Role |
|---|---|---|
| Fireball | Fire | Explosive projectile that leaves burning ground; the primary detonator for acid, bubble, and geyser combos. |
| Wisp | Fire | Homing fire spirit that bounces burn damage between targets in drawn-out fights. |
| Bubble | Acid | Bursts into multiple corrosive puddles; transforms into a fire tornado with Fireball or splits under electric. |
| Geyser | Acid | Erupts to launch and disrupt enemy formations while guaranteeing elemental reactions. |
| Pistolero | Cactus | Stationary cactus turret that provides passive DPS while you focus on positioning. |
| Wallo | Cactus | Spike line that slows and damages, excellent for protecting flanks and choke points. |
| Swap | Electric | Trades positions with an enemy and explodes both points; flexible engage or panic escape. |
| Strikes | Electric | Lightning line that pierces crowds; layered over Rain or summons it becomes a strong area control tool. |
| Rescue | Voodoo | Channeled heal or revive on the nearest ally; clutch in co-op but a dead slot solo. |
| Ritual | Voodoo | Persistent healing circle for marathon fights; valuable in squads, low value solo. |

B-Tier spells: early-game crutches
These spells work when you first unlock them and can pad out a starter loadout, but each one gets outscaled by stronger picks in the same element once the difficulty ramps. Replace them as soon as A or S options are available.
| Spell | Line | Why it falls behind |
|---|---|---|
| Thrower | Acid | Early acid pressure that gets outclassed by Rain and Contagion in mid to late waves. |
| Mino | Cactus | Proximity mines are too inconsistent once the screen fills with moving targets. |
| Decoyo | Cactus | Lure tends to get ignored when you are dealing heavy direct damage yourself. |
| Boing | Electric | Pure mobility with no damage; uses a slot better spent on a combo trigger. |
| Finger Guns | Fire | Fun burst weapon swap, but loses to standard fire spells in consistency. |
| Drain | Voodoo | Early sustain through health siphon; healing falls behind incoming damage in later waves. |
How to pick spells by build type
The loadout decision is less about the highest individual tier and more about whether your three slots cover setup, detonation, and survival. The strongest combos in the game pair a setup spell (Rain, Geyser, Bubble) with a detonator (Fireball, Thunderstrike, Surcharge) and a force multiplier (Portal, Doll, Bandito).
| Build focus | Recommended core |
|---|---|
| Storm AoE | Rain + Thunderstrike + Firebeam |
| Combo damage | Geyser + Fireball + Portal |
| Chain wipe | Rain + Contagion + Surcharge |
| Summon pressure | Bandito + Pistolero + Wallo |
| Co-op support | Doll + Ritual + Corruption |
| Mobility + burst | Portal + Swap + Thunderstrike |
Notes on solo versus co-op value
Two spells shift tiers depending on group size. Rescue and Ritual are A-tier in co-op because they keep teammates alive through long fights, but in solo play they essentially do nothing and should be treated as B-tier slots. Doll and Corruption stay strong in both modes because their effects scale with whoever is fighting alongside the zone, including cactus summons.
Combos matter more than raw spell strength in Far Far West. A B-tier spell inside the right elemental chain can outperform a misused S-tier pick, so build around a clear setup-and-detonate plan before chasing the highest-ranked card on its own.