
Windows 11 update failures with error code 0x800f0831 typically occur when the system can’t access required update files, encounters corrupted components, or lacks dependencies from previous updates. This error can prevent your device from installing important security patches and feature upgrades, potentially leaving your system less secure and missing out on stability improvements. Addressing this error promptly restores your system’s ability to receive updates and keeps your device running smoothly.
Repair Windows Component Store and System Files
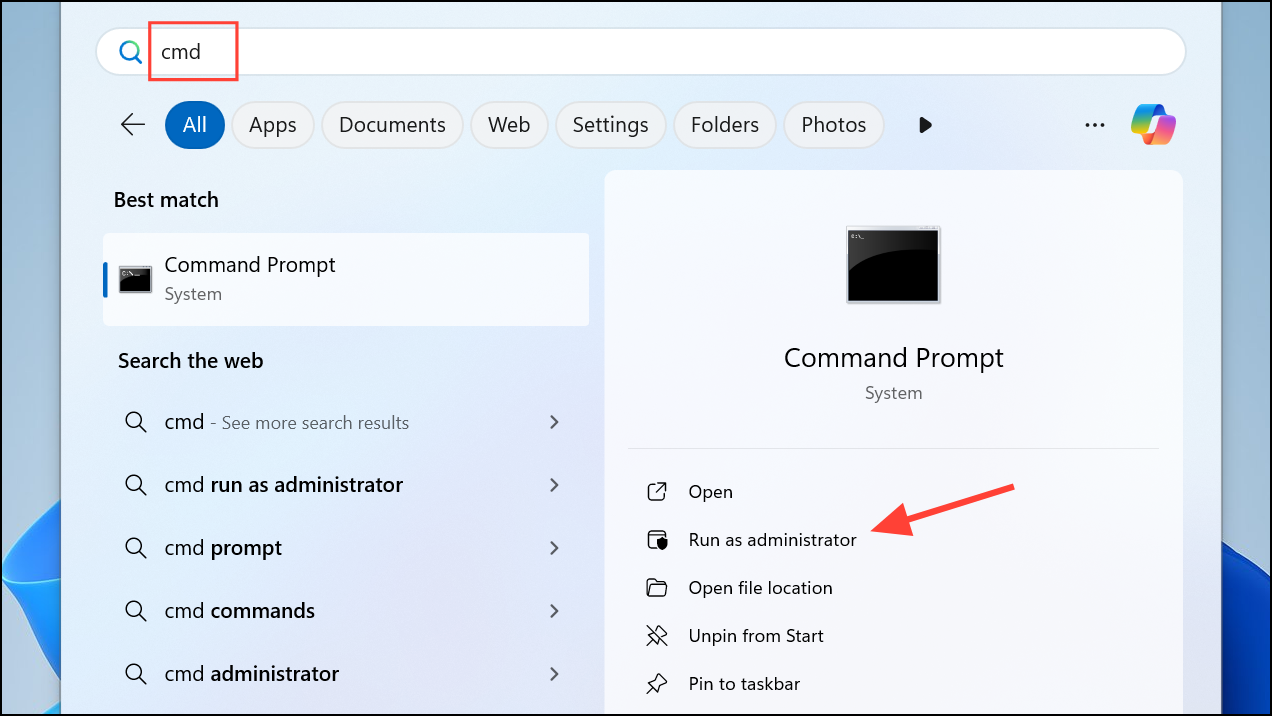
Step 1: Open an elevated Command Prompt by typing cmd in the Windows search bar, right-clicking on “Command Prompt,” and selecting “Run as administrator.” This ensures you have the necessary permissions to repair system files.
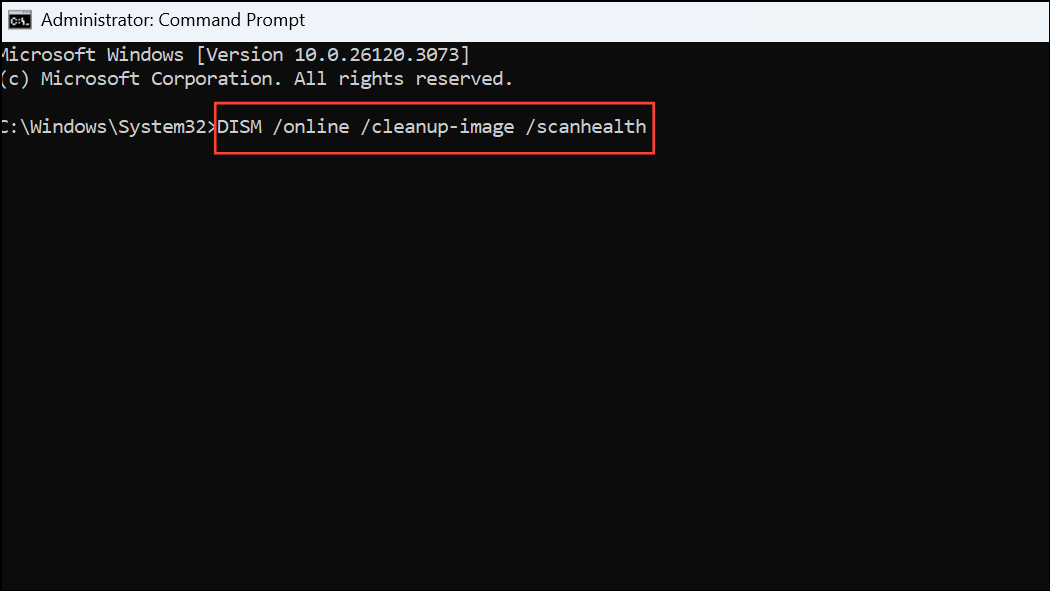
Step 2: Scan the component store for corruption by entering:
DISM /online /cleanup-image /scanhealthThis checks for corruption in the Windows image, which can block updates.
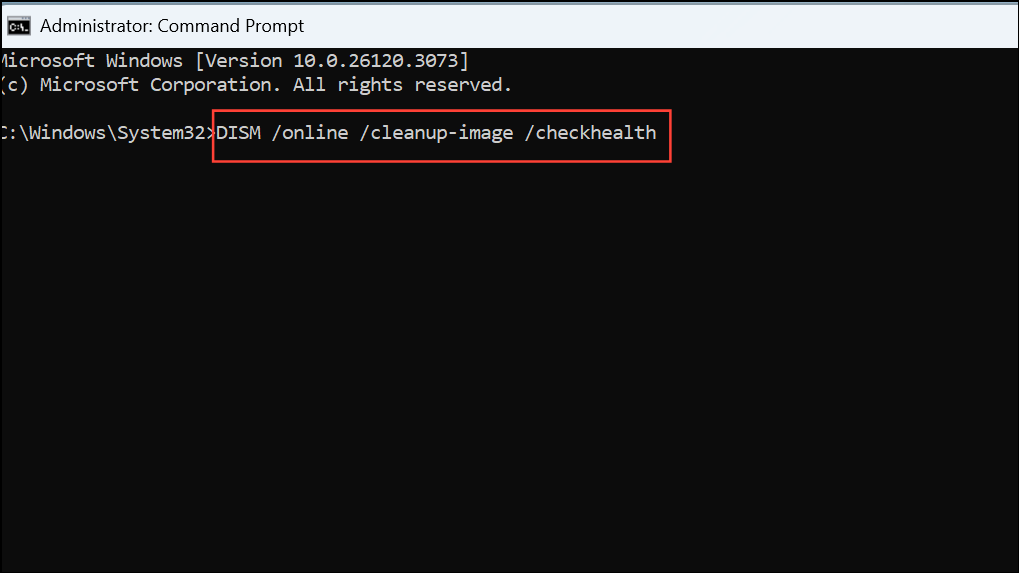
Step 3: Check the health status of the component store with:
DISM /online /cleanup-image /checkhealthThis step determines if the component store corruption is repairable.
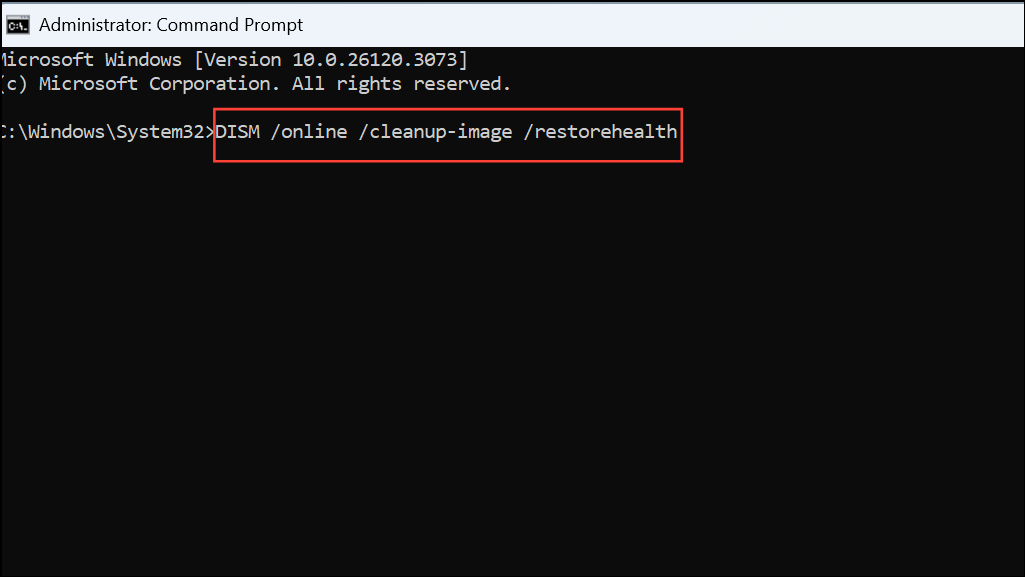
Step 4: Repair the component store by running:
DISM /online /cleanup-image /restorehealthThis command downloads and replaces corrupted files from Windows Update servers. If your device is offline or behind a proxy, ensure internet access is available or temporarily disable the proxy.
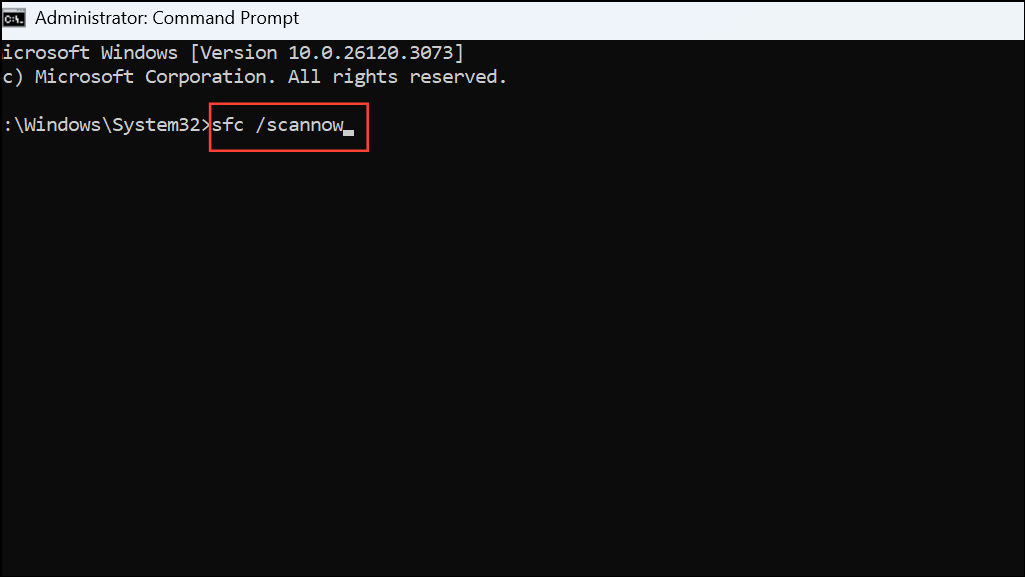
Step 5: Once the DISM process completes, scan and repair system files with:
sfc /scannowThis replaces any corrupted or missing system files with correct versions from the local cache.
Step 6: Restart your device to apply repairs, then attempt the update again.
Clear Windows Update Cache
Corrupted or incomplete update files in the Windows Update cache can trigger error 0x800f0831. Clearing this cache forces Windows to re-download updates from scratch.
Step 1: Open the Run dialog by pressing Windows + R, type services.msc, and press Enter. This opens the Services management console.

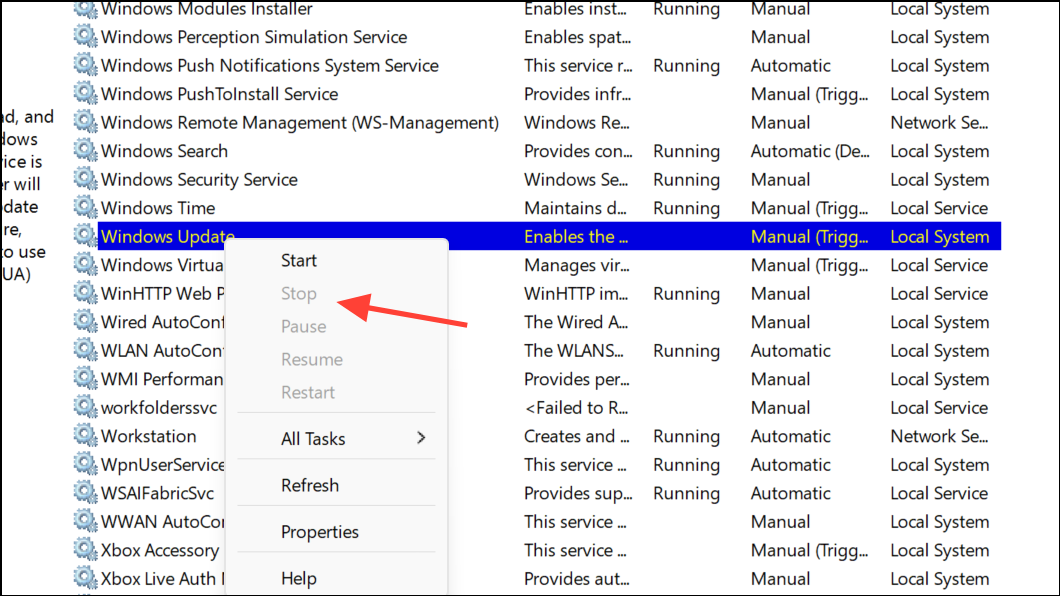
Step 2: Find “Windows Update” in the list, right-click it, and choose “Stop.” This halts the update service so you can safely clear the cache.
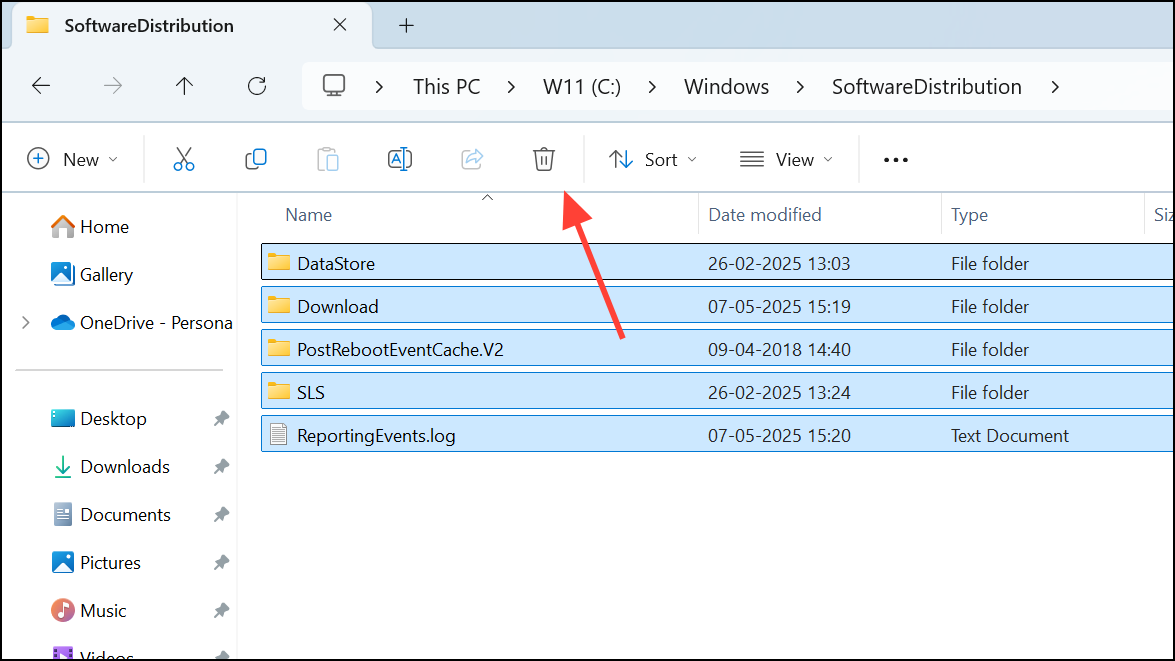
Step 3: Open File Explorer and navigate to C:\Windows\SoftwareDistribution. Select all files and folders inside, then delete them. If prompted for administrator permission, confirm to proceed.
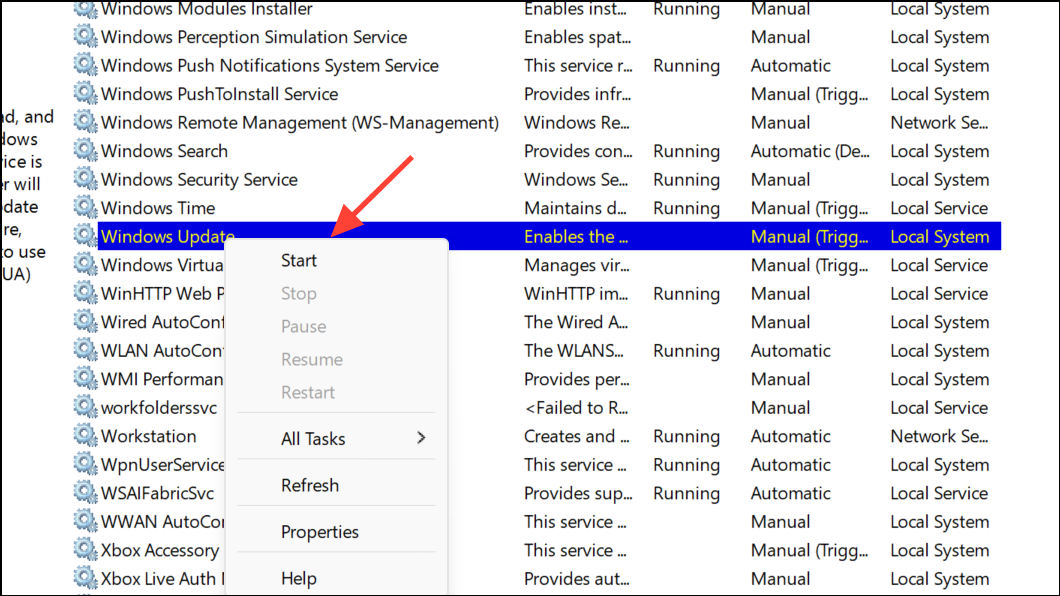
Step 4: Return to the Services console, right-click “Windows Update,” and select “Start.” This restarts the service, allowing Windows to recreate the cache and download updates afresh.
Step 5: Try the update process again through Windows Update settings.
Enable .NET Framework 3.5
Certain Windows updates require legacy components such as .NET Framework 3.5. If this feature is missing or disabled, updates may fail with error 0x800f0831.
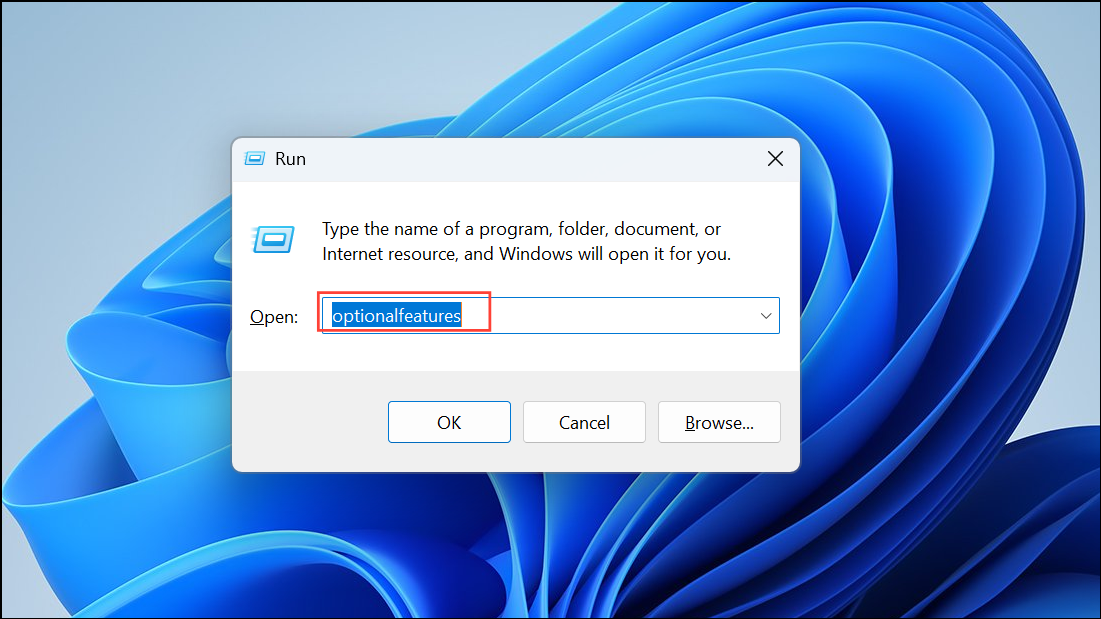
Step 1: Open the Run dialog (Windows + R), type optionalfeatures, and press Enter. This opens the Windows Features dialog.
Step 2: In the list, check the box for “.NET Framework 3.5 (includes .NET 2.0 and 3.0).” Also, expand it and ensure both “Windows Communication Foundation HTTP Activation” and “Non-HTTP Activation” are checked if available.
Step 3: Click OK and let Windows download and install the required files. If prompted, allow Windows to access Windows Update to fetch the necessary components.
Step 4: Restart your computer and retry the update installation.
Run Windows Update Troubleshooter
Windows 11 includes a built-in troubleshooter designed to identify and resolve common update problems.
Step 1: Open Settings by pressing Windows + I. Navigate to System > Troubleshoot > Other troubleshooters.
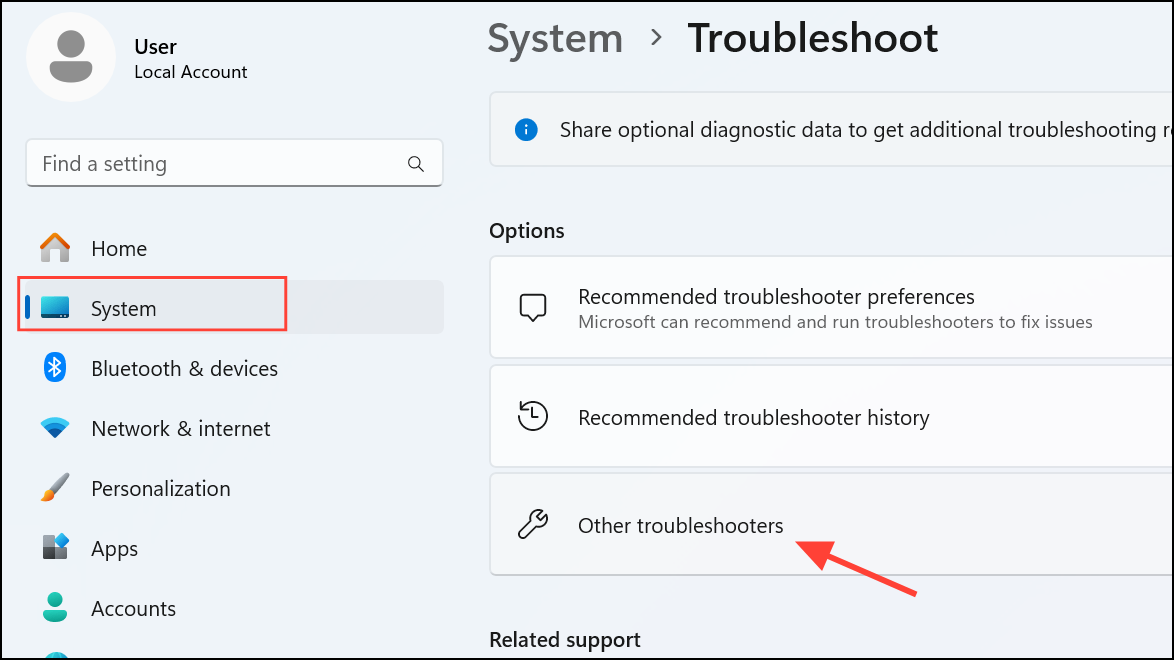
Step 2: Find “Windows Update” in the list and click “Run.” The troubleshooter will automatically scan for issues and recommend or apply fixes.

Step 3: Follow any on-screen prompts, then restart your device and check if the update error is resolved.
Reset Windows Update Components Manually
When update services or supporting files become corrupted, a full reset of Windows Update components can restore update functionality.
Step 1: Open Command Prompt as administrator.
Step 2: Run the following commands one by one to stop update services:
net stop wuauserv
net stop cryptSvc
net stop bits
net stop msiserver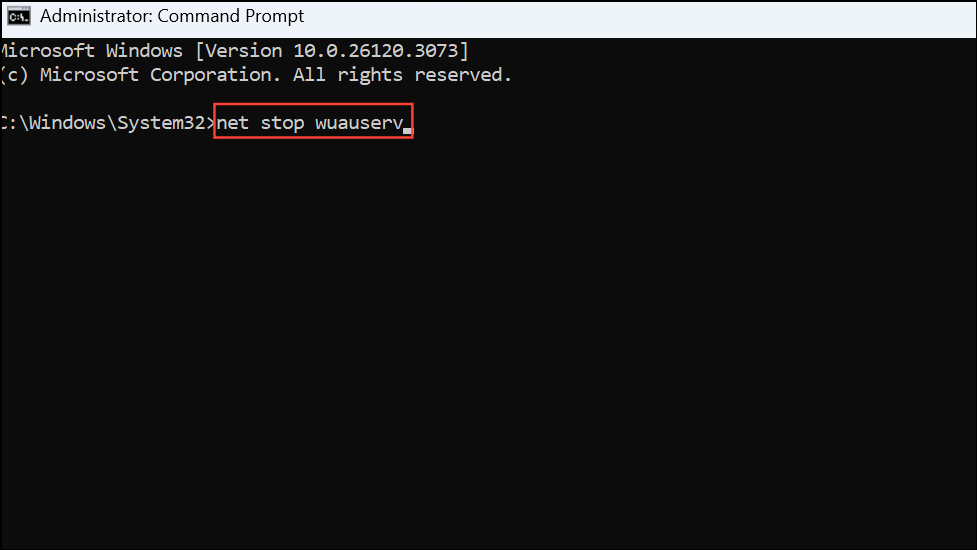
Step 3: Rename the update storage folders to force Windows to create new ones:
Ren %systemroot%\SoftwareDistribution SoftwareDistribution.old
Ren %systemroot%\System32\catroot2 catroot2.old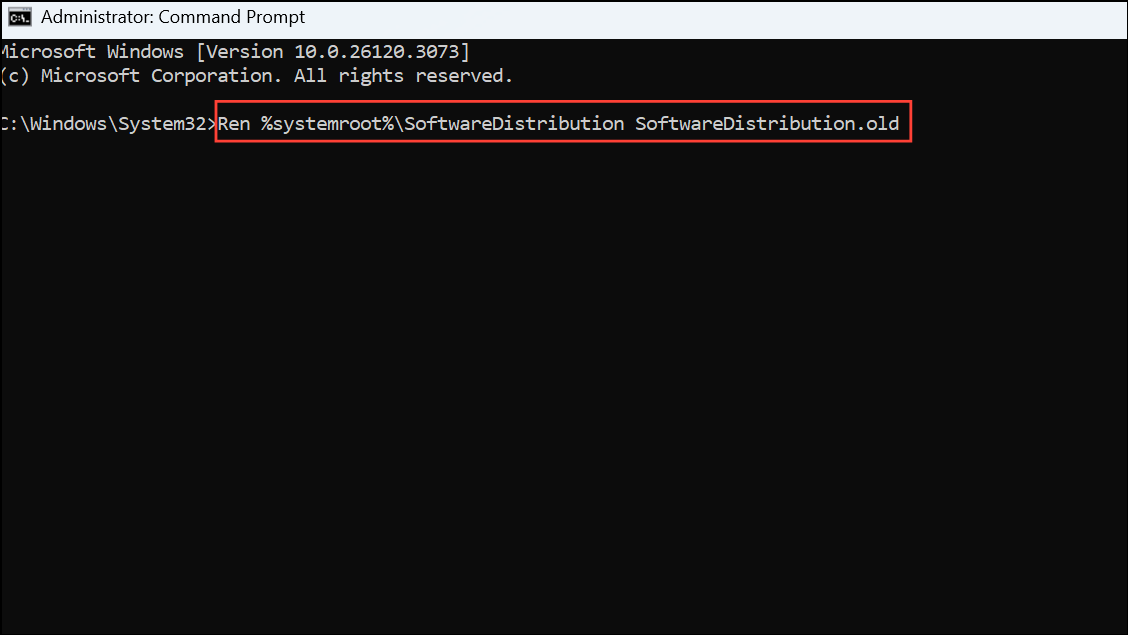
Step 4: Restart the stopped services:
net start bits
net start wuauserv
net start appidsvc
net start cryptsvc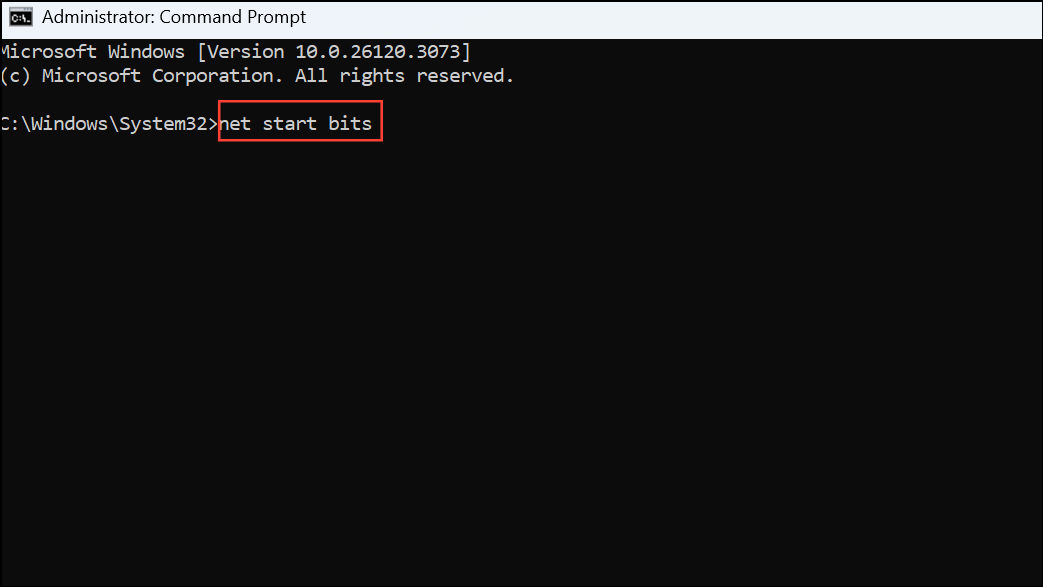
Step 5: Close Command Prompt and restart your computer. Try installing updates again.
Manually Download and Install the Update
If Windows Update repeatedly fails, manually installing the specific update can bypass the problematic process.
Step 1: In Windows Update history, note the Knowledge Base (KB) number of the failed update (for example, KB5022845).
Step 2: Visit the Microsoft Update Catalog website in your browser.
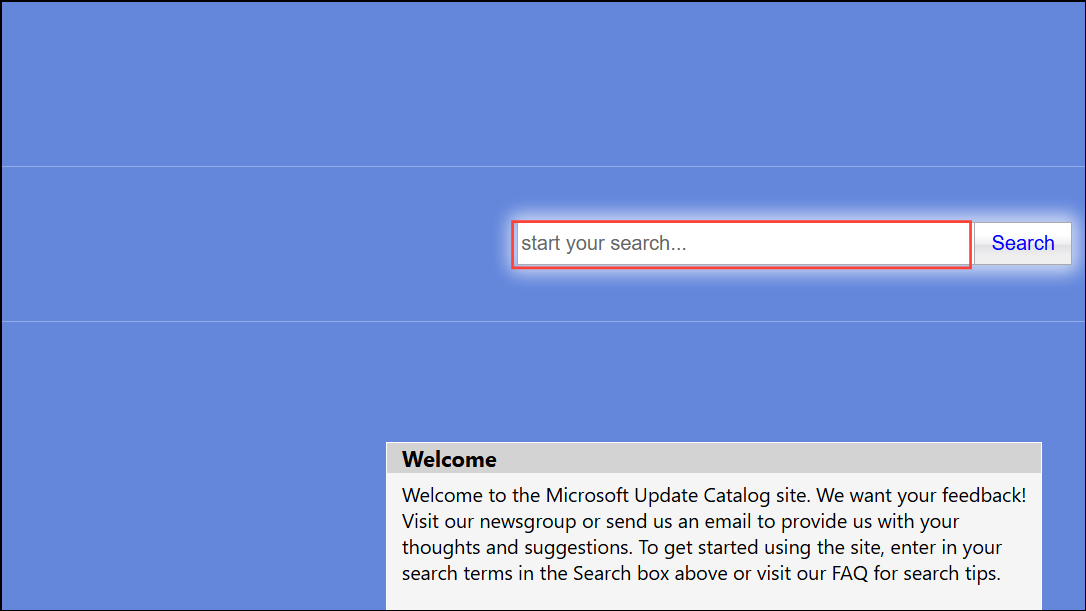
Step 3: Enter the KB number in the search box and locate the update matching your Windows 11 version.
Step 4: Download the update file, then double-click it to start installation. Follow any on-screen instructions to complete the process.
Step 5: Restart your device after installation and verify that the update is now applied.
Perform an In-Place Upgrade or Repair Installation
When corruption is severe or previous methods fail, an in-place upgrade using a Windows 11 ISO can repair system files while keeping your apps and data intact.
Step 1: Download the official Windows 11 ISO using the Media Creation Tool from Microsoft’s website. Run the tool and select the recommended options for your PC.
Step 2: Once downloaded, right-click the ISO file and select “Mount.” This will assign it a new drive letter.
Step 3: Open the mounted drive and run setup.exe. Follow the prompts, choose to keep personal files and apps, and proceed with the installation.
Step 4: Allow the process to complete. The repair install will refresh system files and update components, often resolving persistent update errors.
Step 5: After the upgrade, check for updates again. This method typically resolves even stubborn cases of error 0x800f0831.
Resolving Windows 11 update error 0x800f0831 restores your device’s ability to receive critical updates and keeps your system reliable. If one method doesn’t resolve the issue, working through the other approaches above usually leads to a fix.