
Unidentified Network or non-working Ethernet connections on Windows 11 often disrupt wired internet access, even when cables and hardware appear functional. This issue can result from incorrect IP settings, outdated drivers, hardware conflicts, or network misconfiguration, and typically presents as "Unidentified Network," "No Internet," or "Ethernet doesn't have a valid IP configuration" messages in Windows networking settings. Addressing the root causes requires a systematic approach, starting with the most reliable solutions and moving to advanced troubleshooting if basic fixes do not resolve the problem.
Check Cables, Ports, and Hardware
Physical connection problems frequently cause Ethernet issues. Begin by verifying that the Ethernet cable is securely connected to both your PC and the router or switch. Swap out the cable with a different one to rule out potential cable faults. If your router has multiple Ethernet ports, try using another port. Testing the same cable and port with another device, such as a laptop or game console, can help determine whether the problem is isolated to your Windows 11 PC.
If the Ethernet connection works on other devices but not your PC, the issue is likely within your Windows 11 system. If the connection fails on all devices, focus on troubleshooting your router, switch, or ISP connection.
Restart PC and Router
Restarting both the computer and network equipment can resolve temporary glitches that cause network misidentification. Power off your PC and unplug your router and modem from the power source. Wait at least 30 seconds; if your modem has a backup battery, remove it. Reconnect the modem and wait for its lights to stabilize, then reconnect the router and allow it to fully boot up. Power your PC back on and check the Ethernet status in Settings > Network & Internet. This process often clears up transient network assignment issues.
Update or Reinstall Network Adapter Drivers
Outdated or corrupted network drivers can prevent Windows 11 from correctly identifying wired networks.
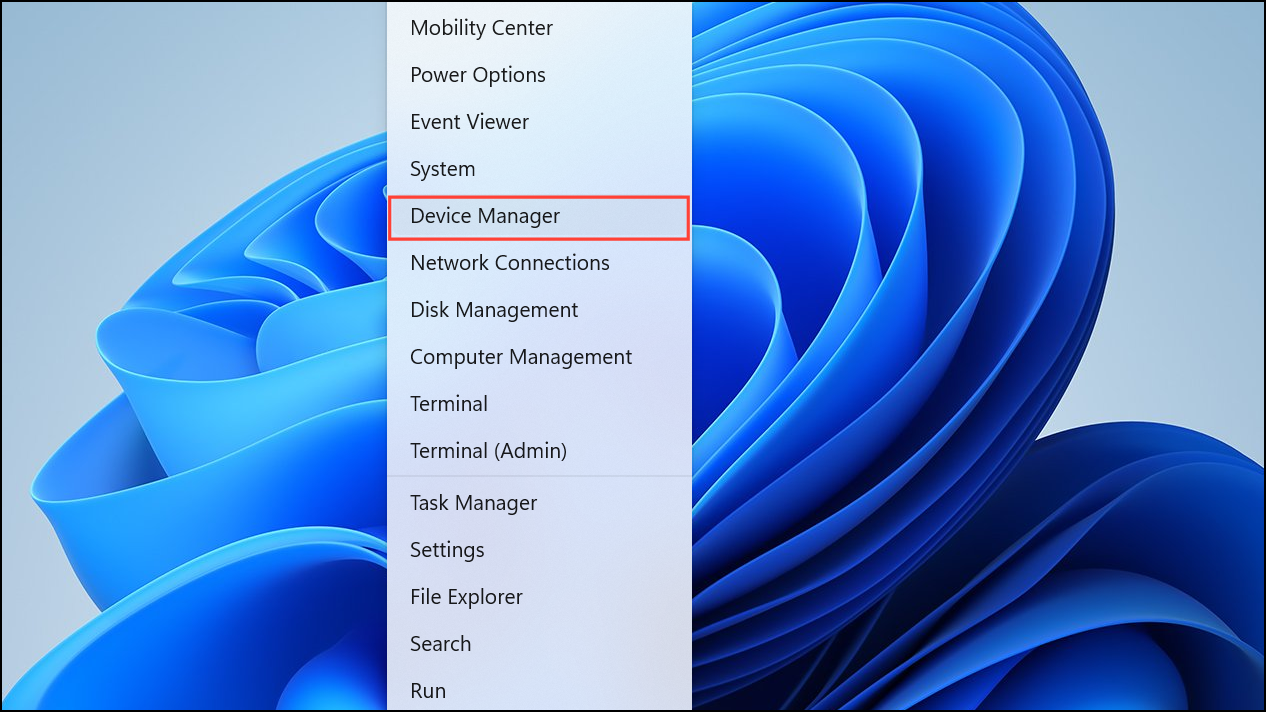
Step 1: Access Device Manager by pressing Windows + X and selecting Device Manager.
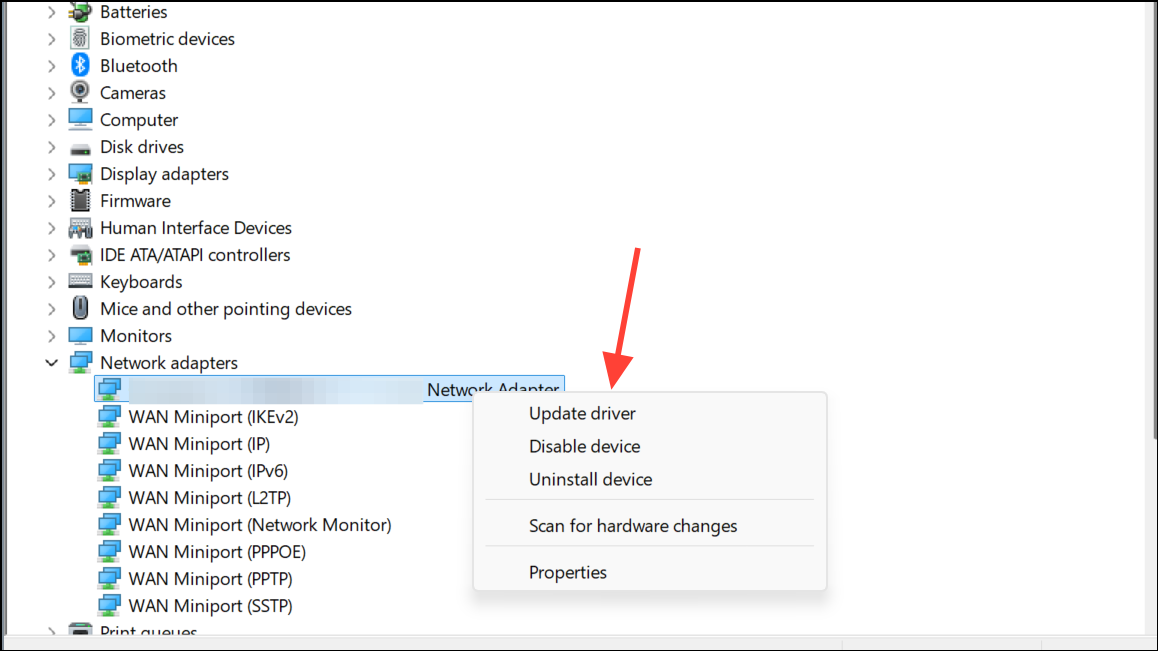
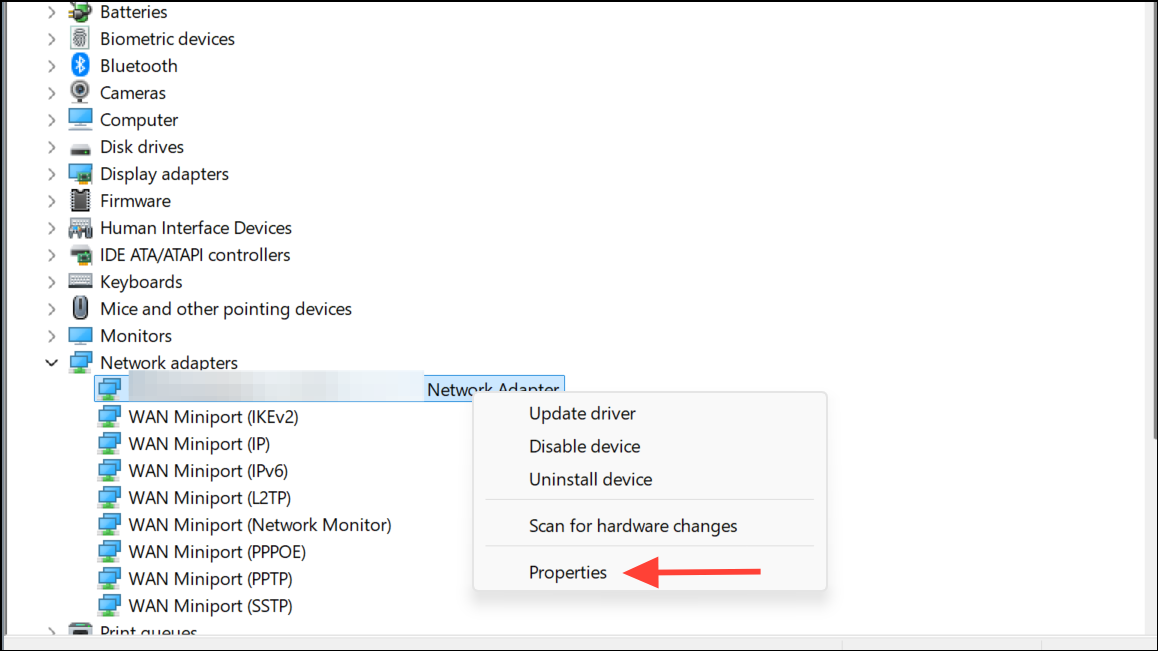
Step 2: Expand Network adapters, right-click your Ethernet device, and choose Update driver.
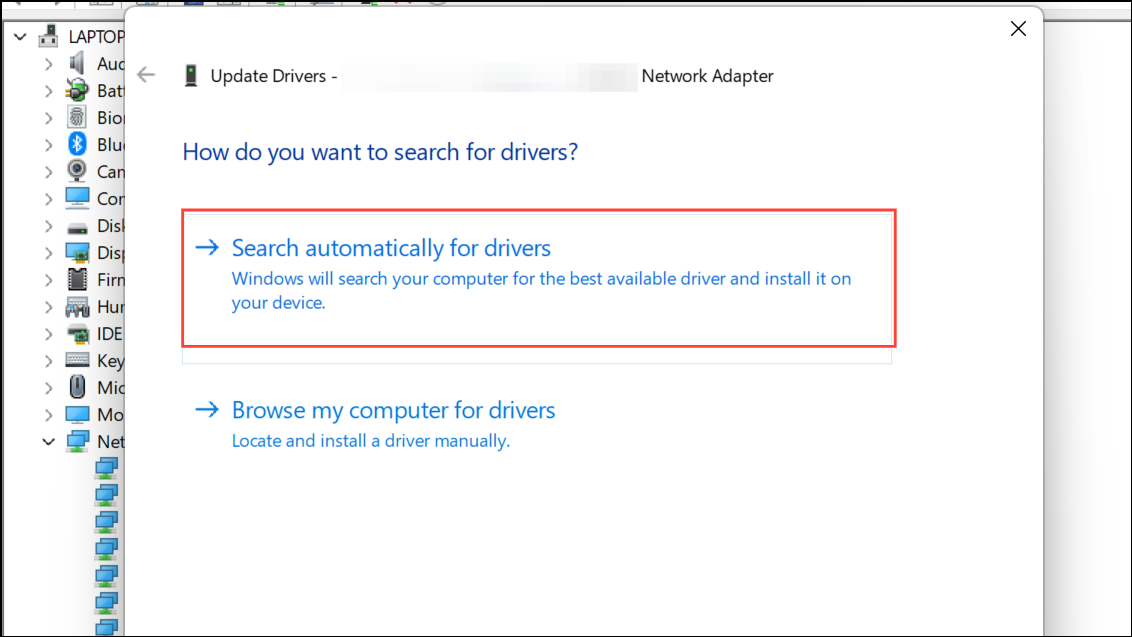
Step 3: Select Search automatically for drivers to let Windows find updates.
Step 4: If no updates are available or the issue persists, download the latest driver from your network adapter or motherboard manufacturer’s website and install it manually.
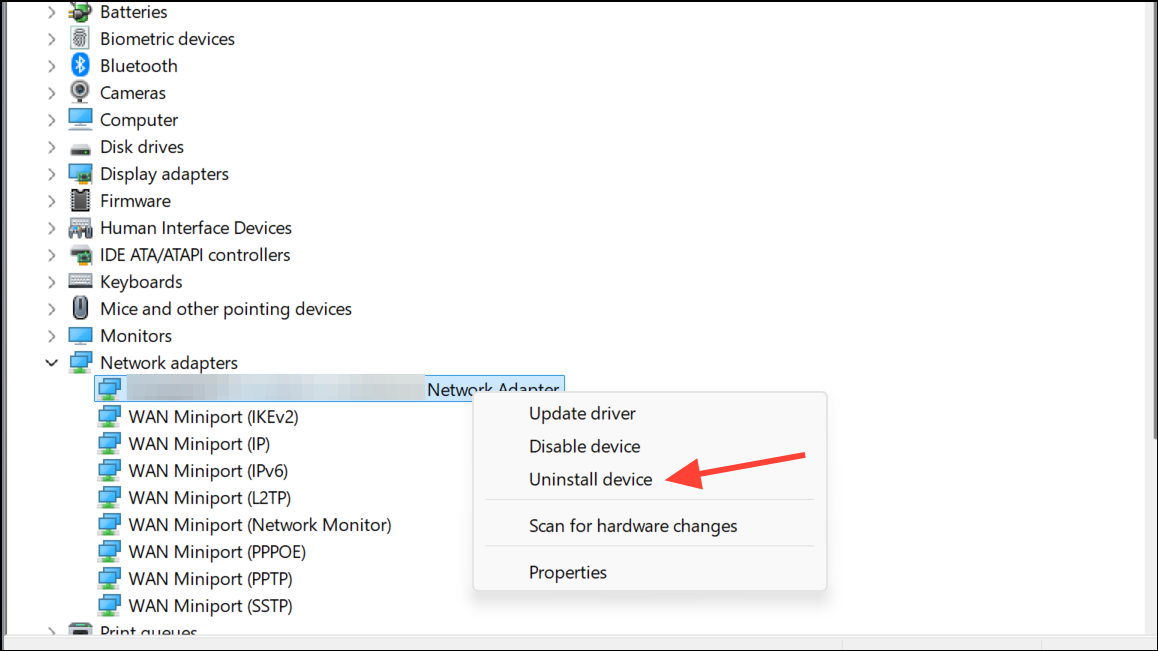
Step 5: If updating does not resolve the issue, right-click the Ethernet adapter in Device Manager and choose Uninstall device, check Attempt to remove the driver for this device, and restart your PC. Windows will attempt to reinstall the driver. If the PC cannot access the internet, download the driver on another device and transfer it via USB.
Disable Power Management Settings for Ethernet Adapter
Windows 11 may turn off network adapters to save power, disrupting Ethernet connectivity.
Step 1: In Device Manager, right-click your Ethernet adapter, select Properties.
Step 2: Go to the Power Management tab, uncheck Allow the computer to turn off this device to save power and click OK. This setting ensures your adapter remains active and prevents random disconnections.

Run Network Reset and TCP/IP Stack Commands
Network configuration errors or corrupted TCP/IP settings can lead to unidentified network errors.
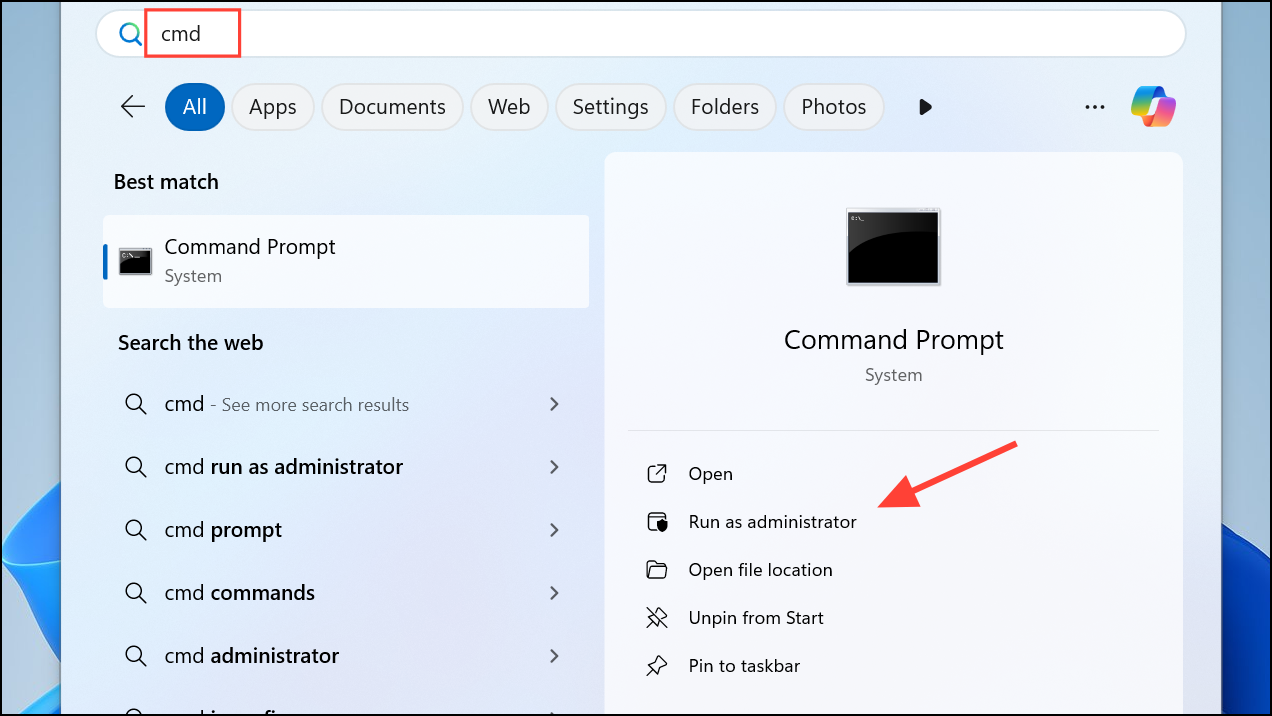
Step 1: Open an elevated Command Prompt by searching for cmd, right-clicking, and selecting Run as administrator.
Step 2: Enter the following commands one by one, pressing Enter after each:
netsh winsock reset
netsh int ip reset
ipconfig /release
ipconfig /renew
ipconfig /flushdns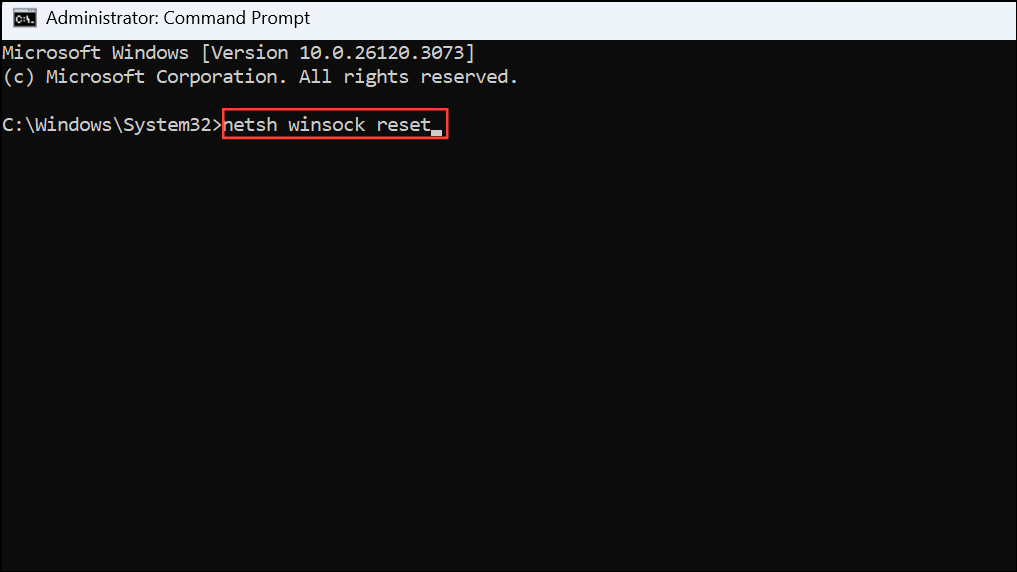
These commands reset network sockets, TCP/IP stack, and DNS cache, and request a new IP address from your router. Restart your computer after running the commands to apply changes. This process often resolves persistent configuration errors that standard troubleshooting tools miss.
Set IP and DNS Settings Manually
Missing or invalid IP configuration frequently causes Ethernet connections to show as "Unidentified Network."
Step 1: Go to Settings > Network & Internet > Ethernet, select your network, then click Edit under IP assignment.
Step 2: Change from Automatic (DHCP) to Manual and enter a valid IP address, subnet mask, gateway, and DNS server. Use IP details from another working device on your network as a reference, but ensure the IP address is unique. Common DNS servers like 8.8.8.8 (Google) or 1.1.1.1 (Cloudflare) can be used for reliability.
If manual configuration resolves the issue, the problem may be with your router’s DHCP server. Check router settings or consider a firmware update if DHCP is not working as expected.
Disable IPv6 Protocol
Certain network adapters or older routers may not fully support IPv6, which can cause Windows 11 to misidentify the network.
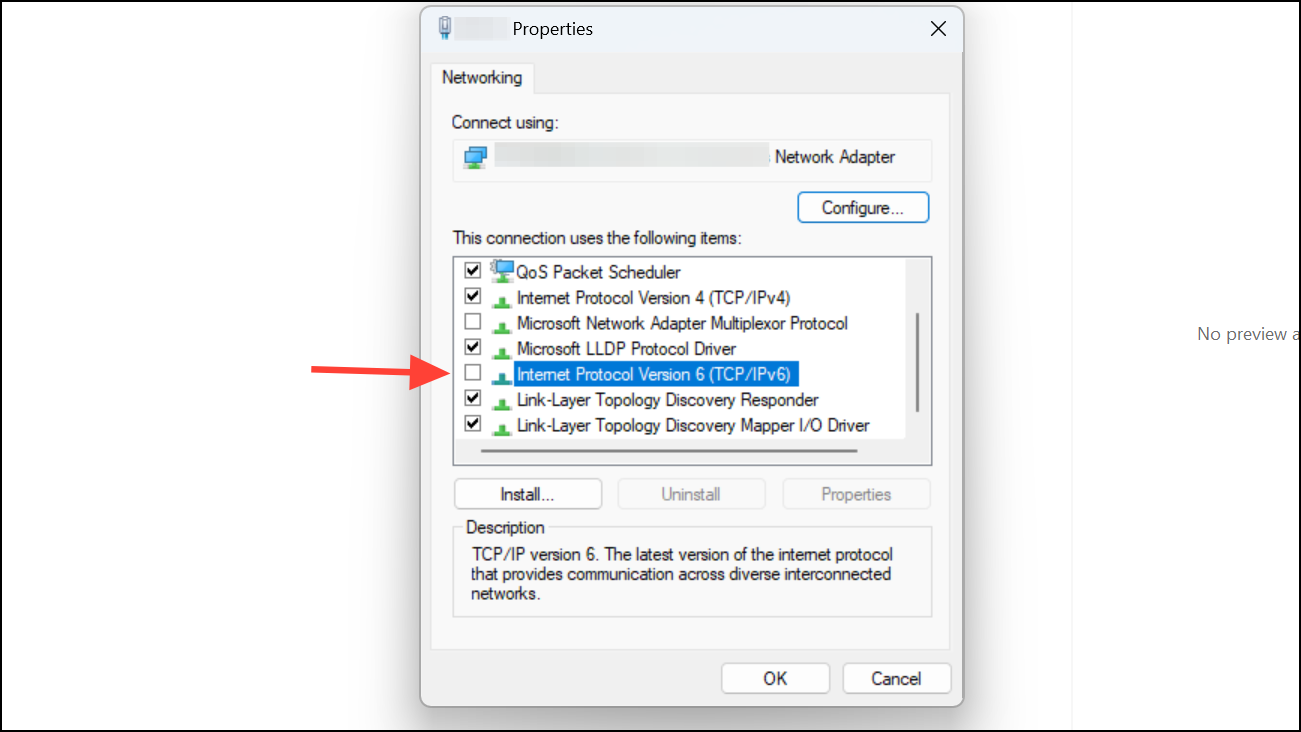
Step 1: To disable IPv6, go to Control Panel > Network and Sharing Center > Change adapter settings.
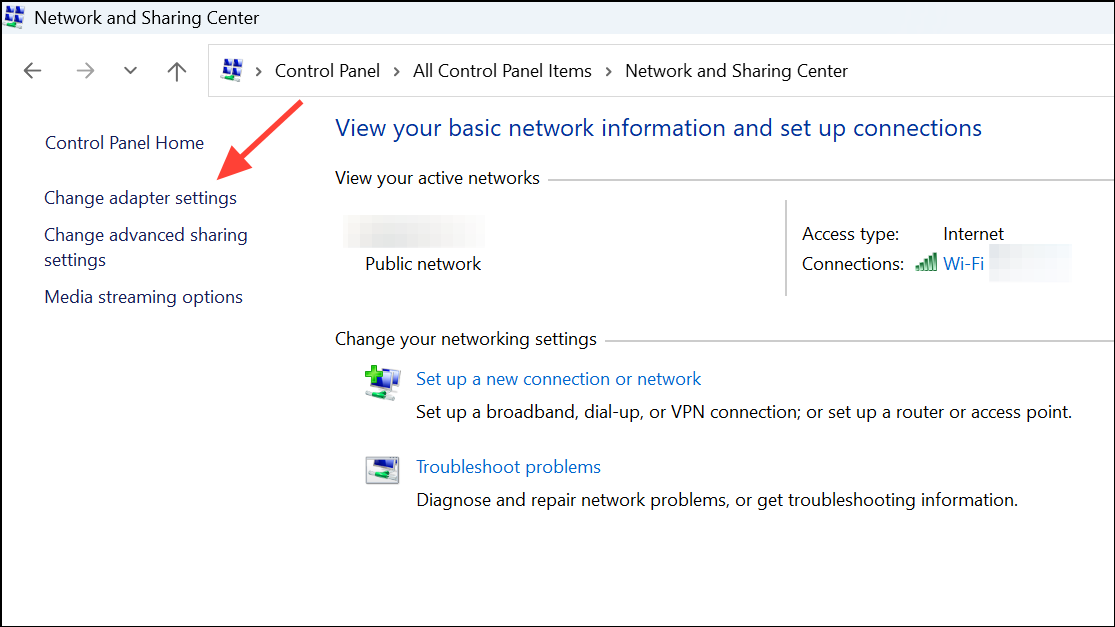
Step 2: Right-click your Ethernet connection, select Properties, and uncheck Internet Protocol Version 6 (TCP/IPv6). Click OK and restart your PC. Disabling IPv6 can resolve conflicts that interfere with DHCP or network identification.
Check for VPN, Proxy, or Security Software Conflicts
Active VPNs, proxies, or aggressive firewall/antivirus software can block or misroute Ethernet traffic, resulting in unidentified network errors. Temporarily disable any VPN or proxy services, and pause or uninstall third-party firewall or antivirus programs to check if Ethernet connectivity is restored. If the issue resolves, adjust your VPN or security software settings to allow local network traffic.
Try an External USB Ethernet Adapter
If all software troubleshooting fails and Ethernet works on other devices, your PC’s built-in network card may be faulty. Using an external USB-to-Ethernet adapter provides a quick way to test this. Plug in the adapter, let Windows install drivers, and connect the Ethernet cable. If the connection works, consider replacing the internal network card or using the external adapter as a permanent solution.
Reset Network Settings in Windows 11
As a last resort, use Windows' built-in network reset tool.
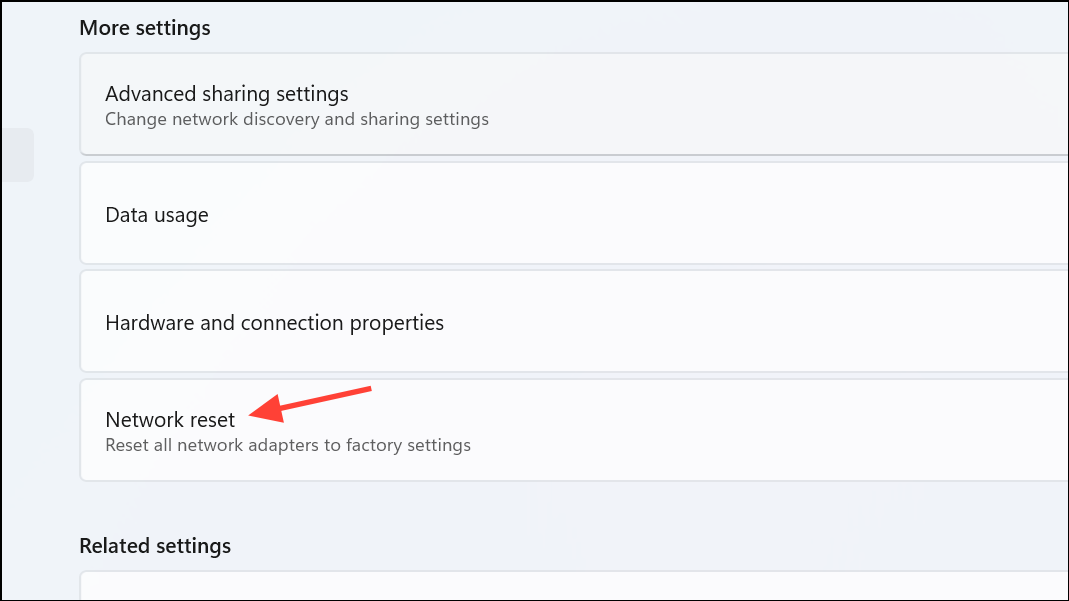
Step 1: Go to Settings > Network & Internet > Advanced network settings > Network reset.
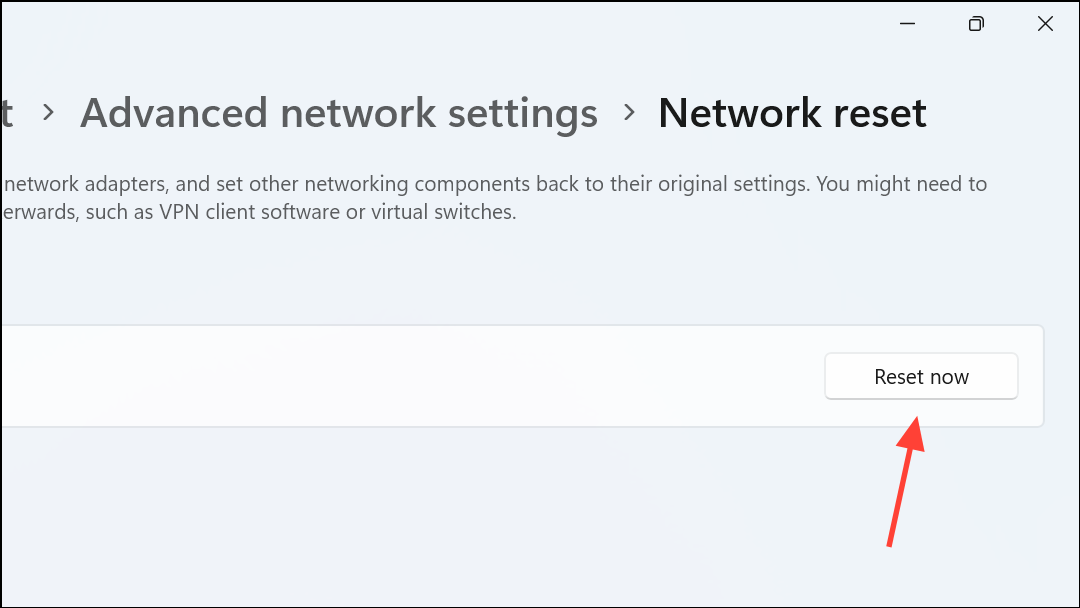
Step 2: Click Reset now and confirm. This process removes all network adapters and resets all networking components to default. Your PC will restart, and you may need to reinstall VPN clients or reconfigure custom network settings afterwards.
Resolving Ethernet not working or unidentified network errors in Windows 11 requires a stepwise approach—starting with cable and port checks, progressing through driver updates and configuration resets, and finishing with hardware replacement or network reset if needed. Consistent troubleshooting restores stable wired connectivity and ensures reliable internet access.