
Blurry trails or faint shadows following moving objects on your display signal monitor ghosting—a problem that can make gaming, video playback, and even scrolling through documents difficult on Windows 11. This issue often results from improper monitor settings, outdated drivers, or hardware limitations. Addressing the root causes can restore the sharpness and clarity you expect from your screen.
Adjust Monitor Refresh Rate for Optimal Clarity
Step 1: Access your display settings by right-clicking the desktop and selecting Display settings. Scroll down and click on Advanced display.
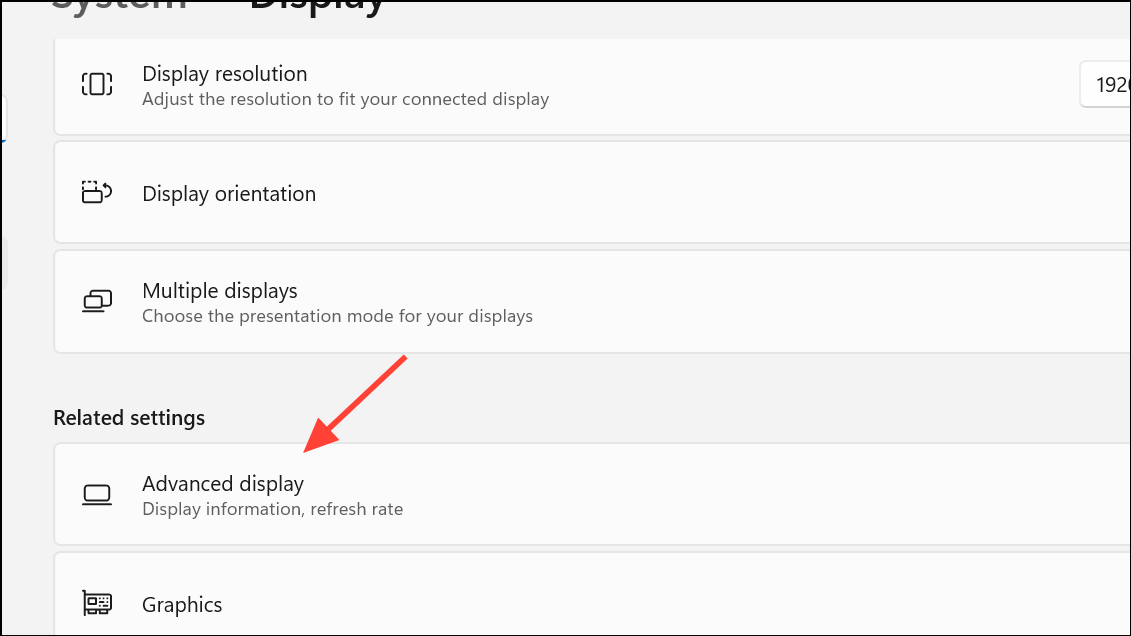
Step 2: Locate the Choose a refresh rate dropdown menu. Select the highest refresh rate supported by your monitor. Higher refresh rates result in smoother motion and can substantially reduce ghosting.

Step 3: Click Apply and restart your computer to ensure the new refresh rate is active. If your monitor supports 120Hz or 144Hz, but only lower options appear, verify that you’re using a compatible cable (such as DisplayPort or high-speed HDMI) and that your graphics drivers are current.
Update Graphics Card Drivers
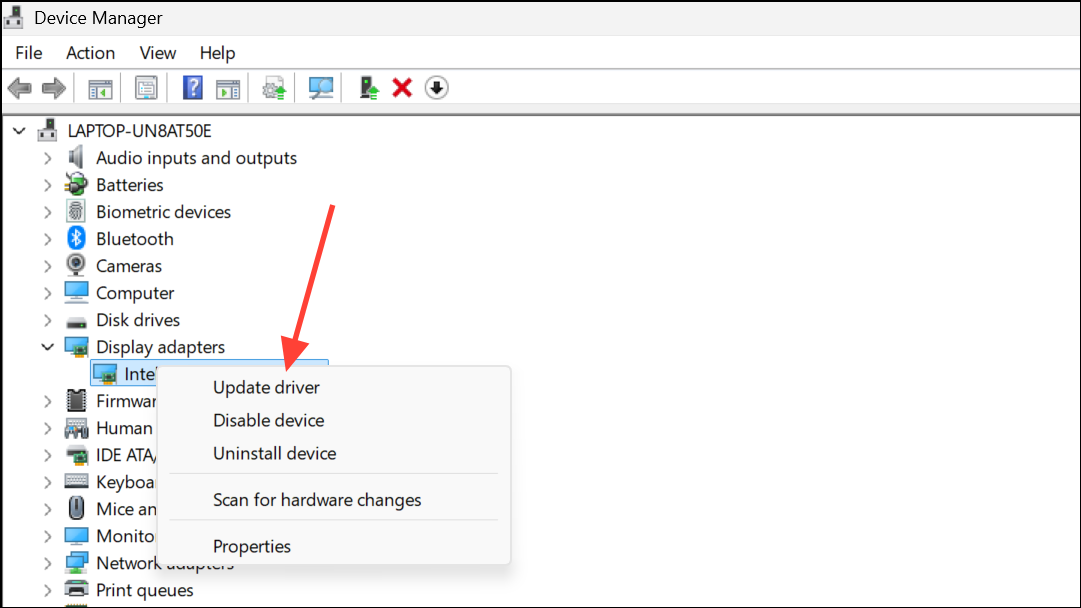
Step 1: Open Device Manager by pressing Windows + X and selecting it from the menu.

Step 2: Expand the Display adapters section. Right-click your graphics card and choose Update driver. Select Search automatically for drivers to let Windows find the latest version.
Step 3: Alternatively, visit the NVIDIA, AMD, or Intel website to manually download and install the newest drivers for your specific GPU model. Updated drivers often resolve rendering issues and unlock full monitor support.
Step 4: Restart your system after installation. Updated drivers can improve communication between your GPU and monitor, reducing ghosting and other visual artifacts.
Modify Monitor Response Time and Overdrive Settings
Step 1: Use your monitor’s physical buttons to open its on-screen display (OSD) menu. Navigate to the section labeled Response Time, Overdrive, or similar (sometimes called AMA, Trace Free, or Motion Acceleration depending on the manufacturer).
Step 2: Set the response time to Fast or Fastest. This adjustment instructs the monitor to change pixels more quickly, reducing the trailing effect. If you notice a bright halo or inverse ghosting, try the next lower setting—overdriving can create new artifacts if set too high.
Step 3: Save your changes and observe the screen during fast motion. Adjust incrementally until you find the setting that minimizes ghosting without introducing new problems.
Enable Motion Blur Reduction and Adaptive Sync Features
Step 1: Enter your monitor’s OSD and look for motion blur reduction features such as 1ms Motion Blur Reduction, ELMB (Extreme Low Motion Blur), or DyAc (Dynamic Accuracy). Enable the relevant option if available.
Step 2: If your monitor and GPU support variable refresh rate technologies like G-SYNC (NVIDIA), FreeSync (AMD), or VRR (Variable Refresh Rate), activate these in both the monitor menu and your graphics card control panel. These settings synchronize the display’s refresh rate with your GPU’s output, which can reduce screen tearing and sometimes help with ghosting.
Step 3: Note that on some monitors, enabling both motion blur reduction and adaptive sync simultaneously is not possible. Test each feature individually to determine which provides the best clarity with the least ghosting.
Check and Replace Cables and Peripherals
Step 1: Inspect your monitor cable for signs of wear such as fraying, bent pins, or loose connectors. Poor-quality or damaged cables can cause signal degradation that leads to ghosting.
Step 2: Replace the cable with a new, certified high-speed HDMI or DisplayPort cable. Using the correct cable ensures the monitor receives the full bandwidth needed for high refresh rates and fast response times.
Step 3: Disconnect non-essential peripherals (such as USB hubs, external drives, or wireless devices) to rule out electromagnetic interference. If ghosting disappears, reconnect devices one by one to identify the source of interference.
Adjust Windows 11 Visual Effects and Animation Settings
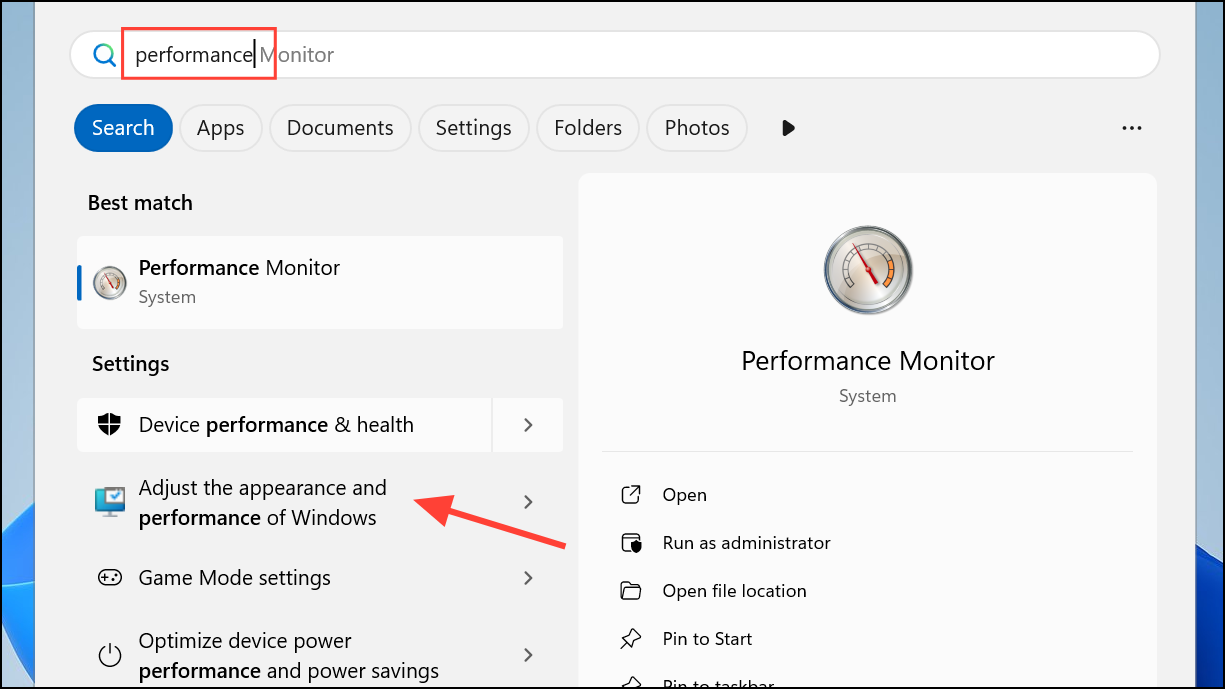
Step 1: Open System Properties by searching for performance in the Windows search bar and selecting Adjust the appearance and performance of Windows.
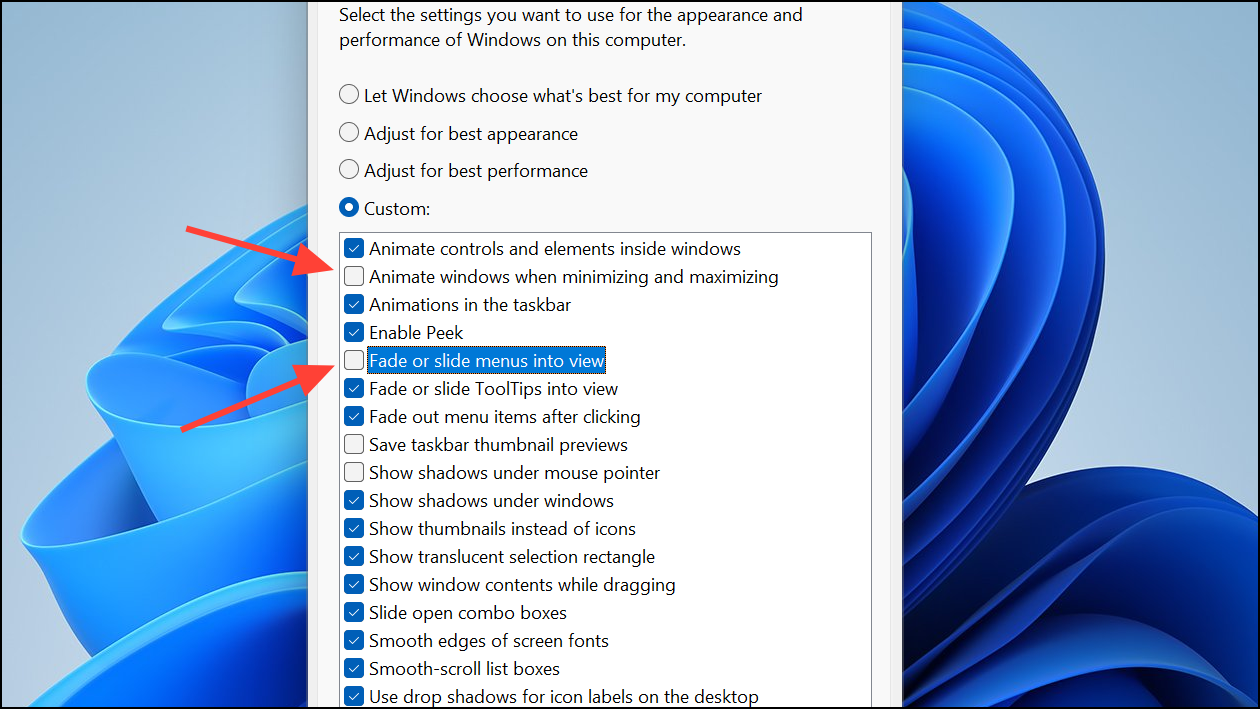
Step 2: In the Performance Options window, uncheck options related to animations, such as Animate windows when minimizing and maximizing or Fade or slide menus into view. Disabling these can reduce software-induced ghosting, especially on lower-end hardware or after major Windows updates.
Step 3: Click Apply and OK to save changes. Restart your system and observe whether visual artifacts persist.
Test for Hardware Issues and Monitor Limitations
Step 1: Use an online monitor ghosting test, such as the Blur Busters UFO Motion Test, to objectively assess the severity of ghosting. Observe the screen for trailing or smearing during the test animations.
Step 2: If ghosting persists across multiple cables, computers, and after all settings adjustments, the monitor’s panel may be inherently slow or damaged. Older or budget monitors often have higher response times and may not fully eliminate ghosting even after all optimizations.
Step 3: Consider replacing the monitor with a model featuring a higher refresh rate (120Hz or above), lower response time (5ms or less), and adaptive sync support for the best motion clarity. If your monitor is under warranty, contact the manufacturer for support or replacement options.
Resolving monitor ghosting on Windows 11 often requires a mix of software tweaks, driver updates, and hardware checks. These steps can restore crisp motion and clear visuals, making your system more comfortable for gaming, work, and everyday use.