
Network connectivity failures after a blue screen (BSOD) on Windows 11 frequently disrupt both Wi-Fi and Ethernet access, leaving users unable to browse the web or connect to online services even though other devices on the same network work normally. This issue often results from corrupted network drivers, system file damage, or disabled network services triggered by the crash. Addressing these root causes can restore reliable internet access and prevent repeated disruptions.
Reinstall Network Drivers
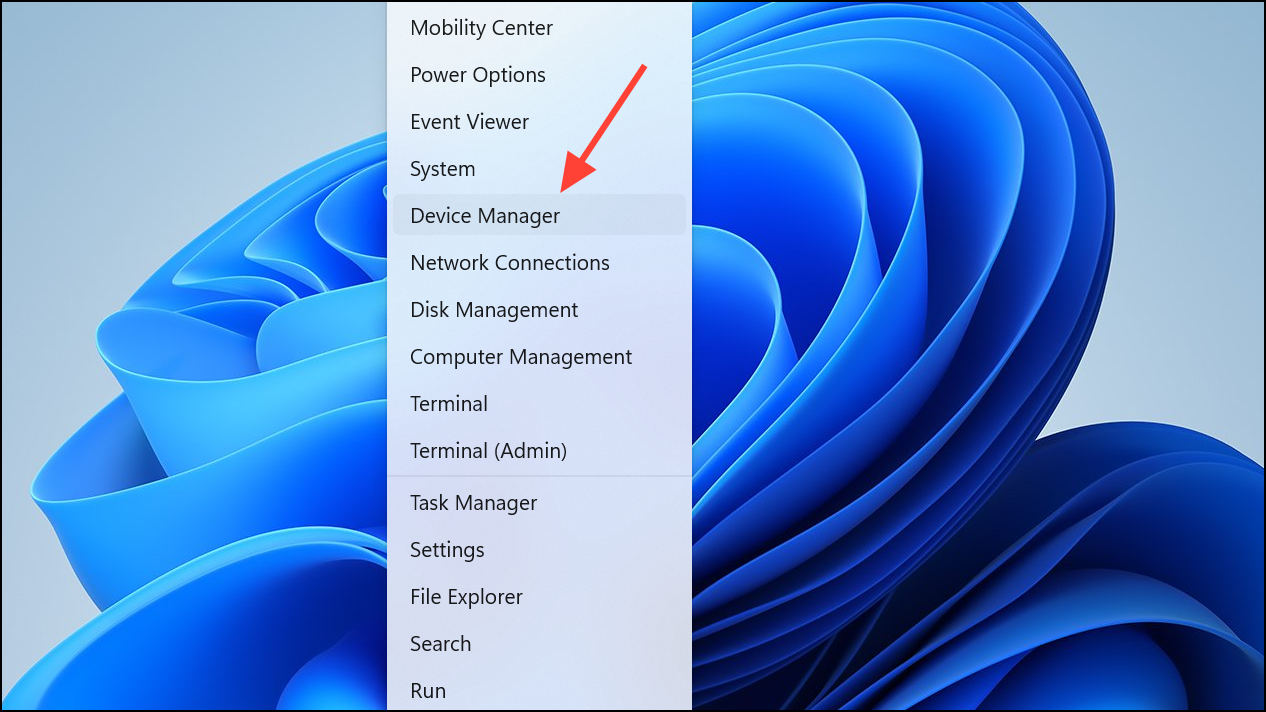
Step 1: Open Device Manager by pressing Windows + X and selecting Device Manager from the menu.
Step 2: Expand the Network adapters section to view installed network devices.
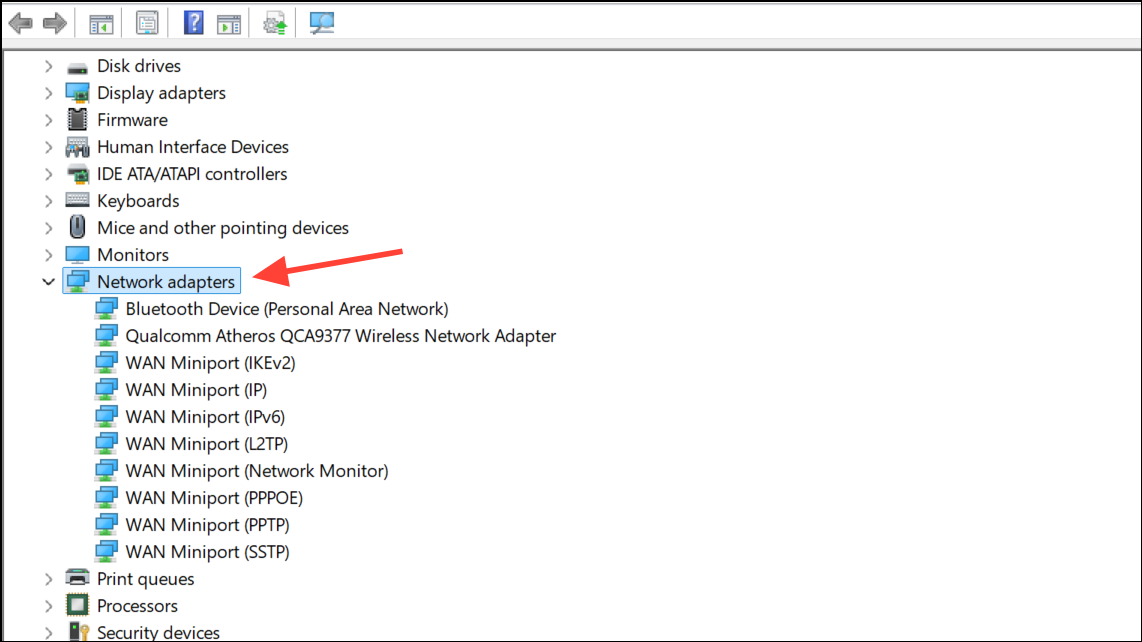
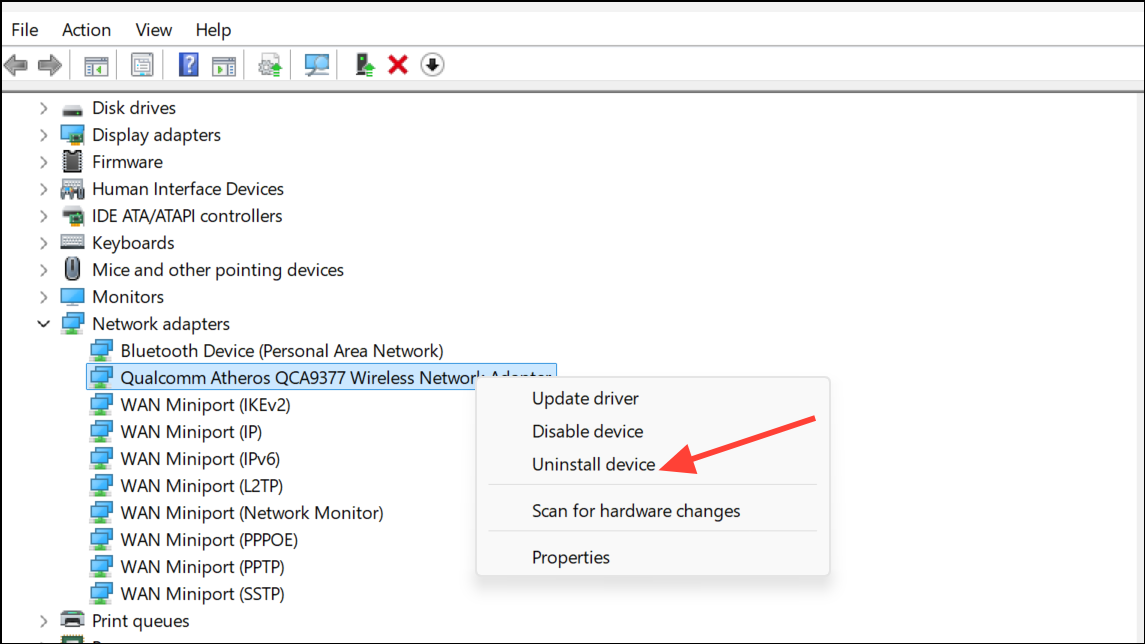
Step 3: Right-click your Wi-Fi or Ethernet adapter—often labeled with Intel, Realtek, or the manufacturer’s name—and select Uninstall device. Check the box for Attempt to remove the driver for this device if available, then confirm the uninstallation.
Step 4: Restart your computer. Windows will attempt to reinstall the default driver automatically. If the adapter is not detected, download the latest network drivers from your PC or motherboard manufacturer’s website using another device, transfer them via USB, and install them manually.
Step 5: Once the drivers are reinstalled, check your network connections. If internet access is restored, the issue was likely due to a corrupted or incompatible driver.
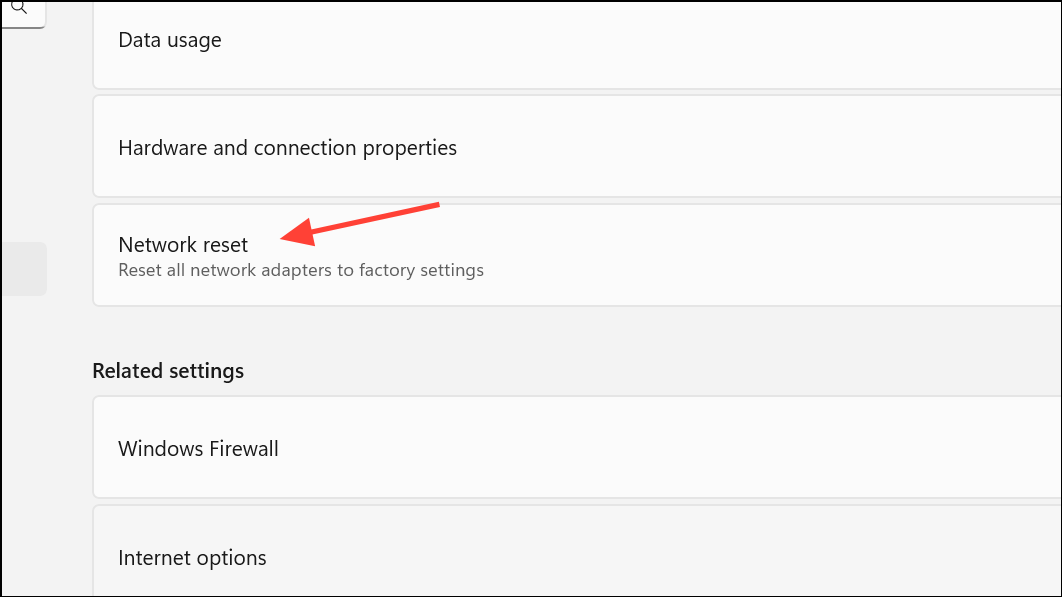
Reset Network Settings
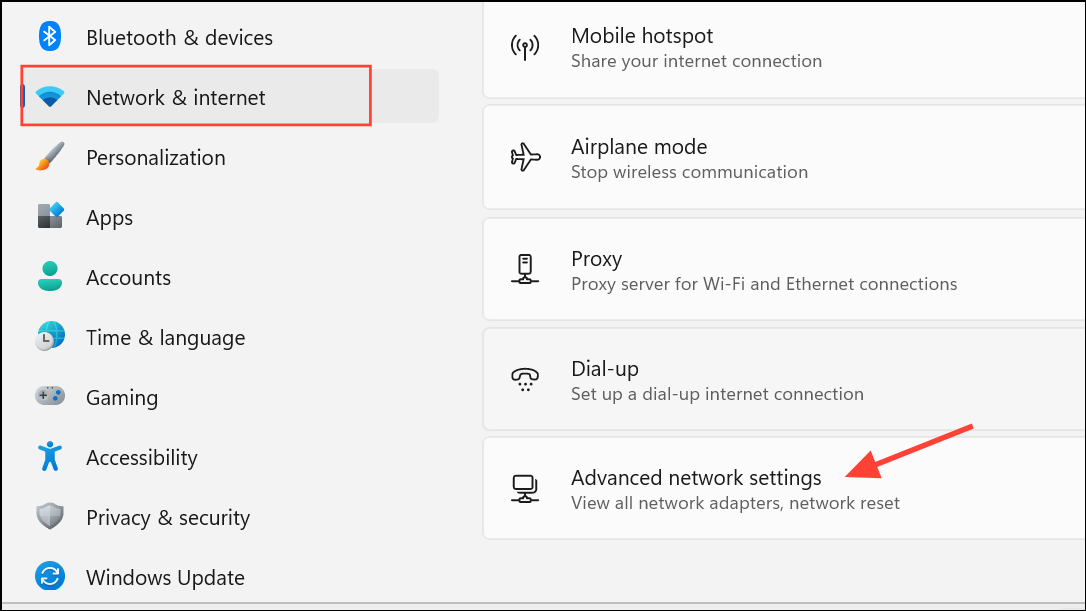
Step 1: Open Settings with Windows + I. Navigate to Network & Internet and select Advanced network settings.
Step 2: Scroll down and choose Network reset. Confirm the reset when prompted. This action removes and reinstalls all network adapters and sets networking components back to their original state.
Step 3: Restart your computer when prompted. After reboot, reconnect to your Wi-Fi or Ethernet network and check if internet access is restored.
Repair Corrupted System Files
System file corruption from a crash can prevent network services from starting or functioning correctly.
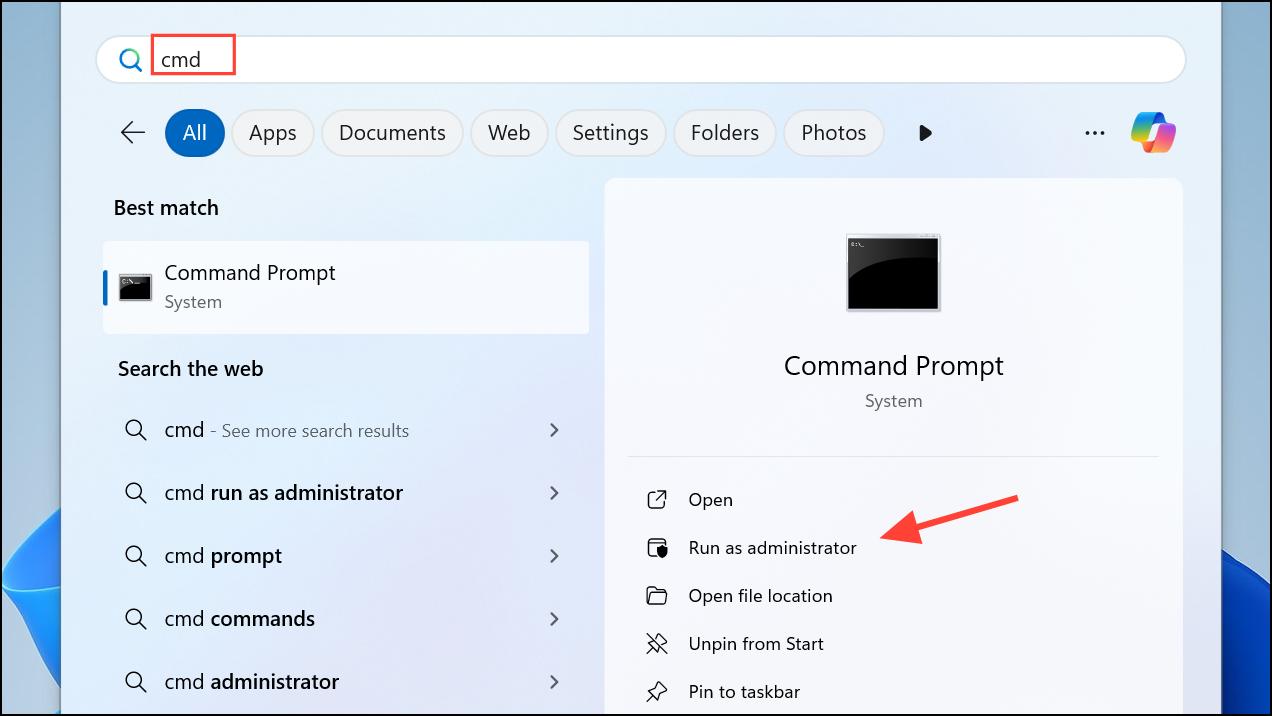
Step 1: Open Command Prompt as administrator by searching for cmd, right-clicking the result, and selecting Run as administrator.
Step 2: Run the Deployment Imaging Service and Management Tool (DISM) command to repair the Windows image:
DISM /Online /Cleanup-Image /RestoreHealth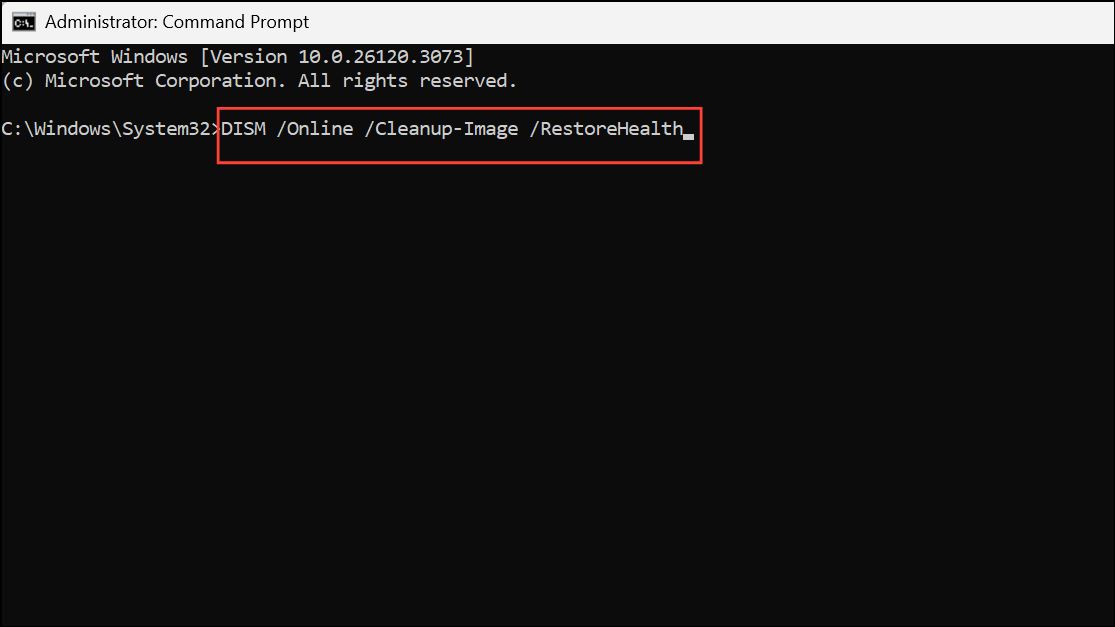
Step 3: After DISM completes, run the System File Checker to repair system files:
sfc /scannow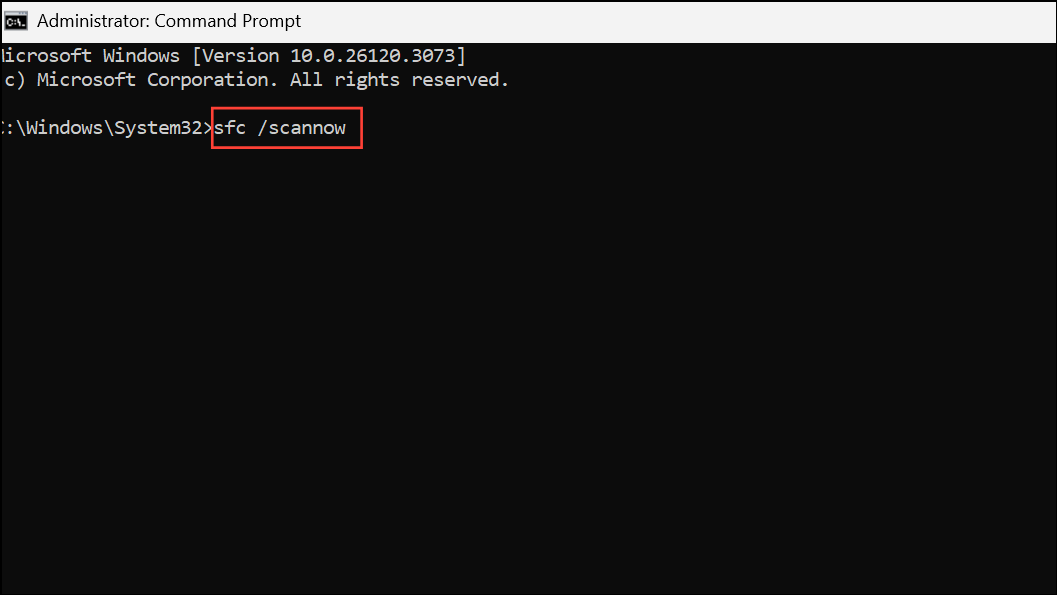
Step 4: Restart your PC after both commands finish. This process often resolves issues where system corruption disables network functionality or related services.
Restart and Restore Network Services
Network troubleshooting tools may fail if essential Windows services, such as the Diagnostic Policy Service, are not running.
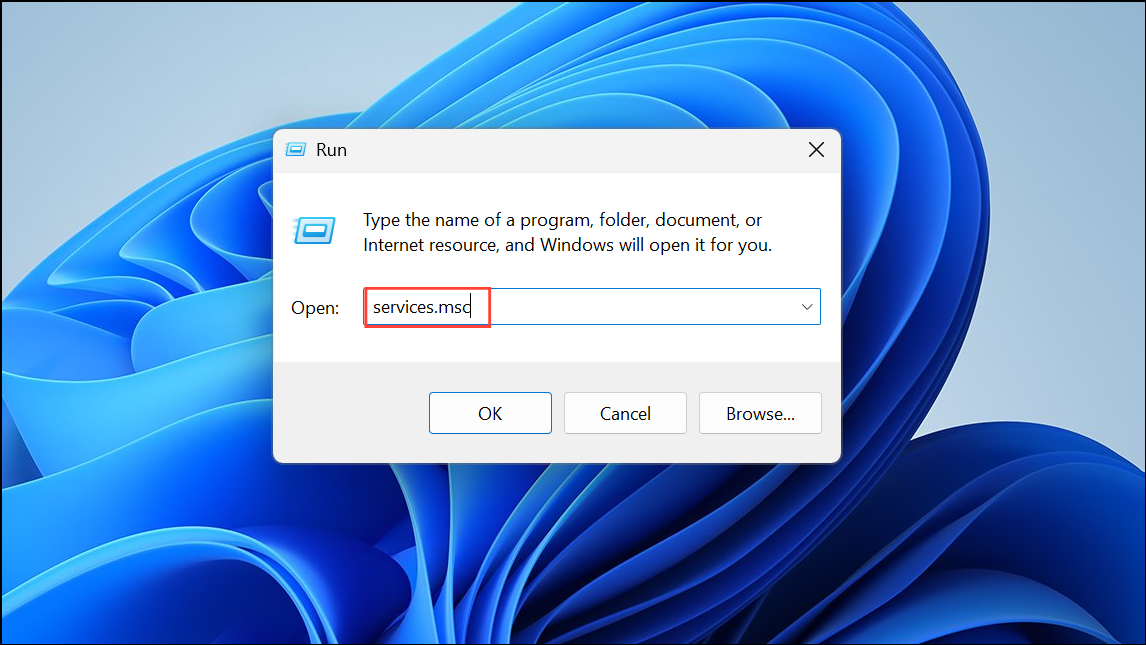
Step 1: Open Services by pressing Windows + R, typing services.msc, and pressing Enter.
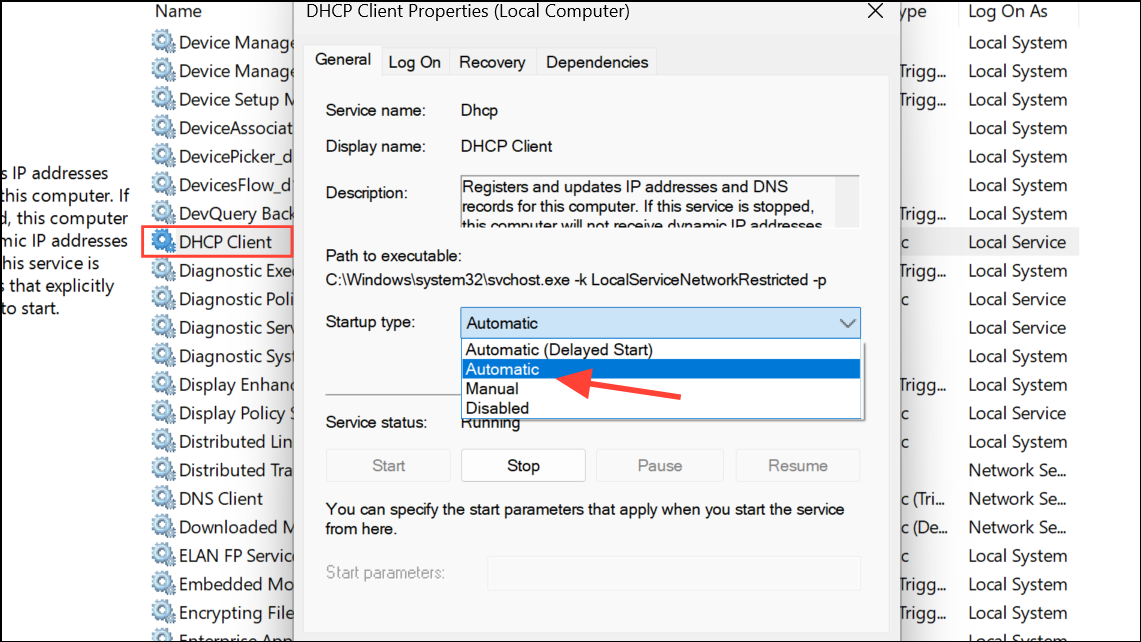
Step 2: Scroll to Diagnostic Policy Service. Right-click it and select Start if it is not running. Set the startup type to Automatic to ensure it starts with Windows.
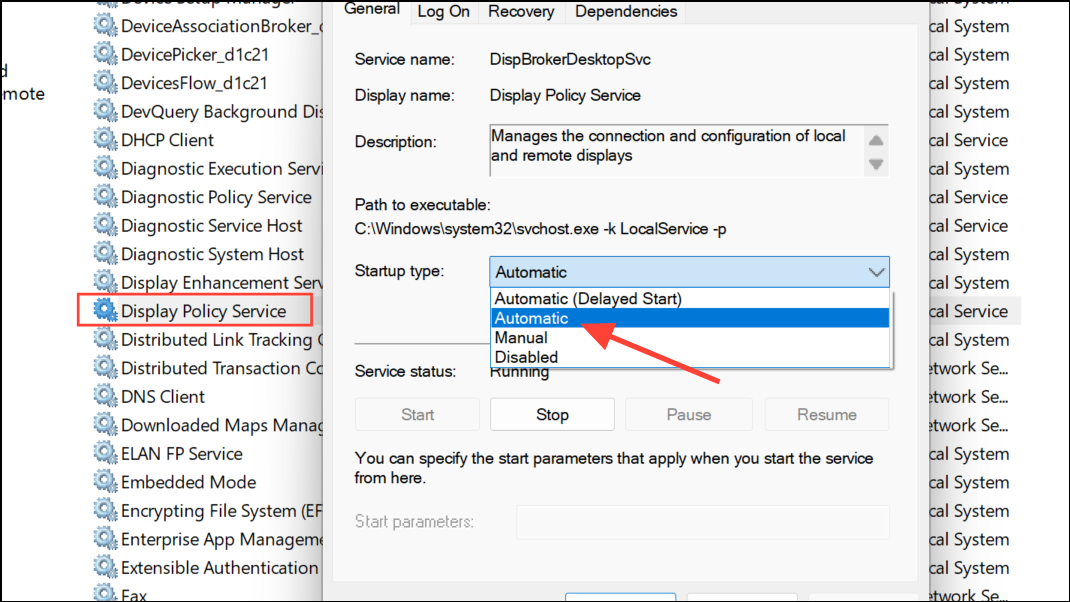
Step 3: Repeat for other critical services such as DHCP Client, Network Connections, and Network List Service.
Step 4: Restart your PC and check if network troubleshooting and connectivity are restored.
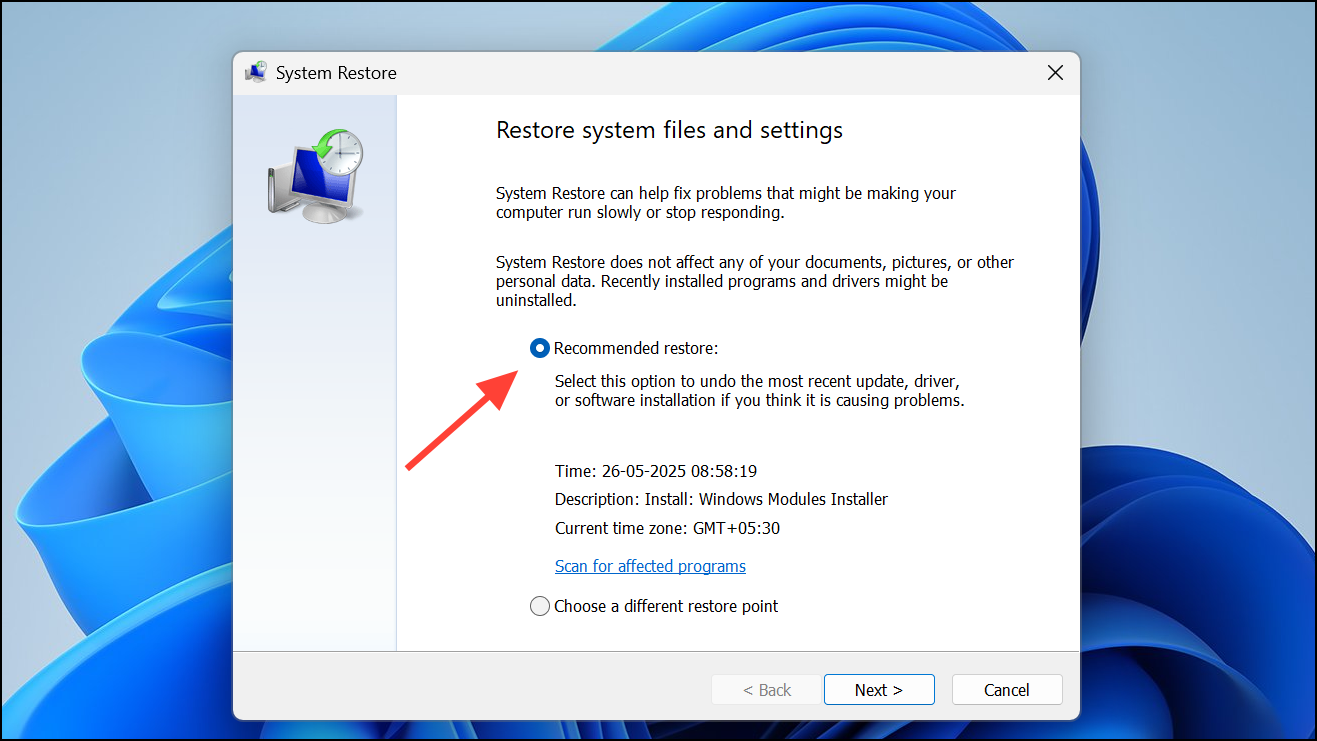
Restore System to a Previous State
When driver reinstalls and repairs do not resolve the problem, reverting Windows to an earlier restore point can undo changes made during or after the blue screen event.
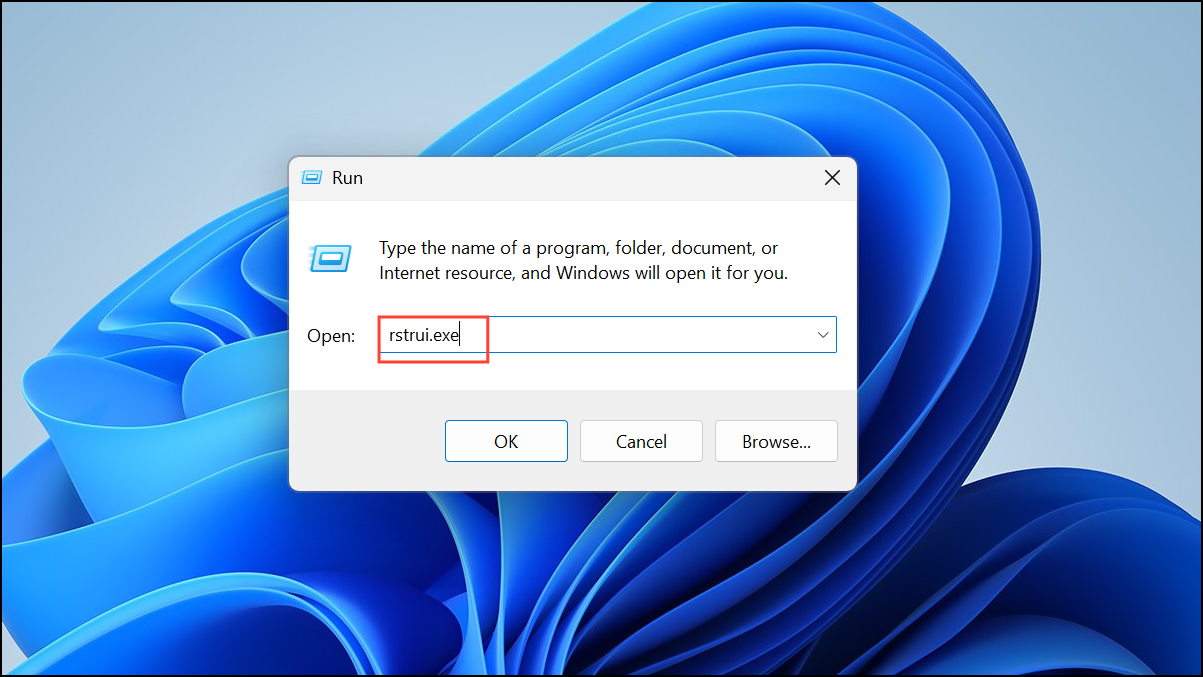
Step 1: Press Windows + R, type rstrui.exe, and press Enter to launch System Restore.
Step 2: Select a restore point created before the blue screen occurred. Follow the prompts to complete the restoration process. This will roll back system files and settings, potentially resolving network issues introduced by the crash.
Step 3: Restart your computer and verify network connectivity.
Update BIOS and Chipset Drivers
Outdated BIOS or chipset drivers can cause persistent hardware communication failures after a crash, especially with integrated network adapters.
Step 1: Visit your motherboard or laptop manufacturer’s support page and download the latest BIOS and chipset drivers compatible with your model and Windows 11.
Step 2: Follow the manufacturer’s instructions to update the BIOS—this process varies and may require creating a bootable USB or running an update utility. Update chipset drivers by running the provided installer.
Step 3: After updates, reboot and check if network adapters function normally.
Replace or Bypass the Network Adapter
When built-in network adapters repeatedly fail after all software fixes, hardware faults may be to blame. Swapping to a USB Wi-Fi dongle or PCIe network card can quickly test if the original adapter is defective.
Step 1: Purchase a compatible USB Wi-Fi dongle or PCIe network card. Plug it into your system and install any required drivers.
Step 2: Connect to your network using the new adapter. If connectivity is restored and stable, the original adapter may have suffered damage from the crash or is incompatible with current drivers.
Perform a Windows Repair Install or Reset
If all other solutions fail and the system remains unable to connect to the internet, a repair install (in-place upgrade) or full system reset can resolve deep-rooted corruption.
Step 1: Download the latest Windows 11 installation media from Microsoft using another device. Create a bootable USB drive or run the setup directly if possible.
Step 2: Launch the Windows installer and choose Repair your computer or select Keep my files during a reset to preserve personal data while reinstalling system files.

Step 3: Complete the repair or reset, then reinstall any necessary drivers and check for internet access.
Restoring network connectivity after a blue screen on Windows 11 requires a methodical approach, addressing drivers, system files, and hardware. Regular system backups and keeping drivers up to date can reduce the risk of future disruptions.