
Persistent or random notification sounds in Windows 11 can disrupt workflow, interrupt gaming, or simply become a daily annoyance. These unexpected chimes may continue even when notification banners are disabled and system sounds are muted. Addressing this issue requires a systematic approach, focusing first on the most effective solutions that target hardware connections, driver issues, and background applications.
Identify Faulty or Disconnecting Hardware
Step 1: Disconnect all external devices, such as USB drives, printers, drawing tablets, webcams, and other peripherals. Leave only essential devices like your keyboard and mouse connected. This isolates the problem to determine if a specific device is triggering hardware connect/disconnect sounds.
Step 2: Reconnect each device one at a time, waiting several minutes between each reconnection. Observe whether the random notification sound returns after plugging in a particular device. If the sound resumes, the most recently connected device is likely the cause.
Some users have identified specific peripherals—such as graphics tablets or certain USB hubs—as the trigger for repeated Windows Hardware Insert/Remove sounds. Switching the device to a different USB port, preferably one directly on the motherboard rather than a front panel or hub, often resolves the issue. If the problem persists, check the device manufacturer's website for updated drivers or firmware.
Check Device Manager for Repetitive Refreshes
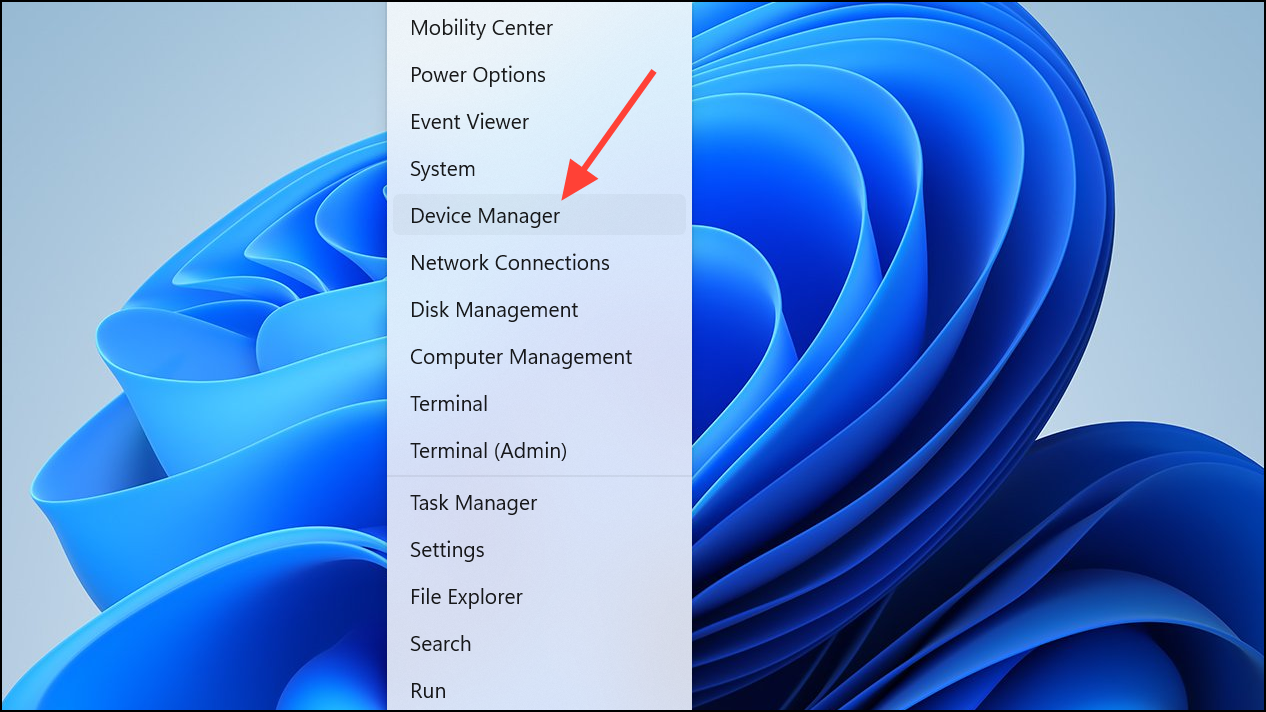
Step 1: Right-click the Start button and select Device Manager. Watch the Device Manager window for any sections that repeatedly expand, collapse, or refresh without any user input. This behavior usually signals a device that is frequently connecting and disconnecting.
Step 2: Expand the Universal Serial Bus controllers section and observe each entry. If a device disappears and reappears or the list refreshes, right-click the device that changes state and select Disable device. This action temporarily removes the problematic hardware from the system and can confirm the source of the sound.
Repeat this process for other sections in Device Manager, especially if you have Bluetooth, audio, or custom hardware installed. If disabling a device silences the sound, update or uninstall its driver, or consult the manufacturer for support.
Turn Off Specific Notification Sounds
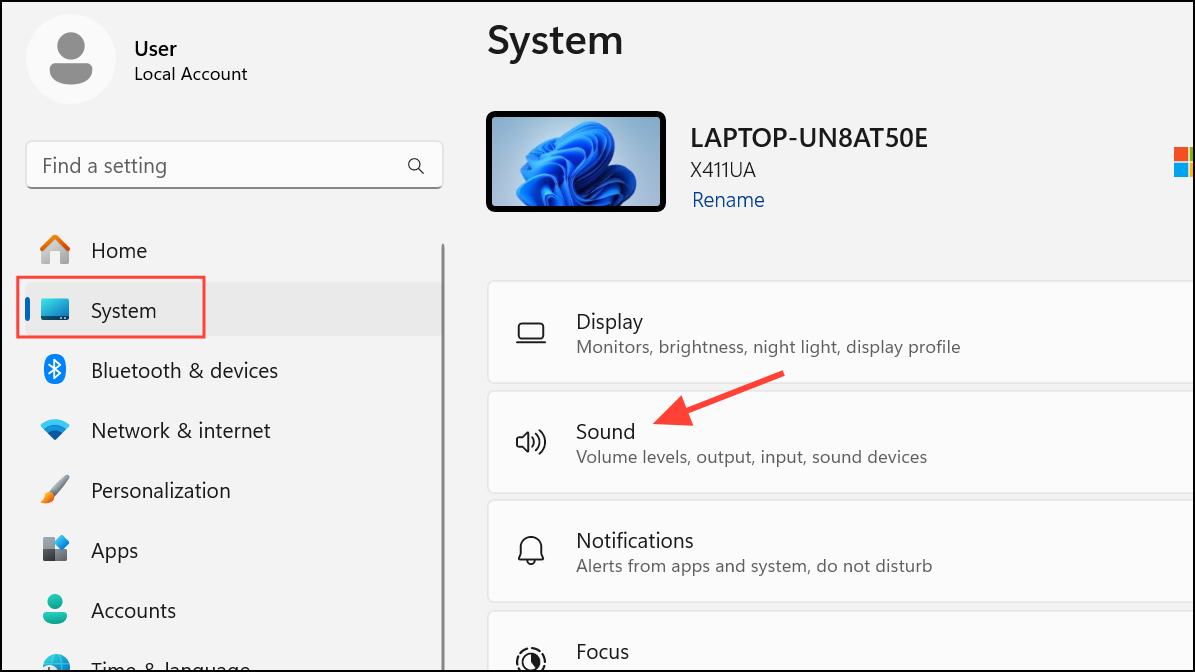
Step 1: Open Settings > System > Sound.
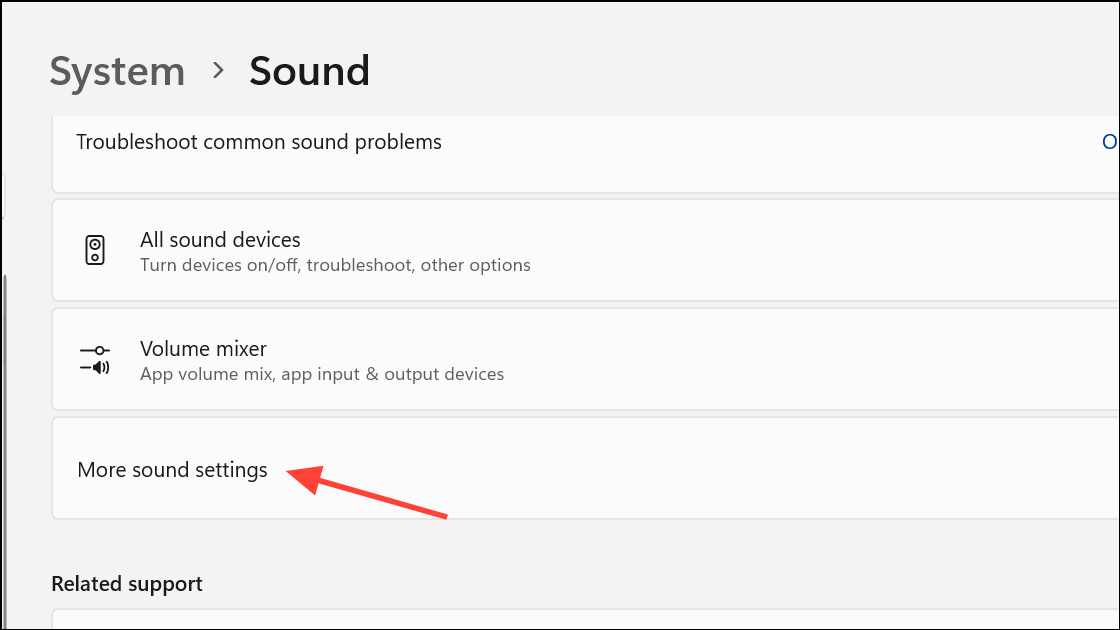
Step 2: Go to Advanced sound settings (or More sound settings).
Step 3: In the Sounds tab, scroll through the Program Events list. Find Device Connect and Device Disconnect. Set their sounds to (None) using the dropdown menu, then click Apply and OK.
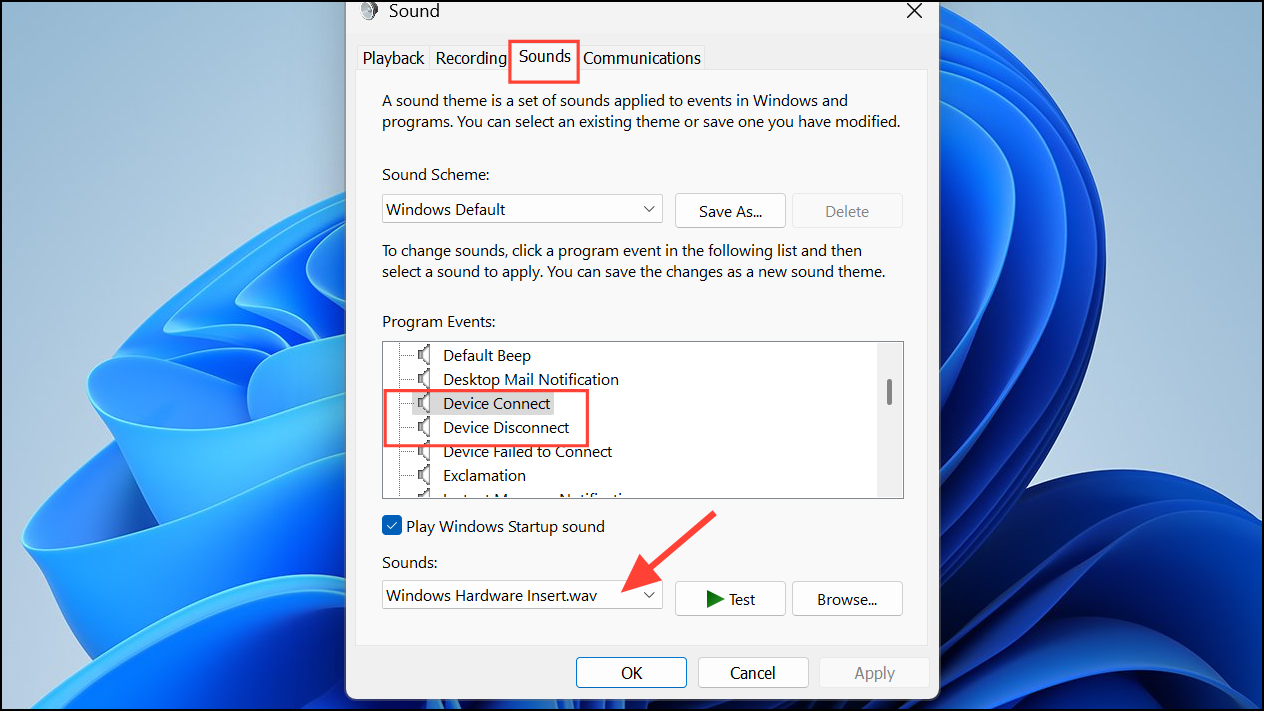
This stops the audible notifications for device connections and disconnections, but does not resolve the underlying hardware or driver issue. If the sound persists with different tones, repeat the process for other events in the list until the unwanted sound is identified and silenced.
Investigate Background Applications and Services
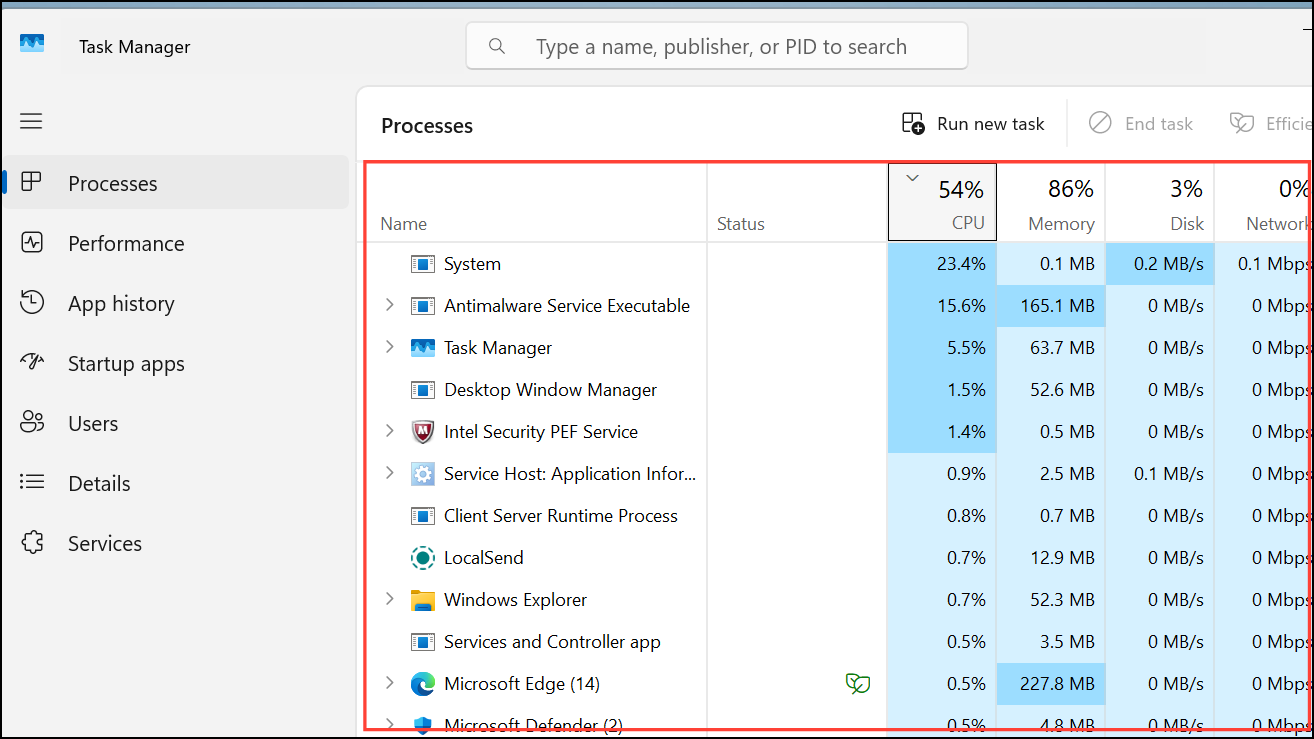
Step 1: Press Ctrl + Shift + Esc to open Task Manager. Review the list of running applications and background processes for unfamiliar or unnecessary items. Some third-party apps, such as gaming clients (e.g., Steam) or system utilities, may generate their own notification sounds independent of Windows settings.
Step 2: End suspicious tasks one by one and observe if the notification sound stops. For persistent issues, consider performing a clean boot to start Windows with only essential Microsoft services.
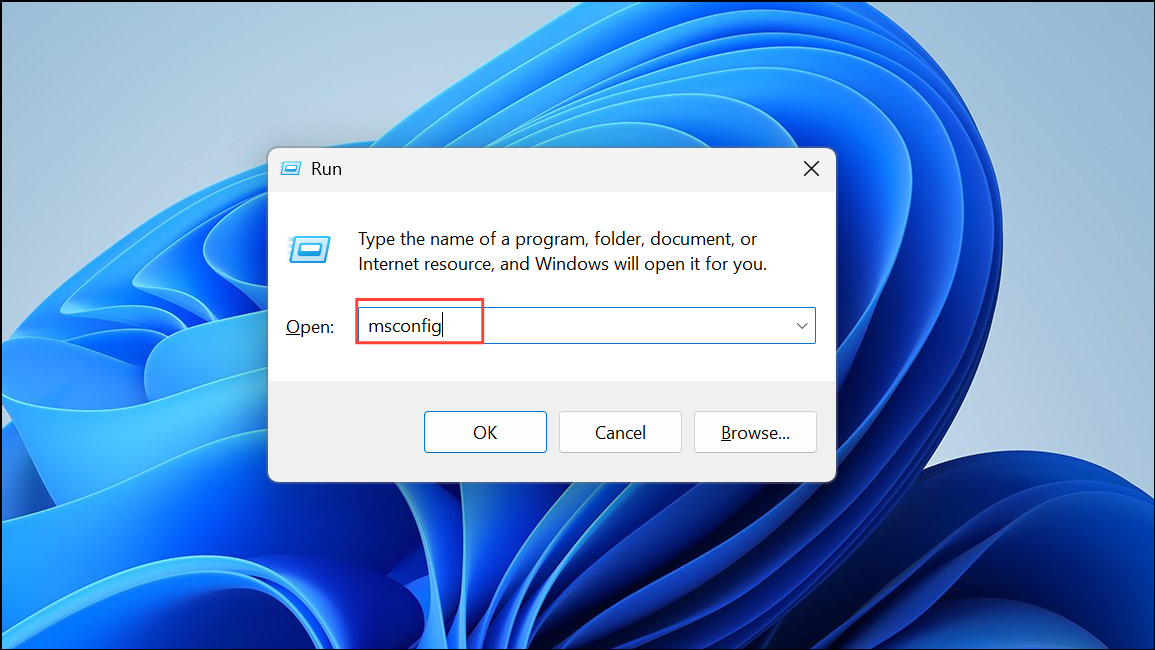
Step 3: To do this, press Windows + R, type msconfig, and press Enter.
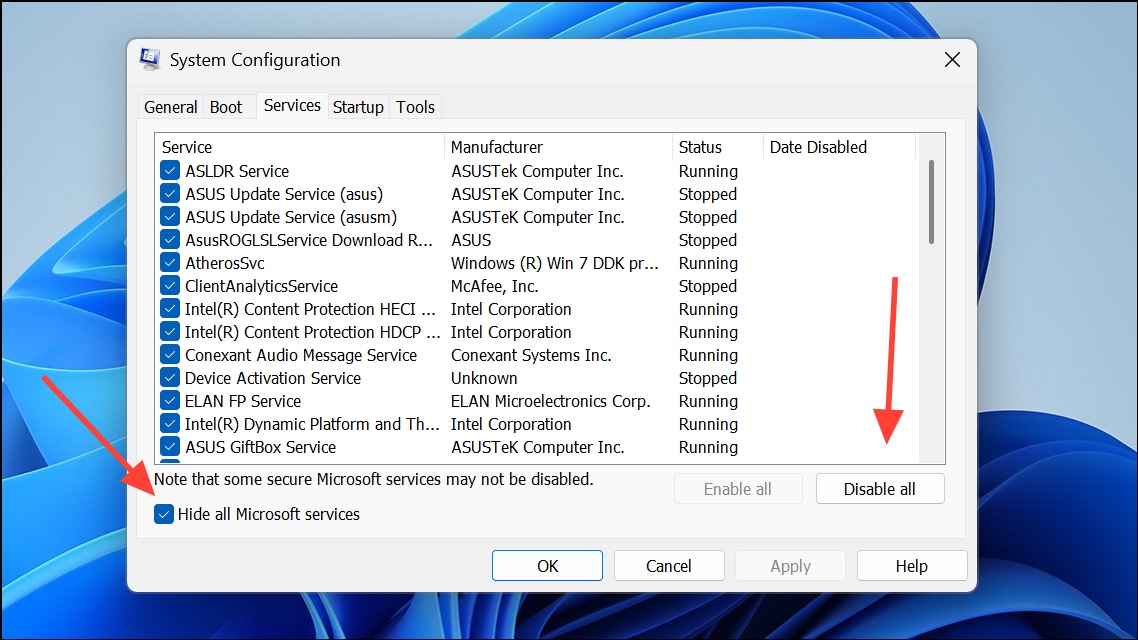
Step 4: On the Services tab, check Hide all Microsoft services, then disable the rest. Restart your computer and see if the random sound disappears. If so, re-enable services one at a time to pinpoint the culprit.
Some users have traced the sound to specific apps (like Steam), browser notifications, or even background update utilities. Disabling or uninstalling these apps, or adjusting their notification preferences, can resolve the problem.
Scan for Malware or Corrupted System Files
Step 1: Download and run a reputable anti-malware tool such as Malwarebytes. Perform a full system scan to detect and remove any malicious software that could be generating hidden notifications or sounds.
Step 2: Open a command prompt as administrator and run a System File Checker scan with the following command:
sfc /scannow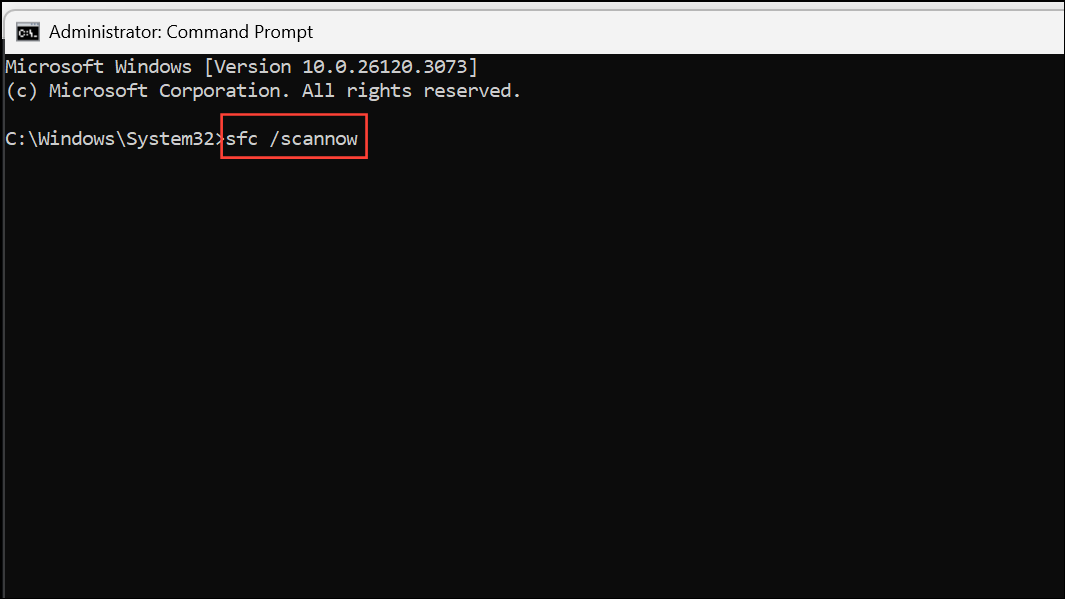
This process checks for and repairs corrupted system files that might cause abnormal system behavior, including unexpected notification sounds.
Check for Motherboard or Hardware Warnings
In rare cases, random beeps or chimes may originate from the motherboard's onboard speaker, signaling hardware warnings like overheating, power issues, or memory errors. If the sound persists even when system audio is muted, consult your motherboard's manual to interpret beep codes. Monitor system temperatures and hardware health using manufacturer tools or third-party utilities. If hardware warnings are detected, address them promptly to prevent further issues.
Advanced Troubleshooting and Repair
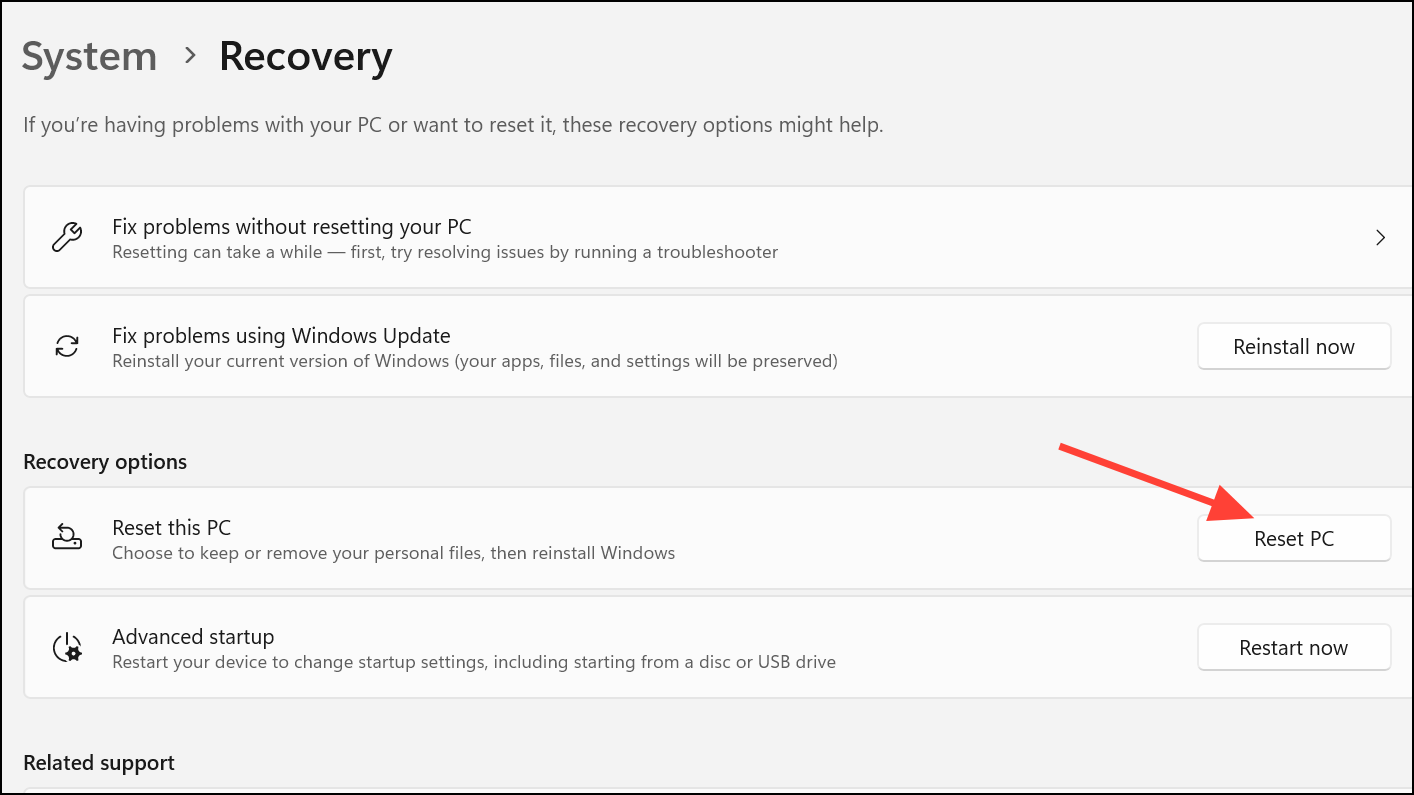
If all previous steps fail, consider performing an in-place repair of Windows 11. This process reinstalls the operating system without deleting personal files. Download the latest Windows 11 ISO from Microsoft's website, run the setup, and select the option to keep your files and apps. As a last resort, a full system reset can be performed through Settings > System > Recovery > Reset this PC, but ensure all important data is backed up first.
If the issue continues after a clean install or hardware swap, professional diagnostics may be necessary, as the cause could be a subtle hardware fault or a rare system conflict.
Eliminating random notification sounds in Windows 11 requires patience and a methodical approach, but isolating the source—whether hardware, software, or system-related—will restore a quieter, more predictable computing experience.