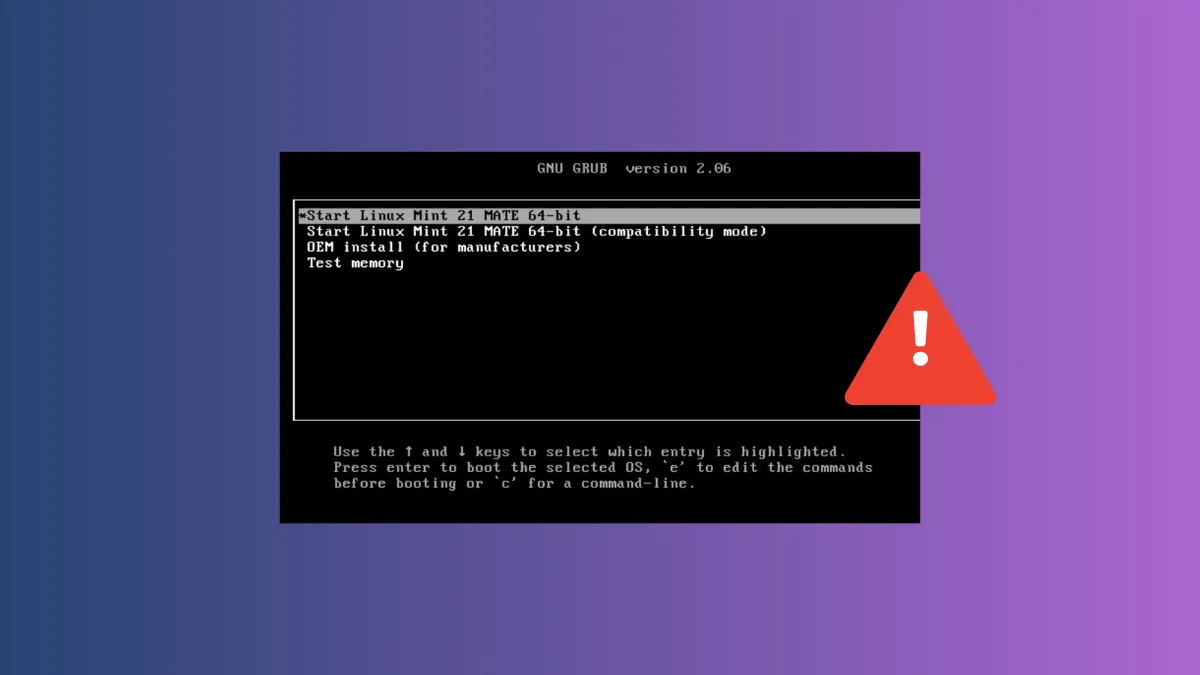
Linux systems that use GRUB as a bootloader rely on the update-grub command to detect installed kernels and generate the correct boot menu entries. When update-grub assigns the wrong root partition—especially after a second or subsequent execution—systems may fail to boot, or boot into the wrong drive or partition. This guide explains how to identify and permanently fix the root assignment problem in GRUB.
Correcting Kernel Root Assignment in GRUB
Step 1: Review your current GRUB configuration to confirm the incorrect root assignment. Open your terminal and inspect the contents of /boot/grub/grub.cfg. Look for lines beginning with linux and check the root= parameter. This should match the actual root partition of your Linux installation (for example, root=UUID=your-root-partition-uuid or root=/dev/sda1).
Step 2: Identify the correct root partition by running:
lsblk -fThis command lists all available partitions along with their mount points and filesystem labels. Find the partition mounted at /—this is your Linux root partition. Make note of its device name (like /dev/sda1) or UUID.
Step 3: Check your /etc/default/grub file for custom root assignments. Open the file with a text editor:
sudo nano /etc/default/grubLook for the GRUB_CMDLINE_LINUX_DEFAULT or GRUB_CMDLINE_LINUX lines. If there is a root= parameter hardcoded here, ensure it matches the correct partition. If not, you can add or correct it as needed:
GRUB_CMDLINE_LINUX_DEFAULT="quiet splash root=UUID=your-root-partition-uuid"Replace your-root-partition-uuid with the actual UUID from Step 2.
Step 4: Regenerate the GRUB configuration by running:
sudo update-grubThis command scans your system for installed kernels and updates /boot/grub/grub.cfg accordingly. After running this, check the generated config again to confirm the root= parameter is now correct.
Step 5: If the issue persists after correcting /etc/default/grub, check for custom scripts in /etc/grub.d/ that might override root assignments. Files in this directory are executed in numerical order when updating GRUB. Look for any script that modifies the linux lines or sets root= explicitly. Edit or remove problematic scripts as needed, then rerun sudo update-grub.
Alternative: Manually Edit GRUB Boot Entries
Step 1: If you need a quick fix, you can manually edit the GRUB boot entry at startup. When the GRUB menu appears, highlight the kernel you want to boot and press e to edit.
Step 2: Locate the line that starts with linux and adjust the root= parameter to match your correct root partition (as found in the earlier steps).
Step 3: Press Ctrl+X or F10 to boot with the modified configuration. This change is temporary and will not persist after reboot, but it allows you to access your system for further troubleshooting.
Alternative: Reinstall GRUB Bootloader
Step 1: If GRUB continues to assign the wrong root after the above steps, reinstalling the bootloader may help. Boot from a live Linux USB or recovery environment and mount your root partition:
sudo mount /dev/sda1 /mnt(Replace /dev/sda1 with your actual root partition.)
Step 2: Mount the necessary virtual filesystems:
sudo mount --bind /dev /mnt/dev
sudo mount --bind /proc /mnt/proc
sudo mount --bind /sys /mnt/sys
Step 3: Chroot into your installed system:
sudo chroot /mntStep 4: Reinstall GRUB to the correct device:
grub-install /dev/sda(Again, replace /dev/sda with your actual boot device.)
Step 5: Regenerate the GRUB configuration:
update-grubStep 6: Exit the chroot and reboot your system:
exit
sudo reboot
Careful adjustment of GRUB configuration files and bootloader settings restores correct kernel root assignments, ensuring reliable system boot every time you run update-grub. Remember to back up important configuration files before making changes for easier recovery.


