
VPN Error 806 appears when a connection between a Windows 11 computer and a VPN server is established, but the VPN session cannot be completed. This error typically includes a message stating that at least one Internet device—such as a firewall or router—is not configured to allow GRE (Generic Routing Encapsulation) protocol packets. The issue frequently stems from blocked ports or protocols required for PPTP VPN connections, resulting in disrupted secure access to remote networks.
Open TCP Port 1723 in Windows Firewall
Configuring the Windows Defender Firewall to allow TCP port 1723 is the most direct way to address VPN Error 806. TCP port 1723 is essential for PPTP VPN connections, and if it is blocked, the VPN handshake will fail even if the initial connection is established.
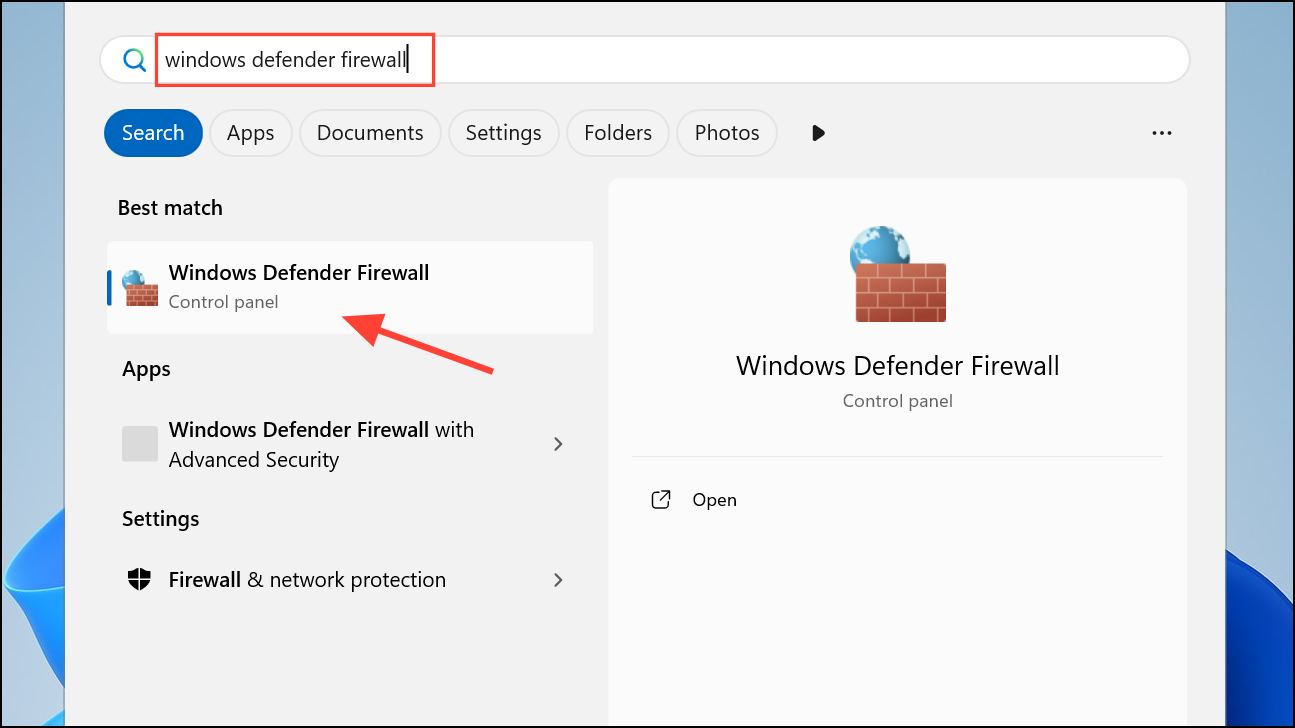
Step 1: Open the Start menu and type Windows Defender Firewall with Advanced Security, then select the matching result.
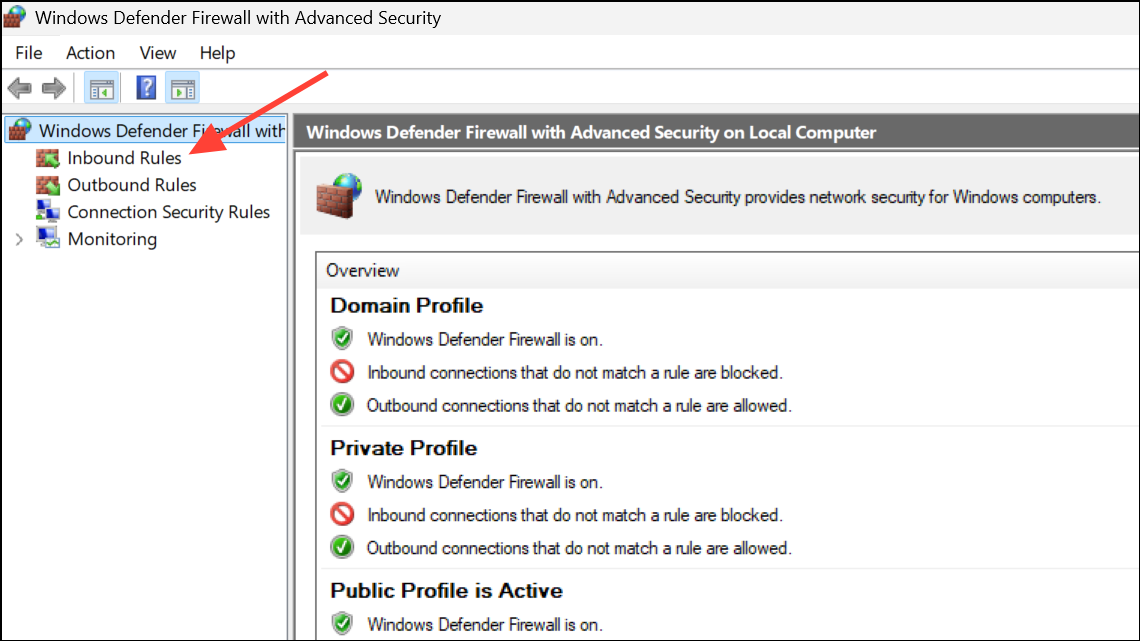
Step 2: In the left pane, click Inbound Rules. This section manages incoming network connections.
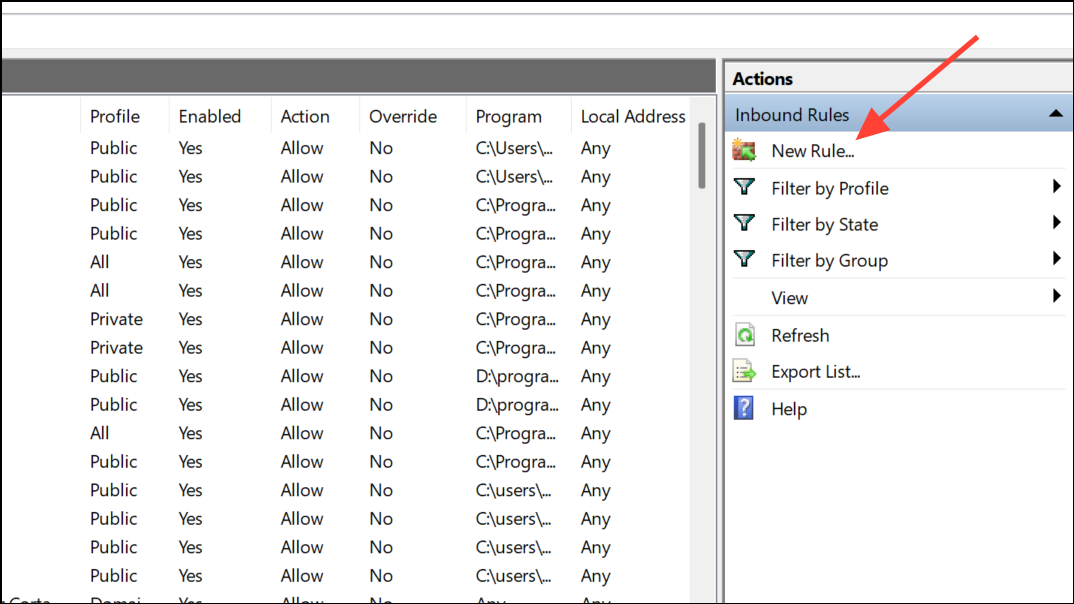
Step 3: In the right pane, select New Rule under the Actions menu. This begins the rule creation wizard.
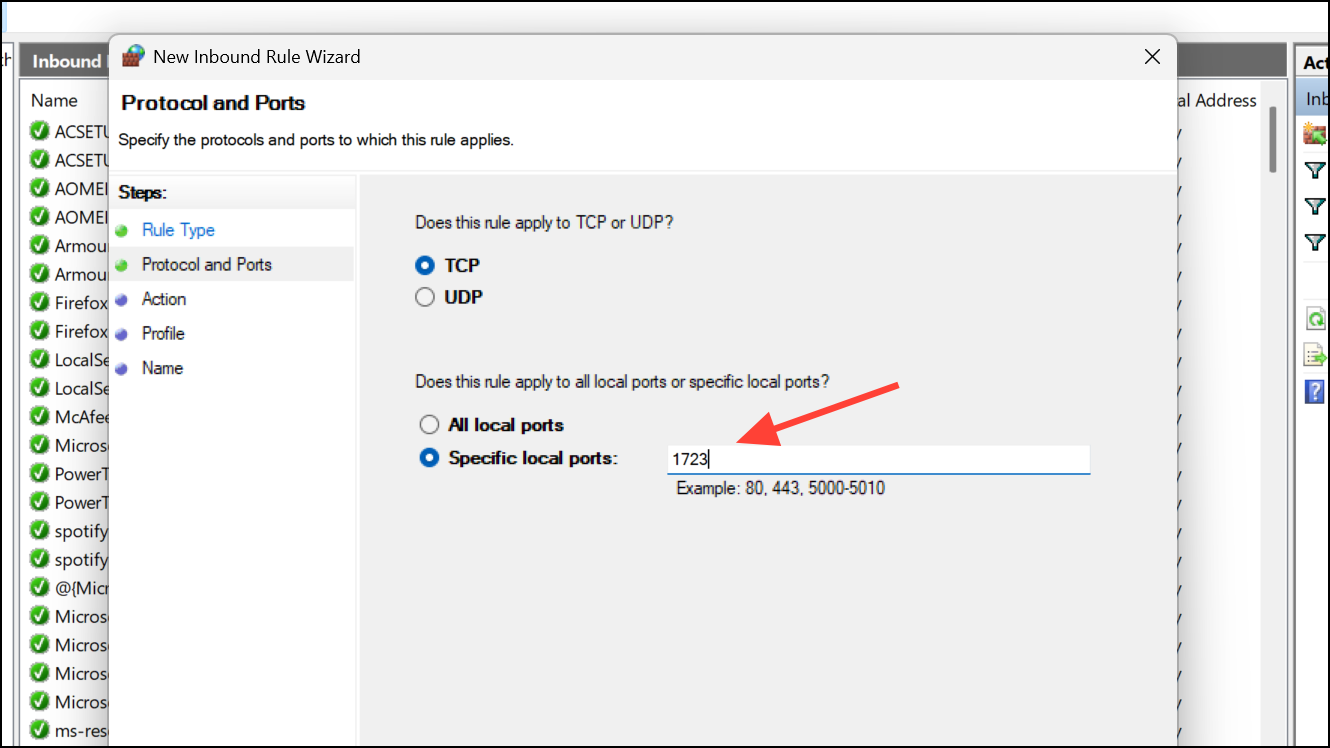
Step 4: Choose the Port option, then click Next. Select TCP as the protocol and enter 1723 in the Specific local ports field. Click Next.
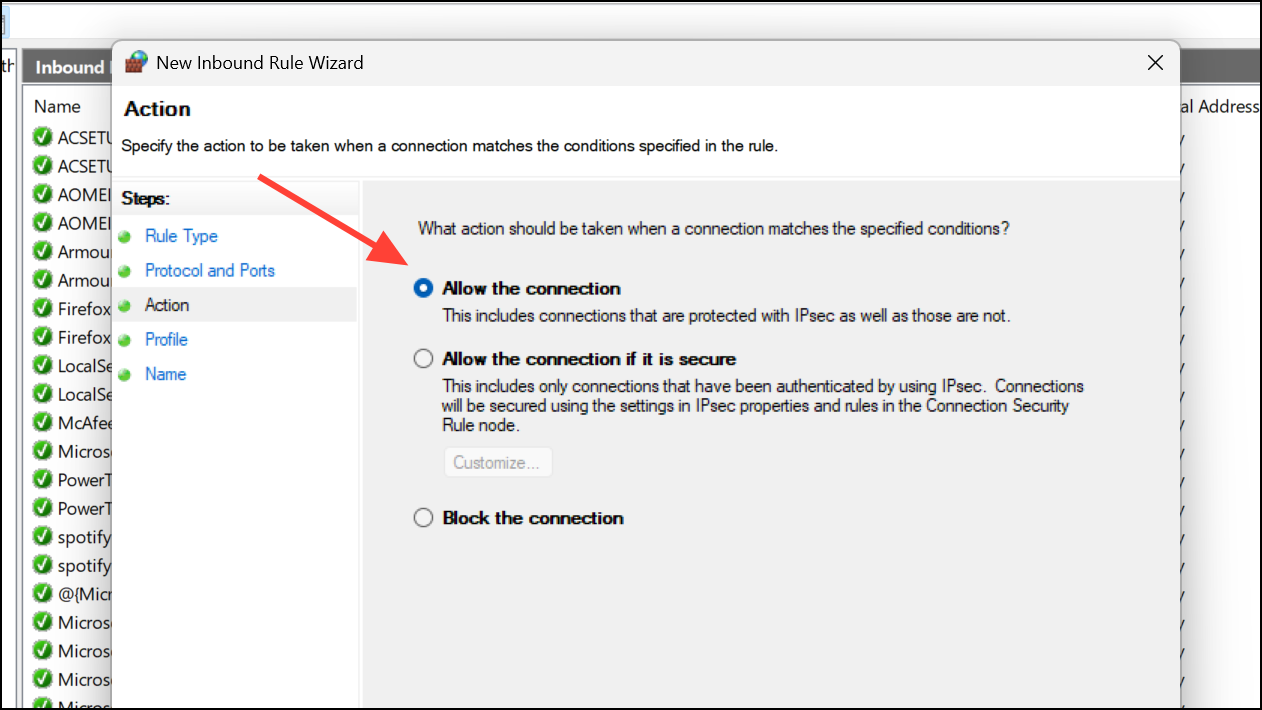
Step 5: Select Allow the connection to permit traffic through this port. Click Next.
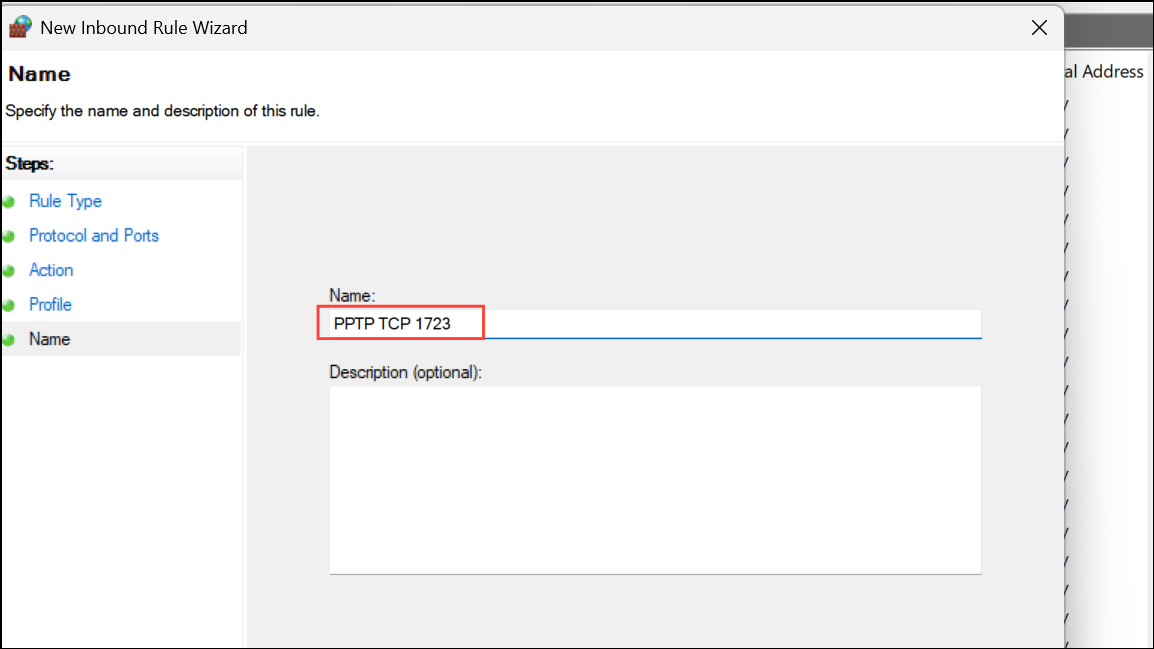
Step 6: Choose the appropriate network profiles (Domain, Private, Public) as required for your environment. Click Next, then assign a descriptive name to the rule, such as PPTP TCP 1723, and click Finish.
This configuration allows the necessary VPN traffic and resolves the most common cause of Error 806.
Enable GRE Protocol (Protocol 47) in Firewall Settings
GRE (Generic Routing Encapsulation) protocol, also known as Protocol 47, is essential for PPTP VPNs. Even when TCP port 1723 is open, blocking GRE packets will prevent the VPN tunnel from forming correctly.
Step 1: Open Windows Defender Firewall with Advanced Security as described above.
Step 2: Click Inbound Rules in the left pane, then select New Rule from the Actions menu.
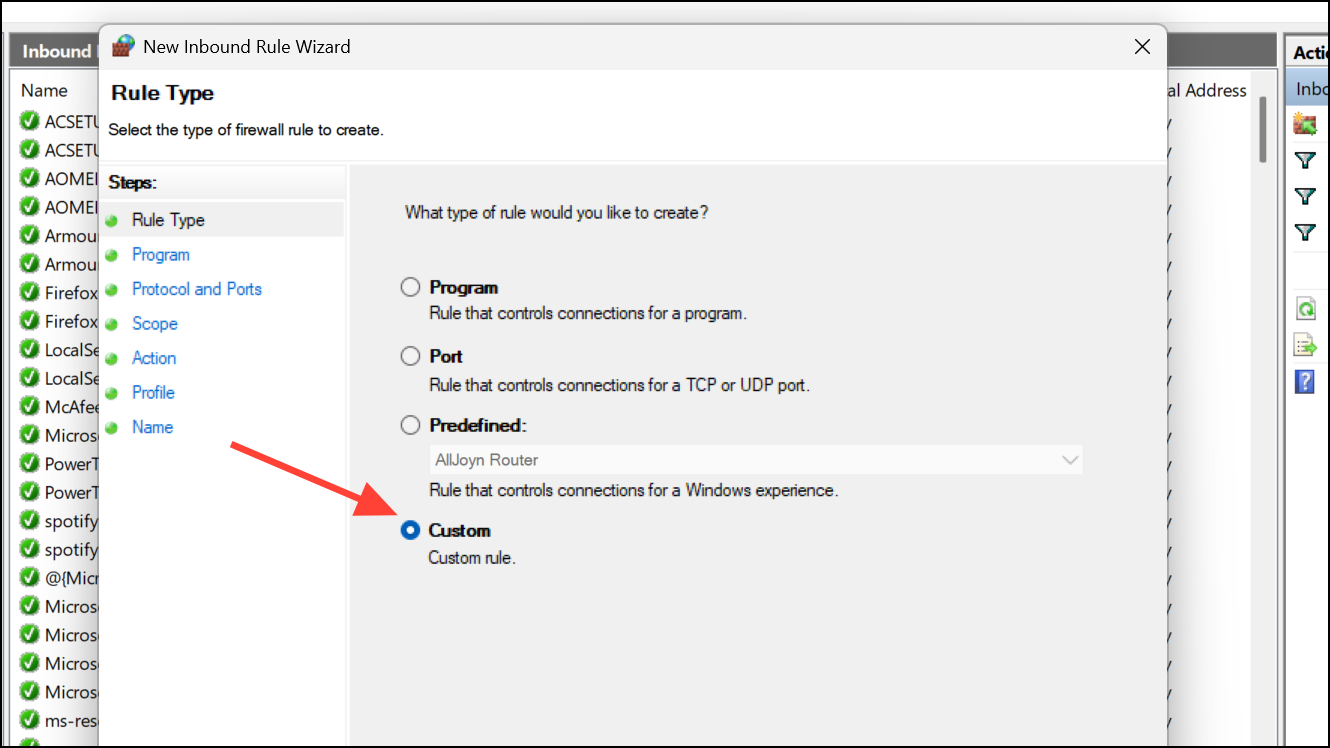
Step 3: Choose Custom as the rule type and click Next.
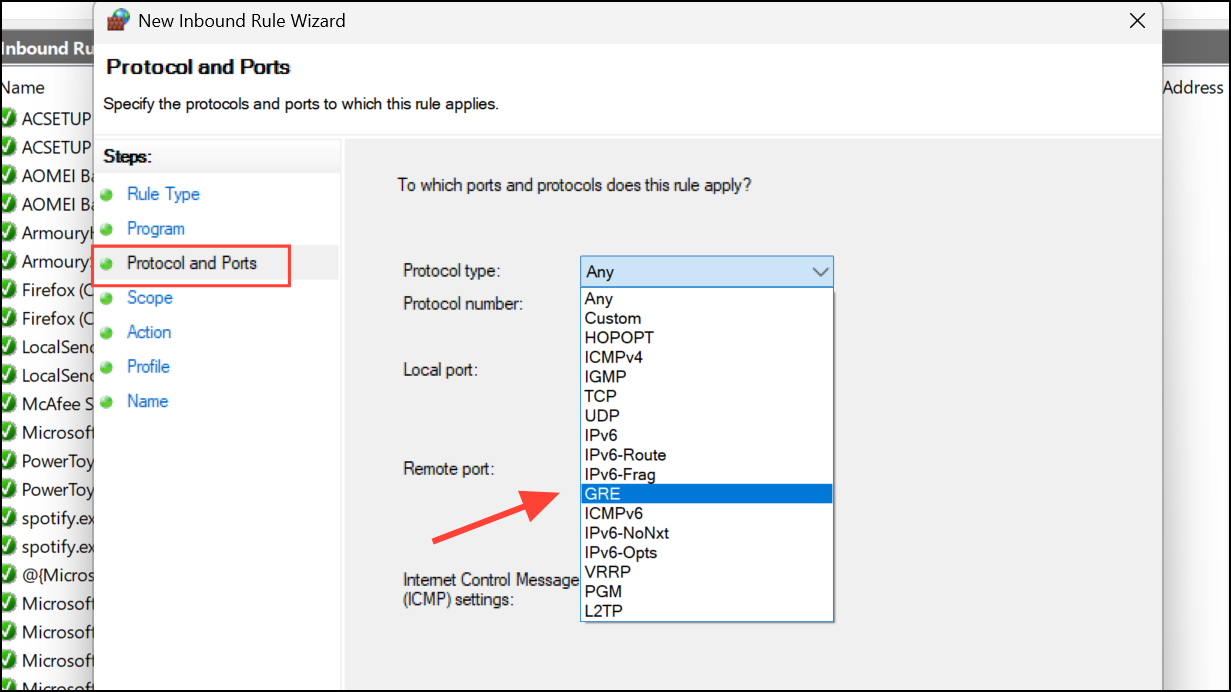
Step 4: In the Protocol and Ports section, open the Protocol type dropdown and select GRE. This automatically sets the protocol number to 47.
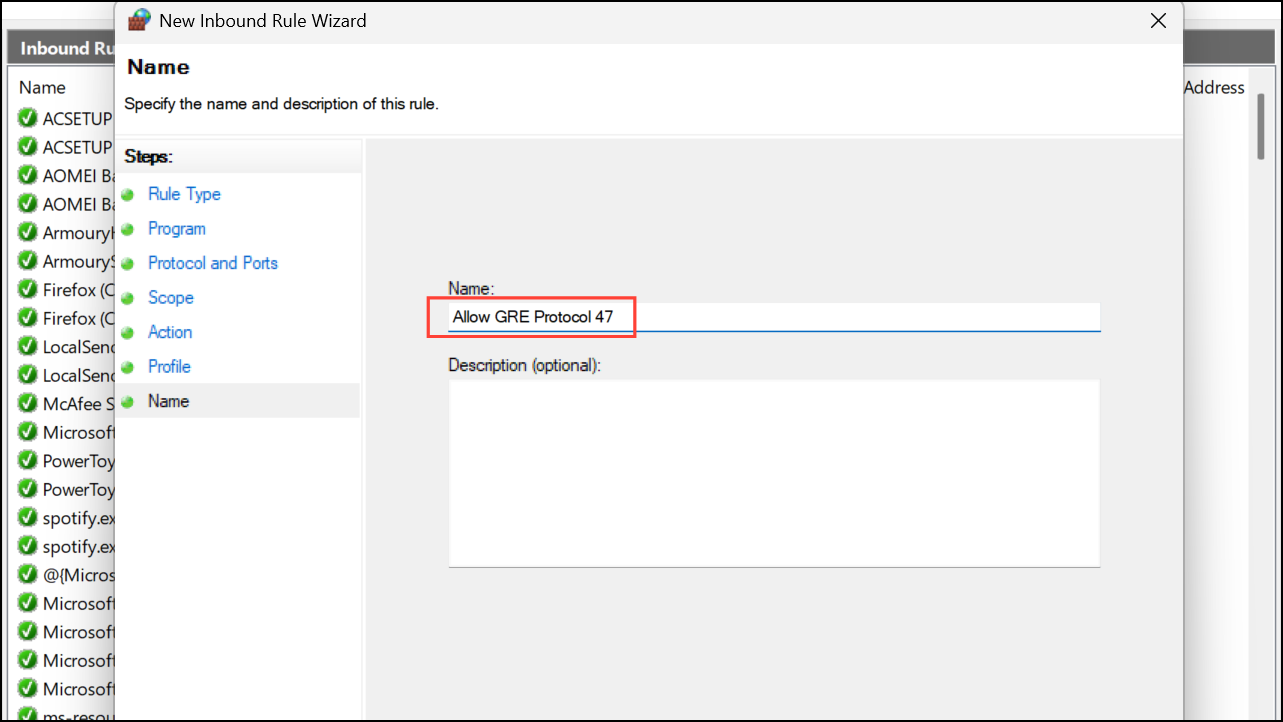
Step 5: Continue through the wizard, selecting Allow the connection and applying the rule to the appropriate profiles. Give the rule a clear name, such as Allow GRE Protocol 47, and finish the setup.
With both TCP port 1723 and GRE protocol permitted, PPTP VPN connections can be established successfully.
Configure Port Forwarding on Routers and NAT Devices
VPN servers located behind a router or NAT device require port forwarding to function correctly. Without forwarding, external VPN clients cannot reach the server’s required ports or protocols.
Step 1: Log in to your router’s web interface. The address is typically 192.168.1.1 or 192.168.0.1. Refer to your device’s manual if unsure.
Step 2: Locate the Port Forwarding or Virtual Server section in the router’s settings.
Step 3: Add a new rule to forward TCP port 1723 to the internal IP address of the VPN server.
Step 4: Enable GRE (Protocol 47) pass-through if your router supports it. Some routers have a specific PPTP pass-through toggle or option for GRE protocol. If available, activate it for the VPN server’s IP.
Step 5: Save the changes and reboot the router if prompted. This action ensures that incoming VPN connections can reach the server through the router’s NAT.
Proper port forwarding eliminates the VPN Error 806 caused by routers or NAT devices blocking necessary traffic.
Disable or Adjust Third-Party Antivirus and Firewall Software
Some antivirus programs or third-party firewalls override Windows Firewall settings and block ports or protocols required for VPN connections. Temporarily disabling these utilities can help determine if they are the source of the problem.
Step 1: Locate the antivirus or firewall icon in the system tray (bottom-right corner of the screen).
Step 2: Right-click the icon and choose the option to disable protection or turn off the firewall. Select a time period if prompted.
Step 3: Attempt to reconnect to the VPN. If the connection succeeds, adjust the security software’s settings to allow VPN traffic or add exceptions for TCP port 1723 and GRE protocol 47.
Step 4: Re-enable protection after testing to maintain system security.
This approach isolates software conflicts and allows secure VPN operation without compromising overall device protection.
Update Router Firmware
Outdated router firmware may lack support for current VPN protocols or have bugs that interfere with VPN connections. Updating the firmware can resolve compatibility issues that cause Error 806.
Step 1: Access the router’s web management interface using a browser.
Step 2: Find the Firmware Update or Administration section. Download the latest firmware from the manufacturer’s official website if necessary.
Step 3: Upload and apply the update following the router’s instructions. Wait for the router to reboot and complete the process.
Step 4: After updating, test the VPN connection again.
Firmware updates often resolve protocol compatibility issues and improve overall network stability.
Resolving VPN Error 806 on Windows 11 means configuring firewall rules, allowing essential ports and protocols, and confirming that routers and security software do not block VPN traffic. Regular checks and updates keep connections reliable and secure.