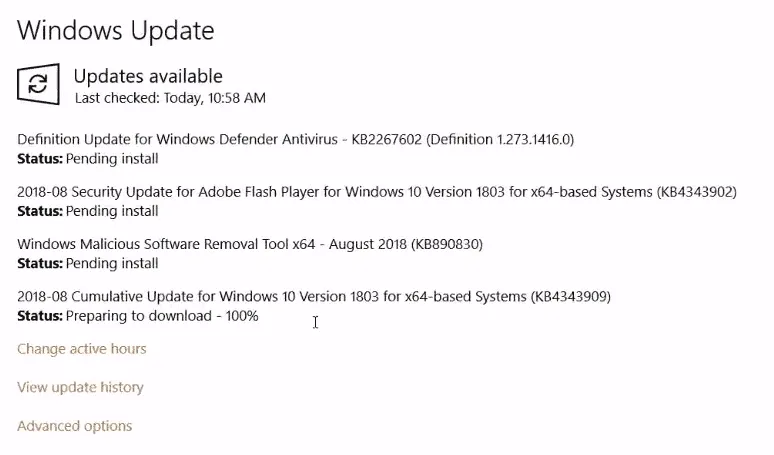
Microsoft released the cumulative update KB4343909 for Windows 10 Version 1803 (OS Build 17134.228) on August 14, 2018. While it installs smoothly on most systems, some users encounter errors during the downloading or installation process. This guide provides effective methods to resolve installation issues with this update.
Manually download and install the KB4343909 update
If you're unable to install the KB4343909 update through Windows Update, manually downloading and installing the update can often resolve the issue. Follow the steps below to manually install the cumulative update appropriate for your system.
Step 1: Determine your system type (hardware architecture). Most PCs are either x64-based, x86-based, or ARM64-based systems. To check your system type, press Windows key + Pause/Break or right-click on This PC and select Properties. Your system type will be listed under System.
Step 2: Download the KB4343909 update file that matches your system type from the links below:
Download links for Cumulative Update KB4343909:
Step 3: After downloading the appropriate update file (.msu file), locate it in your Downloads folder or the location where you saved it.
Step 4: Double-click the .msu file to run the installer. When prompted by the Windows Update Standalone Installer, click Yes to begin the installation.
Step 5: Wait for the installation to complete. This may take several minutes. Do not turn off your computer during the installation process.
Step 6: After the installation is finished, restart your computer to apply the changes.
After your computer restarts, you can verify that the update was successfully installed by checking your Windows 10 version. The version should display as OS Build 17134.228.
Tip: If the standalone installer fails to install the update, consider running Check Disk on all your drives to identify and fix any errors. After repairing disk errors, try installing the update again using the standalone installer.
Clear the Windows Update cache
If manual installation did not resolve the issue, clearing the Windows Update cache can help fix problems related to corrupted update files. Follow these steps to clear the cache and attempt the update again.
Step 1: Open the Command Prompt with administrative privileges. Click on the Start button, type cmd in the search bar, right-click on Command Prompt in the search results, and select Run as administrator.
Step 2: In the Command Prompt window, type the following command and press Enter:
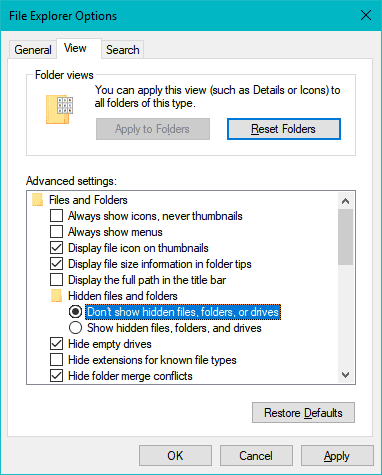
net stop wuauservStep 3: Ensure that the 'Show hidden files, folders, and drives' option is turned off. Click on the Start button, type File Explorer Options, and select it from the search results. In the View tab of the dialog box that appears, under Advanced settings, make sure that the option for "Don't show hidden files, folders, or drives" is selected.

Step 4: Open File Explorer and navigate to the following directory:
C:\Windows\SoftwareDistribution\DownloadStep 5: Delete all the contents inside the Download folder. You may need administrative permissions to do this. Select all files and folders within the directory and press Delete.
Step 6: Open the Command Prompt as an administrator again, as described in Step 1.
Step 7: In the Command Prompt window, type the following command and press Enter:
net start wuauservStep 8: Restart your computer to apply the changes.
After restarting, try to update your PC again. The KB4343909 update should now install successfully through Windows Update.
By following these methods, you should be able to resolve installation errors with the KB4343909 update and keep your Windows 10 system up-to-date.

