
System restarts on Windows 11 can sometimes trigger a black screen, unresponsive hardware, or a PC that simply won’t boot—even though a full shutdown followed by power on works fine. This issue frequently appears after a Windows update, hardware upgrade, or BIOS configuration change, and can leave users stuck at a blank display with no error message. The following instructions detail the most effective solutions, progressing from targeted fixes to broader recovery options, so you can restore normal boot functionality and avoid repeated forced shutdowns.
Update BIOS to Resolve Boot Failures After Restart
Firmware bugs in modern motherboards, especially with DDR5 RAM or new CPUs, often cause Windows 11 systems to hang or fail to boot properly after a restart. Symptoms include DRAM debug LEDs staying lit, persistent black screens after restart, or the need to clear CMOS to regain BIOS access. A BIOS update directly addresses these compatibility issues and has proven to restore normal restart behavior for many users.
Step 1: Identify your motherboard model and current BIOS version. This information typically appears on the initial boot splash screen or within your BIOS setup menu.
Step 2: Visit your motherboard manufacturer’s support page. Download the latest BIOS update that matches your exact model. Review the changelog for any mention of boot or restart fixes.
Step 3: Prepare a USB flash drive formatted as FAT32. Copy the BIOS file to the root directory of this drive.
Step 4: Reboot your PC and enter the BIOS/UEFI setup (usually by pressing Del, F2, or a manufacturer-specific key during startup).
Step 5: Locate the BIOS update utility (often called “M-Flash,” “EZ Flash,” or “Q-Flash” depending on your board). Select the BIOS file from your USB drive and follow on-screen instructions to complete the update. Do not power off during this process.
Step 6: After the update, reboot your PC. Test restarting from Windows to confirm the issue is resolved. If the system still fails to boot after a restart, proceed to the next method.
Disable Fast Startup and Fast Boot Settings
Fast Startup in Windows and Fast Boot in BIOS can conflict with hardware initialization, especially after system updates or hardware changes. Disabling these features forces a full hardware reinitialization on each boot, which often resolves restart-related black screens or boot loops.
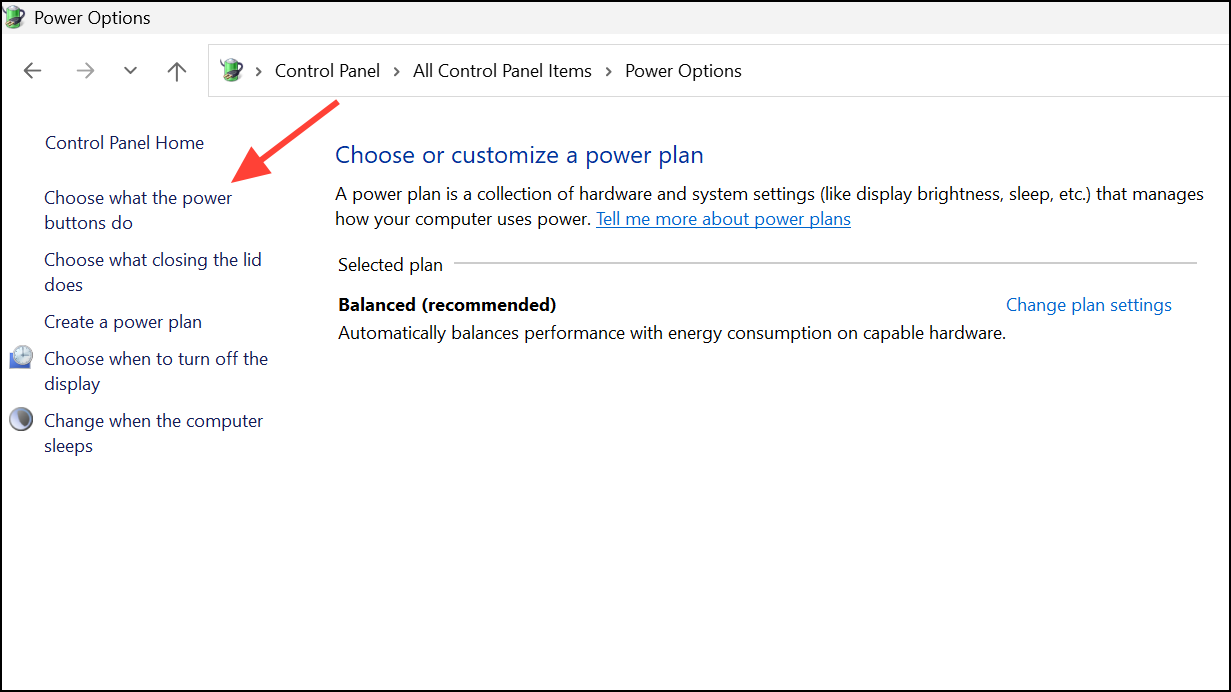
Step 1: In Windows, open the Control Panel and navigate to Hardware and Sound > Power Options > Choose what the power buttons do. Click “Change settings that are currently unavailable.” Uncheck “Turn on fast startup (recommended)” and save changes.
Step 2: Enter your BIOS/UEFI setup during boot. Locate the “Fast Boot” or “Fast Startup” option (often under “Boot” or “Advanced” menus) and set it to “Disabled.” Save and exit BIOS.
Step 3: Restart your PC from within Windows and observe whether the system boots normally. If the issue persists, continue with further troubleshooting.
Run Startup Repair and System Restore from Windows Recovery
Corrupted boot files or problematic updates can prevent Windows 11 from initializing after a restart. The Windows Recovery Environment (WinRE) provides tools to repair startup issues or roll back recent changes without a complete reinstall.
Step 1: If your PC stalls at a black screen after restart, force shutdown by holding the power button for at least 10 seconds. Power on and repeat this forced shutdown two more times. On the third boot, Windows should enter WinRE automatically.
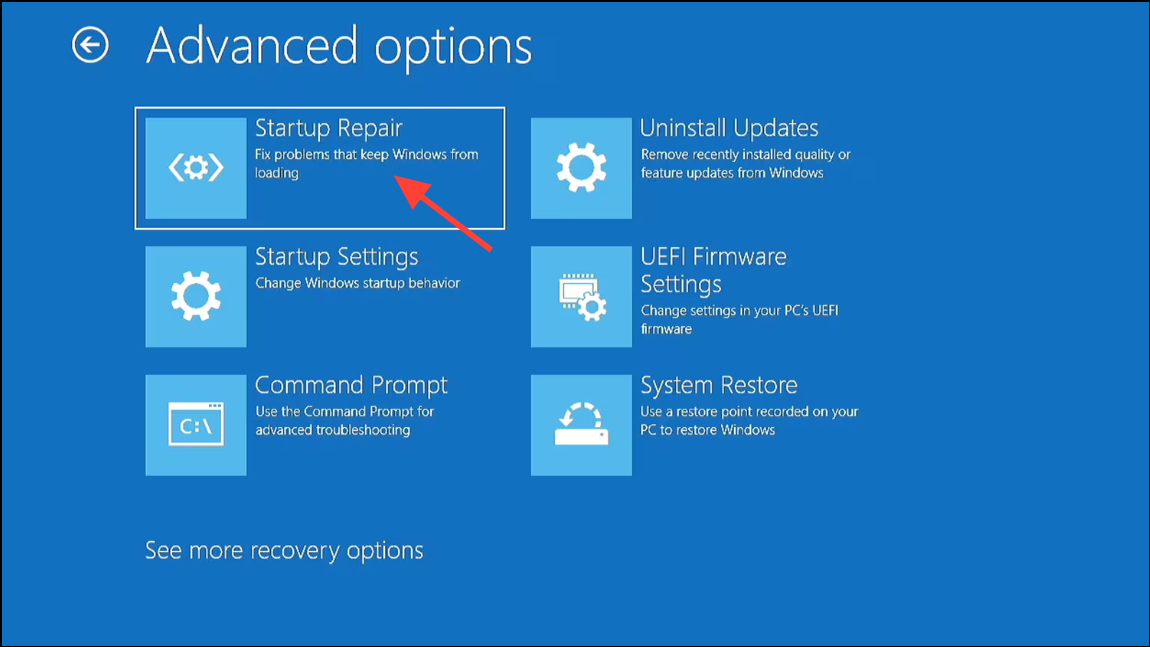
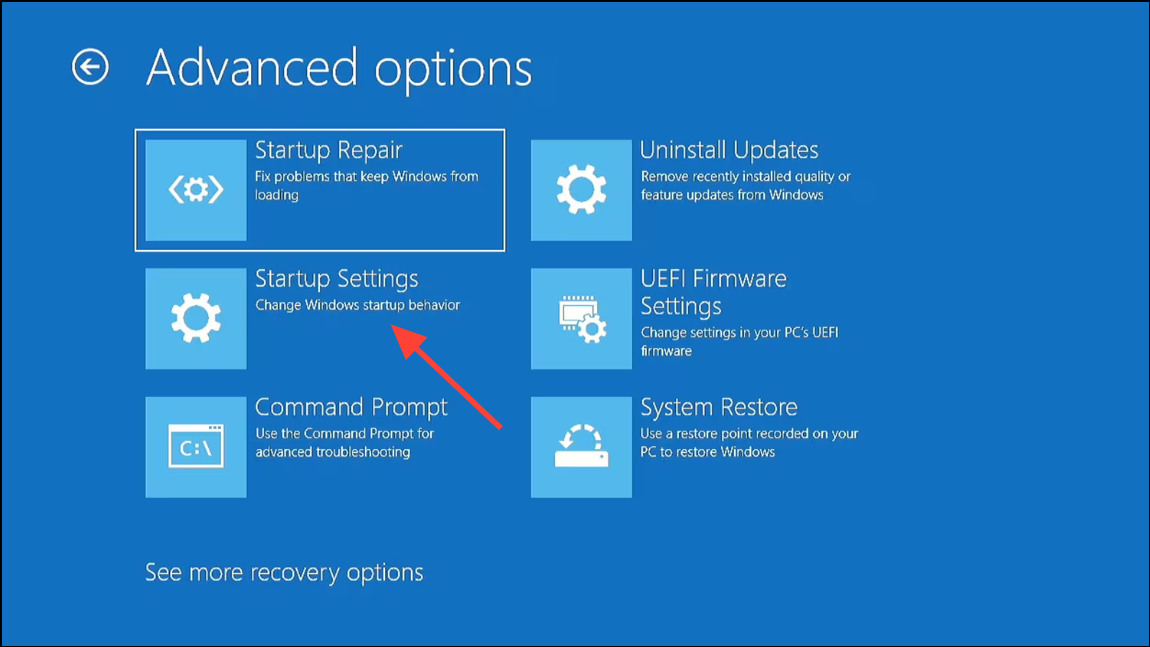
Step 2: In WinRE, select Troubleshoot > Advanced options > Startup Repair. Allow the tool to diagnose and attempt to repair boot issues.
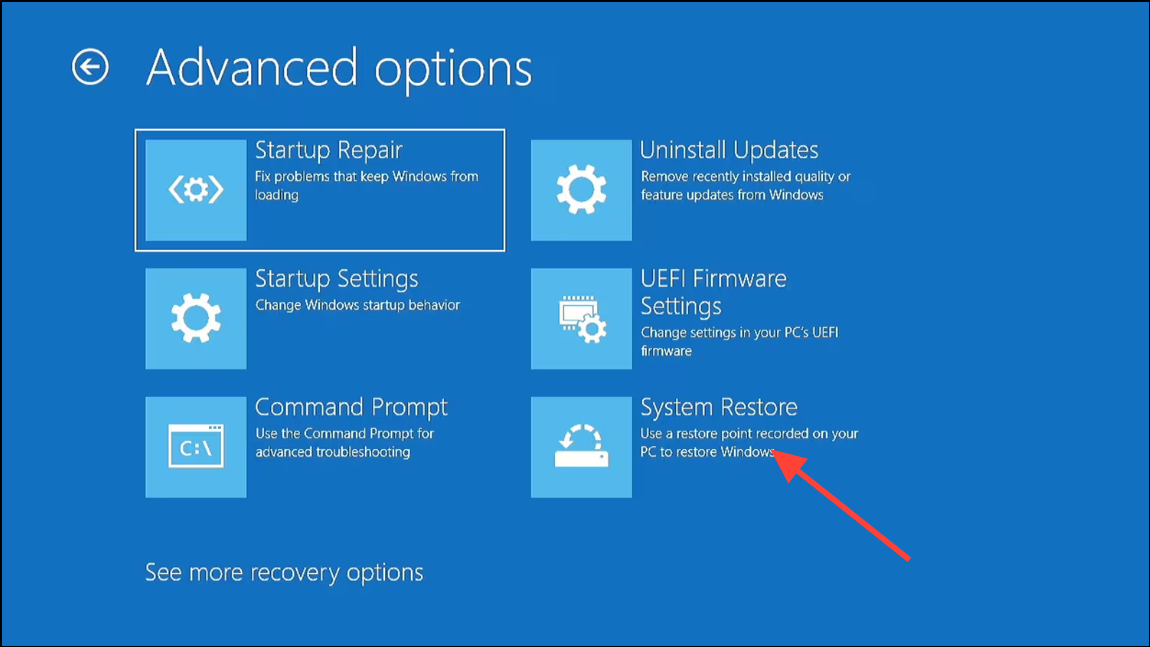
Step 3: If Startup Repair does not resolve the problem, return to Troubleshoot > Advanced options > System Restore. Choose a restore point from before the issue began and follow prompts to restore system files and settings.
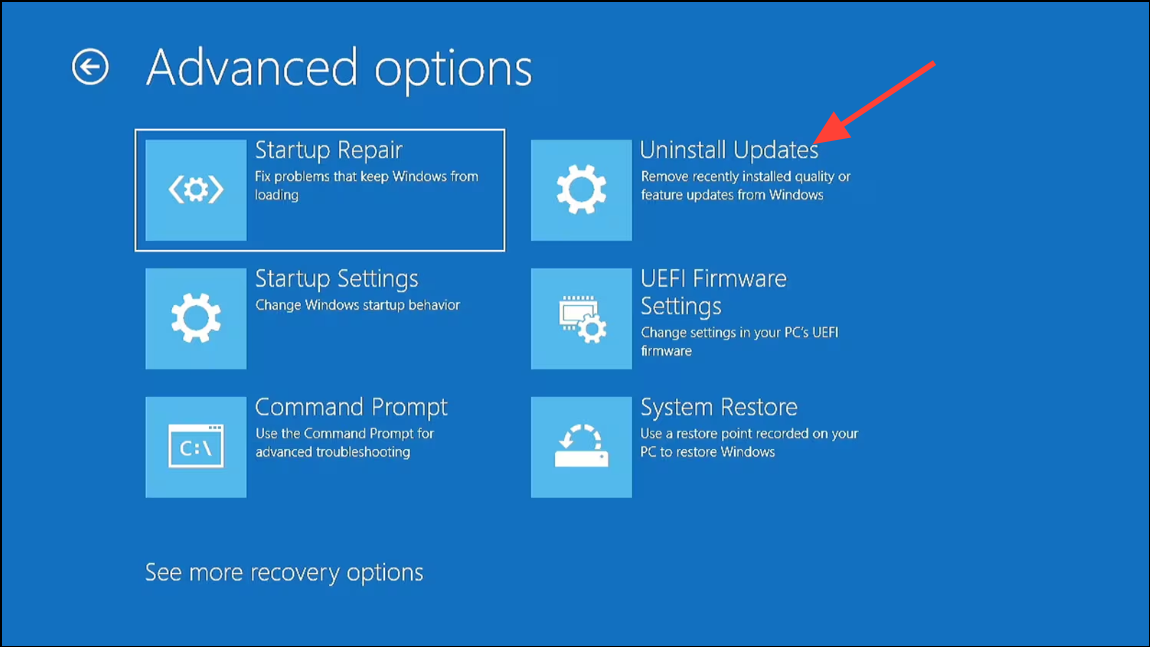
Step 4: For persistent problems, use Troubleshoot > Advanced options > Uninstall Updates to remove the most recent quality or feature updates that may have triggered the boot failure.
Check Hardware Connections and Memory Initialization
Physical hardware issues—such as loose RAM modules, faulty graphics cards, or storage device errors—can also prevent successful restarts. Many motherboards display debug LEDs or beep codes to indicate where the boot process fails.
Step 1: Power off the PC and disconnect all external devices except the keyboard, mouse, and monitor.
Step 2: Open the case and reseat RAM modules, graphics cards, and all power/data cables. Clean any dust from slots and connectors.
Step 3: Observe your motherboard’s debug LEDs during boot. If the DRAM or CPU light remains lit after a restart, consult your manual for exact meanings. Try booting with only one RAM stick installed, or swap memory slots.
Step 4: If the system boots after clearing CMOS (removing and reinserting the motherboard battery), but fails again after a restart, this further suggests a BIOS or memory training issue. Refer back to the BIOS update method above.
Use Safe Mode and Command-Line Repairs
Safe Mode loads minimal drivers and services, which can help isolate whether a third-party driver or service is causing boot failures after restart.
Step 1: Enter WinRE using the forced shutdown method described earlier. Select Troubleshoot > Advanced options > Startup Settings, then click “Restart.” When prompted, press F5 to start Safe Mode with Networking.
Step 2: Once in Safe Mode, update all drivers—especially chipset, storage, and graphics drivers—using Device Manager or manufacturer utilities.
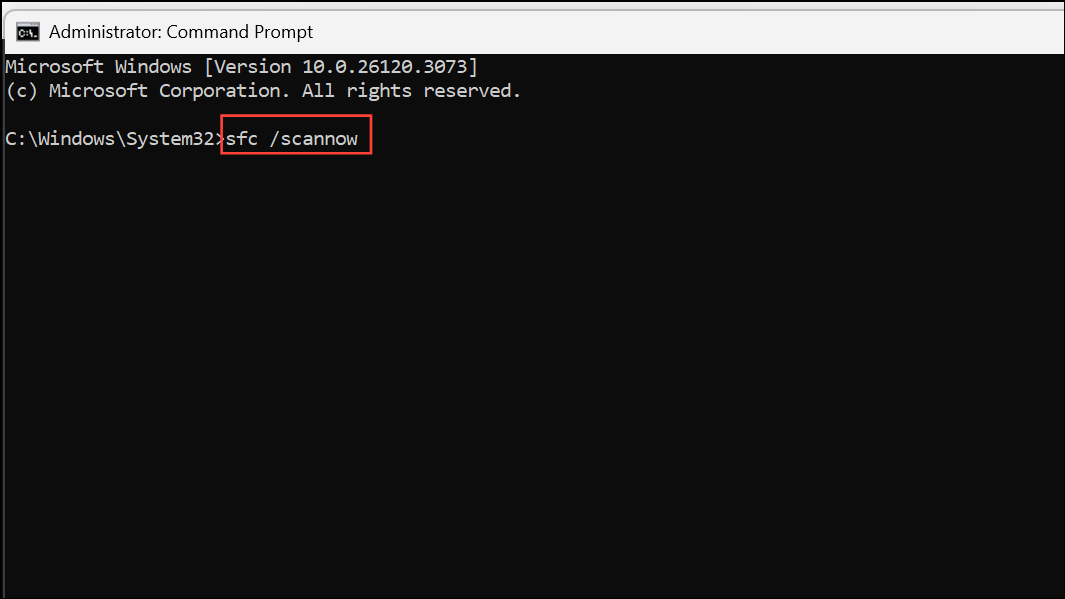
Step 3: Open an elevated Command Prompt and run system file checks:
sfc /scannow
dism /online /cleanup-image /restorehealth
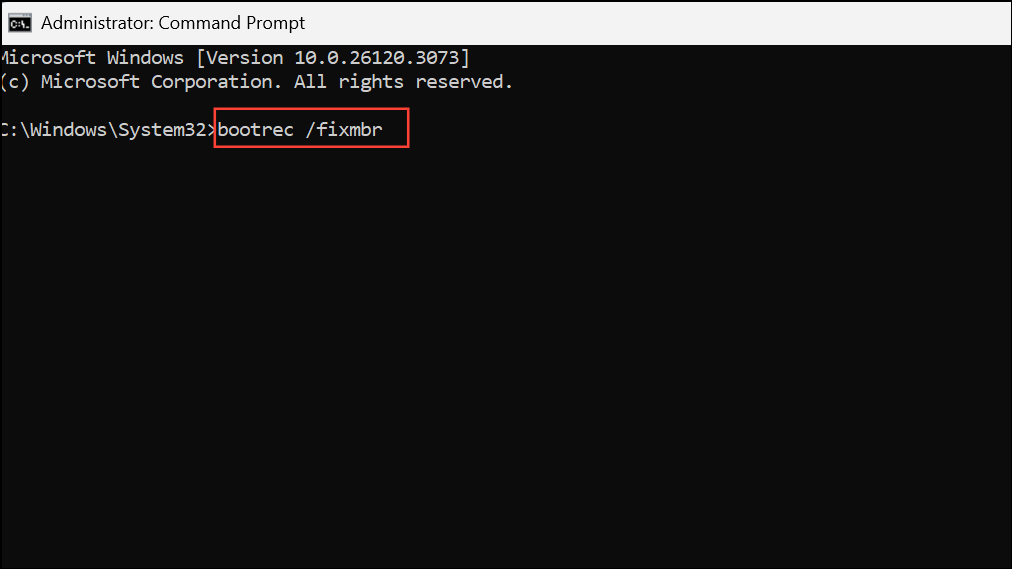
Step 4: If boot configuration data is suspected to be corrupt, run the following commands from Command Prompt in WinRE:
bootrec /fixmbr
bootrec /fixboot
bootrec /rebuildbcd
Restart and test normal boot behavior.
Reset or Reinstall Windows 11 as a Last Resort
If none of the above methods restore normal restart functionality, a system reset or clean installation may be required. This process reinstalls core system files and drivers, eliminating persistent software conflicts or corruption.
Step 1: In WinRE, choose Troubleshoot > Reset this PC. Decide whether to keep your files or remove everything, then follow on-screen prompts to complete the reset.
Step 2: If the reset fails or the issue remains, create a Windows 11 installation USB using Microsoft’s Media Creation Tool on another computer. Boot from the USB drive, select your language and region, and choose “Install now” to perform a clean installation.
Always back up important data before performing a reset or fresh install, as these actions may erase files and applications.
Addressing Windows 11 restart boot failures requires a combination of firmware updates, power setting adjustments, and careful recovery steps. Keeping your BIOS current and disabling fast startup options often resolve the root cause, while WinRE tools provide a safety net for more persistent issues.