Discovery Locations in Forza Horizon 6 are landmarks scattered across the Discover Japan map. Driving close to one logs it in the Collection Journal under Discovery, awards Discover Japan points, and pushes your Stamp progression forward toward the final Master Explorer reward.
How Discovery Locations work
Each landmark has an invisible trigger zone. Cruising past it at any speed adds the entry to your Collection Journal. A handful sit slightly off the racing line, so if a marker remains gray after a flyby, loop back and approach from the road or path the icon actually sits on.
Many Discovery sites double as Photography spots, so taking a Photo Mode shot while you’re there stacks extra Credits onto the same visit. Fast travel, unlocked through normal progression, makes cleanup across the northern and eastern regions far quicker.
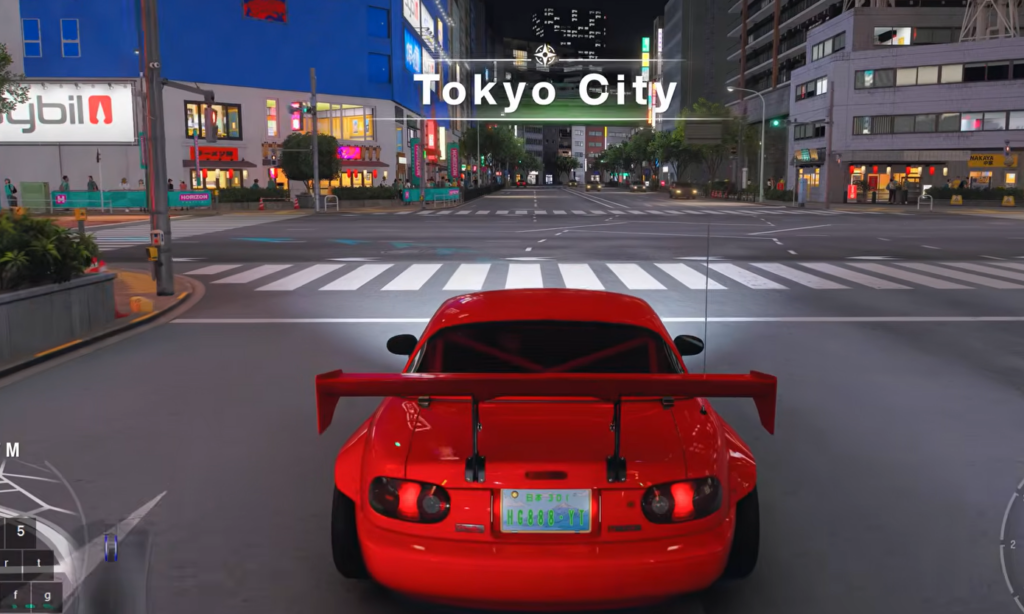
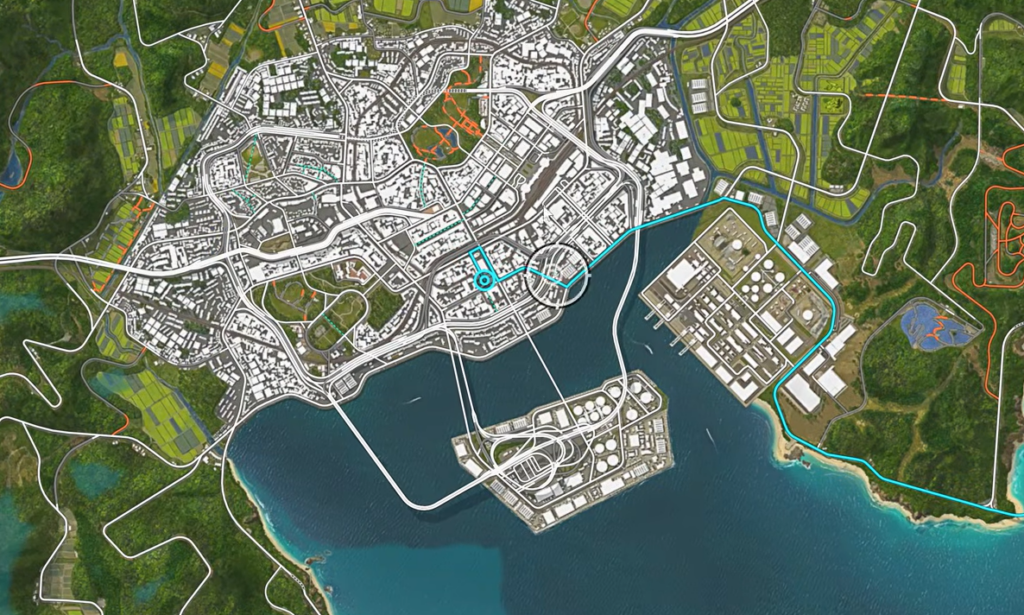
Tokyo City Discovery Locations
Tokyo City is the starting region and the densest cluster of landmarks on the map. Most register naturally during the early Festival missions and delivery races.
| Landmark | Where to trigger it |
|---|---|
| Daikoku Car Meet | South side of the city, in the center of the Daikoku parking area. |
| Rainbow Bridge | The large suspension bridge linking mainland Tokyo to the Daikoku area, heading southwest. |
| Akihabara Electric Town | South-side intersection lined with neon billboards and electronic screens. |
| Meiji Jingu Gaien Ginkgo Avenue | Southwest of the city, on the main road feeding into the circular park loop. |
| Tokyo Tower | Just south of the Tokyo City Delivery Race. |
| Edogawa Baseball Stadium | North of the Tokyo City Delivery Race, passed during the opening hours. |
| Tokyo City Broadway | East of the Delivery Race, beneath the Gacha City Radio banner. |
| Shibuya Crossing | Follow the road south from Tokyo Broadway. |
| Shinjuku Gyoen National Garden | Center of the city, south of the Tokyo City Day Trip. Circling the park triggers it. |
| Tokyo Central Railway Station Cut Through | Inside the Horizon Festival walkway beside the station. |
| Tokyo Central Railway Station | East side of the city at the station building itself. |
| Tatsumi Parking Area | Northeast of the city. Use the elevated highway, or the road underneath also registers it. |
| Tokyo City Docks | Southeast of the Delivery Race, on an island separated from mainland Tokyo. |
Nangan Discovery Locations
Nangan sits south of Tokyo and is anchored by a giant rocket at the Irokawa Space Center, visible from a long distance.
| Landmark | Where to trigger it |
|---|---|
| Irokawa Space Center | Southern Nangan, near Jodogahama beach. The rocket is hard to miss. |
| Jodogahama Beach | East of the Space Center, with the trigger along the northern shoreline. |
| Hakone Nanamagari | North of the Space Center, on the zigzag road. Especially scenic in spring during sakura bloom. |
| Kawazu Nanadaru Loop Bridge | Northwest Nangan. Cross the spiraling loop road. |
| Izu Skyline | Follow the main highway out of Tokyo City heading toward Shimanoyama. |
Shimanoyama and Ohtani Discovery Locations
These neighboring regions sit northwest of Tokyo and contain Horizon Stadium plus the Festival hub. Terrain ranges from lakeside roads to mountain passes and farmland.
| Landmark | Where to trigger it |
|---|---|
| Peace Torii | South of Horizon Stadium along the lakeside road heading west. |
| Lake Viewing Platform | On a slope in southern Shimanoyama overlooking the large western lake. |
| Matsumi Great Bridge | Southwest of Ohtani. A long bridge ending in a tunnel. |
| Kinkaku-ji Temple | Near the first Barn Find. Pull off-road onto the temple walkways. |
| Bandai Azuma Skyline | East of Horizon Stadium. Driving across the road registers it. |
| Shibazakura Lawn Cherry Fields | Approach the pink flowering fields visible on the map. |
| Fuji Shibazakura | Roll up to the shibazakura beds. |
| Horizon Stadium | Large arena on the western side of central Shimanoyama. |
| Narai-Juku | West of Yoshinoyama, beside the row of old townhouses. |
| Minami Awa Double Road | South of Yoshinoyama on the Ohtani border, near the gas station. |
| Yoshinoyama | Between Narai-Juku and the Drift Circuit. Trigger sits on the northern farm patches. |
| Shimanoyama Drift Circuit | Along the northern edge of Shimanoyama. |
| Ohtani Horizon Festival Site | The main Festival hub, registered naturally during the story. |
| Festival Site Parking Lot | Pull into the parking area at the Festival site. |
| Horizon Festival Car Meet | Drive onto the center track of the Horizon Festival Circuit. |
| Radio Towers | Approach the broadcast tower cluster in Ohtani. |
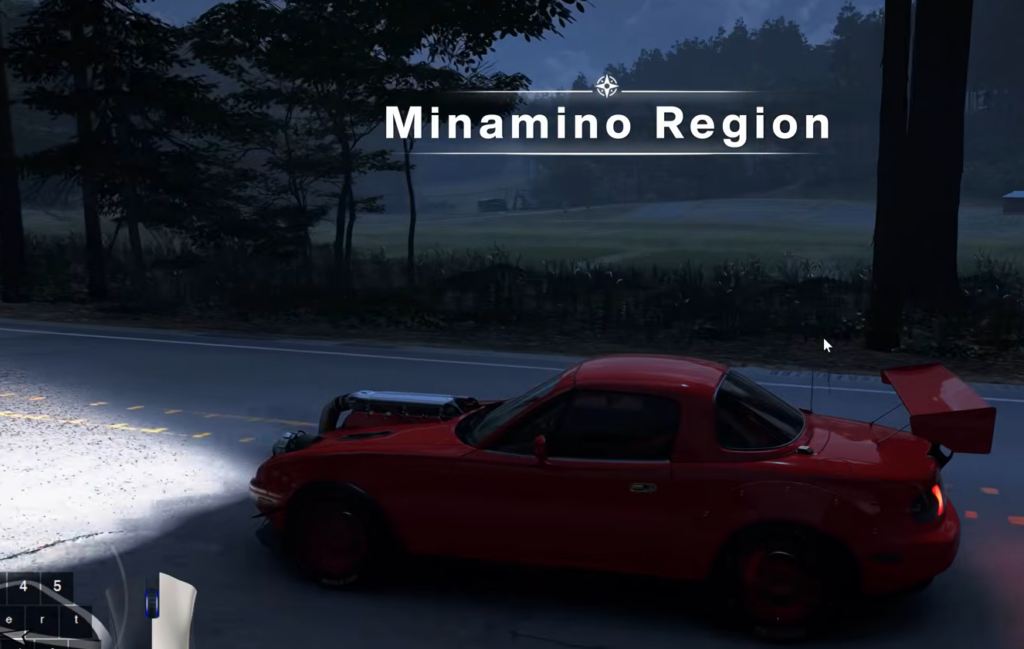
Minamino, Ito, and Hokubu Discovery Locations
The northeastern stretch holds the largest count of landmarks across countryside, coastline, and forest. Fast travel saves significant time here.
| Landmark | Where to trigger it |
|---|---|
| Ruriko-ji Temple | Far north Minamino, near the Hokubu farmlands. |
| Shirakawa-go | Northern Minamino. The large village shows on the map. |
| Arashiyama Bamboo Forest | Reach it via the high bridge from Hokubu or head northwest from Kitayama Big Daisugi. |
| Wind Farm | Far north Ito in mountainous terrain. Drive the road through the turbines. |
| Ine | Far right edge of the map. The coastal town triggers on approach. |
| Kitayama Big Daisugi | North of Ito Airfield. The Wind Farm Cross Country route passes directly through it. |
| Yahikoyama Ropeway | North of the airport. Look for a power station with cable cars. |
| Satta Pass | Eastern Ito’s coastal road, triggered on the bridge over water. |
| Naruo Golf Course | South of Shirakawa-go. Approach from the southern Minamino road. |
| Ito Airfield | Central Ito on the Minamino border. Enter the airport grounds. |
| Osaka Tunnels | Drive through the tunnel and the road stretch that follows. |
| Cedar Avenue | South Minamino near the River Split speed trap. Cruise the cedar-lined road. |
| Inakadate Tanbo Rice Art | Directly west of Rollercoaster Road. Drive the lanes around the rice patterns. |
| Rollercoaster Road | East of the rice art, near a Barn Find on the west side of Ito. |
| Seaside Park | Approach the coastal park grounds. |
| Sekibe Kaijo Bridge Road | South Ito near the Sekibe Circuit. |
| Sekibe Circuit | West of Sekibe Kaijo Bridge Road in southern Ito. |
| Oyashirazu Cliff Tunnel | Drive the cliffside tunnel just before Meoto Iwa Rock. |
| Meoto Iwa Rock | South of Seabed Road on Ito’s coast, near the rock formations by the shore. |
| Seabed Road | Past Meoto Iwa Rock on Ito’s coastline. Take the T-shaped path to the seaweed road. |
| Hokubu Circuit | Shore road near Irabuohashi Bridge. Enter the Festival-themed circuit zone. |
| Hokuryu Sunflower Farm | East Hokubu near Sotoyama. Drive up to the sunflower field. |
| Irabuohashi Bridge | Long bridge from Hokubu’s edge to the mainland. Trigger sits on the mainland side. |
| Okishinaimura | Eastern stretch of Hokubu. |
| Sawamura | East of Hokuryu Sunflower Farm, in the village connected to the farm. |
| Shikisai-no-oka | Triggers automatically as you approach the colorful flowerbeds. |
Takashiro and Sotoyama Discovery Locations
The northernmost regions are mostly snowy passes, glacier walls, and tight mountain switchbacks. Take corners deliberately so you don’t blow past a trigger zone.
| Landmark | Where to trigger it |
|---|---|
| Mt. Haruna | Southeastern mountain roads of Takashiro. Drive the zigzag section. |
| Soni Highlands | Northwest of Mt. Haruna. Drive through the highlands area. |
| Soni Circuit | Enter the circuit near the Highlands and complete a lap. |
| Tea Farm | Southwest of Soni Circuit. Drive alongside or through the fields. |
| Venus Line | Road west of Hirosaki Castle on the Sotoyama border. |
| Hirosaki Castle | Northeastern Takashiro near Soni Highlands. Approach the shrine walkways. |
| Okuibuki Parking Lot | Circular road on the Sotoyama border. |
| Hotel Thunderbird | Multi-level hotel on the northern Takashiro border. |
| Temple of Nachi Falls | Far west Takashiro. Red temple off the main road. |
| Norikura Skyline | South of the Norikura Skyline Touge Race in Sotoyama. |
| Sotoyama Ski Resort | East Sotoyama, a large structure surrounded by snow. |
| Snow Monster Forest | Far north Sotoyama. Follow the dirt road to the map edge. |
| Tateyama Kurobe Alpine Route | Sotoyama’s main road heading east. Approach the road with the towering glaciated walls. |
| Lake Nukabira | Northeast Sotoyama, between snowy peaks. |
Legend Island Discovery Locations
Legend Island unlocks only after earning the Gold Wristband. Once it opens, two quick stops finish the set.
| Landmark | Where to trigger it |
|---|---|
| Legend Island Circuit | Drive the circuit at the Legend Island Festival Site. |
| Radio Tower | Approach the broadcast towers on the island. |
Seasonal Discovery entries
Four entries (Spring, Summer, Autumn, Winter) sit alongside the regional landmarks and require active play during the matching season. Seasons rotate every Thursday (Friday for AEST), so if you’re aiming for full Stamp completion, check which season is live before logging in. Miss a window, and the entry stays unchecked until that season cycles back.
Reward for full Discovery completion
Filling out every Discovery entry contributes Discover Japan points toward Stamp progression. Reaching the Gold Stamp tier unlocks the Master Explorer achievement worth 50 Gamerscore, and the final reward car for completing the chain is a Koenigsegg Agera RS. The Horizon Cartographer achievement (50 Gamerscore) is the related milestone for revealing the entire map, including Legend Island, which usually becomes accessible after earning the Gold Wristband.
If you’re tracking progress, the Collection Journal under Discovery lists every landmark by region with a checkmark beside ones you’ve already registered. Anything still gray is a missed trigger zone, not a missing collectible, so a single drive-by clears it.