Speed Skills in Forza Horizon 6 are Skill Chain bonuses tied to how fast you are going. Hold a high enough speed for a few seconds on an open road, and the game banks a speed-tier skill into your active chain, which then feeds Skill Score, Car Mastery progression, and several Festival Playlist objectives.
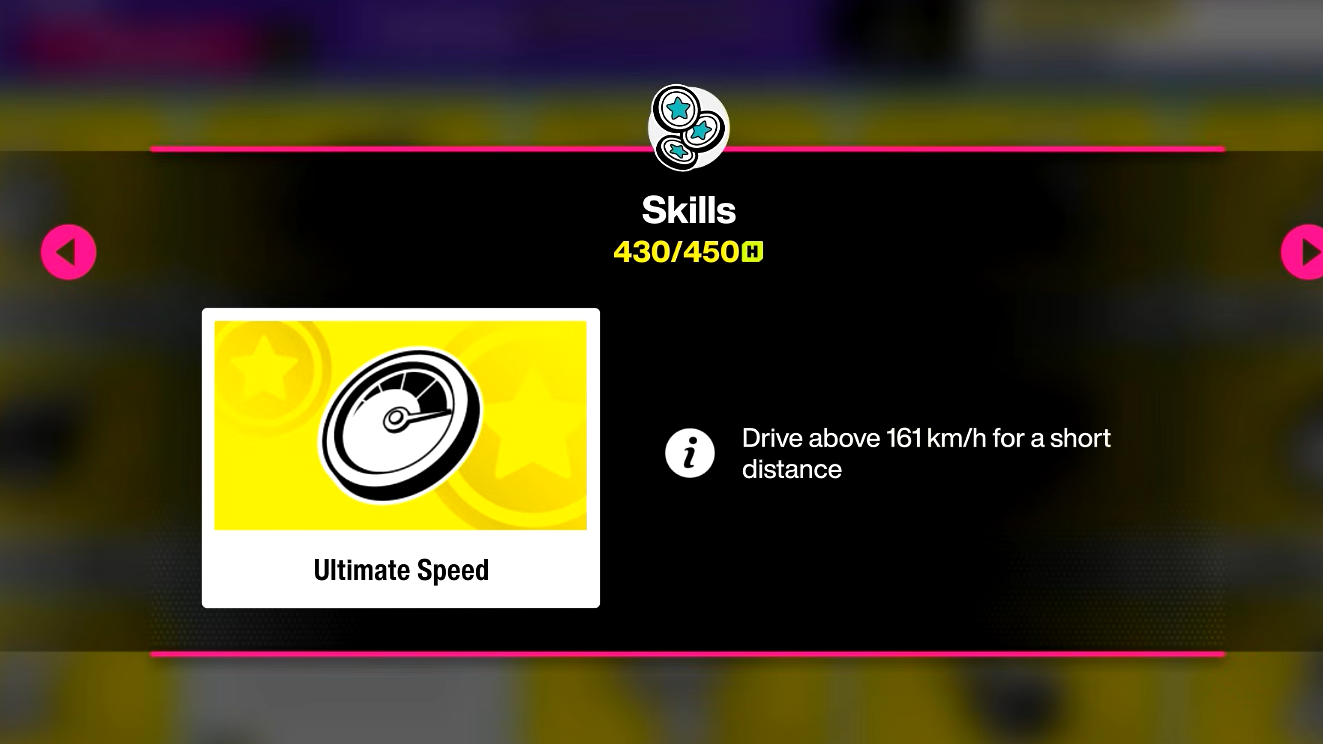
Quick answer: Hit and hold 100 mph for a standard Speed Skill, and 150 mph or higher for a Great Speed Skill. Higher sustained speeds unlock Awesome (175 mph) and Ultimate (200 mph) tiers with sharply larger point payouts.
The four Speed Skill tiers
Speed Skills are tiered by sustained speed. The in-game prompt names the tier you just earned, and only that exact tier counts toward Playlist challenges that ask for it. A Speed 100 pop-up will not satisfy a Great Speed objective, and vice versa.
| Tier | Speed required | Points |
|---|---|---|
| Speed Skill | 100 mph+ | Base |
| Great Speed Skill | 150 mph+ | Higher |
| Awesome Speed Skill | 175 mph+ | Higher still |
| Ultimate Speed Skill | 200 mph+ | 1,000 |
The jump from Awesome to Ultimate is the most lopsided. A 25 mph bump in the speed requirement comes with roughly a 4x payout, which makes 200 mph the most valuable target if your car can comfortably stay there.
How the trigger works
The car needs to reach the target speed and hold it cleanly for a short distance, not just brush against it for a frame. While the skill is building, the active Skill Chain must stay alive. Hard wall hits, traffic collisions, and going off-road typically break the chain before the skill banks.
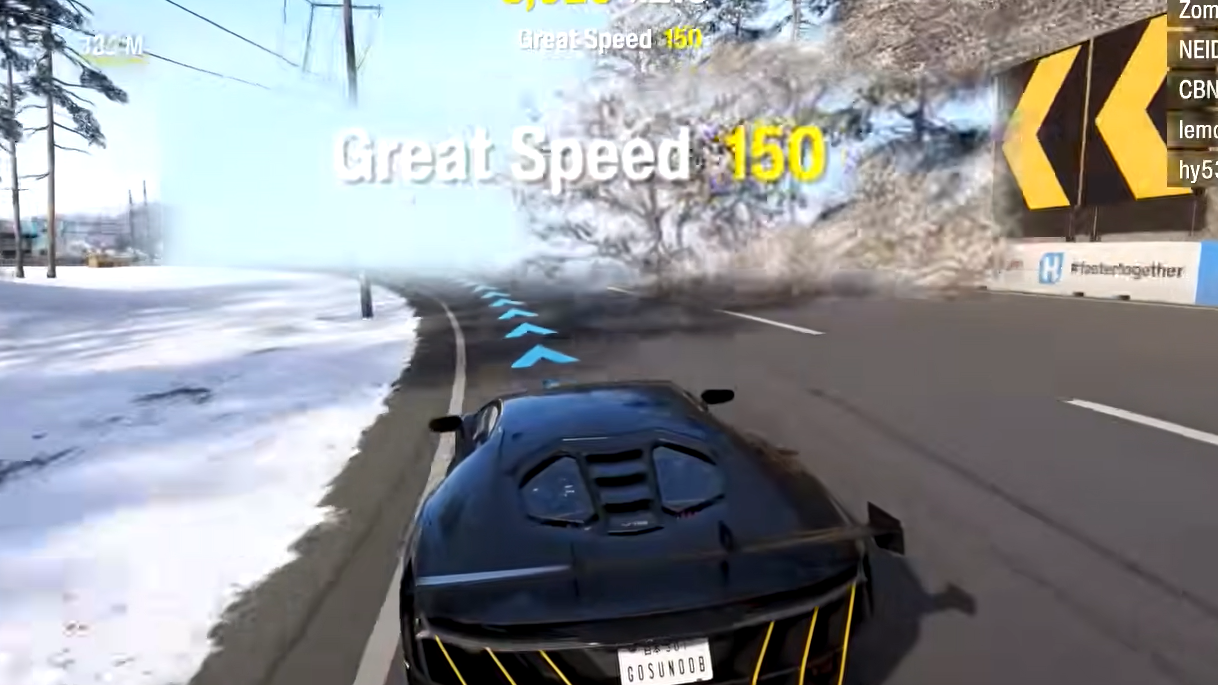
You will know it worked when the tier name flashes on screen (for example, Speed 100, Great Speed, Awesome Speed, or Ultimate Speed) and the points fold into your current chain multiplier. If no prompt appears, the speed was either too low or held too briefly.
Best cars and classes for each tier
Car choice decides which tier you can realistically farm. Lower classes can comfortably clear the 100 mph threshold, but the Great, Awesome, and Ultimate tiers all favor higher PI classes with strong top-end. A Class, S1, S2, and R Class cars are the safe range for 150 mph and above.
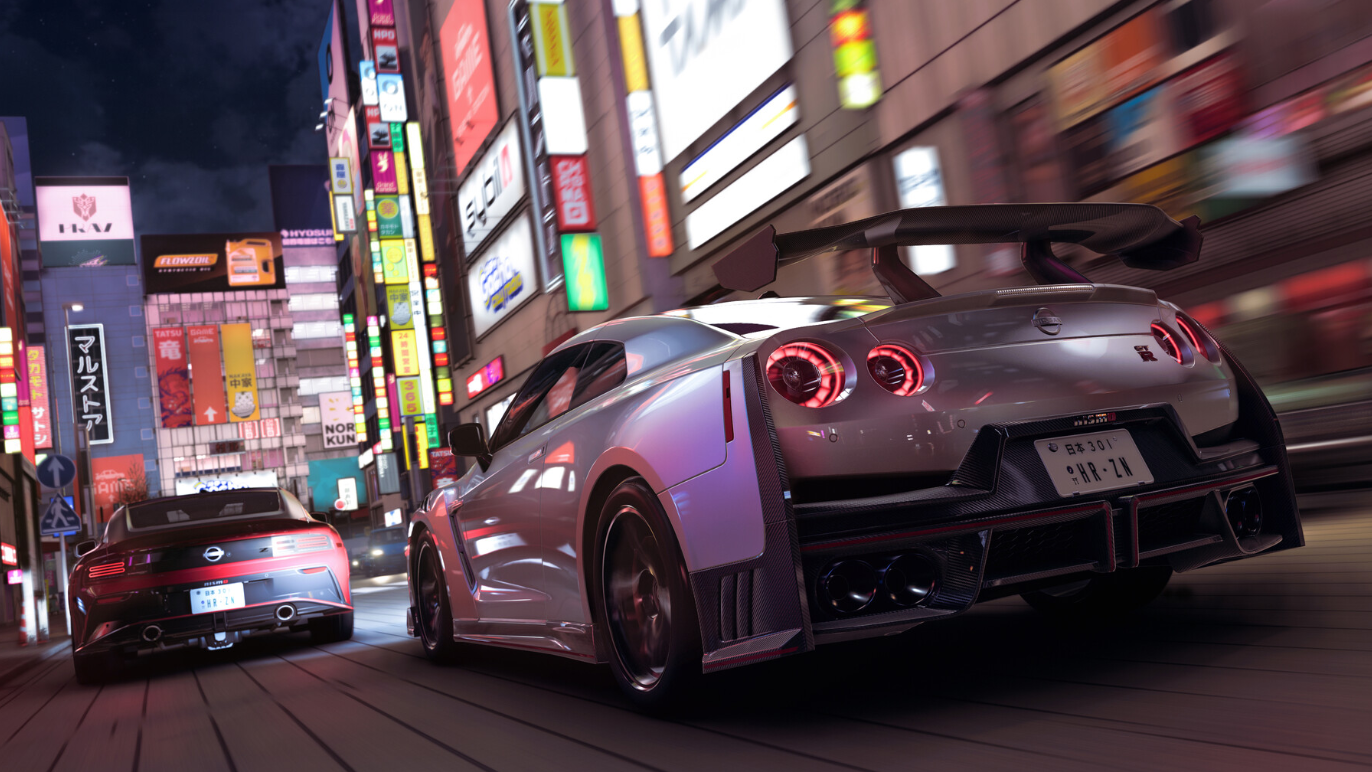
For the Ultimate tier, hypercars do the heavy lifting. The Hennessey Venom F5 tops out around 304 mph, so a long straight in Japan’s highway network puts you well past the 200 mph requirement with margin to spare. Drag-tuned builds also work because they reach the threshold quickly and stay there.
| Target tier | Recommended class | Why |
|---|---|---|
| Speed (100 mph) | B or higher | Most cars can hold 100 mph on a straight. |
| Great Speed (150 mph) | A, S1, S2, R | Reliable top speed and acceleration to hold 150 mph. |
| Awesome Speed (175 mph) | S1, S2, R | Needs sustained 175 mph without losing speed in corners. |
| Ultimate Speed (200 mph) | S2, R, hypercars | Requires a car that can pin 200+ mph on a long straight. |
Where to farm Speed Skills in Japan
Long, straight stretches with light traffic are ideal. The Shimanoyama to Nangan road is one of the cleanest options on the map, with no sharp turns and minimal curvature, so you can hold throttle without braking and bank multiple Speed Skills in a single chain.
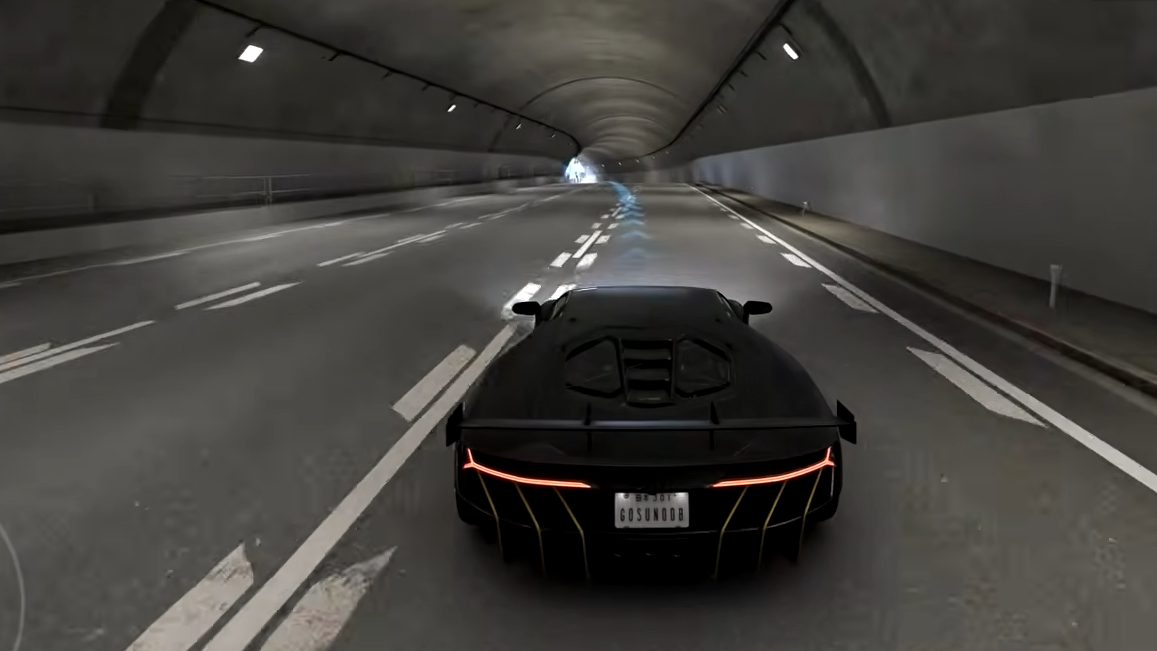
Roads inspired by the C1 loop and other highway sections work for higher tiers, since they give enough runway to reach 175–200 mph in a hypercar. Tight mountain passes like Mt. Haruna are poor choices for speed farming because the corners drop you below the threshold before the skill registers.
Festival Playlist and Horizon Play challenges
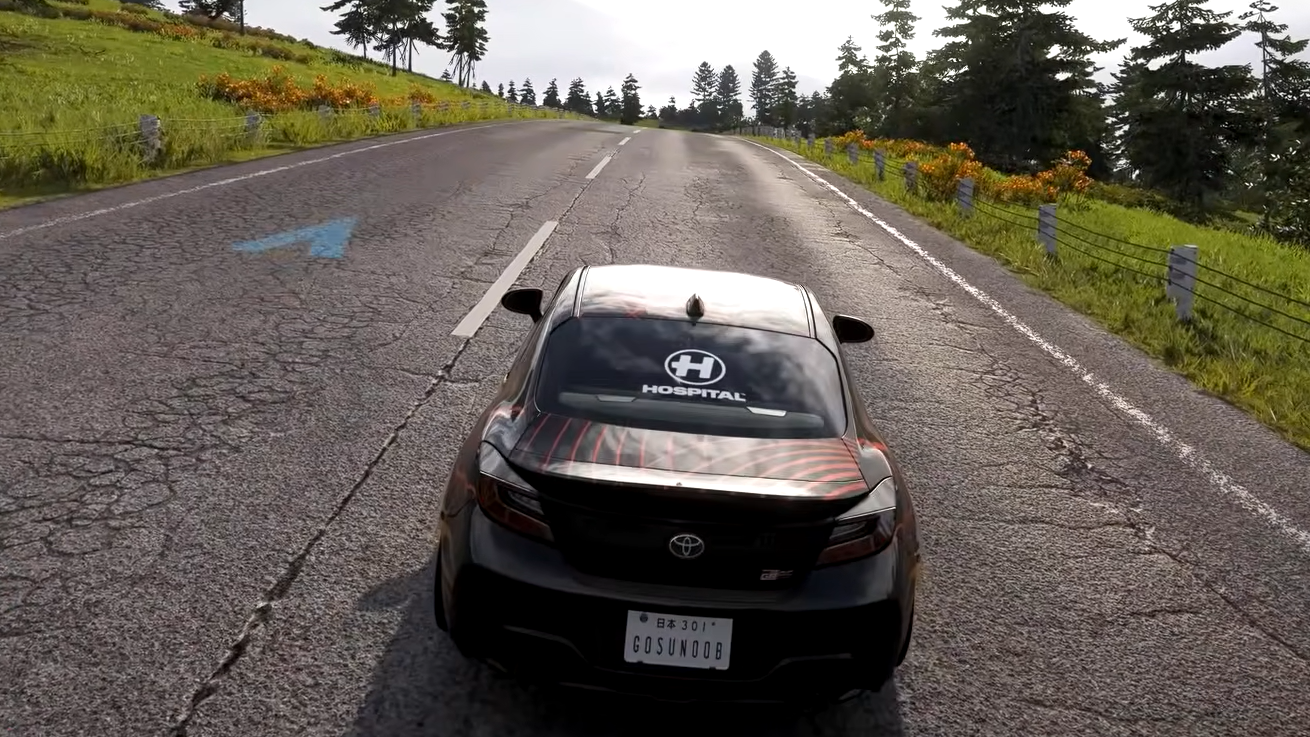
Speed Skill objectives appear regularly in the Festival Playlist. The Floor It! and Gazoo Racer challenges both require them, and the Gazoo Racer Challenge in the Summer Playlist specifically asks for six Speed Skills using the 2022 Toyota GR86. Speed Skills earned in any other car will not count toward that objective.
The Gazoo Racer Challenge also has step ordering. Complete the 3 Speed Zones objective first, then the Speed Skill count begins tallying. Skipping ahead means the skills you bank do not register against the requirement.
For Great Speed Skill challenges inside Horizon Play, the race class matters more than the route. If matchmaking drops you into a C Class event with no straight long enough to reach 150 mph, leaving and re-queuing for a faster class is the fastest fix. The skill can also bank during the pre-race countdown if there is a long straight near the starting line.
Why a Speed Skill is not counting
Most failures fall into a small set of causes. The speed was below the required tier, the chain broke before the skill registered, or the challenge requires a specific tier or car that the current run does not match.
| Problem | Cause | Fix |
|---|---|---|
| Only base Speed Skills appear | Holding 130–140 mph, below the Great tier | Use a faster car and aim for 150 mph or higher. |
| No skill pops at all | Speed dropped before the hold window finished | Find a longer straight with fewer interruptions. |
| Challenge counter does not move | The earned tier does not match the objective | Confirm the exact tier name in the on-screen prompt. |
| Skill Chain keeps resetting | Traffic hits, walls, or going off-road | Use cleaner highway sections; avoid the pack. |
| Gazoo Racer count stuck | Wrong car or wrong step order | Use the 2022 Toyota GR86 and finish 3 Speed Zones first. |
How Speed Skills feed progression
Every banked Speed Skill adds to your active Skill Chain multiplier. Cash the chain in before a crash, and the points convert into Skill Score, which becomes Skill Points spent inside each car’s Car Mastery tree. Those nodes pay out Credits, Wheelspins, Super Wheelspins, and, in some cases, free cars.
Pairing speed with near-misses, drafts, and clean racing inside the same chain stacks the multiplier quickly. Ultimate Speed Skills are especially efficient because their base value scales the multiplier harder, turning a single highway run into a meaningful chunk of Skill Score for Wristband progression.
If you only need the speed tier to drop reliably, a hypercar on a long highway stretch is the shortest path. If you need it tied to a specific challenge car, check the car’s top speed first and pick the route that gives it the most clean tarmac before any corners cut the run short.