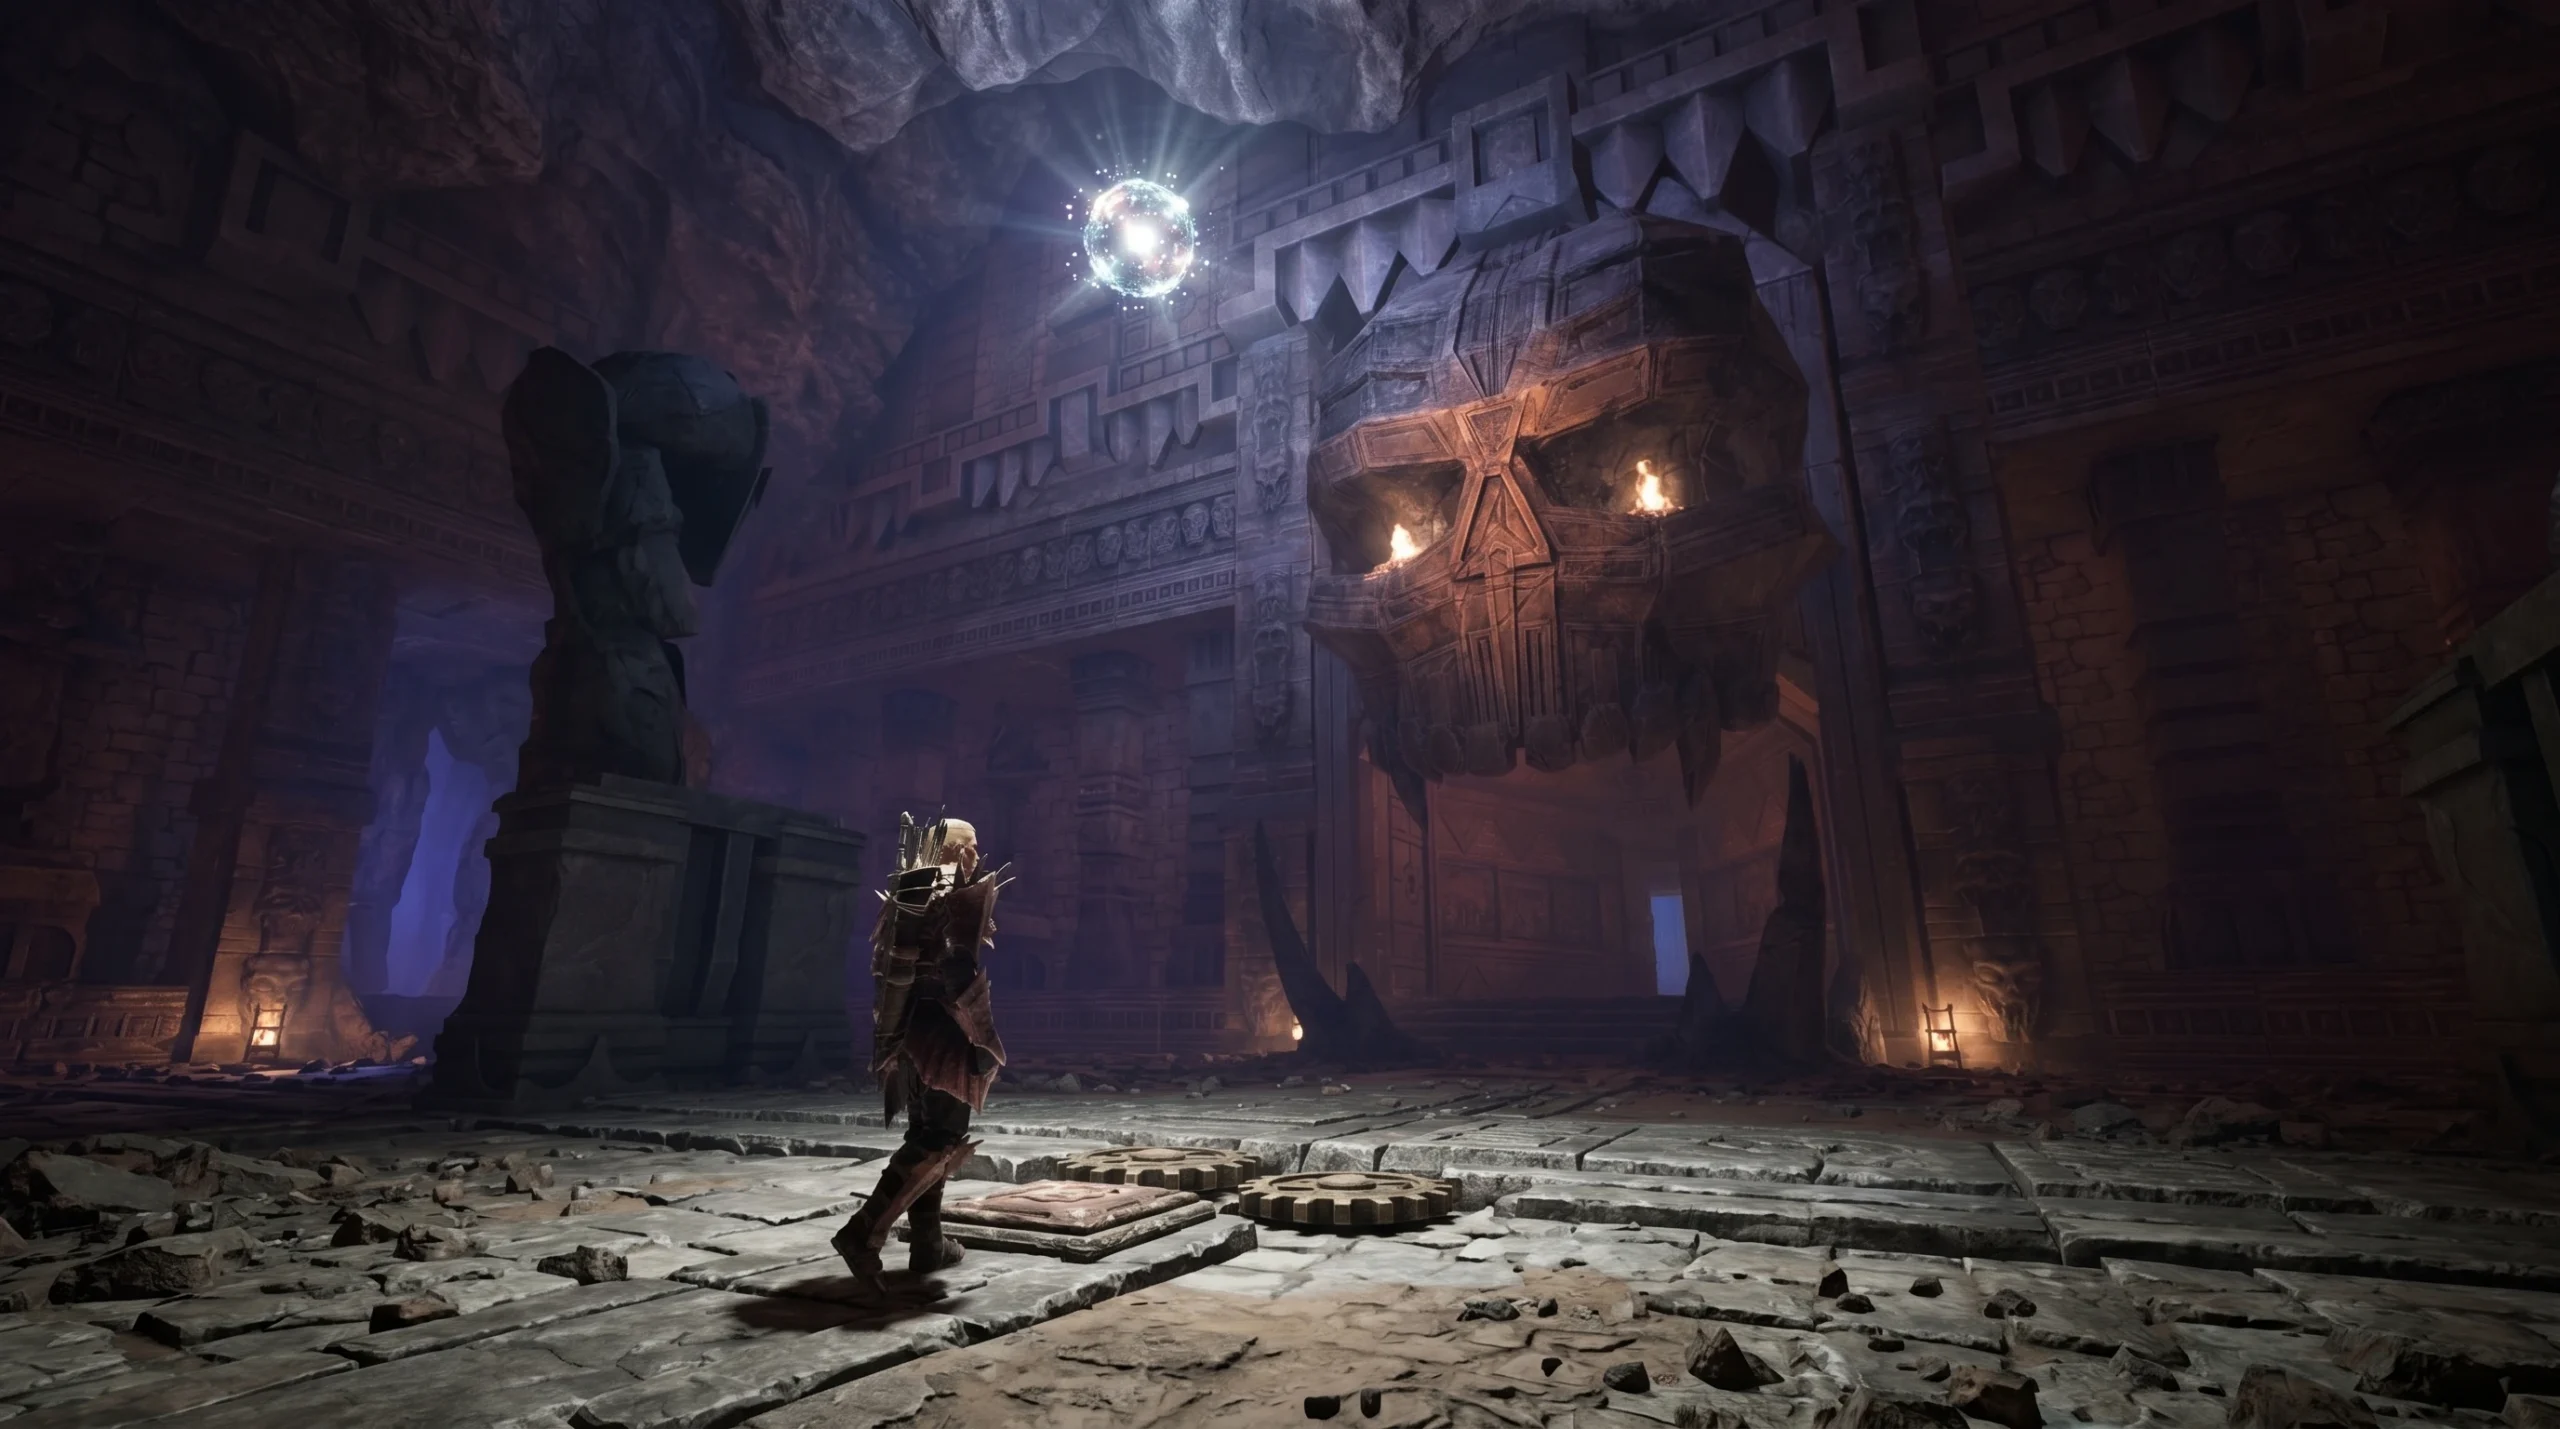
The Sleeper Temple is the final dungeon of Chapter 5 in Gothic 1 Remake, opened during the quest The Dreamer’s Nightmare. Inside, several mechanical puzzles gate your progress, five orc shamans each drop a named stone, and the sword Uriziel waits on a platform deep in the temple. The puzzles never change, so once you know the pattern for each, you can move straight through.
Quick answer: Solve the three-statue puzzle to reveal a symbol code, mirror that code on the three wheels in the entrance hall to open the gate, then clear the ring puzzle, the lever-platform jump, and the blood-fountain puzzle to reach all five shamans. Loot every stone, take Uriziel from the final platform, then teleport to Xardas to close the quest.
Before you enter: prep and the temple map
This is the hardest area in the game, and there are no fast-travel points or save shrines inside. Stock plenty of potions, bring strong gear, and pick up summon scrolls from Xardas for the shaman fights. Raising your maximum mana before you go in also helps if you rely on spells.
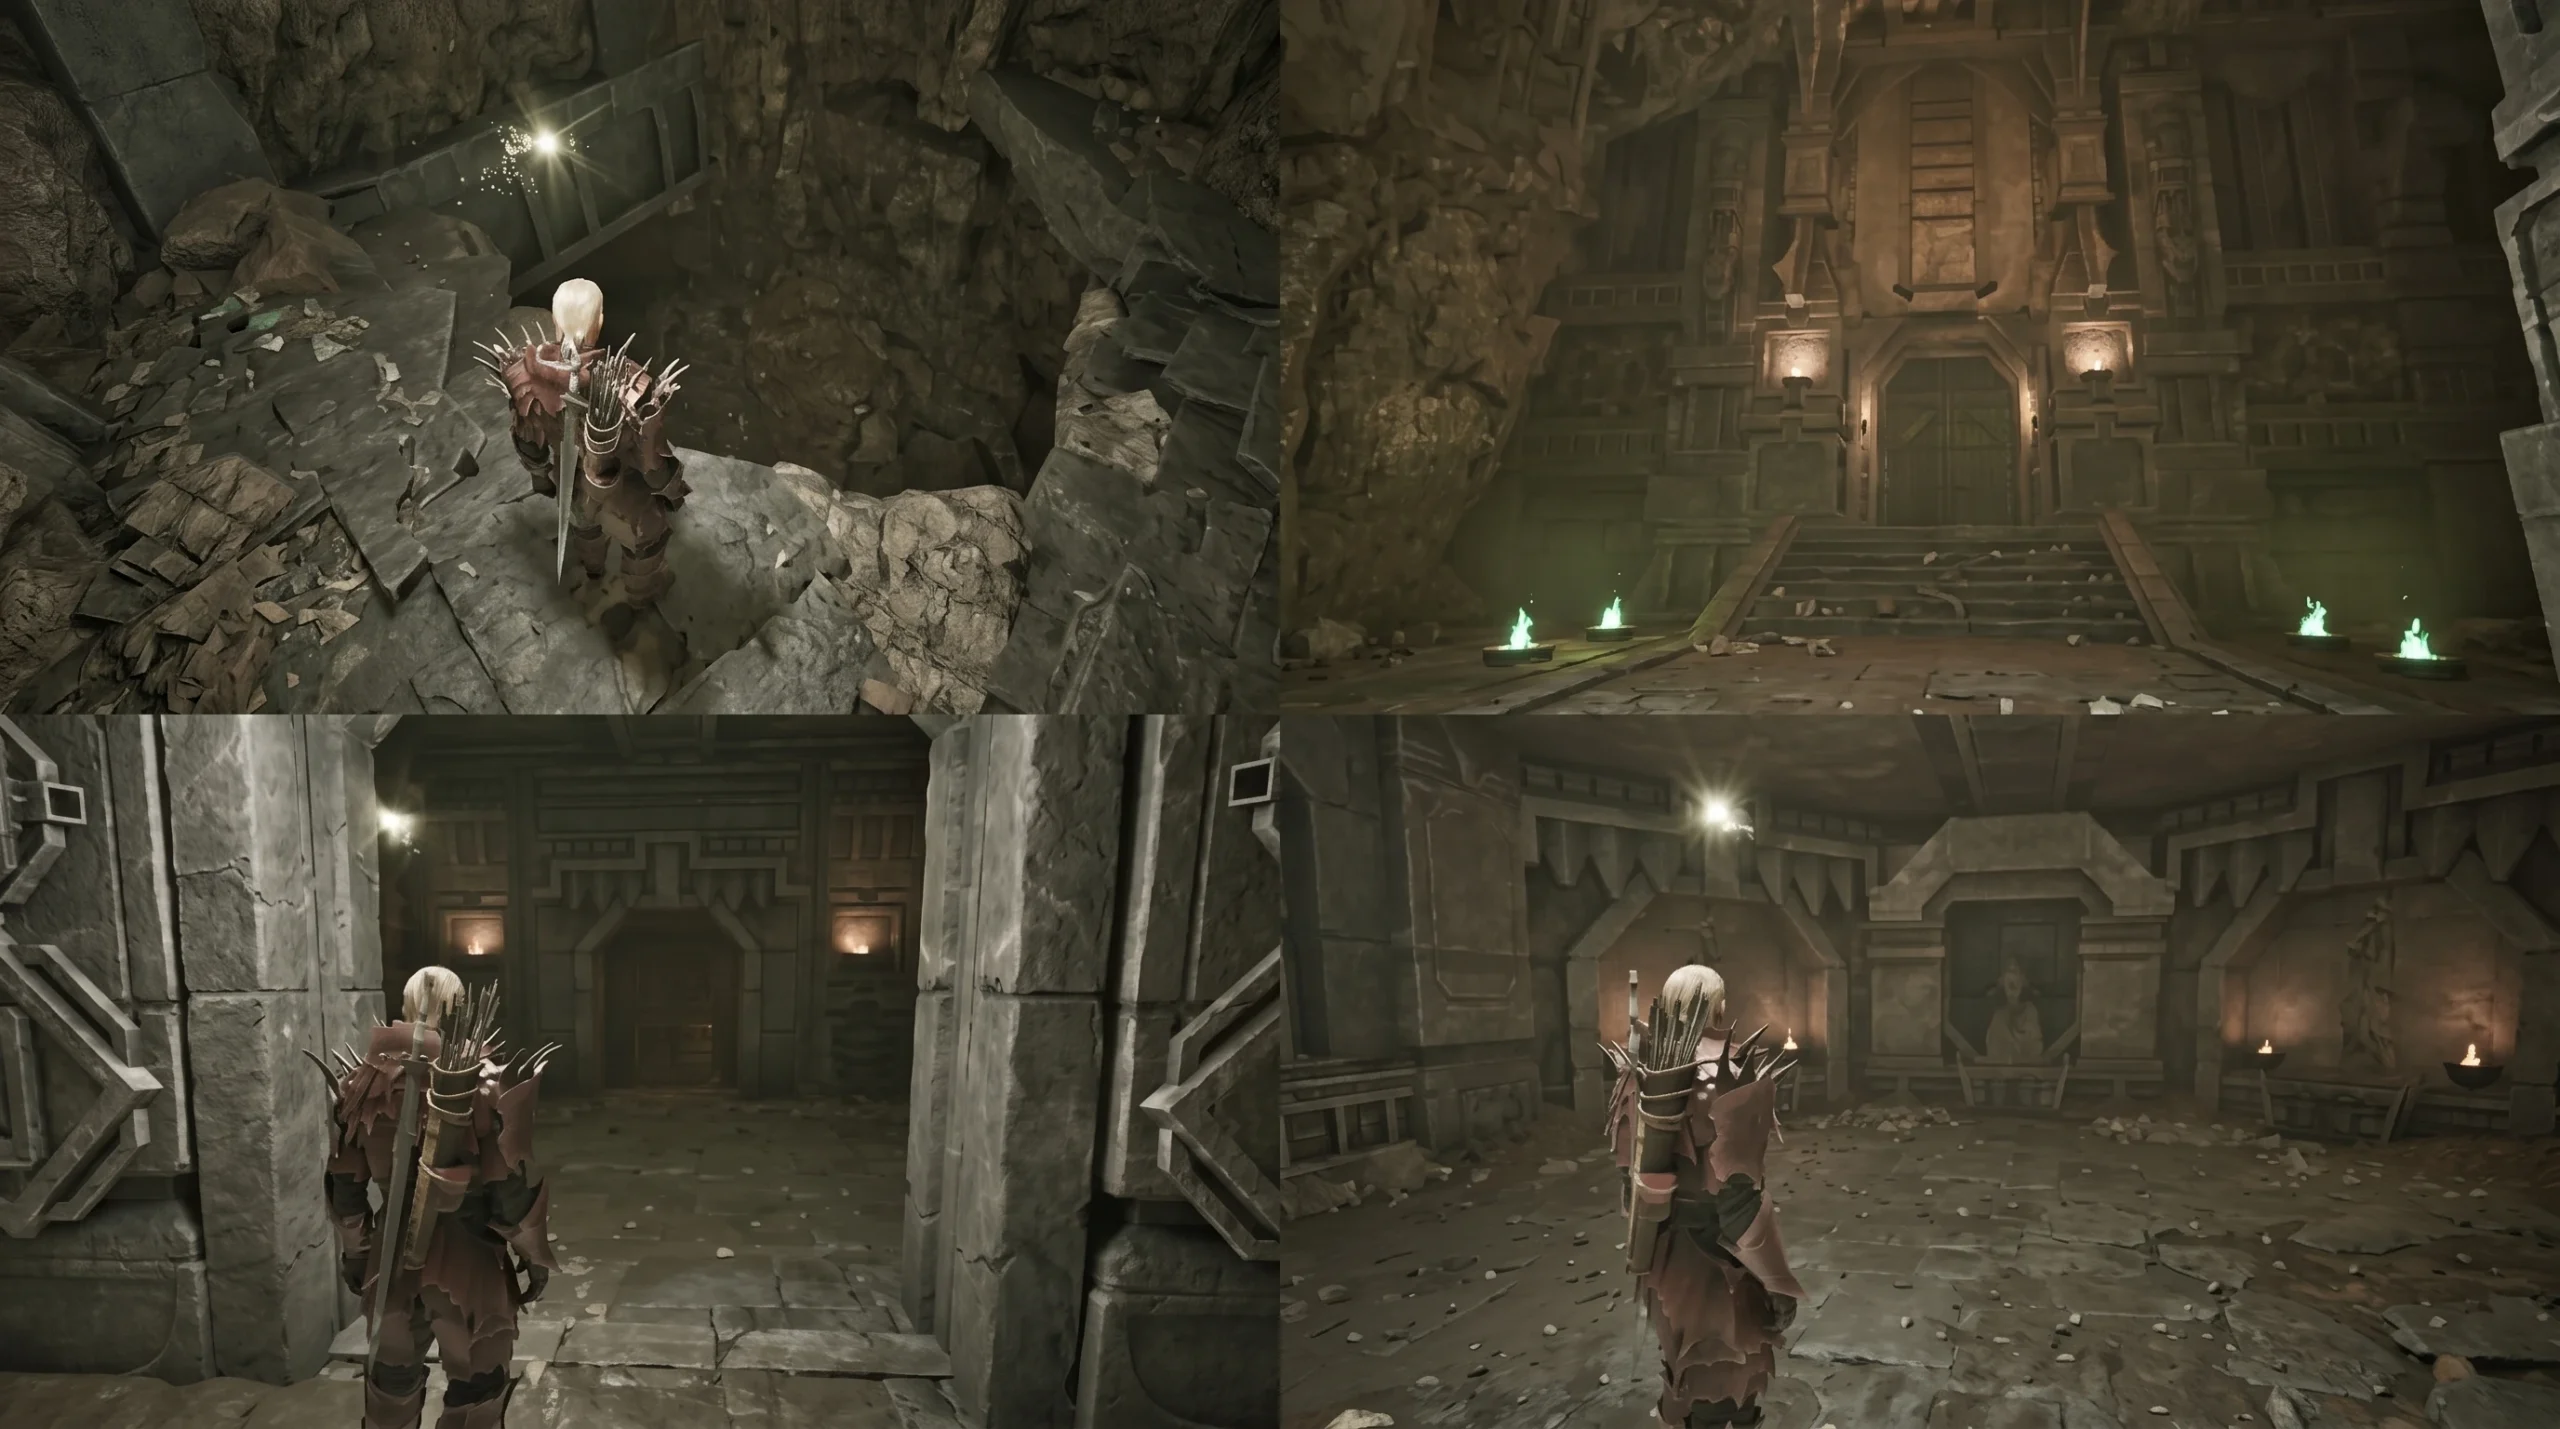
From the entrance, cross the giant pit using the fallen pillar and clear the first hall of Skeleton Warriors, Skeleton Scouts, and a Skeleton Mage. Kill the mage first, since it summons more skeletons. Then step into the room on the left and grab the Sleeper Temple map from the base of the statue. The map marks the route and makes the rest far easier to track.
All five orc shamans and their stones
Each shaman drops one stone, and Uriziel needs all five. You can defeat them in any order the temple lets you reach them, but you must have every stone before the quest will complete at Xardas.
| Orc shaman | Stone |
|---|---|
| Varrag Hashor | Worldcleaver |
| Varrag Kasorg | Lightbringer |
| Varrag Unhilqt | Timesplinter |
| Varrag Arushat | Banstone |
| Varrag Ruuushk | Fiendeye |
Note: always loot each shaman’s body after the fight. Several also drop a magic rune alongside the stone.
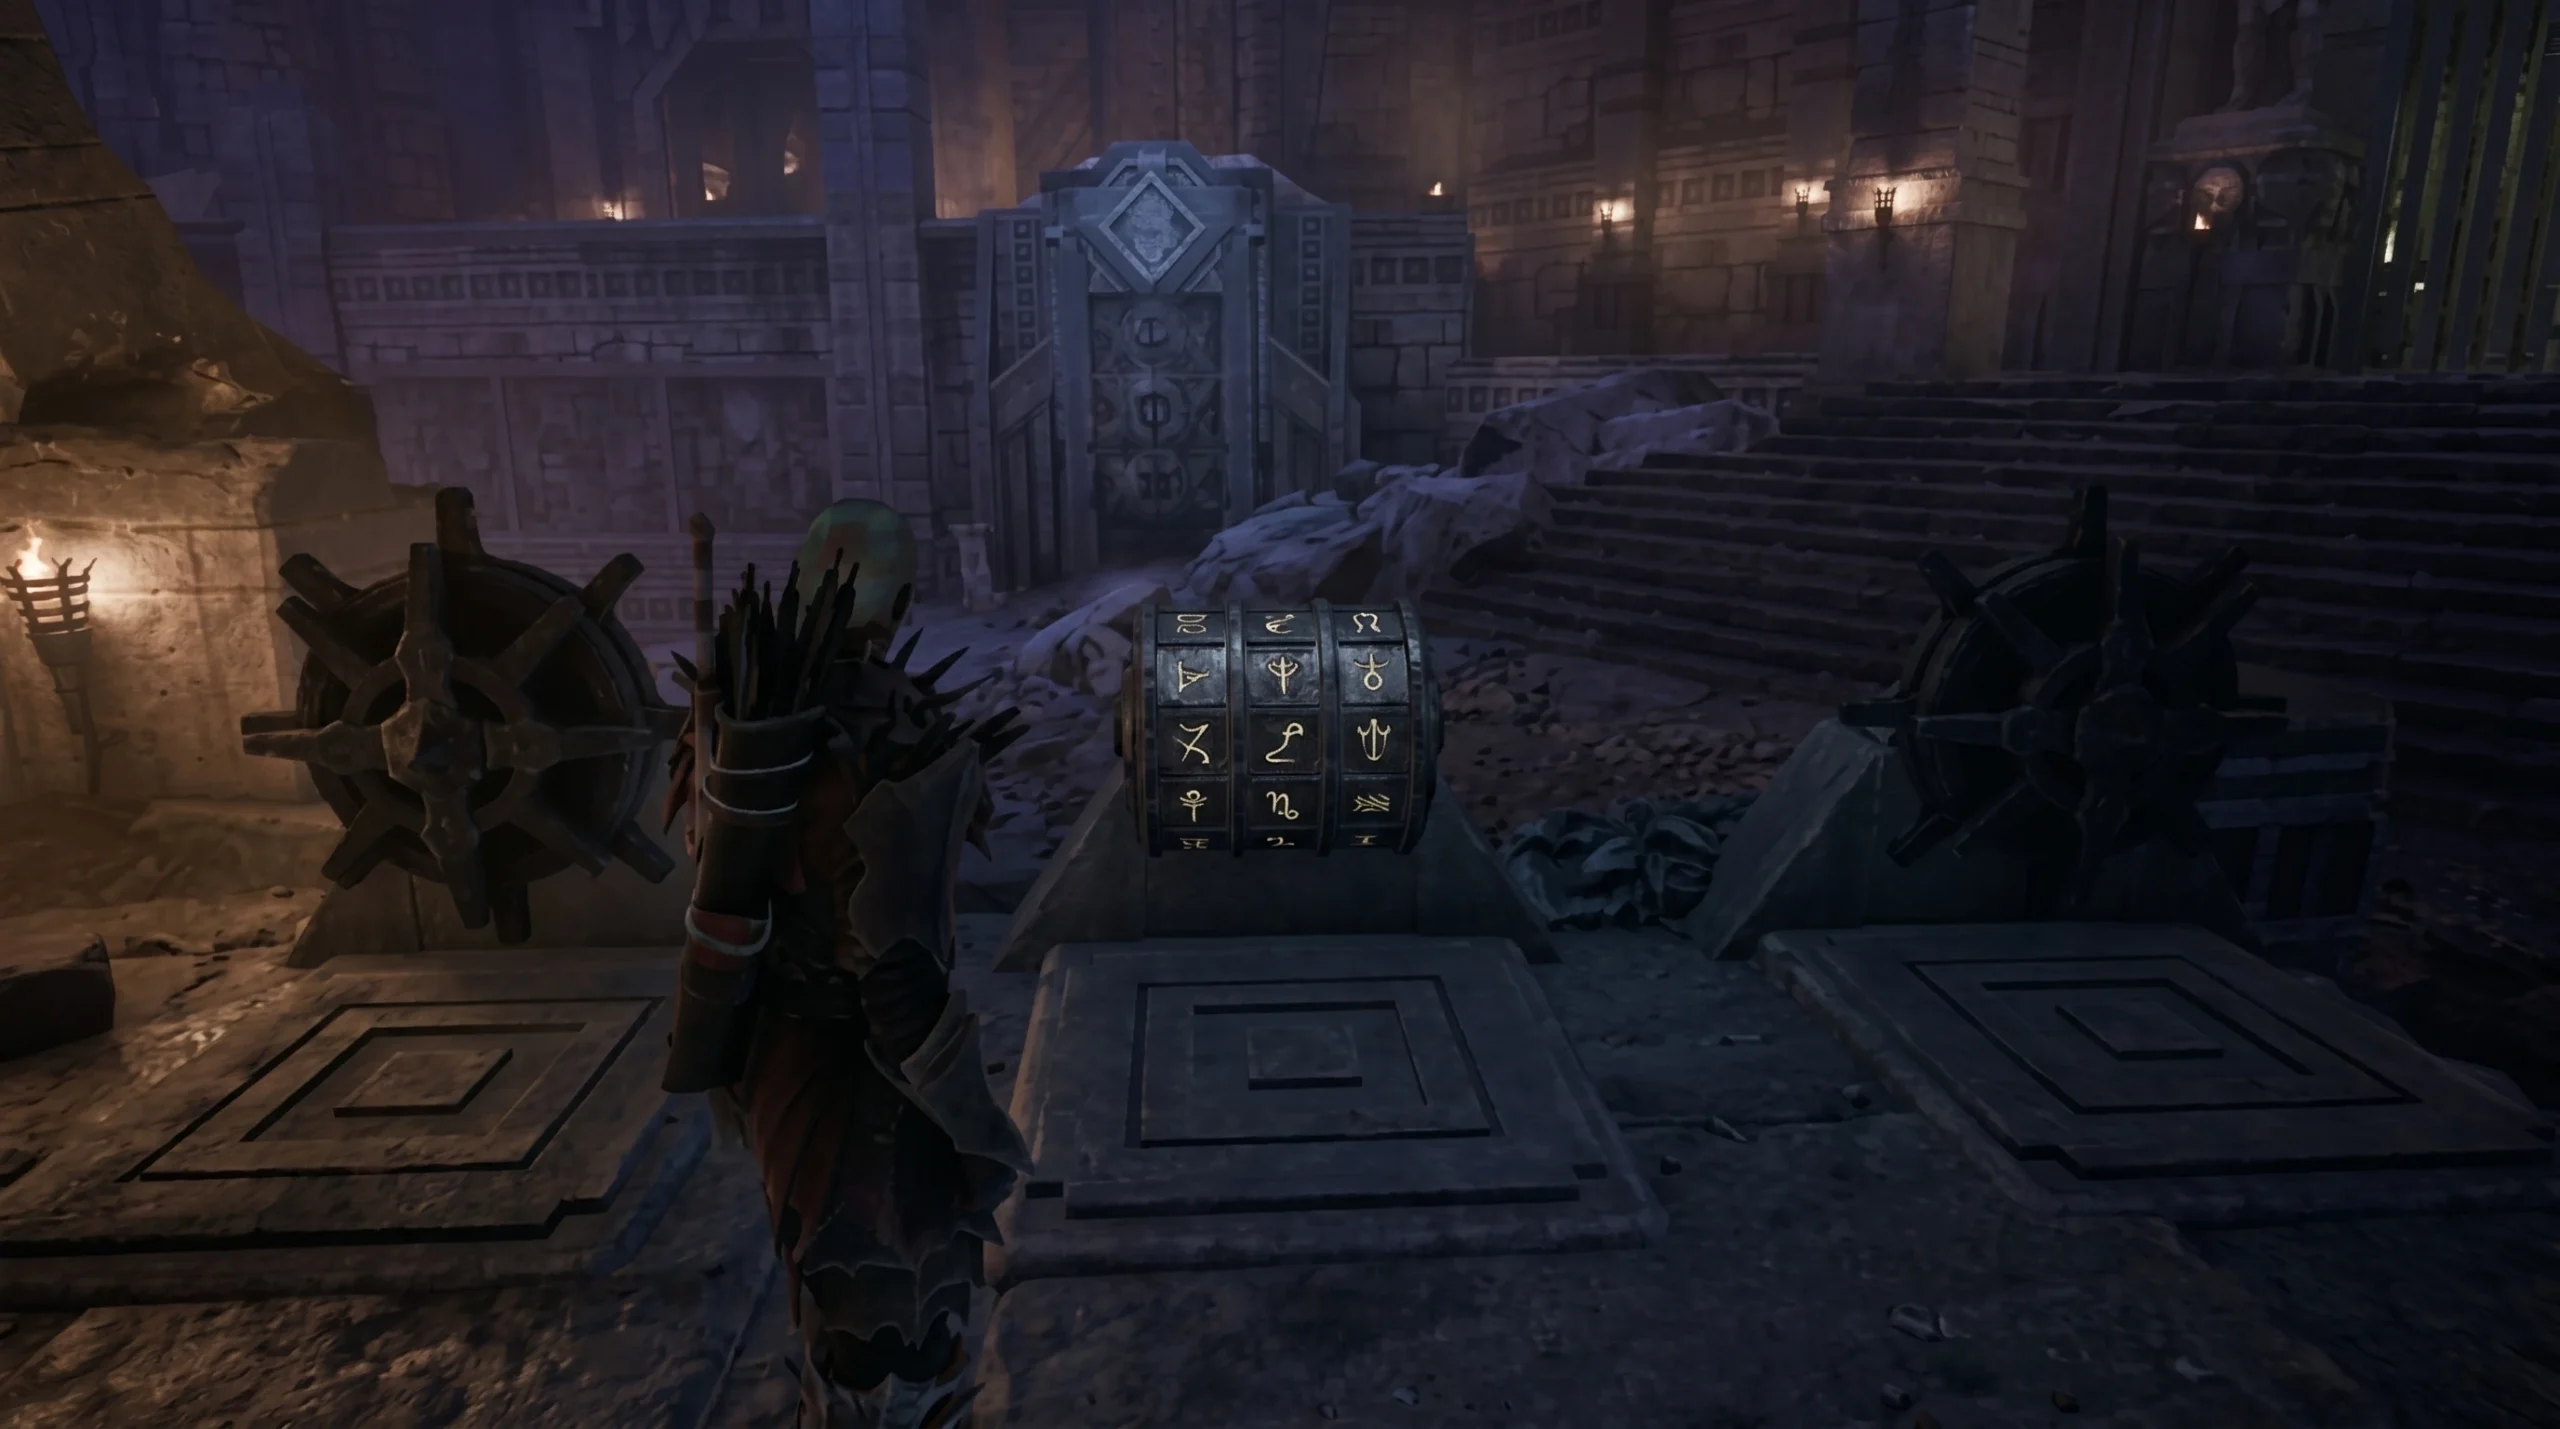
Statue puzzle and the symbol gate
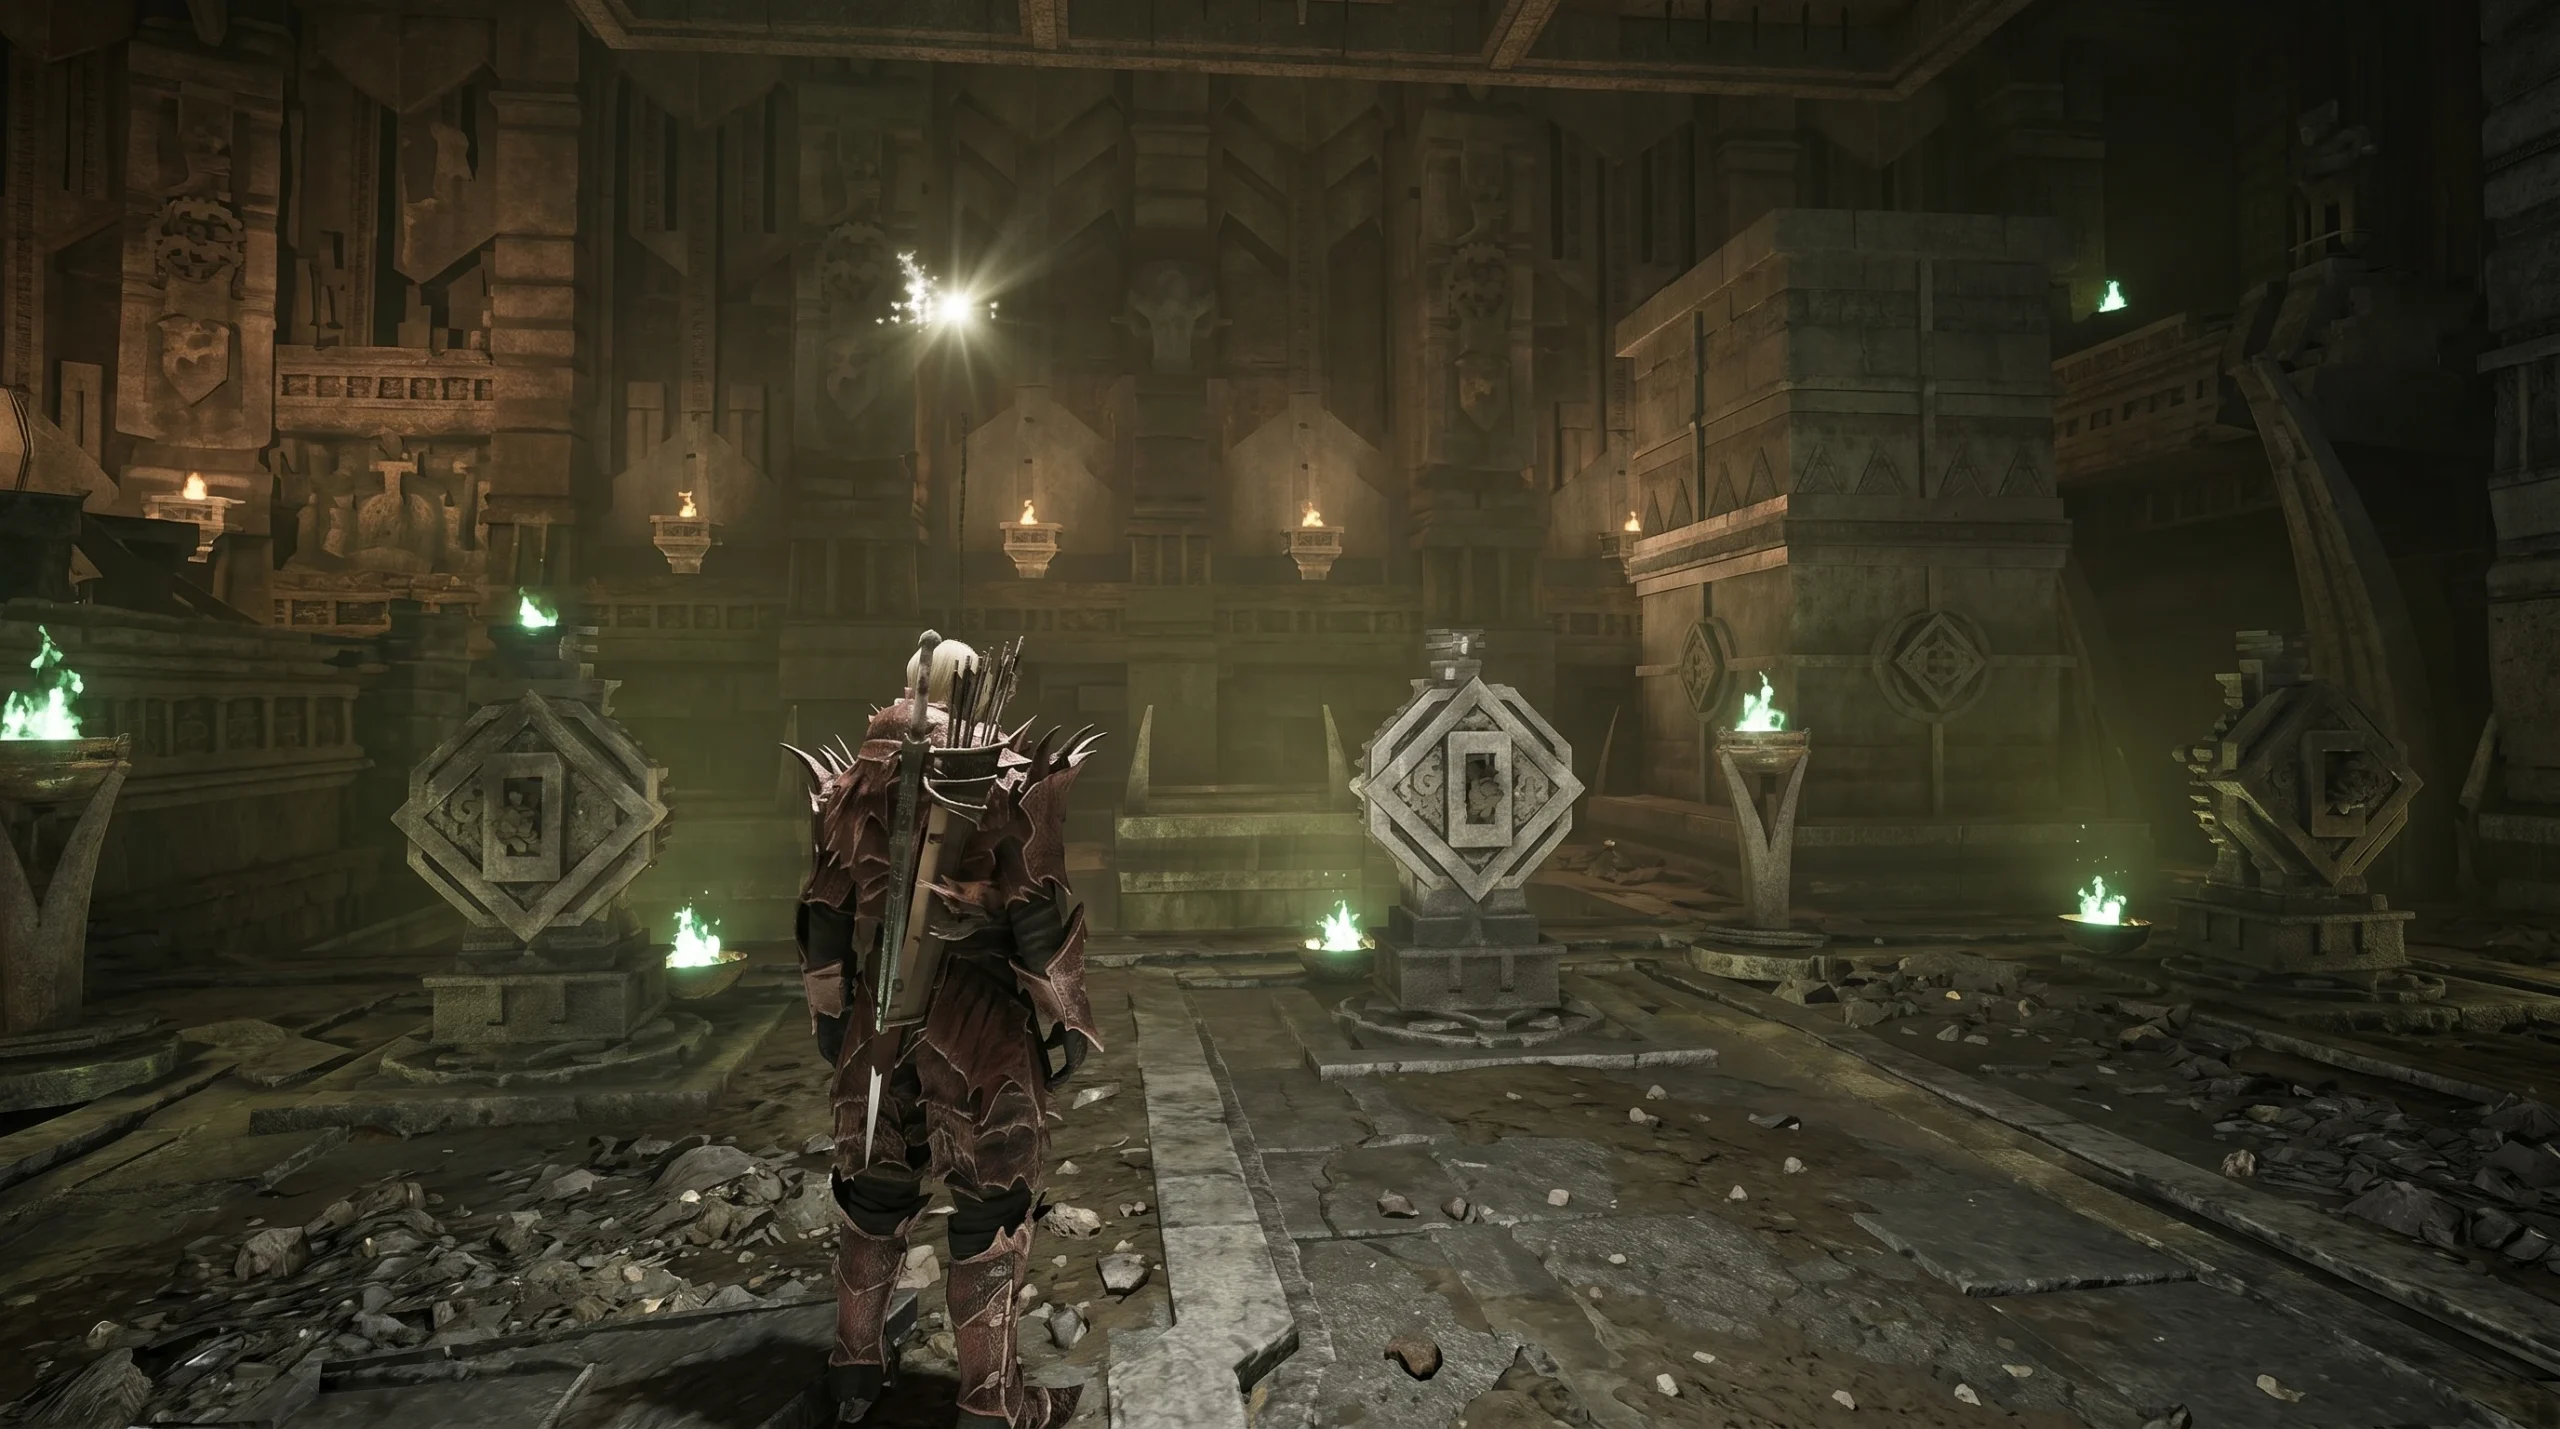
The first hall has a locked gate with three rotating wheels nearby, but the code comes from a separate room. Take the corridor past the broken pillar, go down the stairs, and you reach a room with three orc statues and several symbol-marked pillars around the walls.

Past the gate is another room with skeletons and a second Skeleton Mage. Clear it before working on the next puzzles.
Ring puzzle for the Lightbringer stone
From the second room, drop into the chasm and clear out the Minecrawlers below. Head forward, turn left at the wall, follow the path to the ledge, drop down, and climb the small ledges until you reach a room with blue flames set into the wall. Take the stairs to the left of the flames, go left at the top, and pass through the lightning hallway to the ring puzzle room.
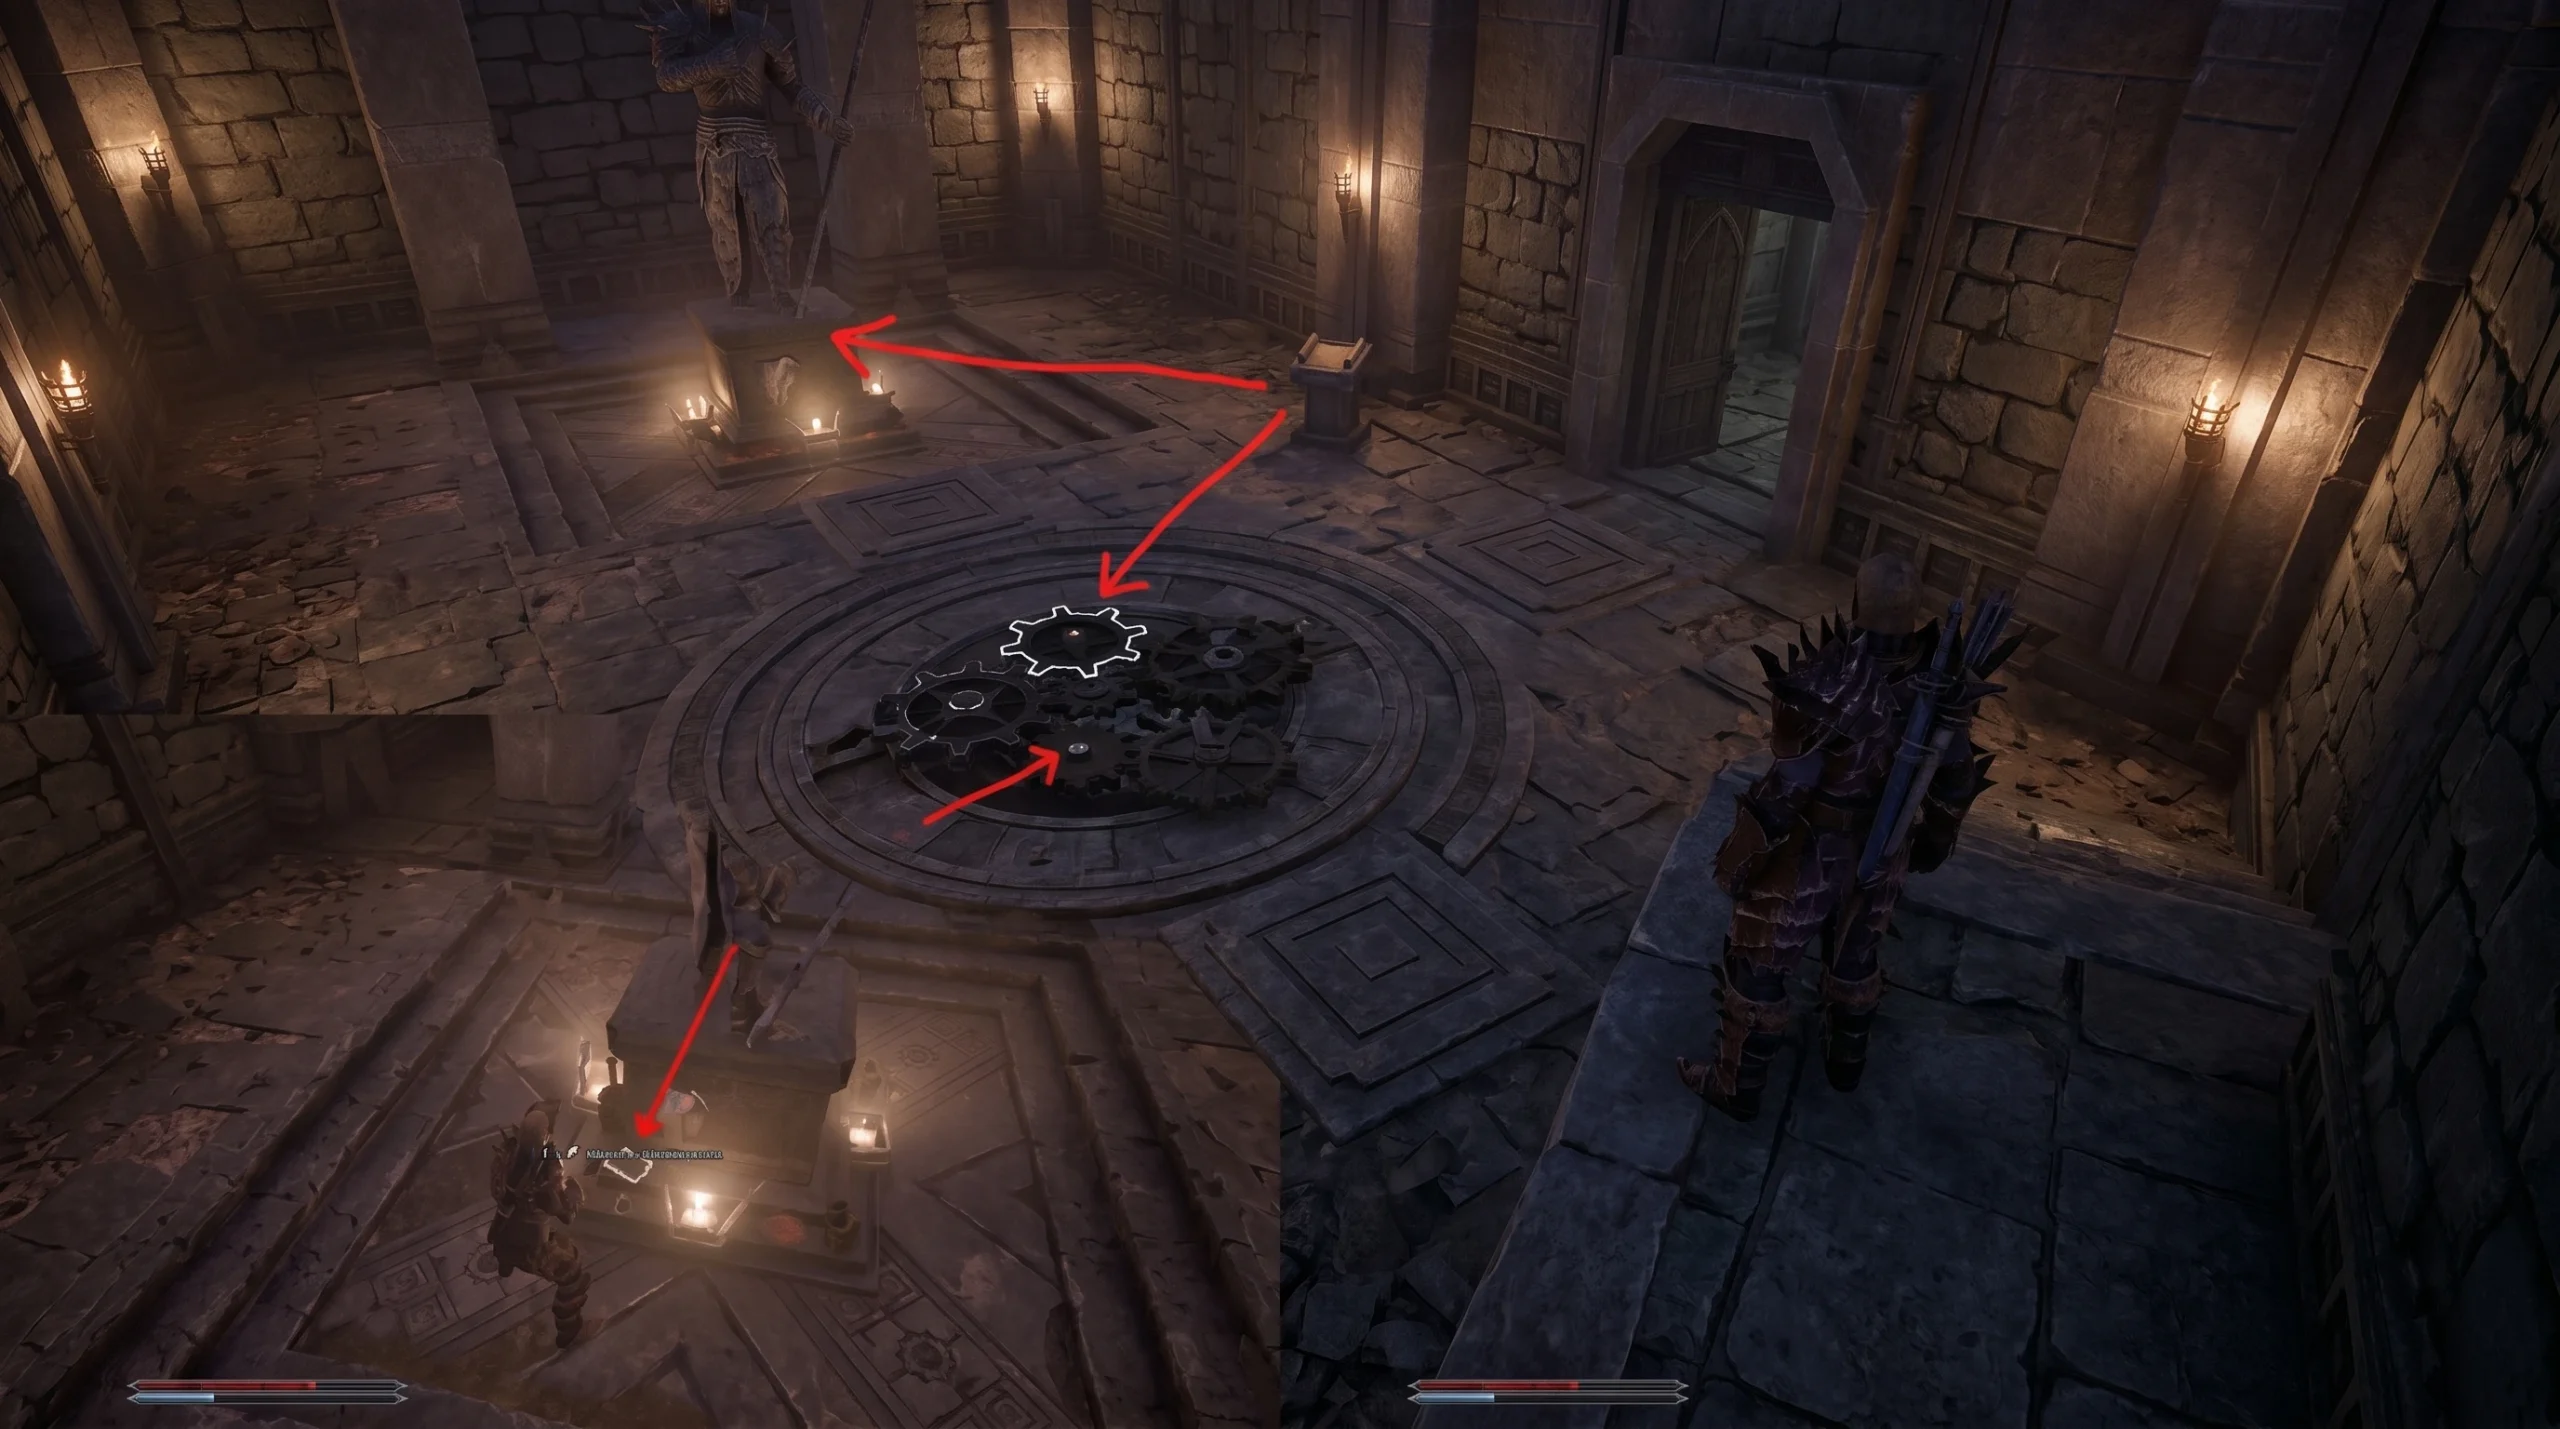
The floor shows a circular design split into rings. Four wheels control it. The wheel on the highest platform turns the inner ring, and the three lower wheels each rotate a section of the outer ring. Spin all four until every line of the pattern joins into one complete picture.
Tip: quicksave before you touch the final wheel. The moment the pattern aligns, Varrag Kasorg spawns and the fight starts instantly, with no chance to save first. Beat him and loot the Lightbringer.
Backtrack through the lightning hallway and continue to the ledge overlooking the chasm room, then drop down to return.
Get the Orc Lever and open the Worldcleaver door
Back at the chasm room, climb the stairs opposite the chasm and drop into the hole. A closed door sits ahead. Pull the lever on the right to open it, and kill the Temple Guard beyond. Past it is a room with three chests. The middle chest holds the Orc Lever you need for the platform puzzle.
Caution: at the two-lever door, the left lever opens a cell holding a Temple Guard, while the right lever opens the path forward. Match the symbol above the door to the correct lever if you want to avoid the extra fight.

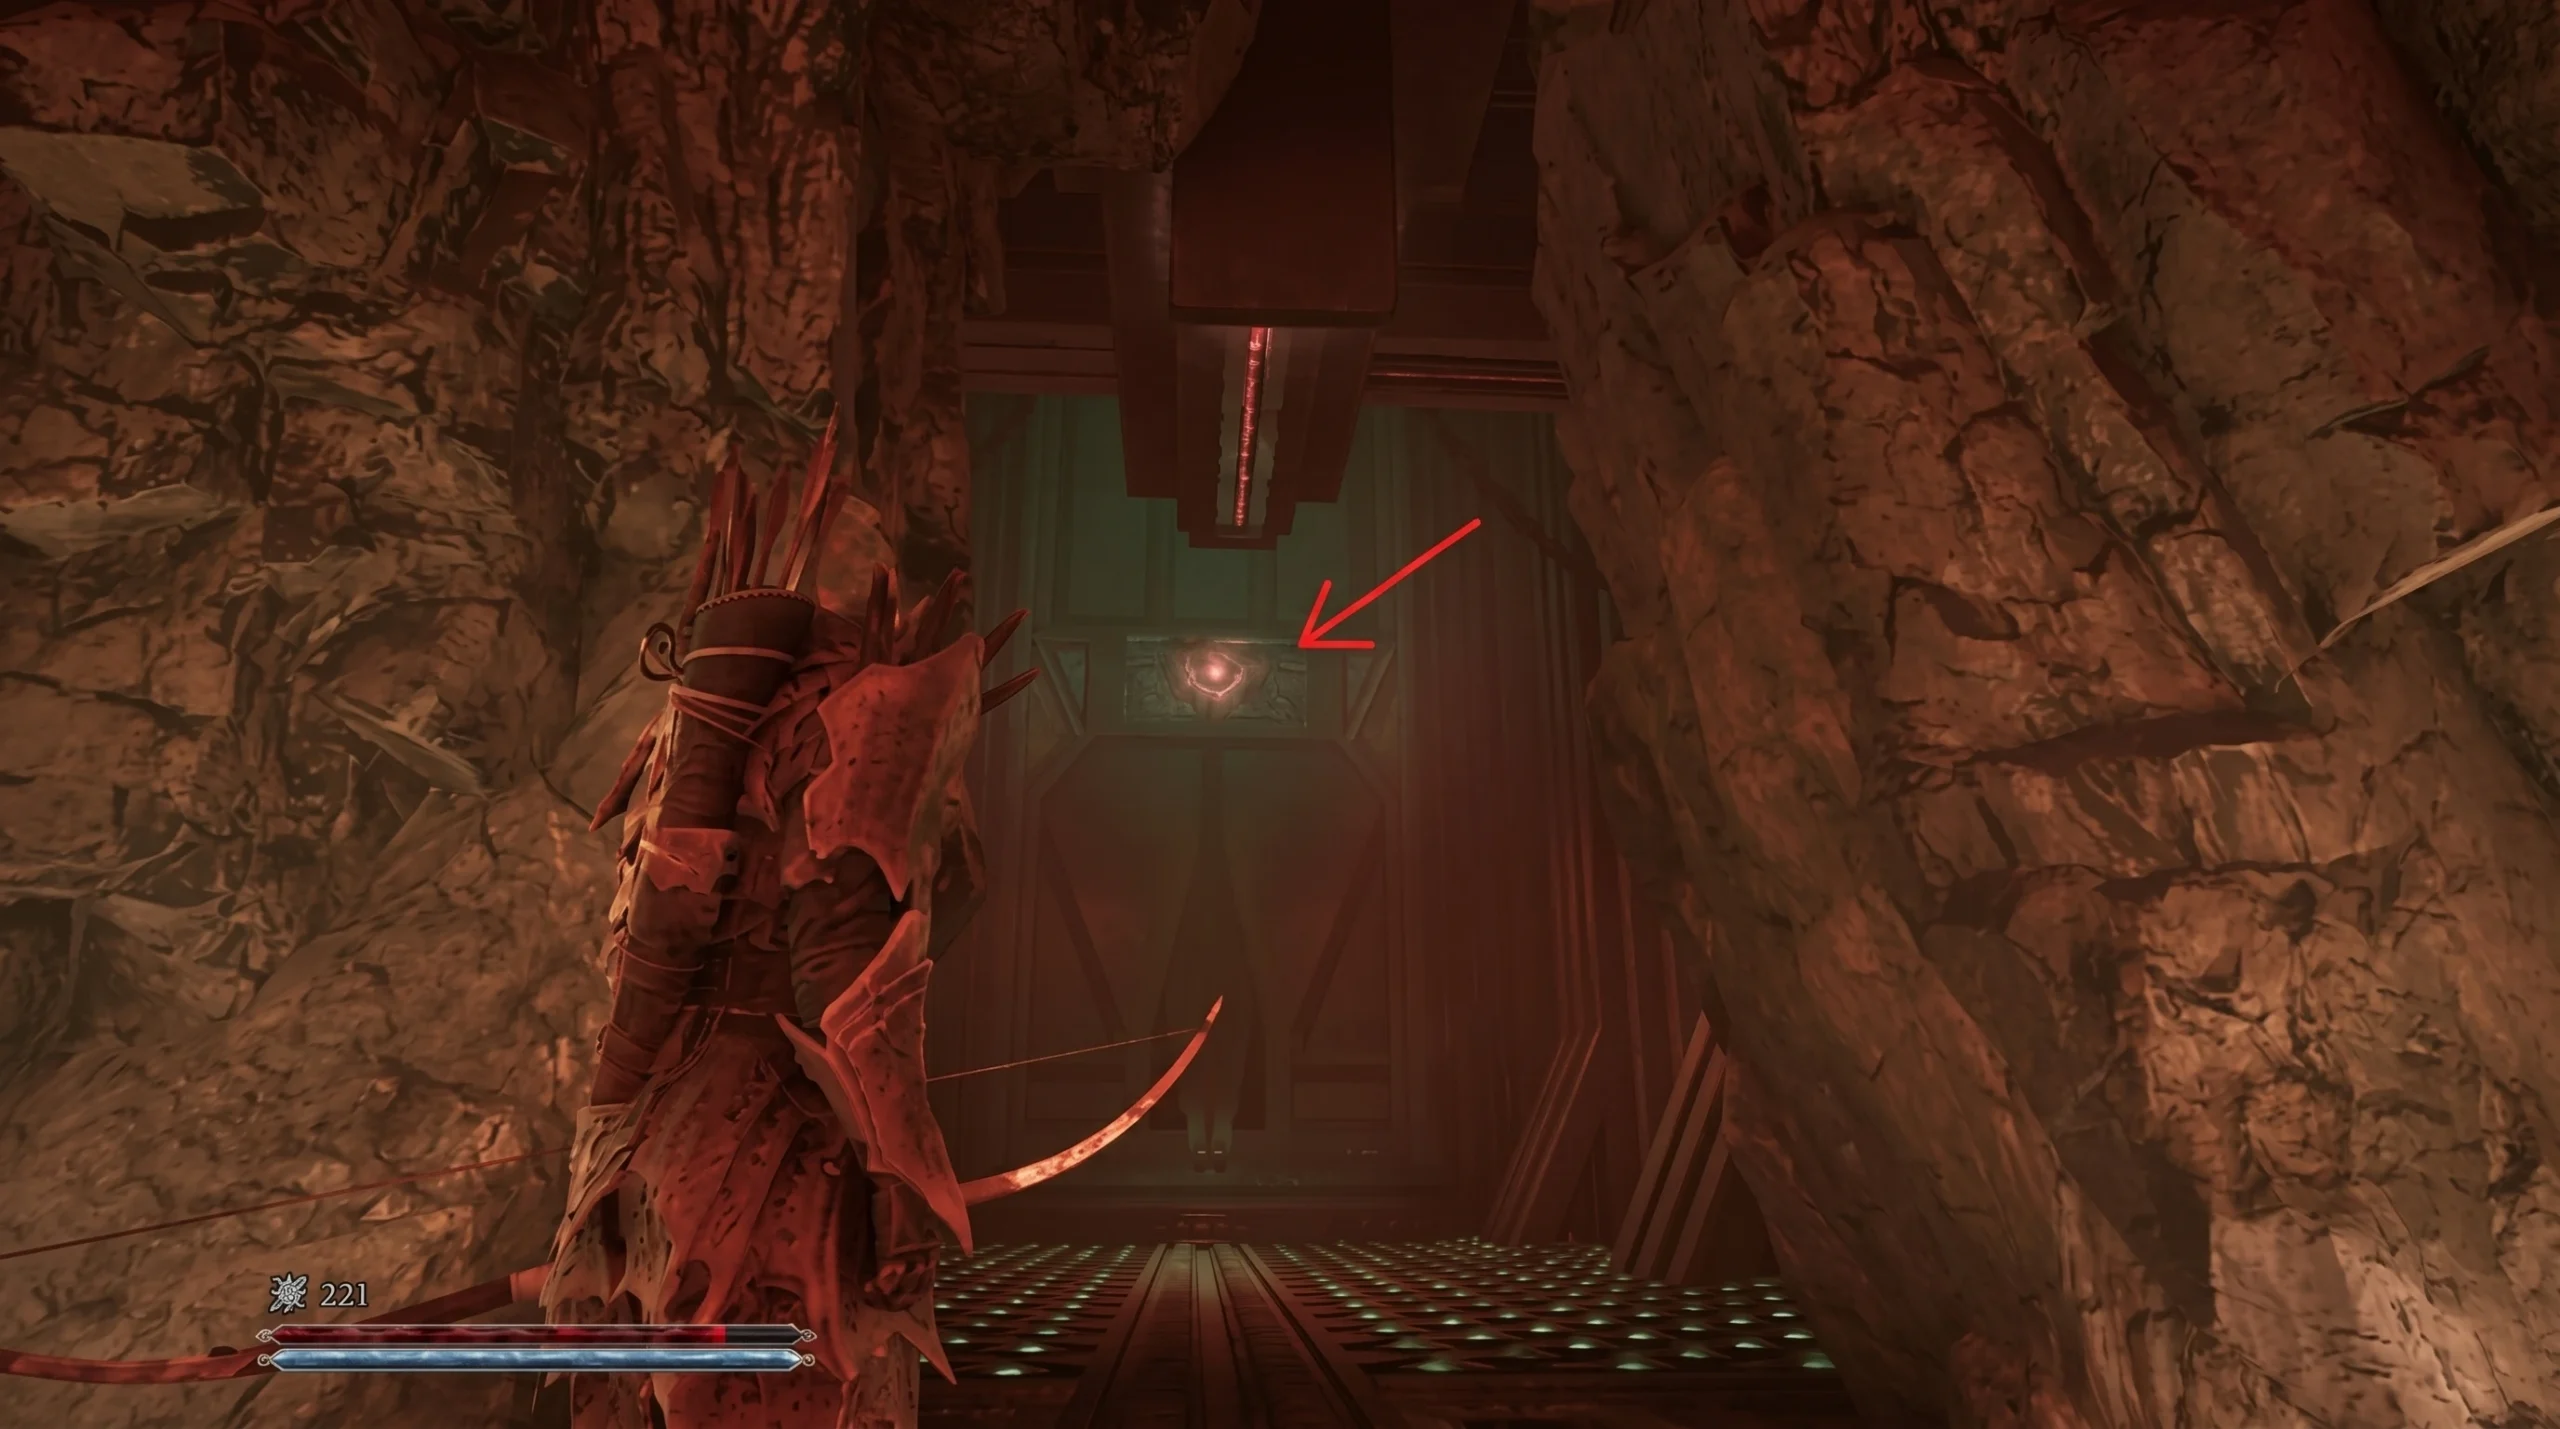
For the Worldcleaver stone, return to the room with the three mechanisms and find the closed door with a green glowing circle above it. Hit that circle with an arrow or magic bolt to open it, then go down the corridor to fight Varrag Hashor. His arena edges catch fire, so stay near the center. Loot the Worldcleaver from his body.
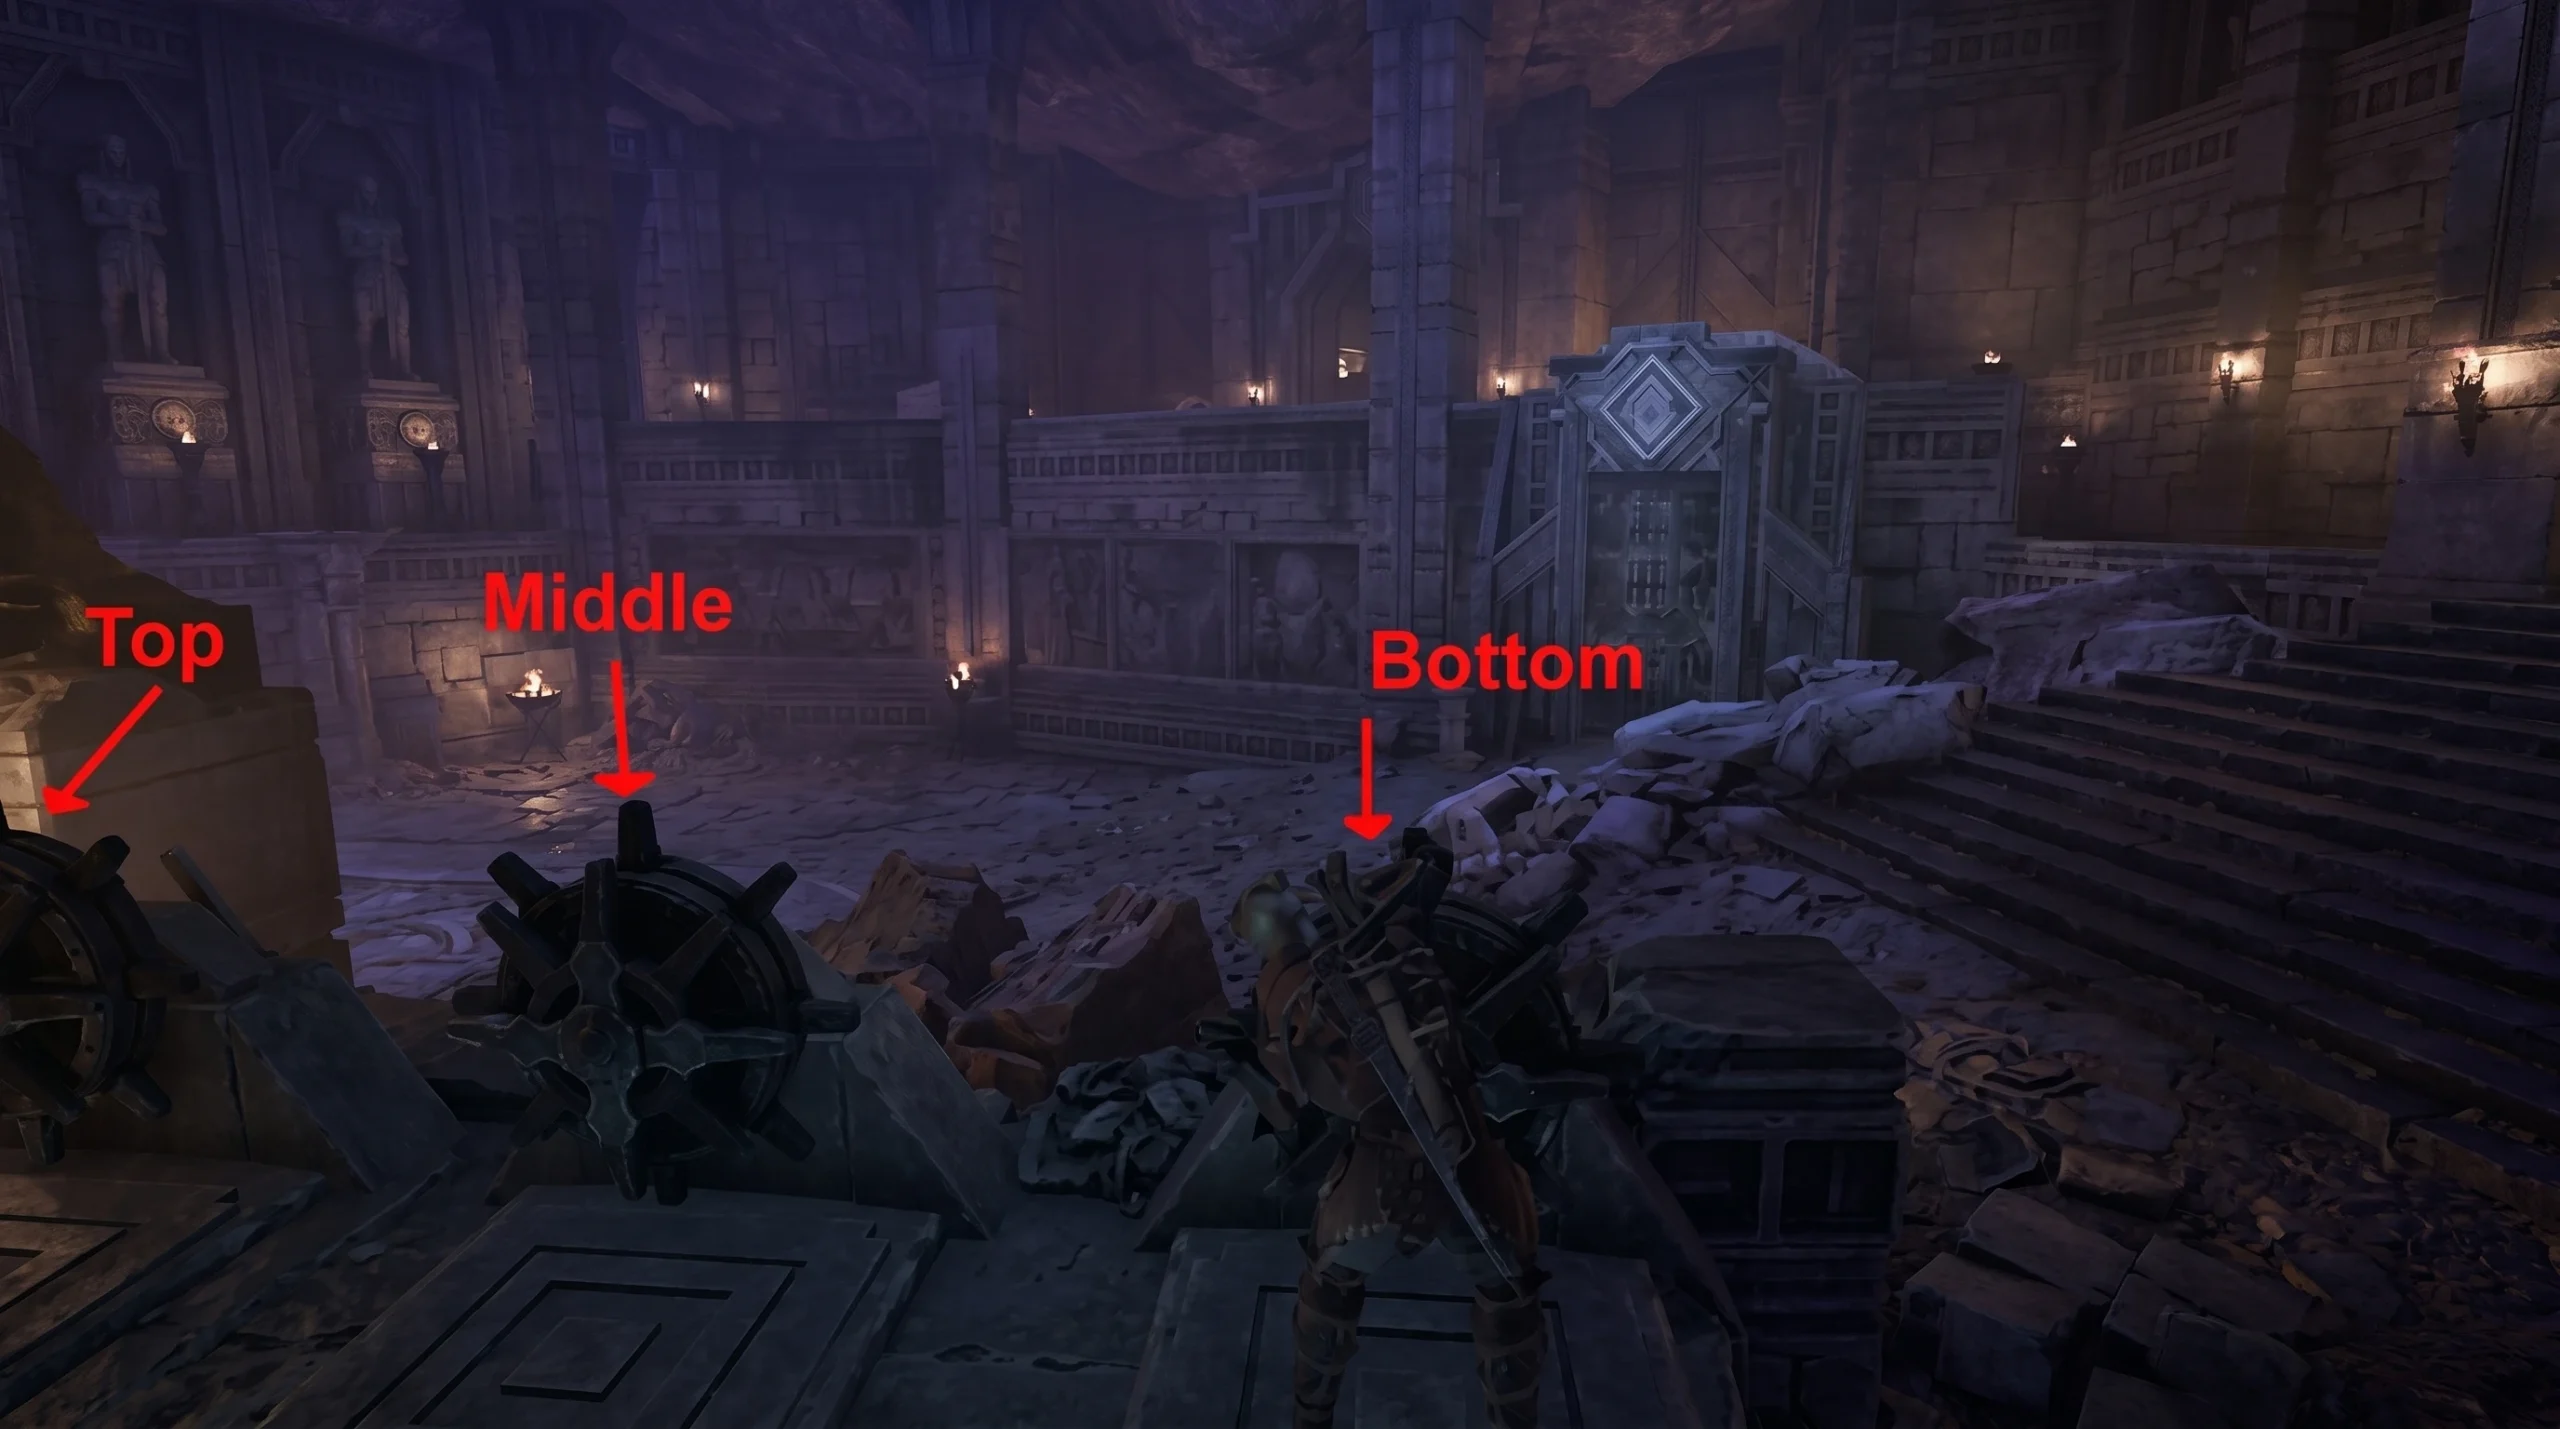
Rising platform puzzle and the Timesplinter stone
Three devices sit beside the chasm. The left one already has a lever. Insert the Orc Lever into the middle device. The trick is timing, because the platforms rise and then slowly sink, and the middle one falls faster than the left.
On the far side, descend the stairs on the left, clear the Temple Guards, and find the closed door with a red circle above it on the right. Shoot the circle to open it and fight Varrag Unhilqt for the Timesplinter stone.
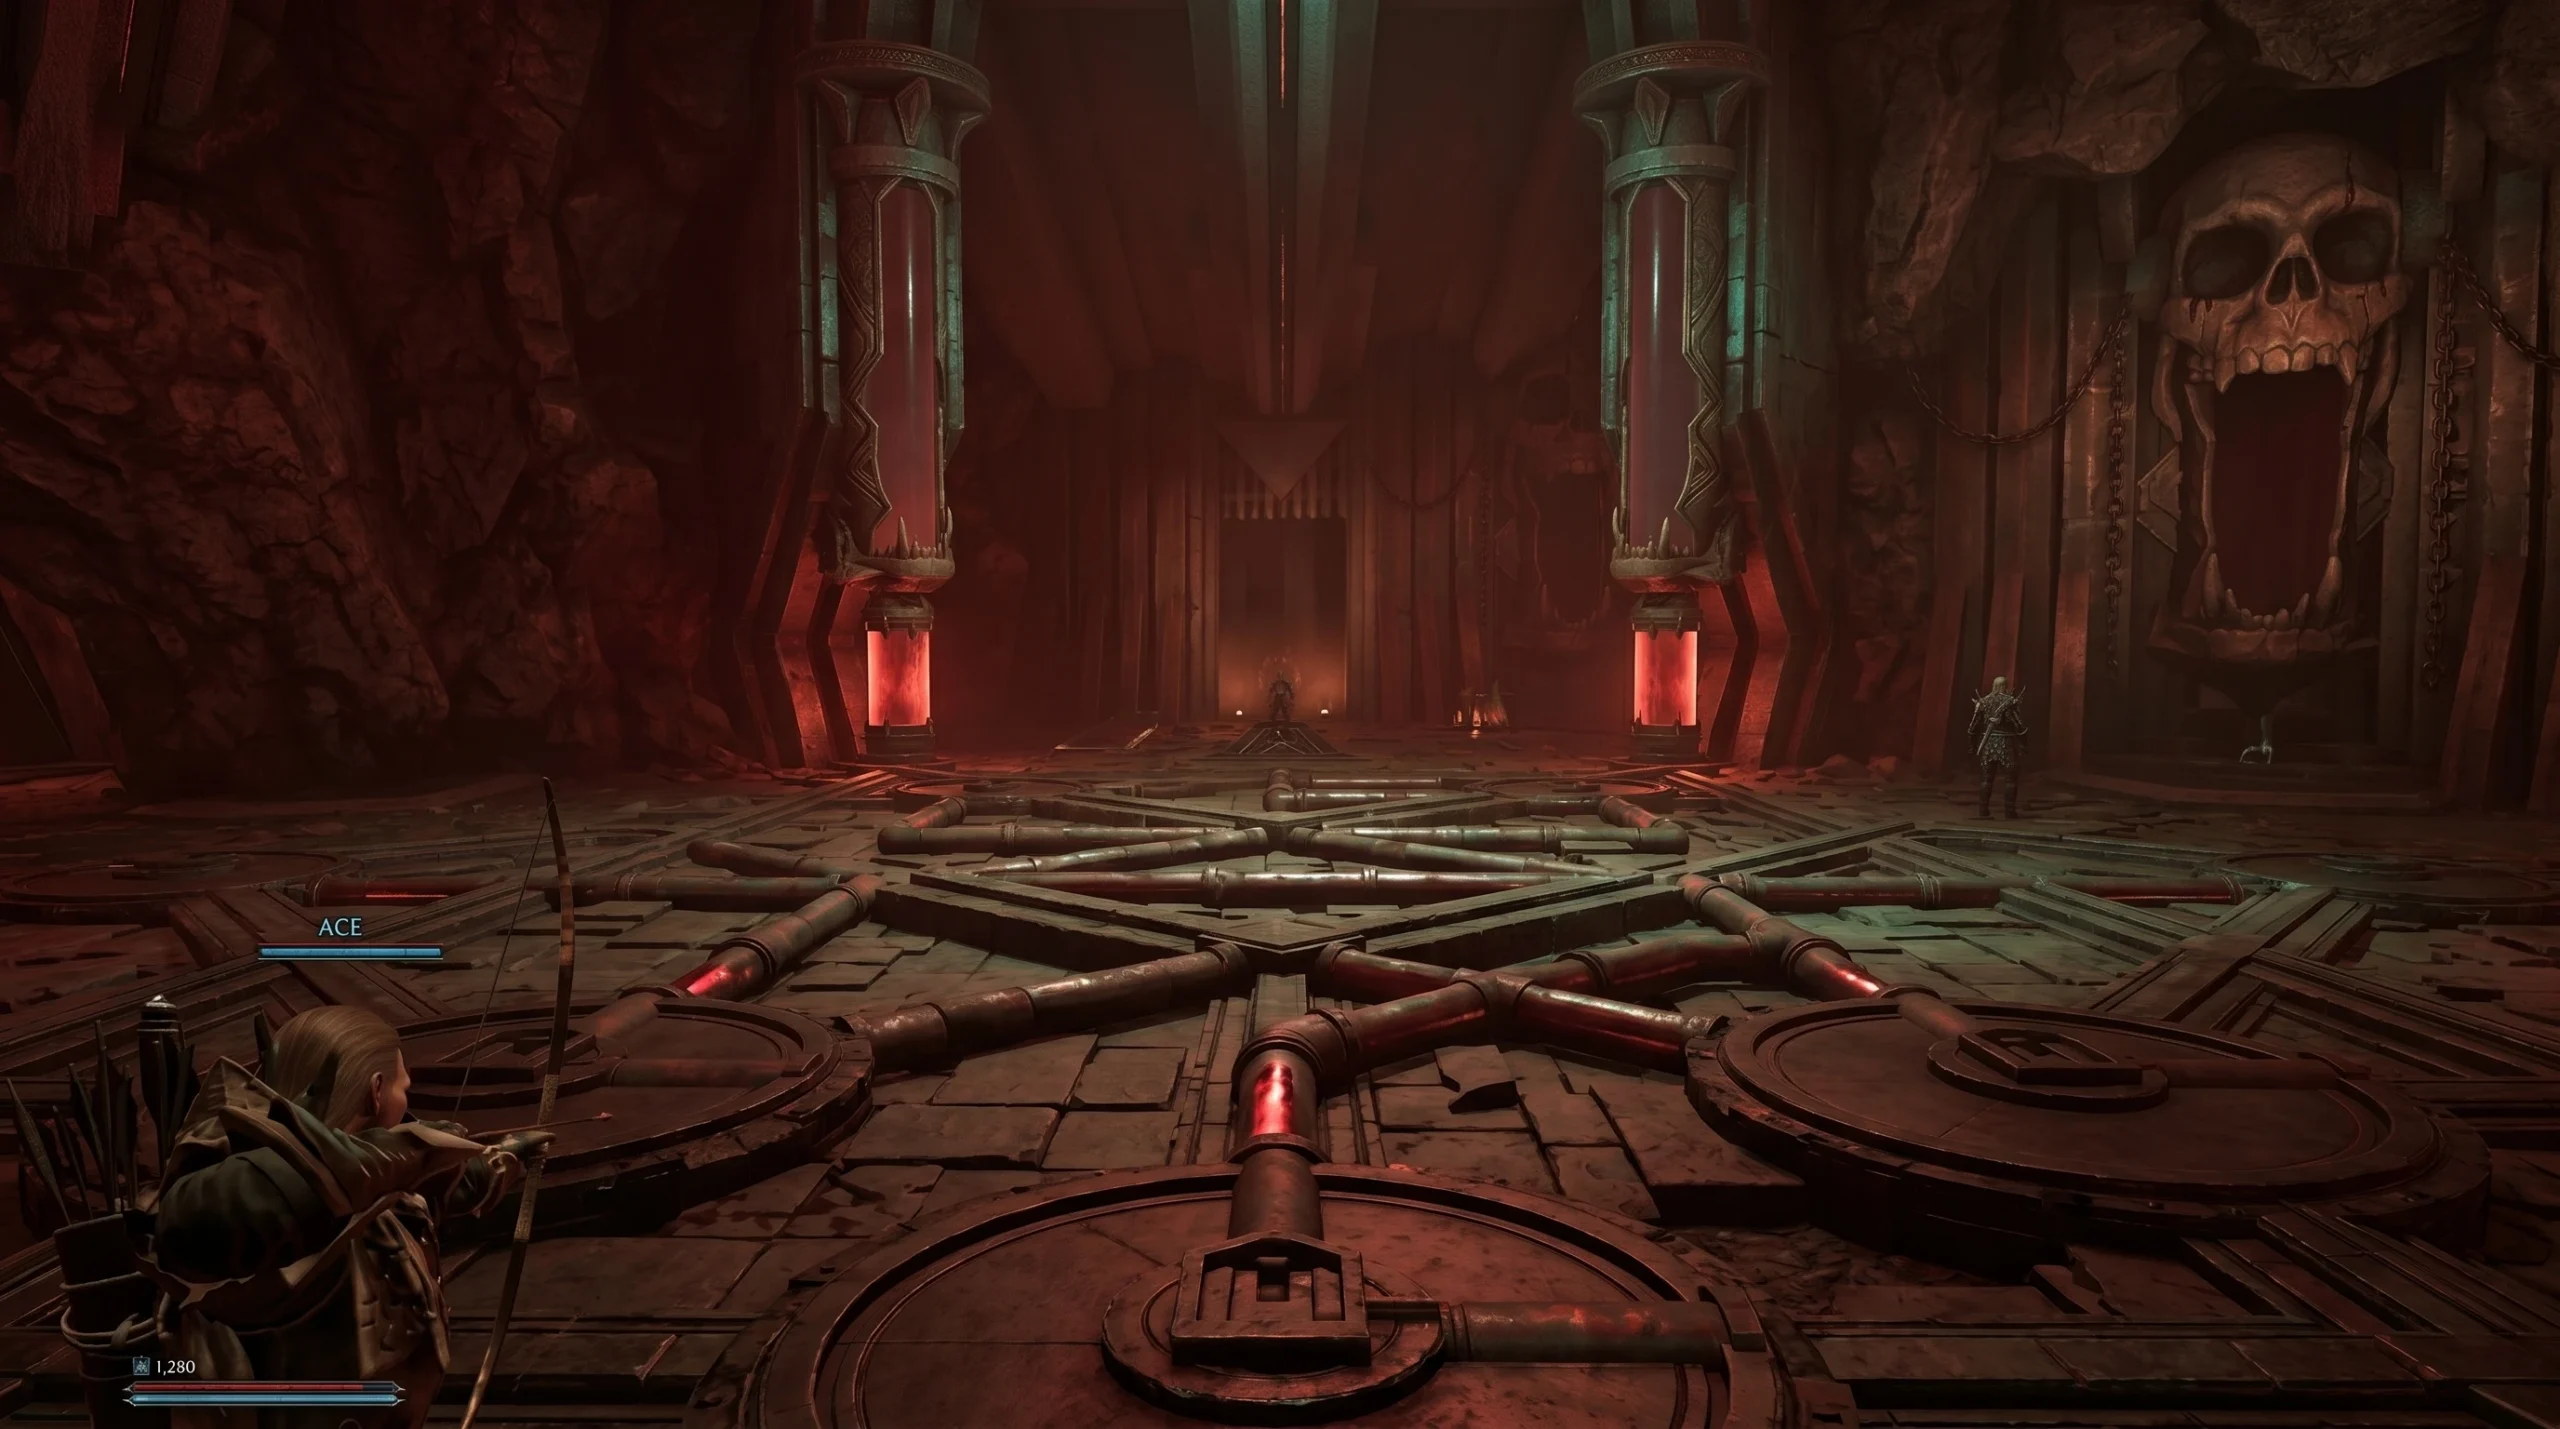
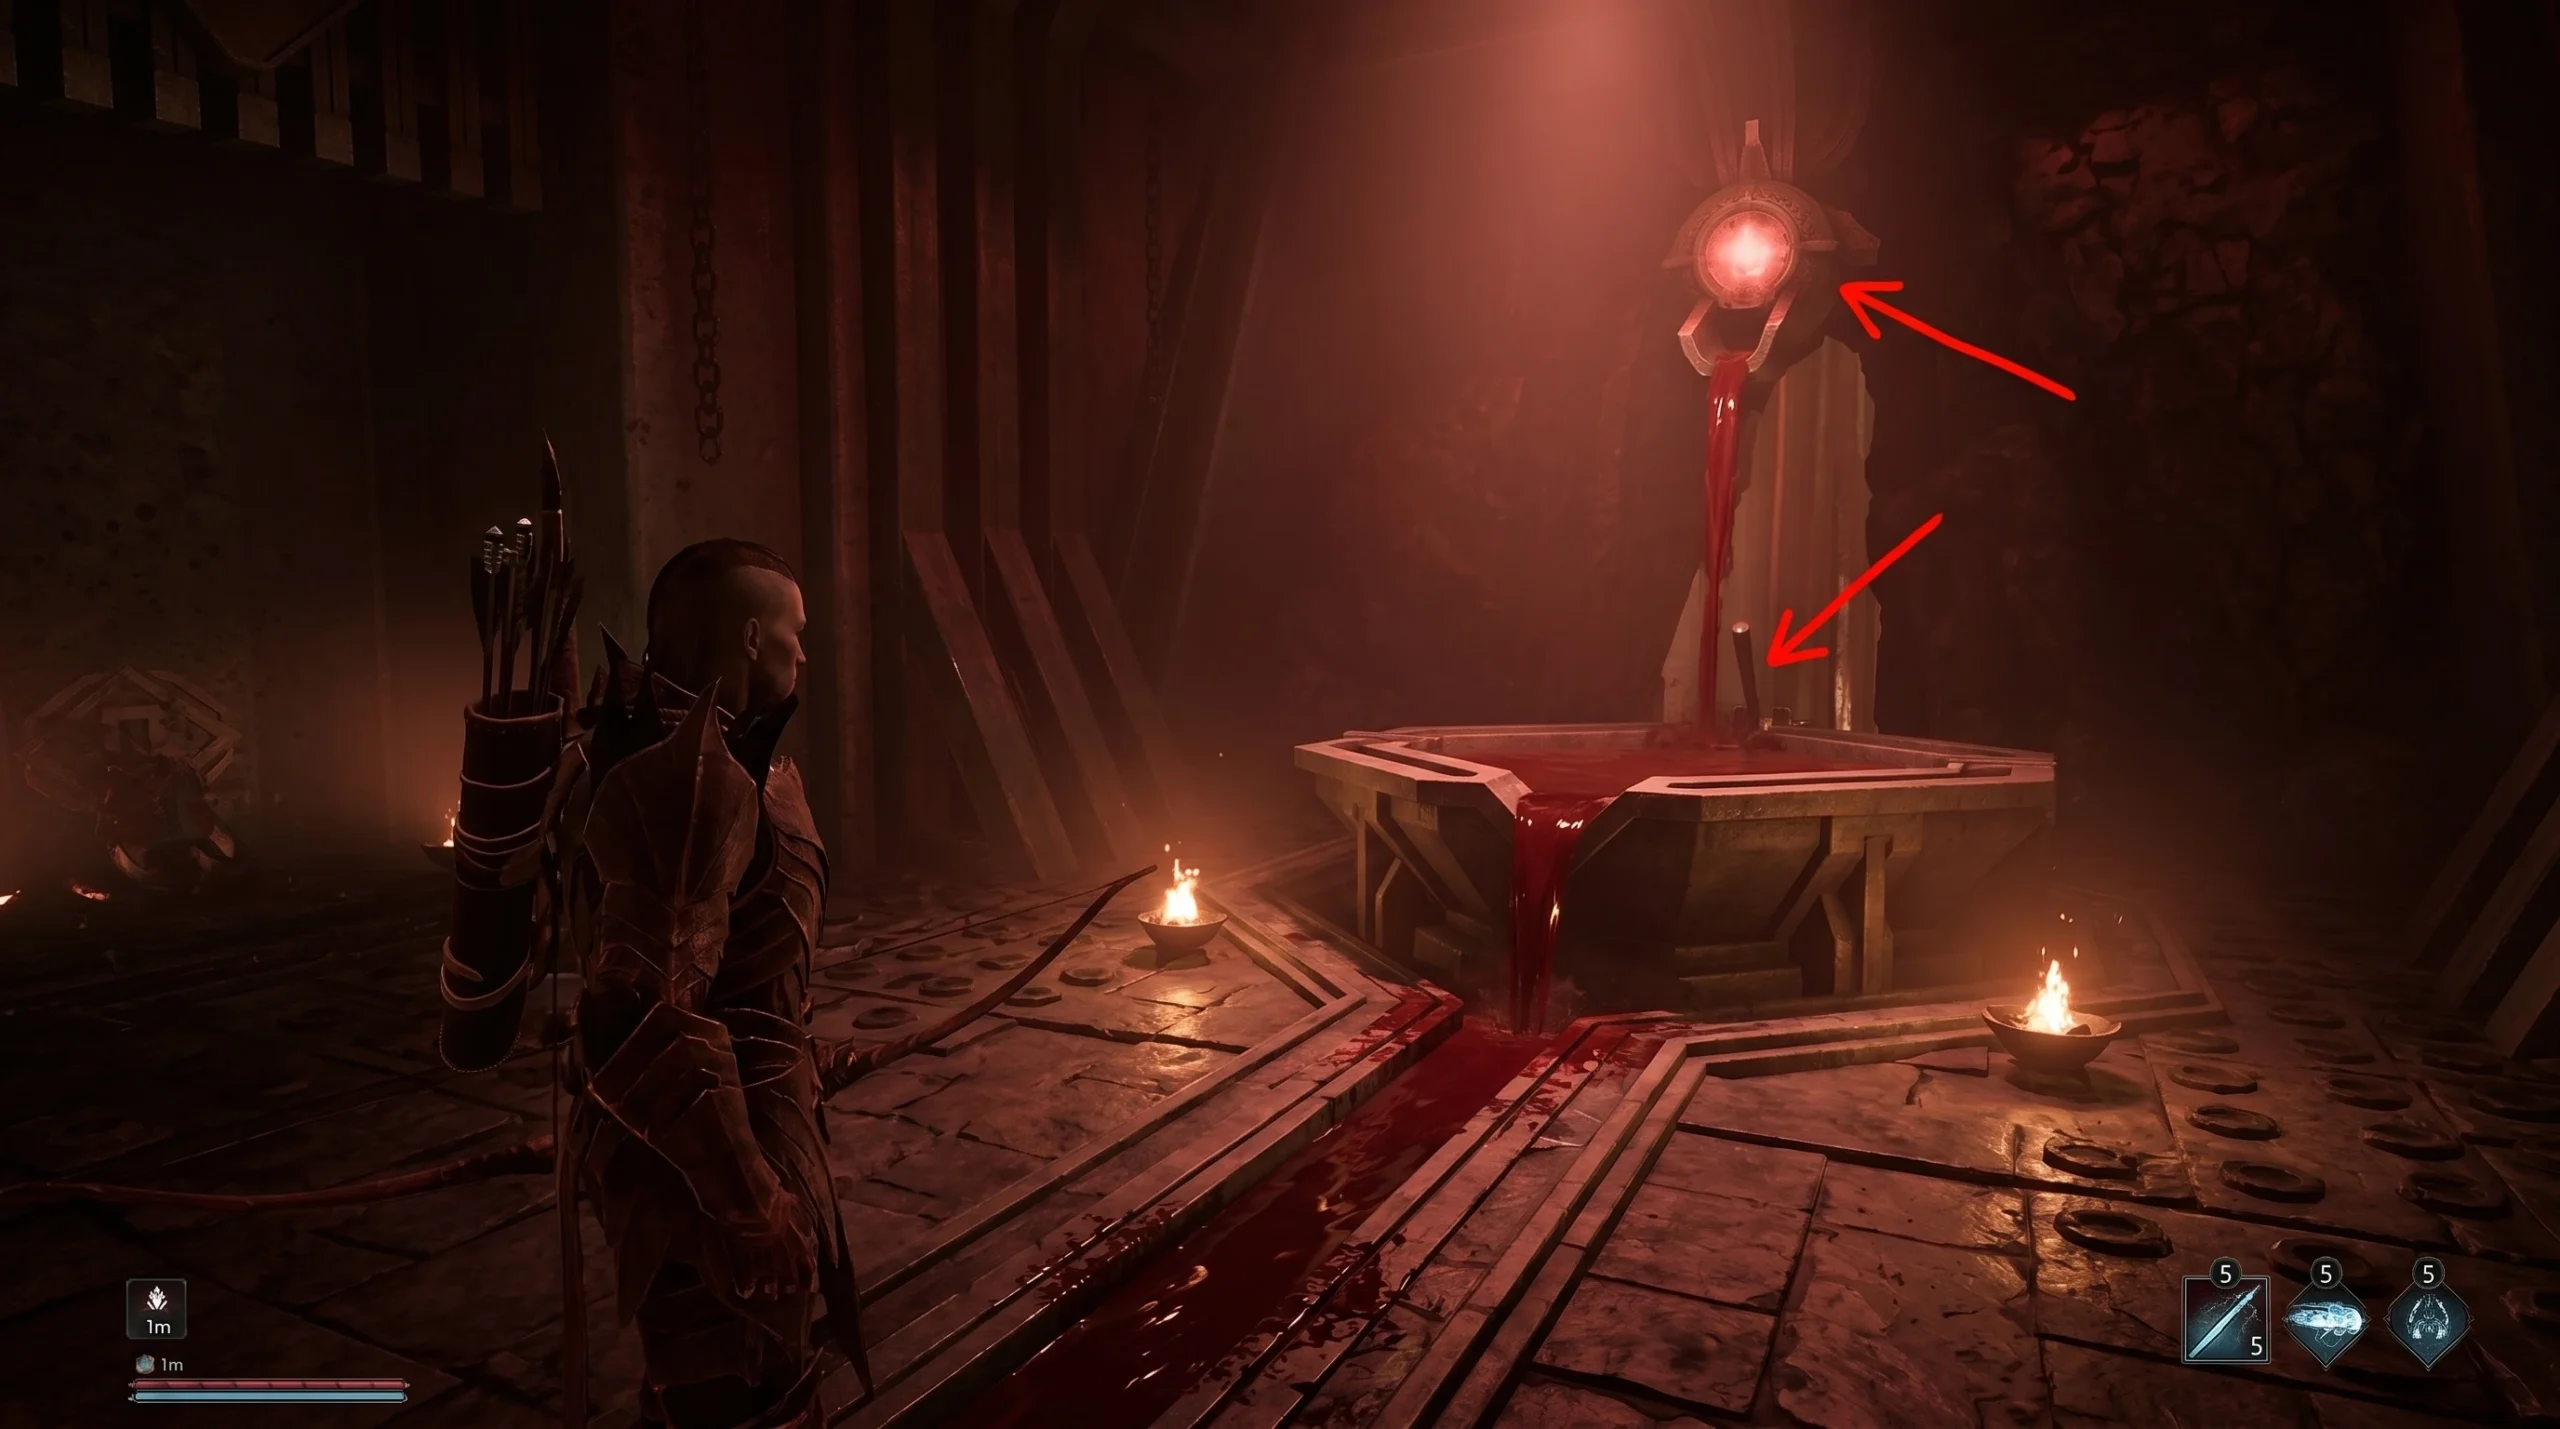
Blood fountain puzzle and the red barrier
Continue to the room with the red barrier and two Minecrawlers. The barrier only drops once blood from both side rooms reaches the central pool. Work each side in turn.
Lava machine, the Banstone, and Uriziel
Past the barrier, clear the Temple Guards and reach the room with doors on every side. The inner temple is a maze, so use the map. Two objectives remain here, the final two stones and the sword.
Take the left door, head down the stairs to the small bridge, then drop to the right of the bridge and follow the path to the giant lava machine. Push the post extending from it to lower the lava and open new routes.
For the Banstone, follow the path that circles the machine into the underground area. Climb the ledges on the right to a room with a metal gate and a wheel. Turn the wheel to raise the gate, beat the Temple Guards, then go up the stairs to a second wheel that raises a larger gate. Follow the tunnel to its end to fight Varrag Arushat. He has more health and hits harder than the earlier shamans. Loot the Banstone from him.
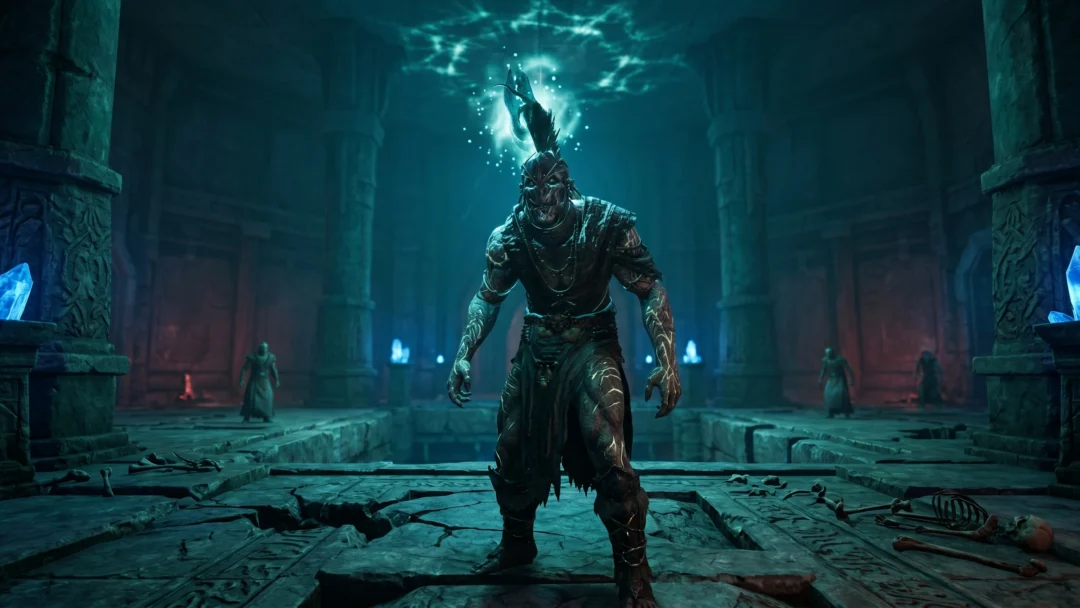
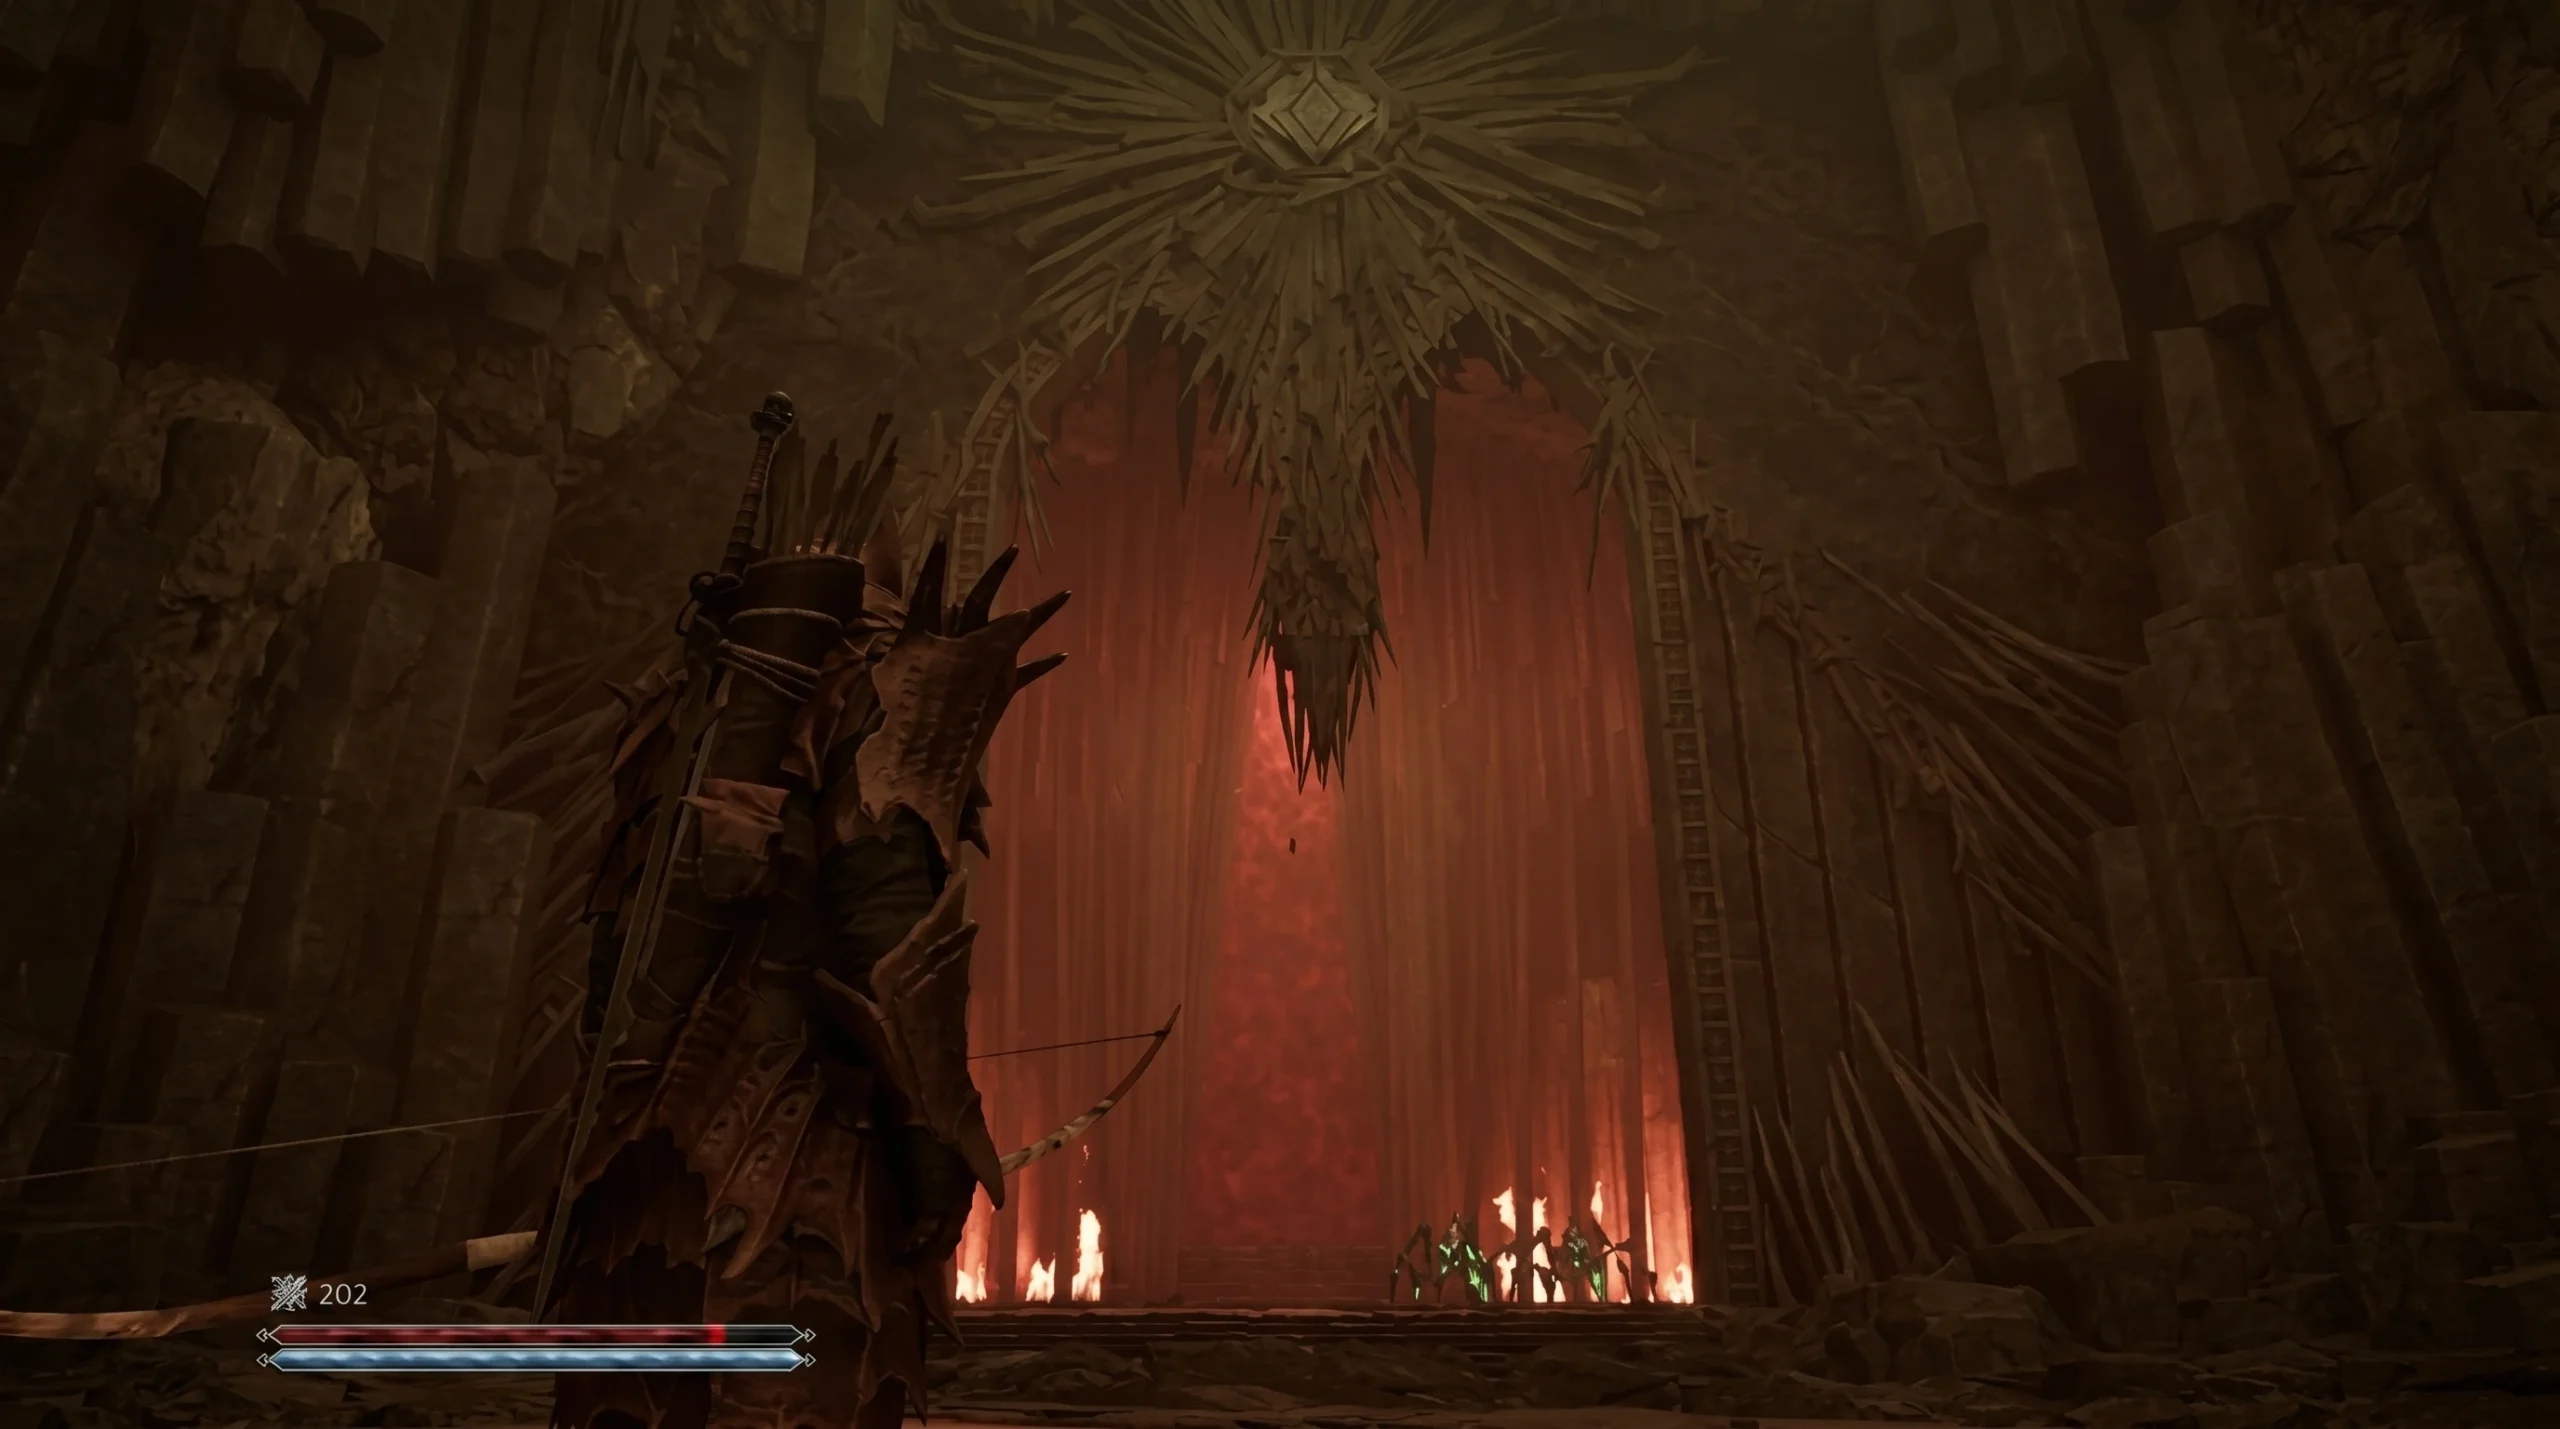
For the final stone and the sword, return to the room with the many doors and go through the large purple gate. Inside is an open chamber of lava with a stone platform in the center, ringed by a rocky path. Three Demon Lords wait in side chambers along that path. Defeat all three, and their souls raise a bridge to the central platform.
Cross the bridge and fight Varrag Ruuushk, the last shaman. He drops the Fiendeye stone, and Uriziel materializes on the platform. Take both.
Finish the quest at Xardas
Before leaving, confirm you are holding all five stones, Worldcleaver, Lightbringer, Timesplinter, Banstone, and Fiendeye, plus Uriziel. The Fiendeye and Banstone are the easiest to skip, so double-check your inventory. The deepest barrier near the Sleeper itself cannot be broken yet, so there is no progress to miss by leaving now.
Use a teleport rune to return to the surface, then travel to Xardas’s tower. Hand him the sword and the stones, and he fits them into Uriziel. The Dreamer’s Nightmare ends here, and the journal updates to point you toward restoring the sword’s power. If the quest will not close, you are missing a stone and need to return to the temple to claim the one you skipped.