
Pharloom is sprawling, layered, and happy to let you wander straight into brick walls. If you’d rather chart a confident path, here’s a progression order that front‑loads fast travel and movement skills, trims dead ends, and lines up key bosses and vendors. It’s written to be spoiler‑light and ability‑driven, and it carries you from the opening fall through the Act 1 gate into the Citadel. If you’re new, you’ll find the pace gentler; if you’re experienced, it minimizes backtracking without skipping meaningful rewards.
For context or a refresher on the game itself, start with the official site.
The short version (area order)
- Moss Grotto → Bone Bottom → The Marrow (and Mosshome) → unlock Silkspear → free the Bell Beast
- East Marrow → boss and shortcut → Deep Docks → unlock dash/sprint (commonly called “Swift Step”)
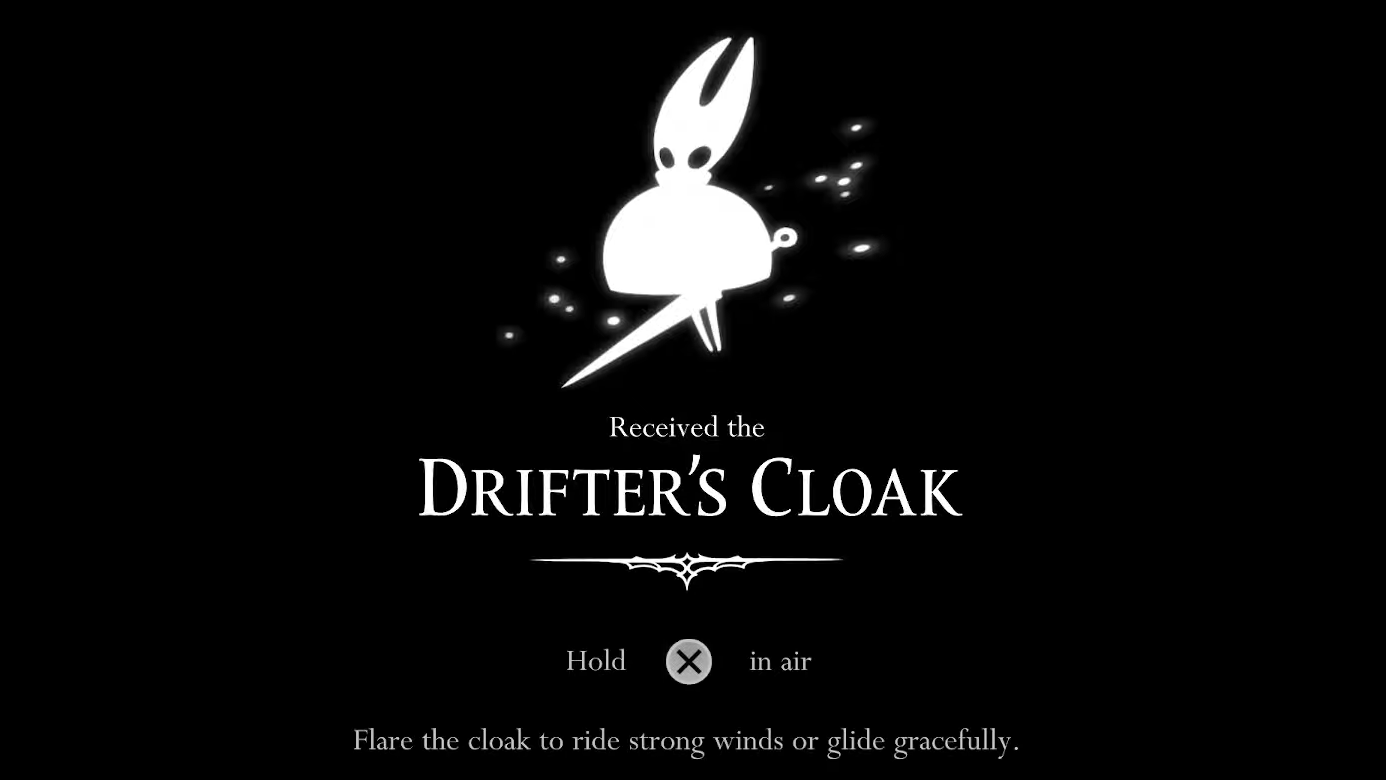
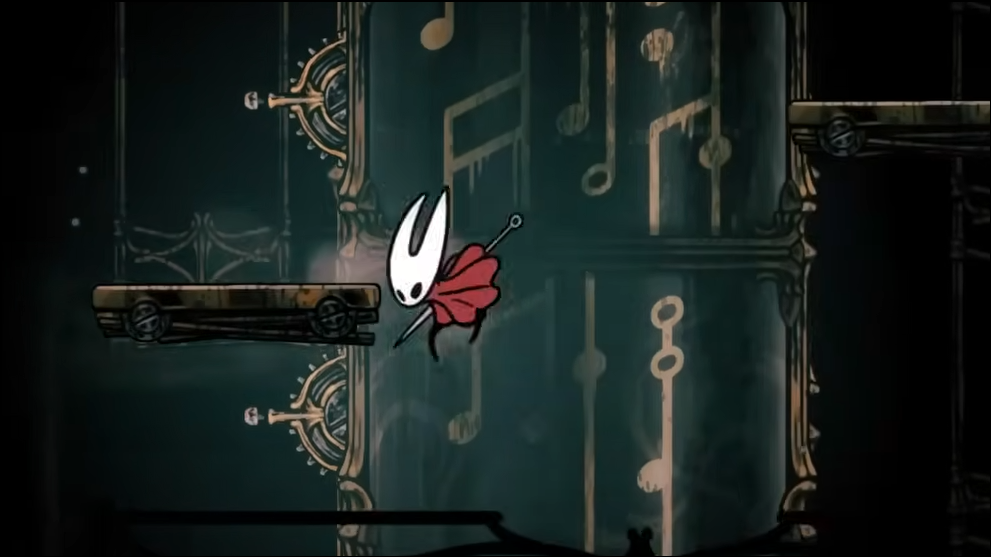
- Far Fields → Seamstress quest → Drifter’s Cloak → Fourth Chorus
- Ride the updraft to Greymoor → Halfway Home → Moorwing → tunnel to Bellhart (cursed pass‑through)
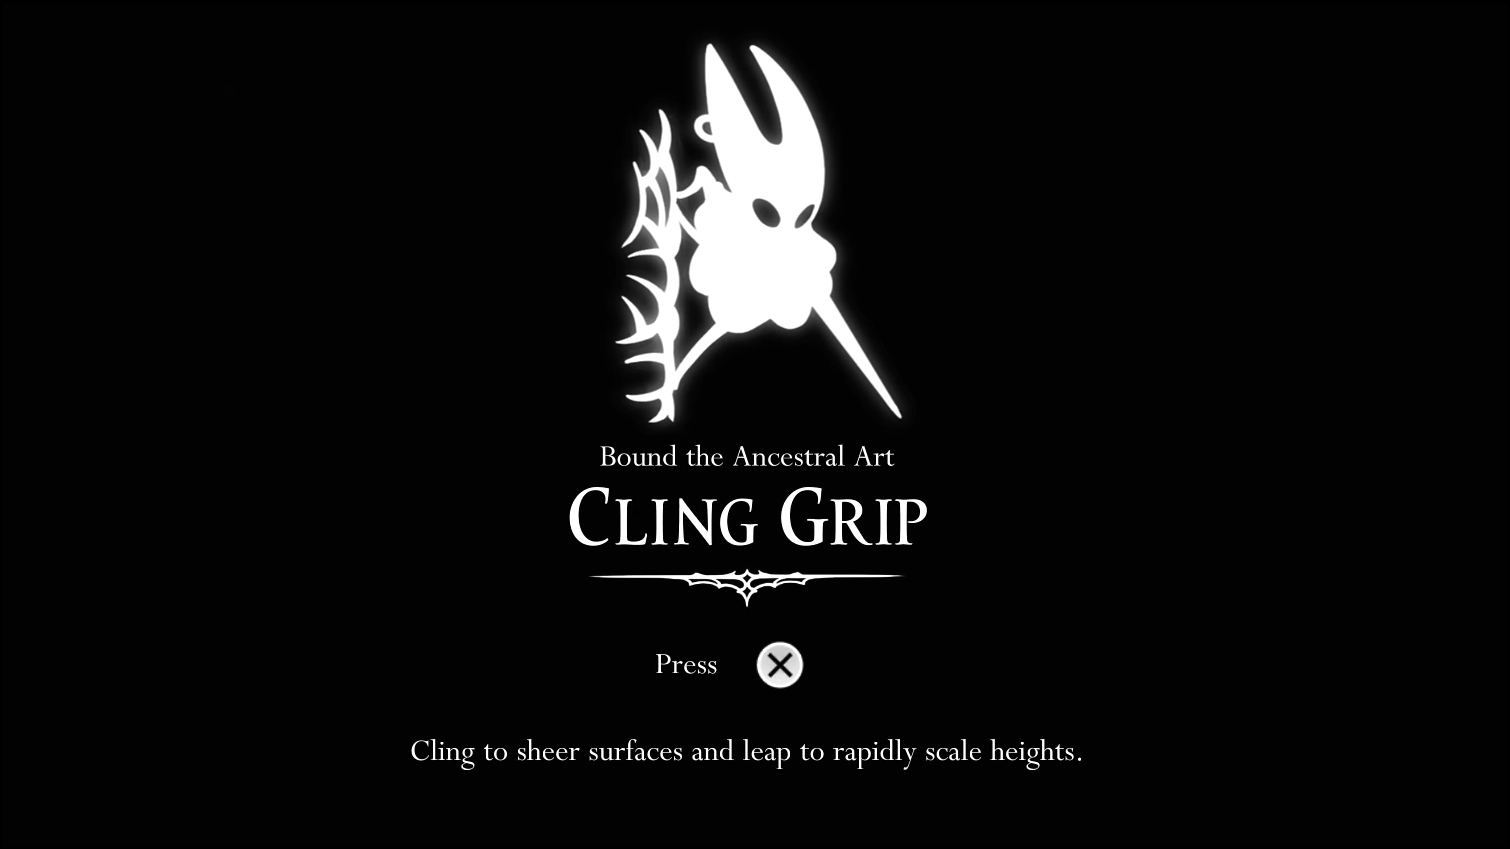
- Shellwood → Cling Grip
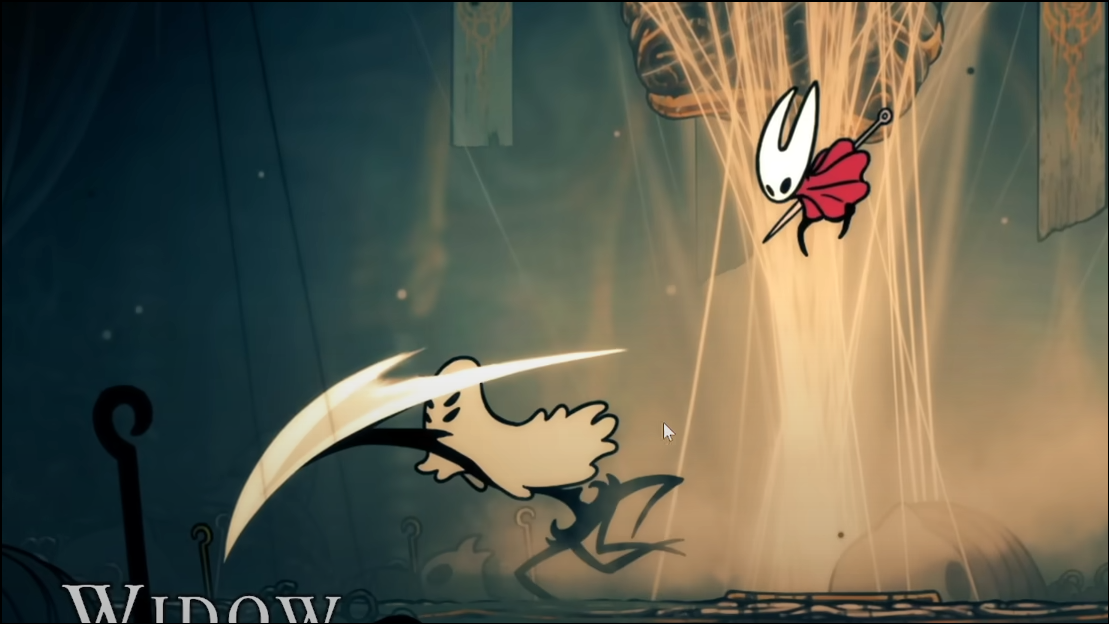
- Return to Bellhart upper → Widow → Needolin (town freed)
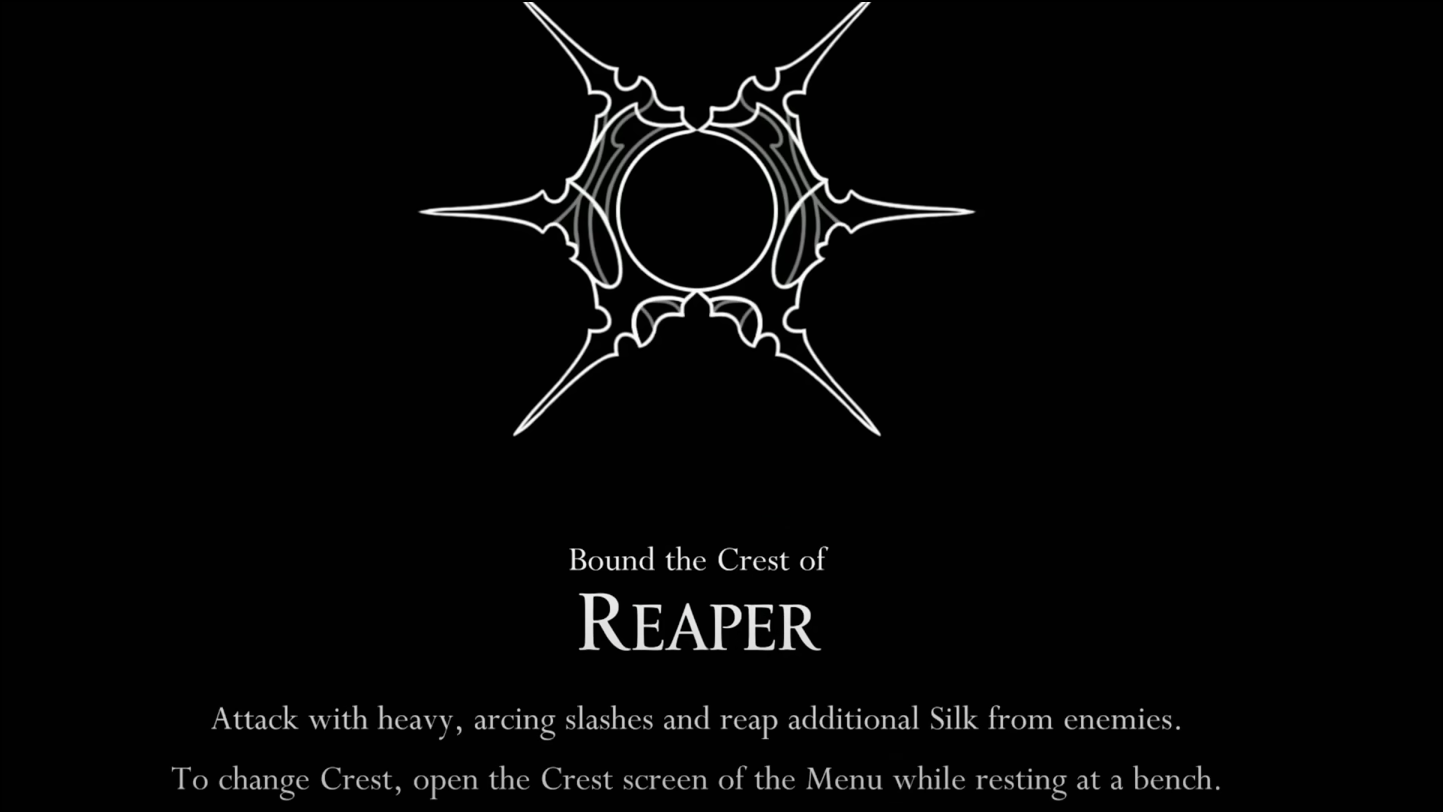
- Optional detours when convenient: Greymoor’s Chapel of the Reaper (Reaper Crest), Wormways (Wanderer Crest), Hunter’s March (Beast Crest)
- To the Act 1 gate: Blasted Steps (easier) or Sinner’s Road (harder) once five bells are rung and you have Needolin
| Stage / Area | Key Goals / Unlocks | Movement Upgrades / Tools Gained | Optional Detours / Advisable Extras |
|---|---|---|---|
| Moss Grotto → Bone Bottom | Start → first boss (Moss Mother); reach Bone Bottom; find merchant & bell station | — | — |
| The Marrow & Mosshome | Unlock map, Quill, Compass from Shakra; unlock elevator shortcut; get Silkspear; free Bell Beast (fast travel & restore Silk regen) | Silkspear | — |
| East Marrow → Boss & Shortcut → Deep Docks | Clear eastern passages; activate shortcut to Docks | — | Collectibles like Craftmetal, useful tools; Flea Caravan rescue thread |
| Deep Docks | Unlock dash/sprint (Swift Step); meet Forge Daughter; first Lace battle; activate local bell | Dash / Sprint | — |
| Far Fields | Earn Drifter’s Cloak (glide via rising air); fight Fourth Chorus; buy map / bell when possible | Drifter’s Cloak | Seamstress quest; Bench & Bellway; careful of lava hazards |
| Greymoor (Ride updraft → Halfway Home → Moorwing → Bellhart) | Buy Greymoor map; get power‐ups, tools, and Silk Skills; defeat Moorwing to open tunnel to Bellhart | Thread Storm + Threefold Pin (from Greymoor east); Glide improvements | Optional: Chapel of the Reaper; East vs West path choices; lost fleas etc. |
| Shellwood → Bellhart upper → Widow → Needolin | Get Cling Grip; return to Bellhart; defeat Widow boss; free town; obtain Needolin (gate opening tool) | Cling Grip | — |
| Act 1 Gate Paths | With Needolin + five bells, choose path to the gate: Blasted Steps (easier) or Sinner’s Road (harder) | — | — |
| Early Act 2 (brief preview to show next movement tool) | Via the Act 1 gate, enter Underworks, reach Choral Chambers, ring bell; in Underworks get Clawline; progress to Cogwork Core top half; unlock double-jump cloak later | Clawline (grappling); double-jump cloak | — |
Moss Grotto → Bone Bottom
Push left from the crash site and climb your way up. The route is linear, culminating in your first boss (Moss Mother). After the fainting scene, you’ll meet Chapel Maid and walk right into Bone Bottom. Sit at the Bench, meet the merchant, and note the dormant bell station you’ll use later. When you’re ready, head right toward The Marrow.

The Marrow and Mosshome: maps, shortcut, Silkspear, fast travel
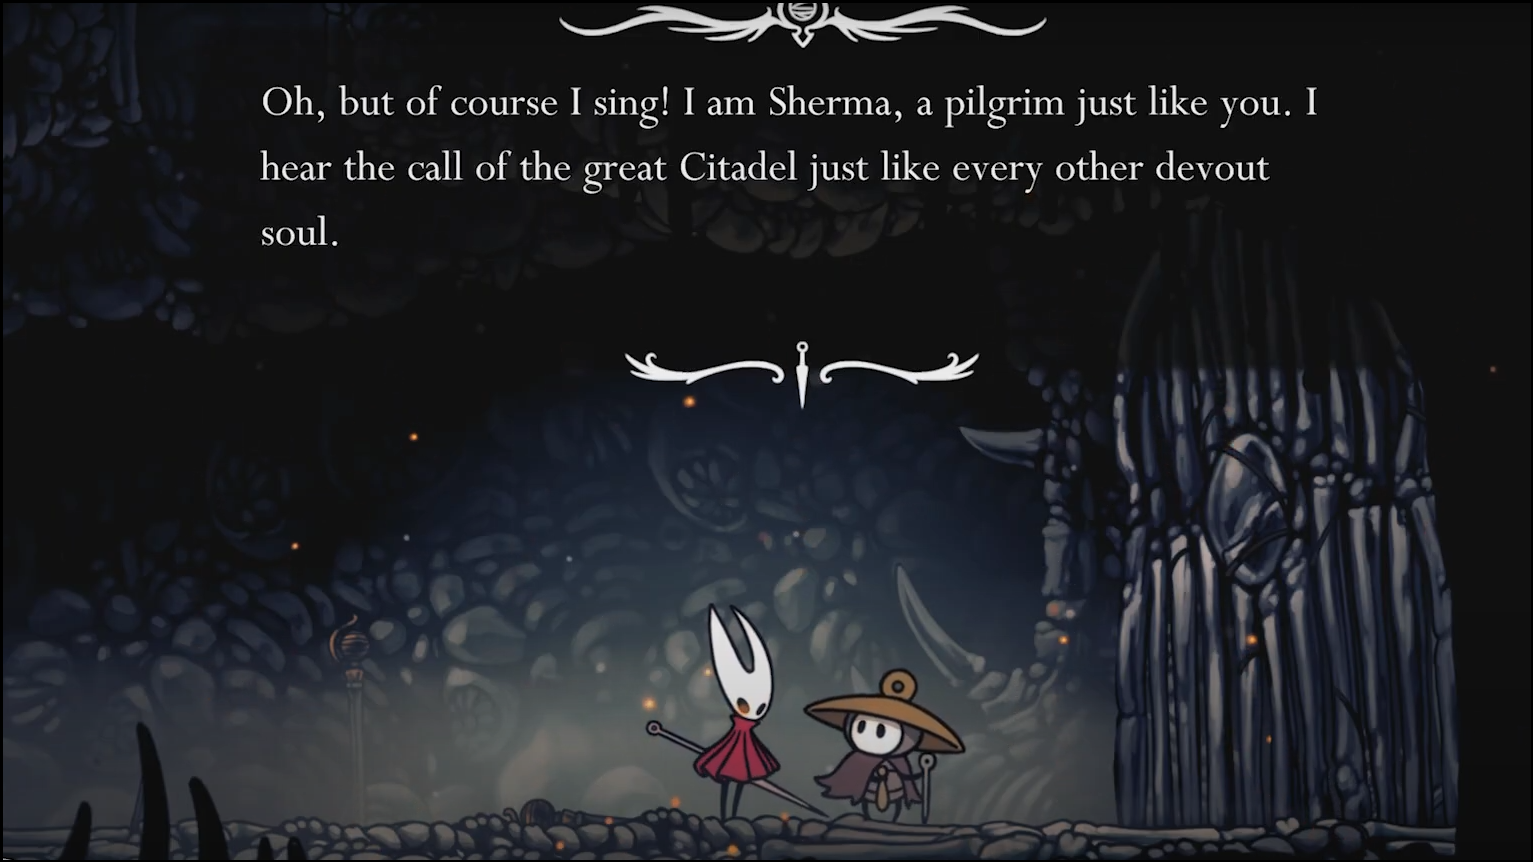
You’ll meet Sherma singing at a locked Bone Gate, then loop above to unlock it from behind. Progress deeper until you find Shakra, who sells maps, a quill to record explored rooms, and a compass. Buy what you can—navigating without at least a map is needlessly punishing early.
- Take the elevator shortcut: Just west of Shakra, climb into Mosshome and throw a lever to reveal a lift back down over Bone Bottom. Ride it once to permanently connect town and mid‑Marrow.
- Get Silkspear: In Mosshome’s upper structure, interact with the Weaver symbol to learn a piercing Silk Skill that also severs thick webs.

- Free the Bell Beast: Follow the sign to a bell‑shaped chamber and cut the bindings with Silkspear. Defeat the Bell Beast to restore fast travel and regain Silk regeneration. This is the moment your route starts to open up.
East Marrow, Fleas, and your first big fork
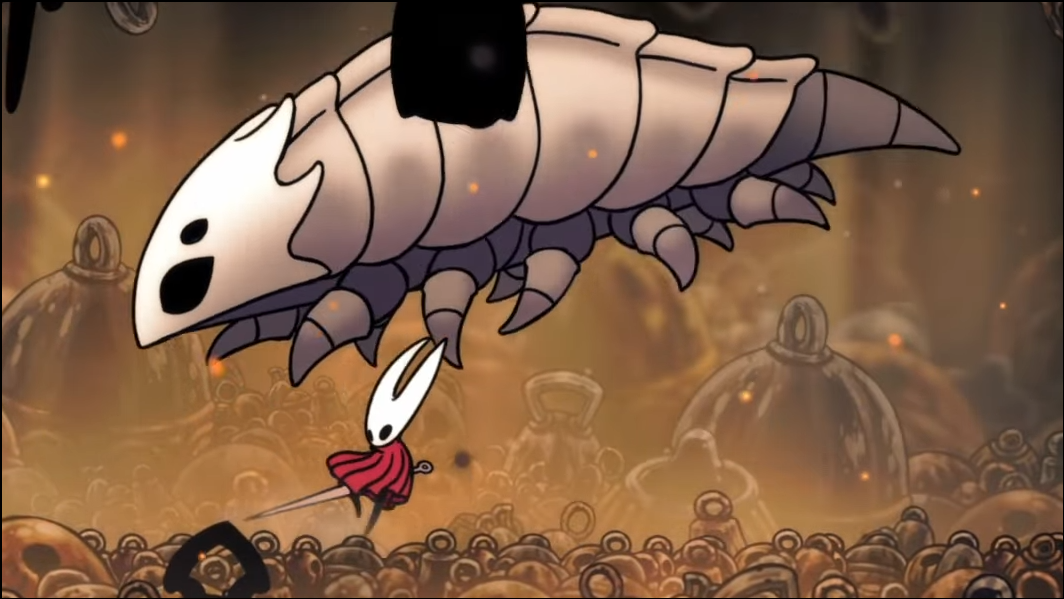
With fast travel active, clear the eastern passages you skipped. Expect crumbling platforms, trapped cells, and a boss encounter on the way. Keep an eye out for:
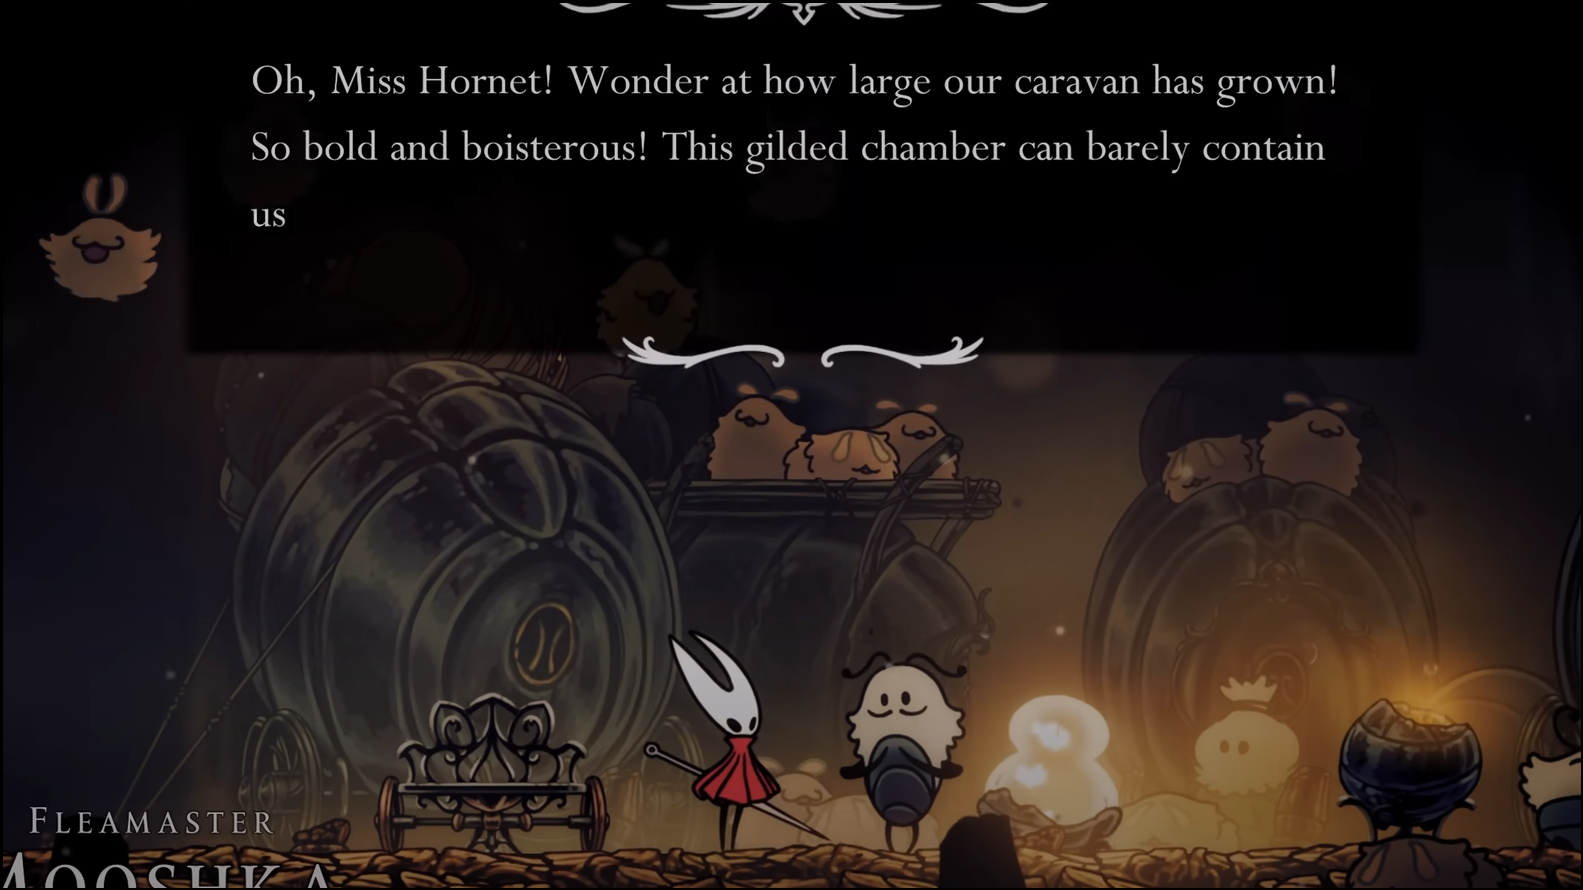
- Flea Caravan and the “Lost Fleas” wish (fleeing grubs equivalent). Freeing Fleas becomes a rewarding thread across Pharloom.
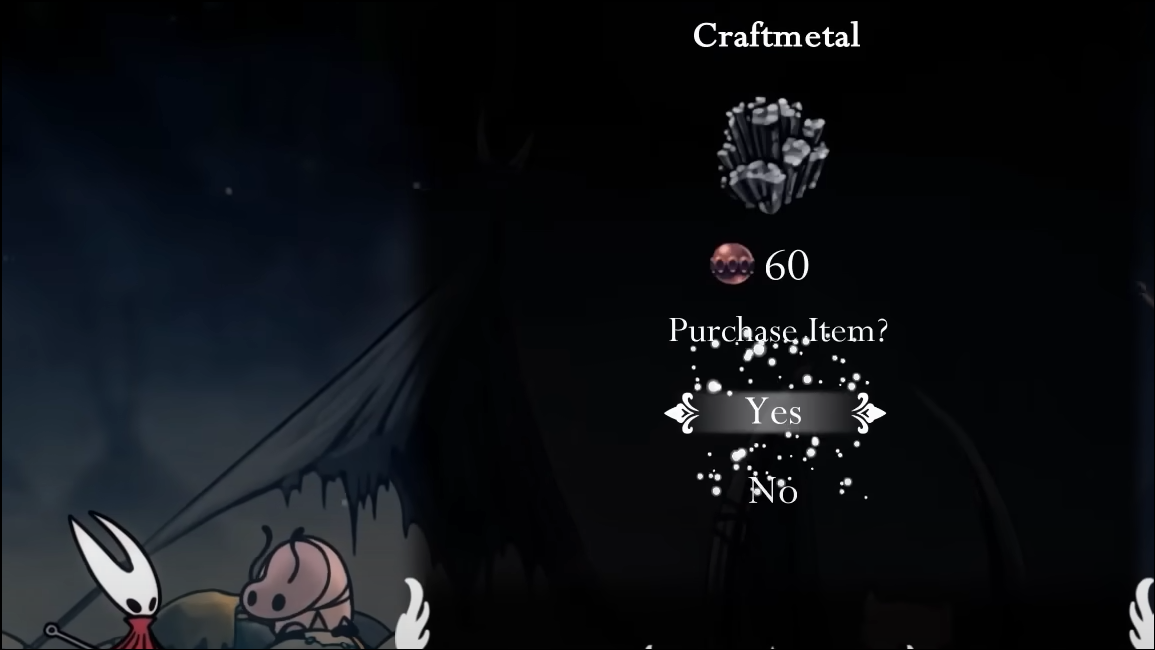
- A Craftmetal collectible and a few handy tools, plus a lever‑based platform that doubles as your shortcut to the docks.
When that shortcut is active, it’s time to head to Deep Docks.
Deep Docks: get your dash/sprint and meet a smith
Deep Docks is where the platforming opens up properly. Push through the gauntlets and vertical climbs to unlock a forward dash/sprint (often referred to as “Swift Step”), which extends your gap‑crossing toolkit and smooths combat chases. You’ll also encounter the Forge Daughter, who becomes important for upgrades, and your first battle with Lace. Before departing, activate the local bell for travel.

Far Fields: earn the Drifter’s Cloak, then fly
From the docks, the path spills into Far Fields’ vertical shafts and lava‑rimmed floors. Pay for the local Bench and Bellway when you can. On the west side you’ll find a hidden bell‑type tool; on the east, the red tent houses the Seamstress. Her quest to gather Spine Cores from Hokers is your ticket to the Drifter’s Cloak, a glide that rides rising air. Use it to reach the upper platforms and face the Fourth Chorus.
Greymoor: east for power, west for progress
With a cloak, ride the central updraft to Greymoor. Buy the map quickly; then decide on sequence:
- East (Craw Lake challenge, recommended): A series of switch‑unlocks, bounce chains, and gauntlets leads to a Bench, the Thread Storm Silk Skill, the Threefold Pin tool, and a Lost Flea. It’s a chunky set of rewards in one loop.
- West (story beat): The Halfway Home tavern introduces Nuu and the Hunter’s Journal. Past that, you can recruit allies and face Moorwing in the far west. Defeating Moorwing opens a tunnel to Bellhart.

Optional: In Greymoor’s northern interior, a dedicated chapel challenge yields the Reaper Crest, a popular alternative moveset. Worth the detour once you’re comfortable with the local traversal.
Bellhart (first visit) → Shellwood → Bellhart (free)
Your first pass through Bellhart finds it bound by webs. Keep moving—your goal is to approach from another angle. Enter Shellwood next via its southern paths and work your way to the Cling Grip ability. That wall‑hold jump is your ticket back to Bellhart’s upper reaches.
Return topside to Bellhart and drop into the central chamber to fight Widow. This is a sharp difficulty spike—expect quick patterns and a second‑phase twist. Win, and you’ll both cleanse the town and gain Needolin, a critical gate‑opening tool for the path ahead. Bellhart’s merchants and services wake up here; take a beat to resupply and craft.
Optional detours (high value, low story impact)
- Wormways: An optional labyrinth that, once fully opened, leads to the Chapel of the Wanderer and its Wanderer Crest—a moveset many players prefer for its familiar pogo and speed.
- Hunter’s March: Best tackled after Drifter’s Cloak (and ideally Cling Grip). Rewards include the Beast Crest, multiple shortcuts, a Bench with a trap to disarm, and NPCs like Gilly and Mottled Skarr.
- Greymoor one‑time Flea ride: If you’ve rescued enough Fleas and report back to the caravan, you’re offered a one‑time lift into Greymoor. It’s a convenience skip with trade‑offs (the caravan moves on; the Moorwing encounter timing changes). Useful if you detoured heavily before Far Fields; otherwise, the standard cloak route keeps the world state tidy.
To the Act 1 gate: Blasted Steps or Sinner’s Road
With Needolin, Cling Grip, and your five bells rung, choose your ascent:
- Blasted Steps (recommended first): A punishing climb with tough mobs and precise platforming, ending in the Last Judge fight. Use Needolin to open the door at the peak.
- Sinner’s Road (harder route): A tighter, longer path with water that blocks healing, a broken Bench to restore, and a different style of hazard management. It’s a great test if you’re already over‑loaded on tools and health.
Both routes feed the same door north into the next act.
Early Act 2, briefly
Beyond the gate, you’ll ride the Grand Gateway down into the Underworks (west half). Climb to the Citadel’s Choral Chambers, ring its first bell, then loop down through Whiteward and the Underworks’ Cauldron to acquire the Clawline (grappling). That unlocks high routes through the High Halls, and later, a cold‑bitten trek up Mount Fay to earn a double‑jump cloak before you return to the Cogwork Core top half. From there, the map opens up again.
Why this order works
- It front‑loads infrastructure. Fast travel (Bell Beast) and a reliable dash come online early, and you quick‑connect Bone Bottom to mid‑Marrow with the elevator.
- It sequences movement upgrades cleanly. Silkspear → dash/sprint → Drifter’s Cloak → Cling Grip → Needolin. Each unlocks the next bottleneck.
- It compresses high‑value detours. Greymoor’s east challenge packs a Bench, a Silk Skill, a weapon tool, and a Flea in one loop; Shellwood and Bellhart resolve a major town and deliver a key.
- It gives you options without stranding you. Wormways and Hunter’s March slot naturally after cloak/grip; the caravan fast‑travel is noted with its consequences.
Key pickups to prioritize (and where they usually land)
- Silkspear: Mosshome upper structure — opens web‑blocked paths and frees the Bell Beast.
- Bell Beast (fast travel): East of Mosshome — restores Silk regen and turns the bellway network back on.
- Shard Pendant: East Marrow side path — useful for ramping your shard economy early.
- Flea Caravan: East Marrow — starts the Lost Fleas thread and later enables the one‑time ride.
- Dash/sprint (“Swift Step”): Deep Docks climb — transforms both traversal and combat pacing.
- Drifter’s Cloak: Far Fields, via the Seamstress — ride air currents and unlock vertical routes.
- Thread Storm + Threefold Pin: Greymoor east — strong early Silk Skill and staple tool.
- Cling Grip: Shellwood — introduces wall holds and jump chains.
- Needolin: Bellhart (after Widow) — required to open key doors and advance the act.
Common pitfalls to avoid
- Blowing your first Simple Key on deep late‑game doors. Some locked routes are intentionally tuned for later; if an area feels wildly overtuned—six‑hit fodder enemies, frequent two‑mask hits—mark it, then come back after more masks and tools.
- Skipping local Benches and bells to “save” rosaries. The time cost of long runbacks, especially in gauntlets, dwarfs the fee. Activate them as you go.
- Boss‑rushing with a full tool belt on attempt one. Learn patterns for a couple of pulls, then spend shards. You’ll avoid burning through stocks without data.
When to detour vs. when to press on
If an area’s enemies take an age to kill or you’re eating two‑mask hits on every exchange, you’re early. The route above is deliberately ability‑gated; stepping away to pick up the next movement unlock usually reduces the friction more than grinding shards or rosaries in place.
Follow this line and Pharloom stops feeling like a maze and starts reading like a score: each pickup sets the tempo for the next movement phrase, and the climbs get cleaner and more readable as you go.