
Grand Mother Silk is encountered at the top of The Cradle in Hollow Knight: Silksong. She’s the monarch of Pharloom and the primal source of Silk, and defeating her rolls credits for Act 2. The fight rewards precise reads of blade patterns, disciplined movement, and short, deliberate punish windows focused on her core.
Before you enter the arena
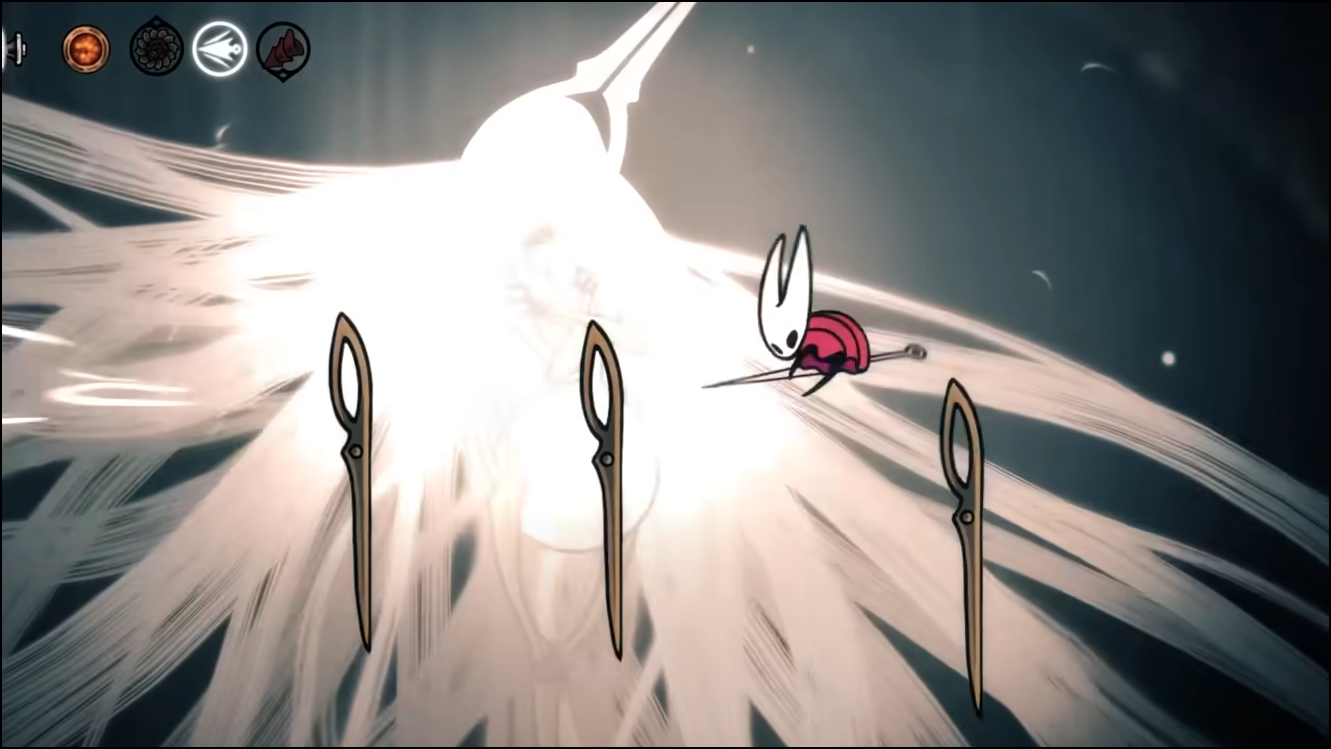
Grand Mother Silk hovers with six orbiting blades and no direct hurtbox except her exposed stomach. Expect escalating speeds and hazards across phases, culminating in sequences that fill most of the screen. Build for mobility and recovery: prioritize movement crests/charms and any tools that let you deal safe chip damage at range between punishes. Treat heals as short, opportunistic actions, not sustained channels.
1. Blade patterns — find the gap, reach the core, exit cleanly
Step 1: When three blades fire side-to-side from one edge, watch the spacing and jump through the largest gap. As the last blade clears, hop in for 1–2 hits on her stomach and immediately retreat to neutral space.

Step 2: On vertical volleys from above (three or six blades dropping straight down), identify the safe column and shift into it early. Take a brief punish window after the drop, again limiting yourself to a couple of hits.
Step 3: For “opposite sides” volleys (left and right simultaneously), commit to a single safe lane between converging blades. Slide in, poke the core once or twice, then reposition before her next queue begins.

Step 4: If all six blades fire at once, do not overcommit. Survive first, then punish only if a clean lane appears. Consistency in small punishes outperforms risky extended combos.
2. Laser Webs — respect the tell and relocate early
Step 1: When glowing strands lace the arena, move immediately toward the largest open region. These strands light up moments later and deal heavy damage.
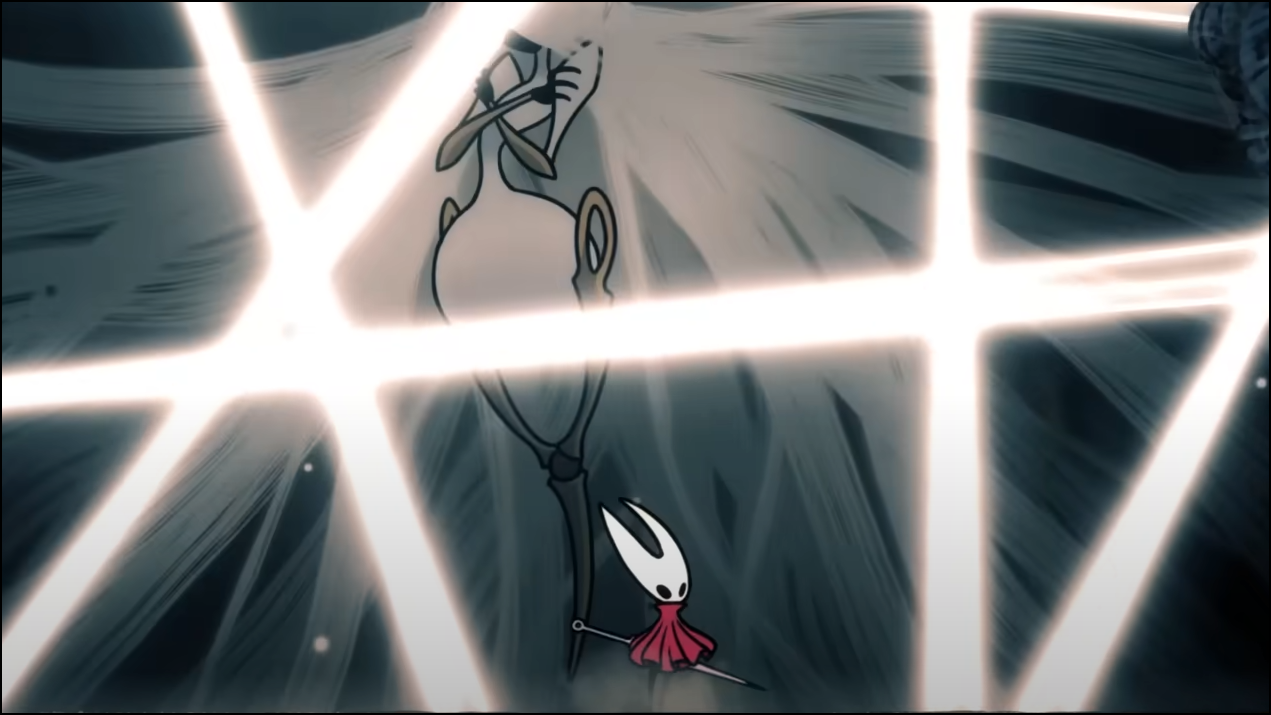
Step 2: If you’re partially enclosed, use a timed jump or dash to slip past a strand edge before it activates. Never idle inside a pulsing strand; abandon a punish if necessary to preserve masks.

3. Later phases — faster tempos, new hazards, and the final flood
Step 1: In Phase 2, her cues accelerate. Shorten all punish windows by a beat and bias decisions toward survival. Think “one hit now” rather than “maybe three.”
Step 2: In Phase 3, falling rocks and ground blade-traps reduce safe space. Fight near the center when possible so you can pivot vertically or horizontally without being boxed in.

Step 3: Near defeat, she chains multiple patterns at once. This sequence is designed to overwhelm; prioritize dodging the first pattern in each chain, then convert any clear lane into fast core damage. Commit if you see a real kill window—ending the sequence is safer than trying to heal through it.

Build, healing windows, and common mistakes
Step 1: Favor mobility and reliability. Movement speed, dash control, or i‑frame–adjacent effects are more valuable here than greedy damage stacking. Ranged tools are useful for chip during brief stalemates.
Step 2: Heal only after a fully cleared volley or immediately following a missed blade pass that leaves her resetting. Single-mask heals are often the difference-maker; don’t wait for a perfect long channel.
- Don’t stand inside glowing webs as they begin to pulse.
- Don’t chase the core through closing blade lanes; wait for the next safe gap.
- Don’t linger at arena edges in Phase 3; rocks and traps will corner you.
- Don’t turn short punishes into greed strings; tempo rises quickly between cues.
Optional: Unlock the Act 3 path with “Silk and Soul” (Abyss)
There’s a route to a third act if you prepare a trap before the confrontation at The Cradle. The process hinges on completing a broad set of wishes (quests), relocating the flea caravan, and assembling specific components for the Caretaker’s plan.
Step 1: Complete every wish you can across the boards in Songclave, Bonebottom, Bellhart, and The Citadel. Some players report not every single wish is required, but finishing all available ones is the most reliable approach.
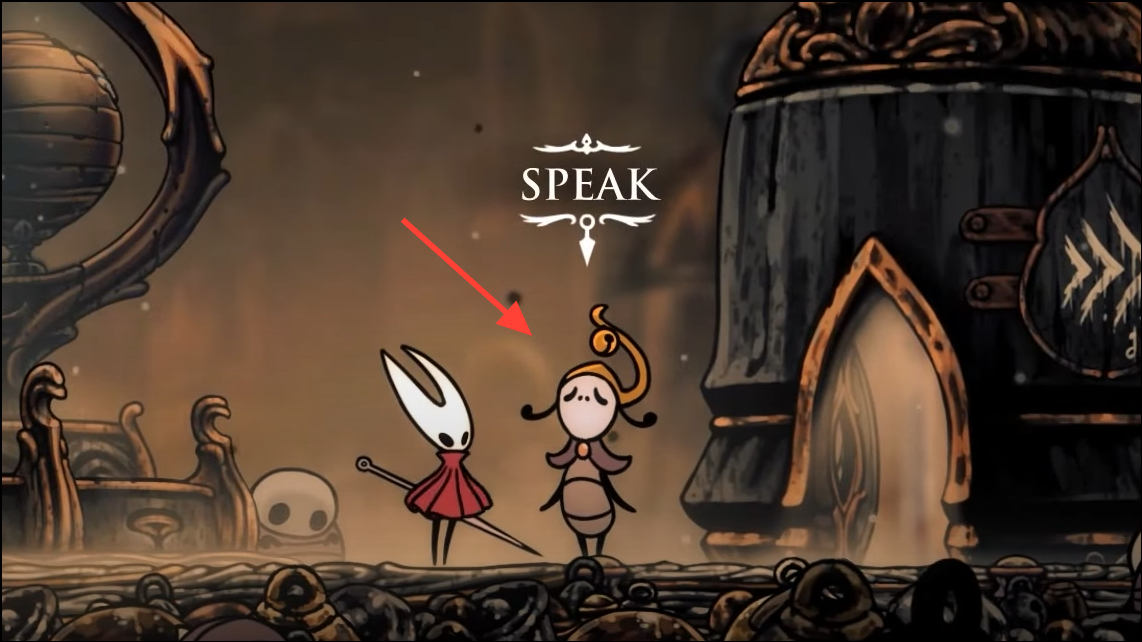
Step 2: Speak to Pavo in Bellhart to obtain your Bellhome once your wish progress is sufficient. This confirms you’re on the right track.
Step 3: Find and collect at least 25 fleas, then work with Fleamaster Mooshka to move the flea caravan three times until it reaches the Putrefied Ducts area. Revisit between moves to trigger the relocations.
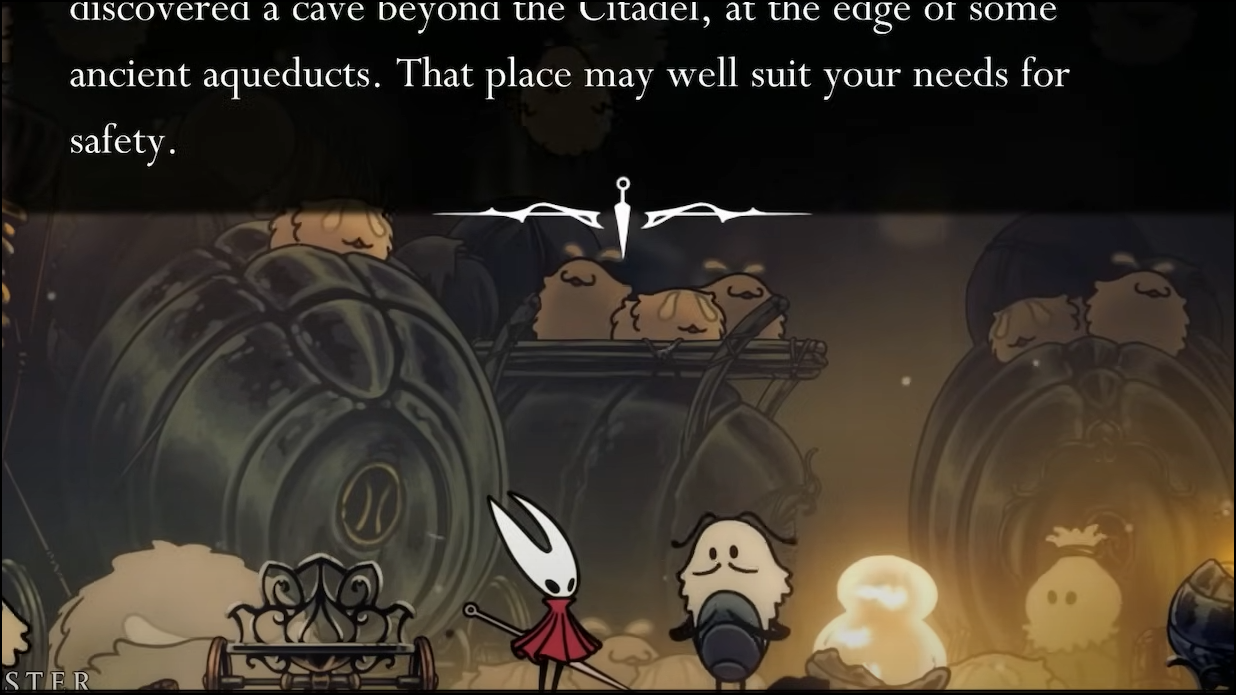
Step 4: Talk to the Caretaker in Songclave to receive the “Silk and Soul” Wayfarer Wish, which outlines four components for the trap.

Step 5: Obtain the Maiden’s Soul in Bonebottom (may require sitting at the Bonebottom bench to trigger a local event). Return if the NPC isn’t present on the first pass.
Step 6: Obtain the Hermit’s Soul from the pipe beneath the Bellhart Bellway by breaking a false wall on the right side of the Bellway room to drop into the pipe.

Step 7: Retrieve the Seeker’s Soul from the abandoned bellhome left of the bench at the top of Bilewater. This one is a simple pickup once you’ve reached the location.
Step 8: Collect the Snare Setter from the table in the area above the Weavenest Atla bench (accessed after opening the Needolin door beneath Bonebottom). If you grabbed this earlier, it still counts.
Step 9: Return to the Caretaker in Songclave and hand over all four components to complete the “Silk and Soul” wish. The trap is now primed.

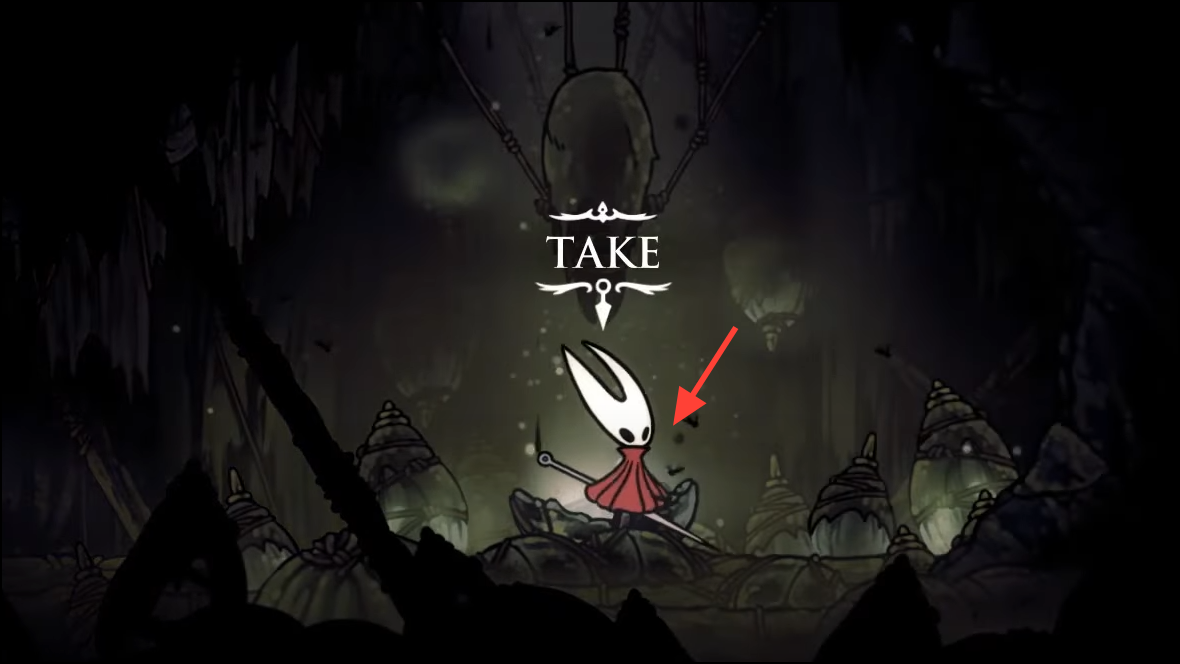
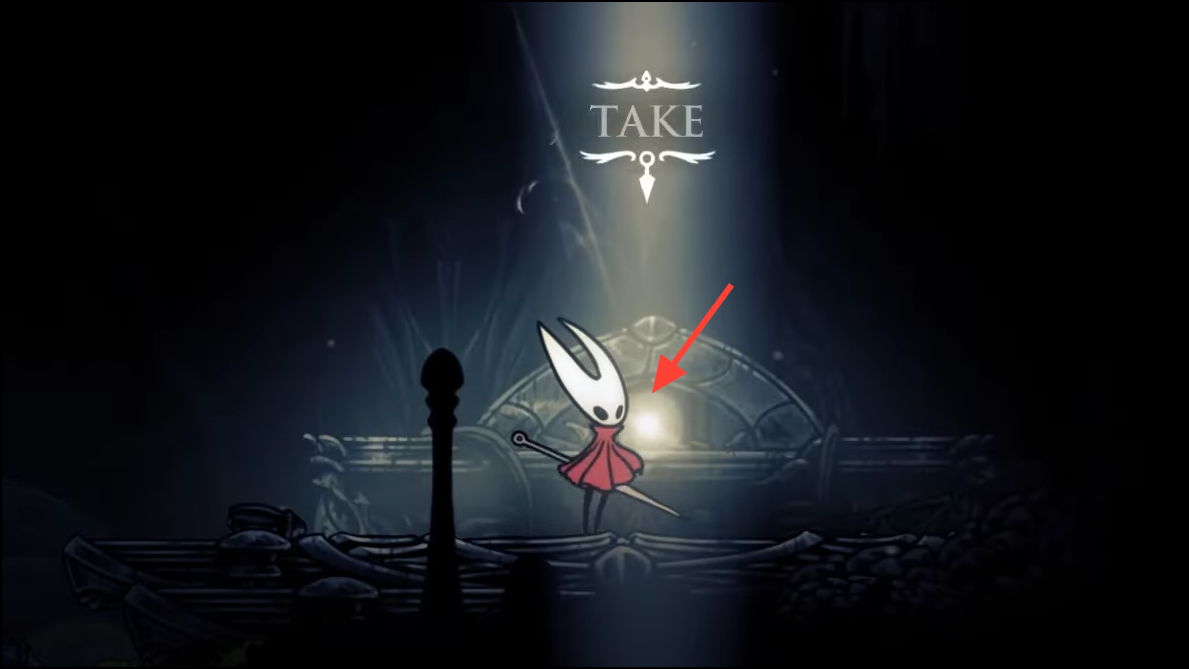
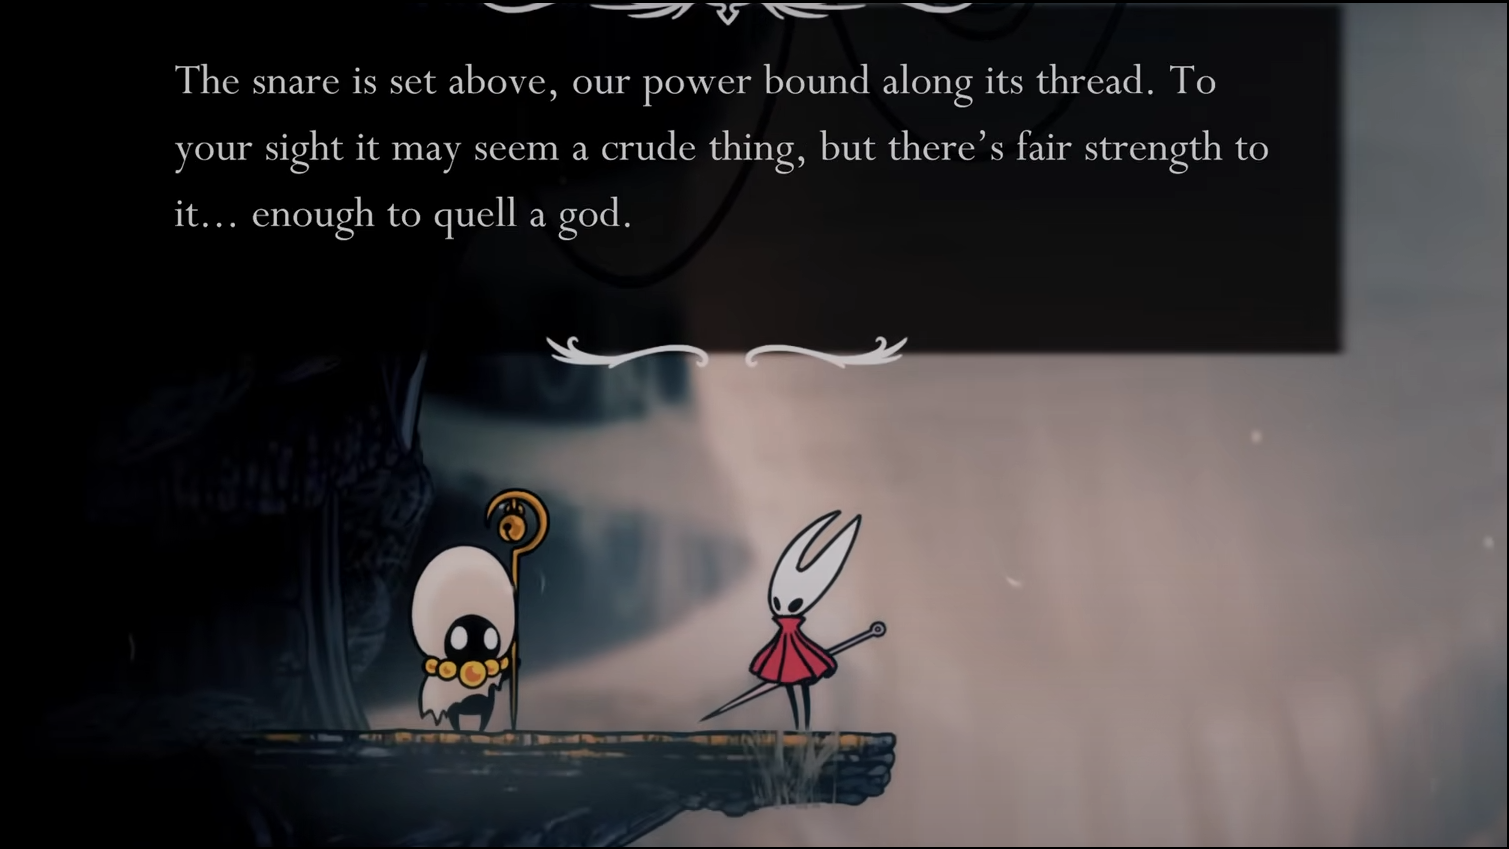
Step 10: Head to the top of The Cradle. Just before the boss arena, the Caretaker will confirm the setup and instruct you to use Needolin to trigger it after the fight.
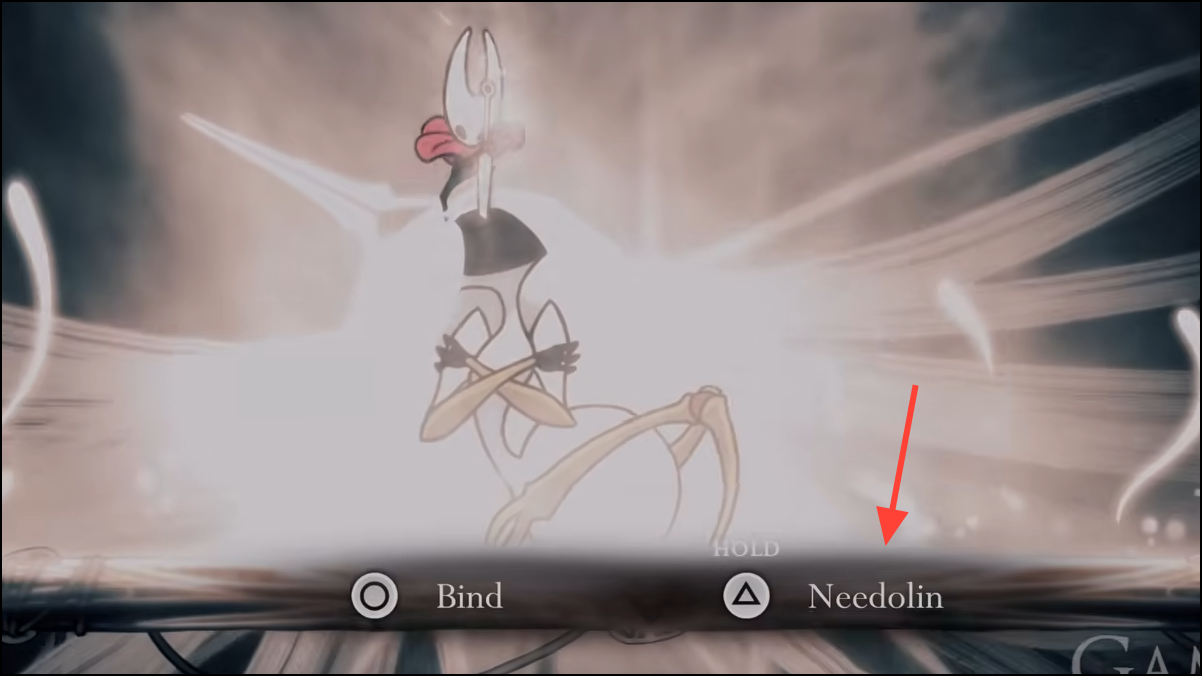
Step 11: Defeat Grand Mother Silk as normal. When prompted post-fight, choose to play Needolin instead of binding her. This leads to an alternate ending and returns you to the title screen.
Step 12: On the save-select screen, your file will appear wrapped in black vines. Press the action button repeatedly to break them and load into Act 3.
Location, identity, and achievements
Grand Mother Silk is located at the top of The Cradle and is described as the monarch of Pharloom and primal source of Silk. Achievement outcomes tied to this fight include binding her power, trapping her with a soul device, and defeating her under a curse—check your platform’s achievement list for the exact labels.
Approach the fight as a rhythm: survive each pattern, step into the lane the moment it clears, take one or two clean hits, then reset. With “Silk and Soul” prepared, you’ll also unlock a deeper path after the credits roll.