
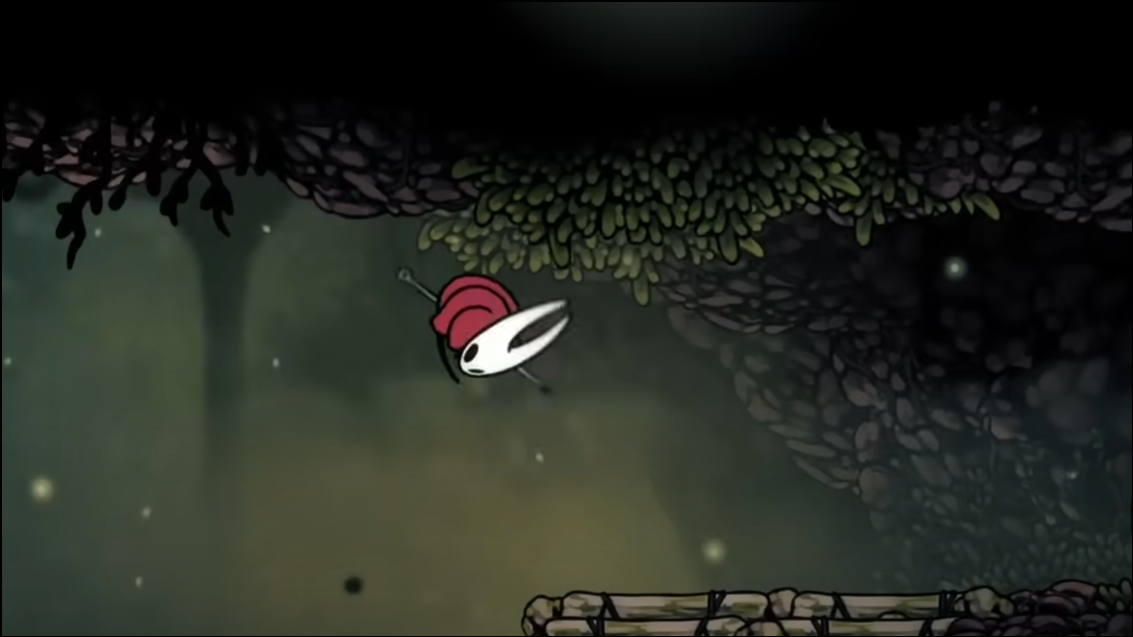
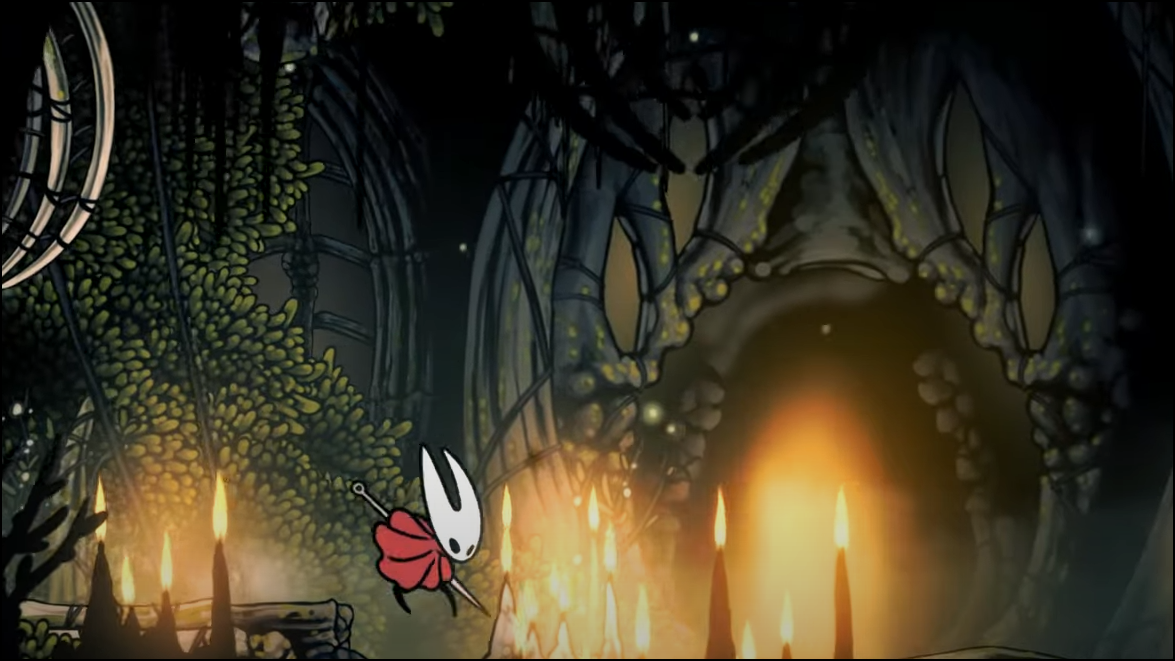
Hunter’s March is a compact but punishing section of Hollow Knight: Silksong that mixes tight pogo platforming, pressure-plate traps, and aggressive ant enemies. The area is technically optional and can be reached early, but it plays far more comfortably after you have dash and hover movement. Below is a streamlined route that minimizes risk, shows where to rest safely, and prepares you for the Chapel of the Beast and its boss.
Before you go: recommended setup and timing
Arriving here with a dash and a hover/float reduces failed jumps and shortens recoveries between platforms. If you reach the chapel door early, note that its boss encounter requires hover to access. Wanderer Crest’s quicker strikes make pogo timing more forgiving, and tools that hit fliers (e.g., a returning projectile) help control the air during gauntlets.
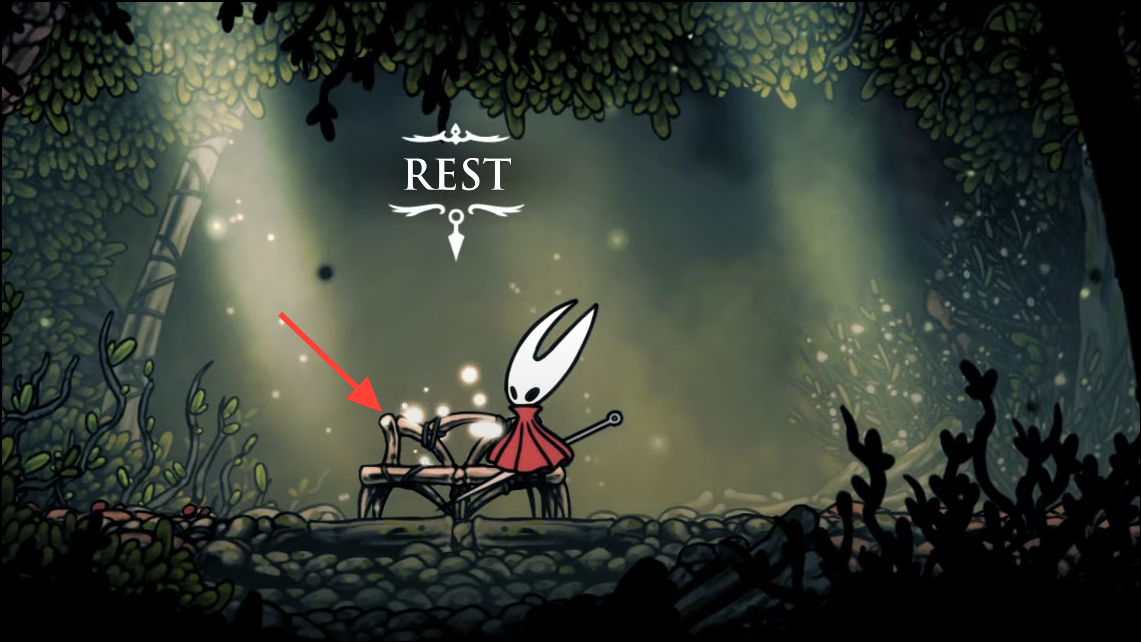
Set a nearby bench as your respawn before stepping into the region proper. You’ll cross multiple spike pits and tripwires; shortening the runback saves time and rosaries. Finally, treat every plate on the ground with suspicion—swinging axe traps are common and always double-damage.
Optimal route through Hunter’s March
Step 1: Fast-travel to The Marrow via the Bellway, then head right to the short vertical with the stepladder. This is the closest hub path into Hunter’s March.
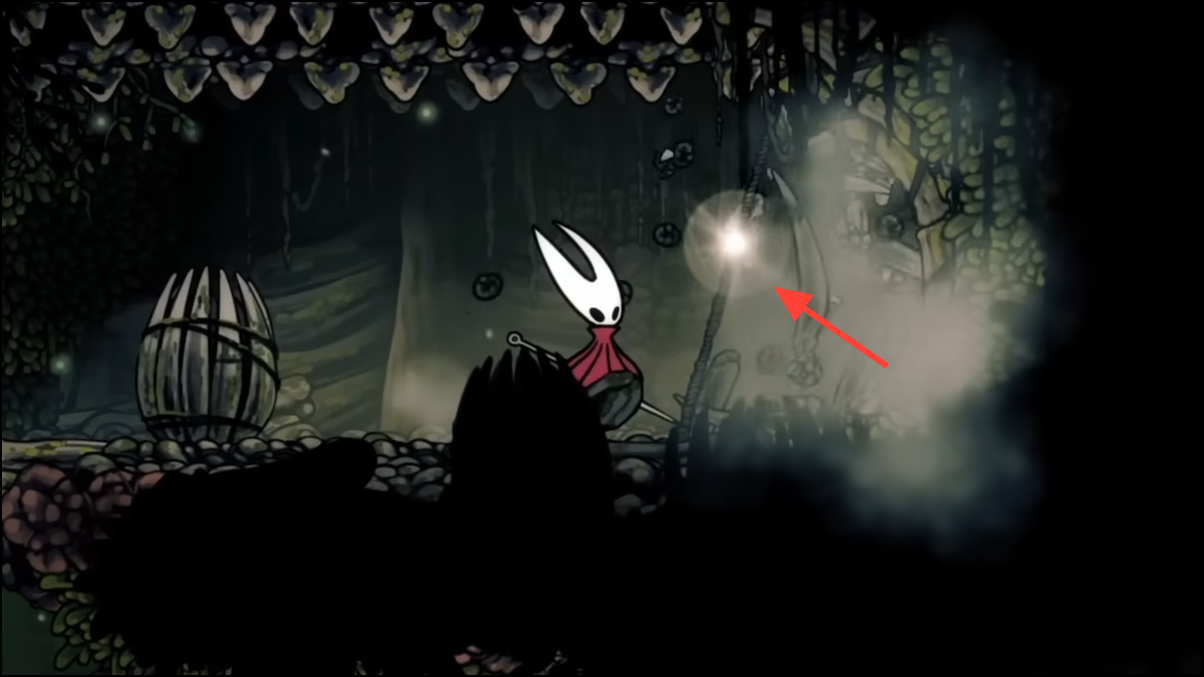
Step 2: Drop to ground level and detour down into the prison to rest at the bench. This sets your runback point a room away from the Hunter’s March entrance.
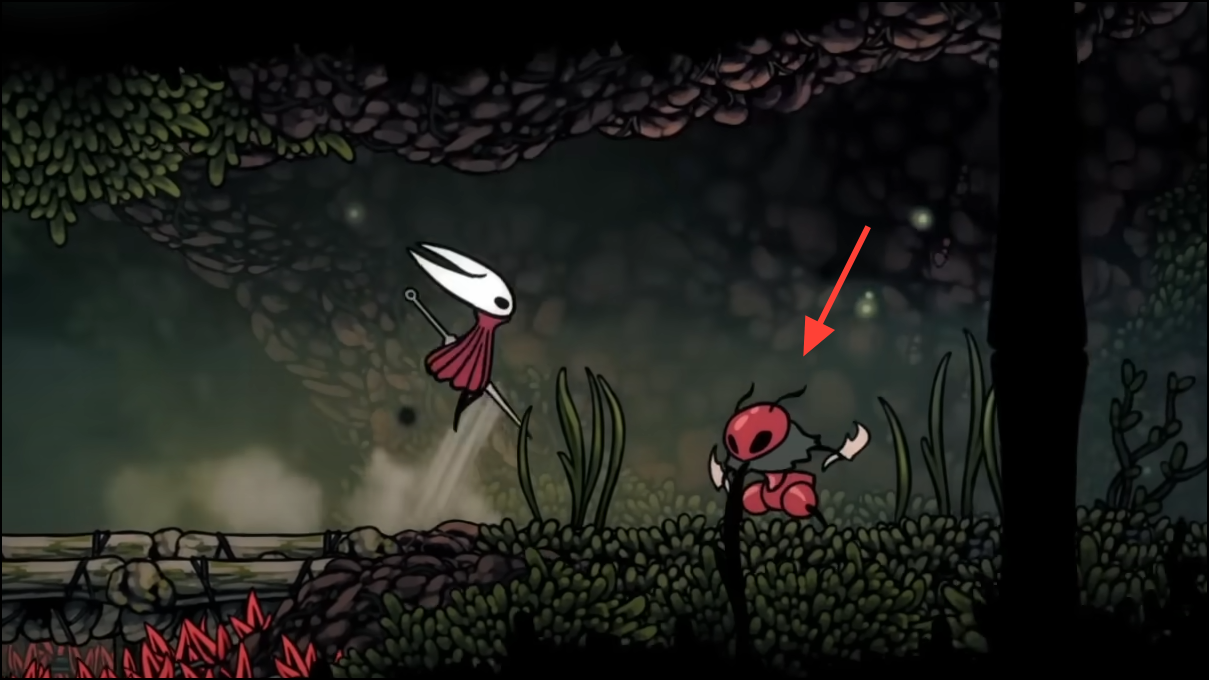
Step 3: Enter the right passage to face the Skarrgard (giant ant miniboss). Stay close, backstep its ground swings, and slip under its leap to counter with quick single hits.

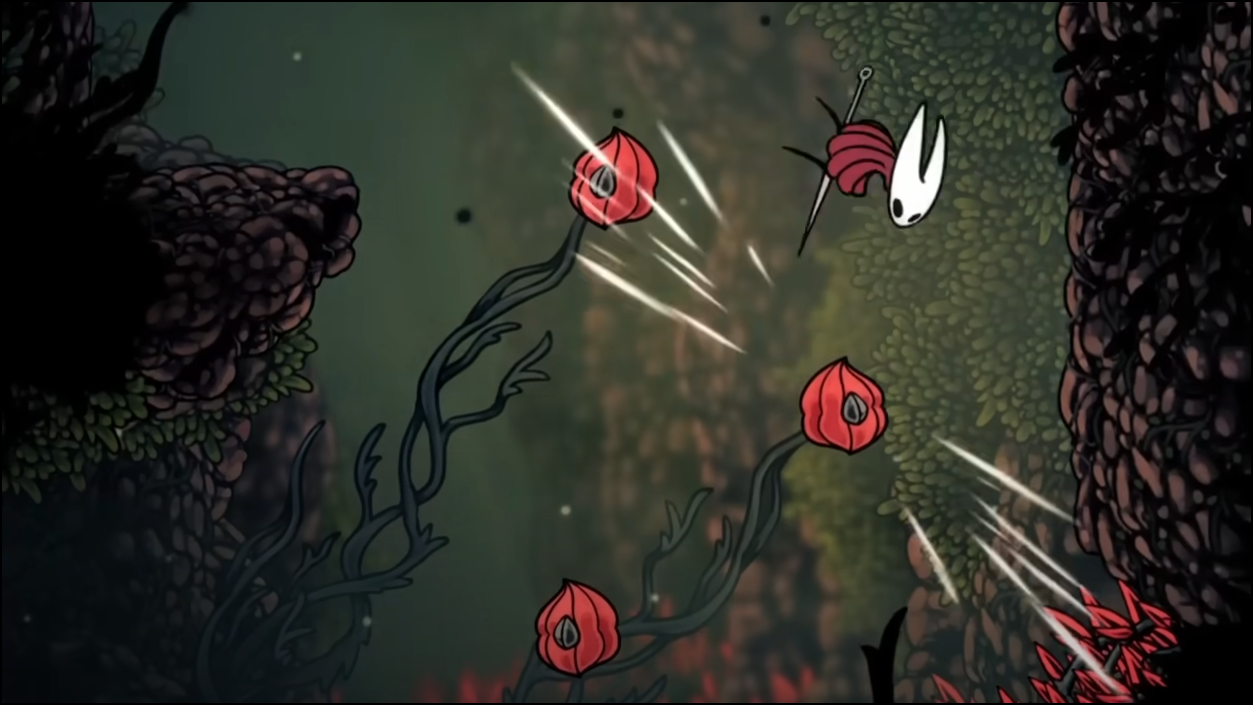
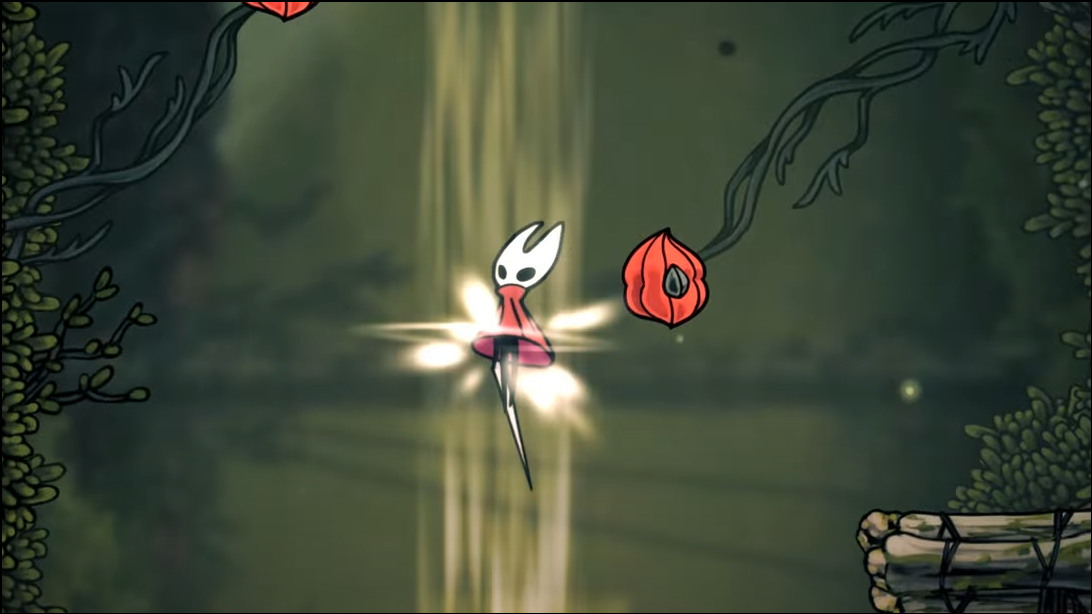
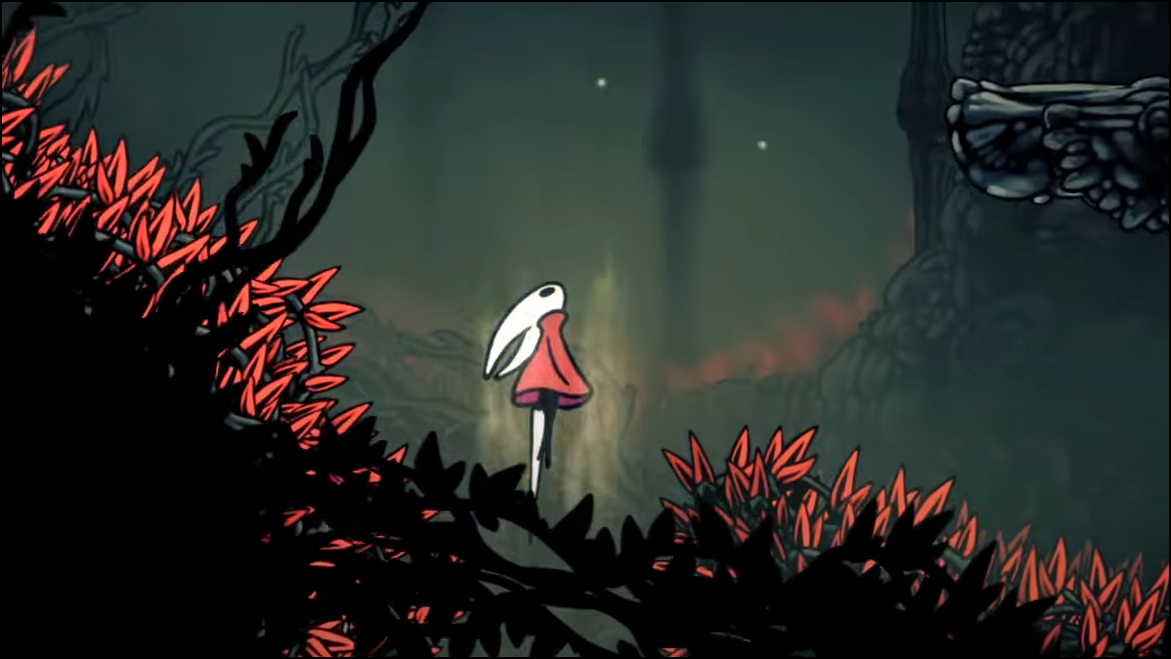
Step 4: After the miniboss, collect the nearby shell shard bundles, then continue right to enter Hunter’s March. Expect frequent red bud pogo sequences.
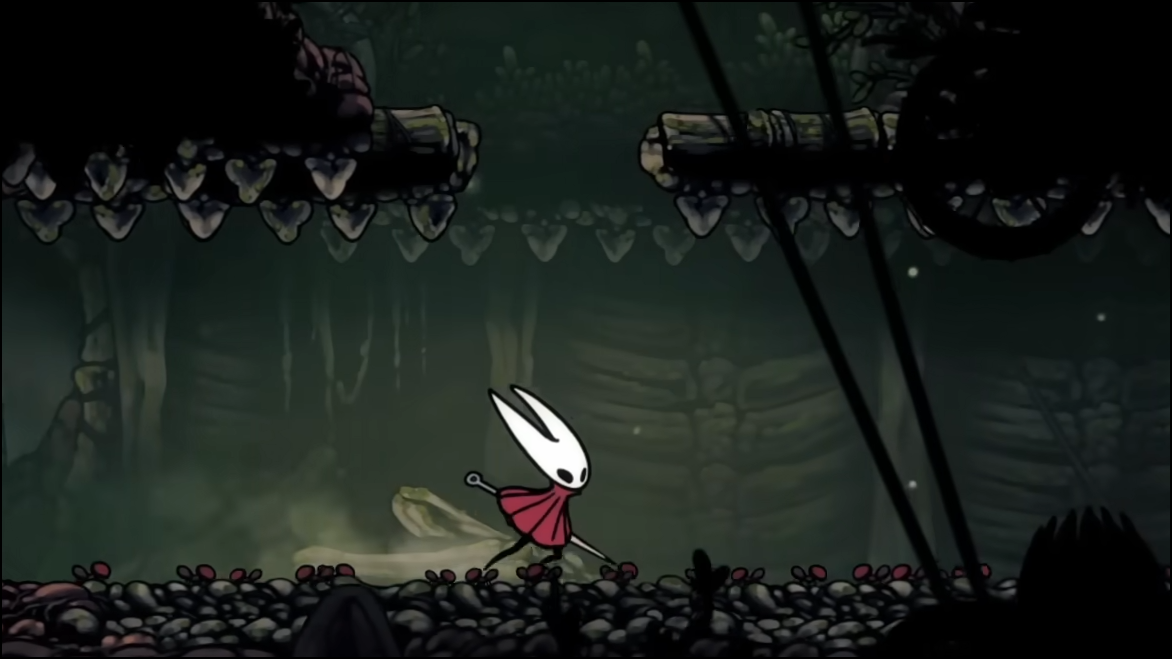
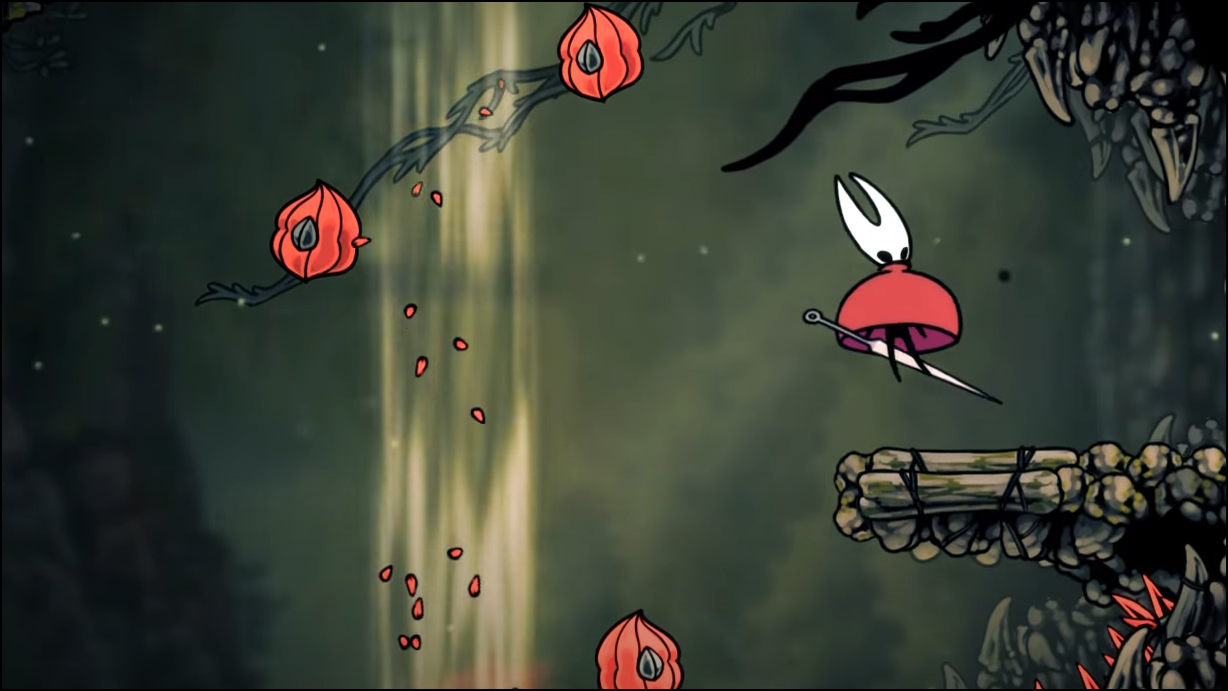
Step 5: Pogo up the red plants to a vertical fork and take the upper-left path. Keep moving to avoid being boxed in by flying ants.
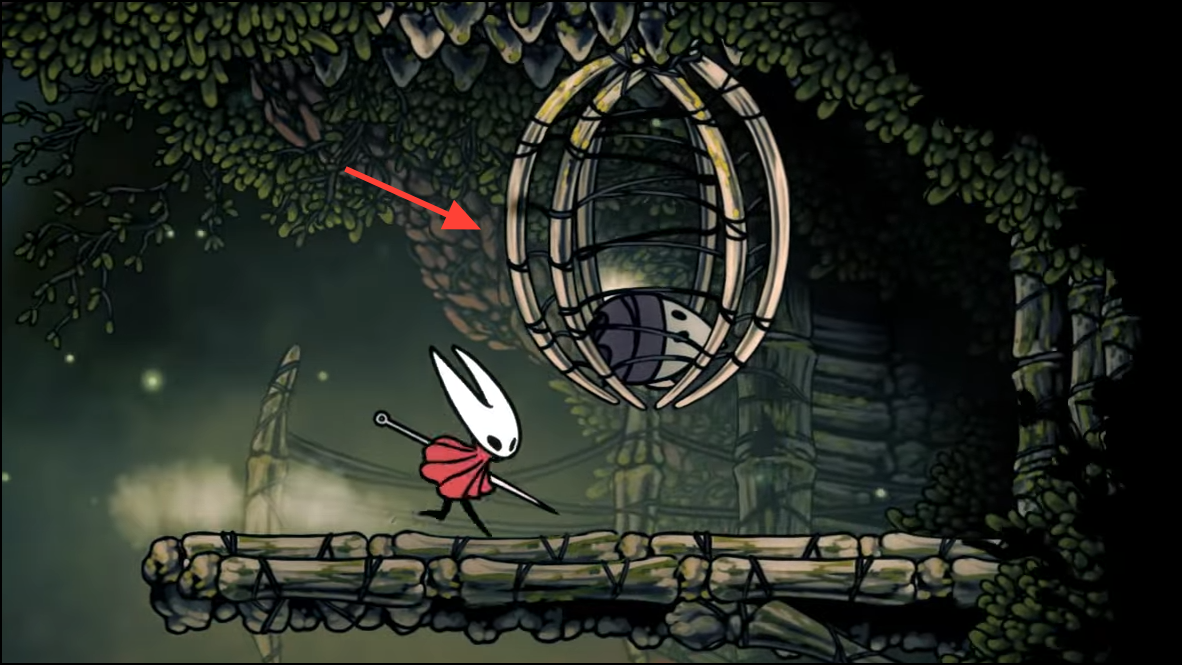
Step 6: Free the captive Flea in the cage at the top and send it home. Drop back carefully and climb the upper-right path to continue east.
Step 7: In the next chamber, jump to the high left ledge for rosary strings, then proceed right. Cut the suspended rope to drop a Rosary Necklace before entering the arena.
Step 8: Clear the ant gauntlet. Mid-fight, the map-maker joins—survive the waves, then buy the Hunter’s March map for 70 rosaries.

Step 9: Move into the next spike-filled stretch. Choose the upper route for more combat or the lower for heavier pogo. Both converge shortly.
Step 10: When paths meet, follow red buds up to a small cache. An ant spawns behind you at the end; dispatch it and cut the hanging ropes for shell shards.
Step 11: Drop and continue right, jumping over three floor plates to avoid swinging bone axes. Exit into a tall shaft with a rising air current.
Step 12: Ride the updraft and enter the first door halfway up on the left. Do not sit at the bench—this bench is trapped on first use.
Step 13: Walk through the left wall to a hidden lever and pull it to disarm the bench trap. Return and rest safely.
Step 14: From the wind shaft, enter the right-side door opposite the bench room. Strike the rustling bush by the dancer statue to reveal Gilly and exhaust her dialogue.
Step 15: Ride the updraft higher and enter the next left door with shard strings. Jump into the leafy left wall to reveal a secret passage with traps and parkour.
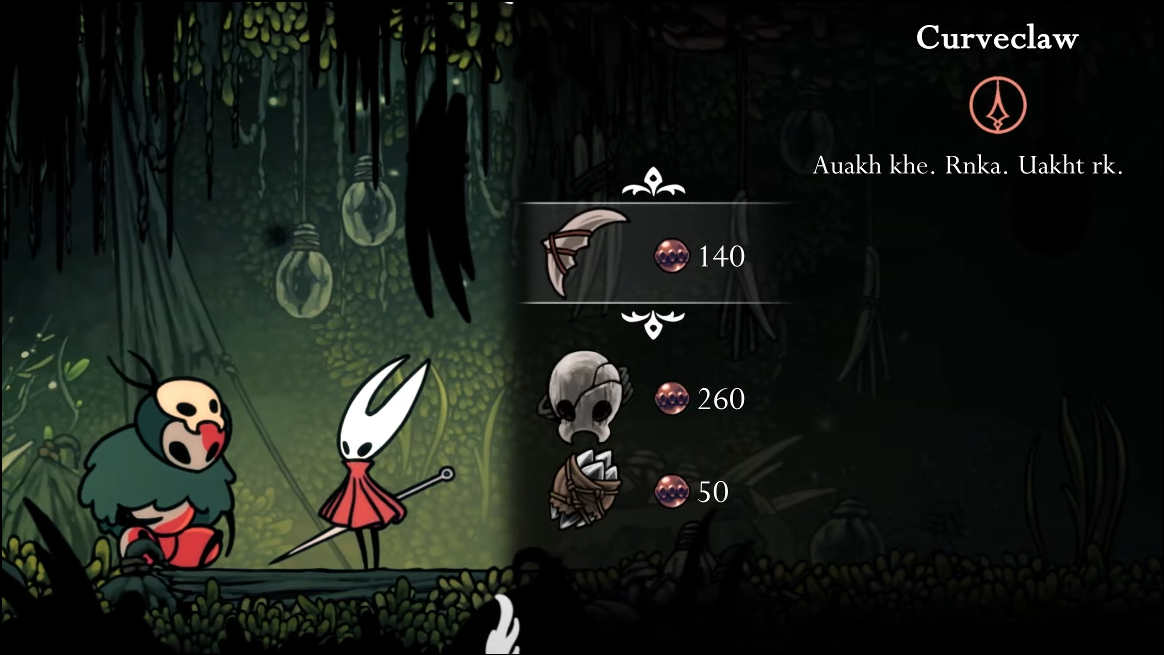
Step 16: Navigate the hidden gauntlet and meet Mottled Scarr at the end. His shop sells a one-hit death shield tool and a boomerang-like tool that excels against fliers.
Step 17: Return to the wind shaft and drop to the bottom, slowing your fall on the air current to avoid spikes. Take the left exit and flip the lever to open a shortcut back to Deep Docks.
Step 18: Re-enter the wind shaft and take the right exit to advance. Pogo over spikes and jump the grass pressure plate that drops a cage; defeat the soldier ant that follows.
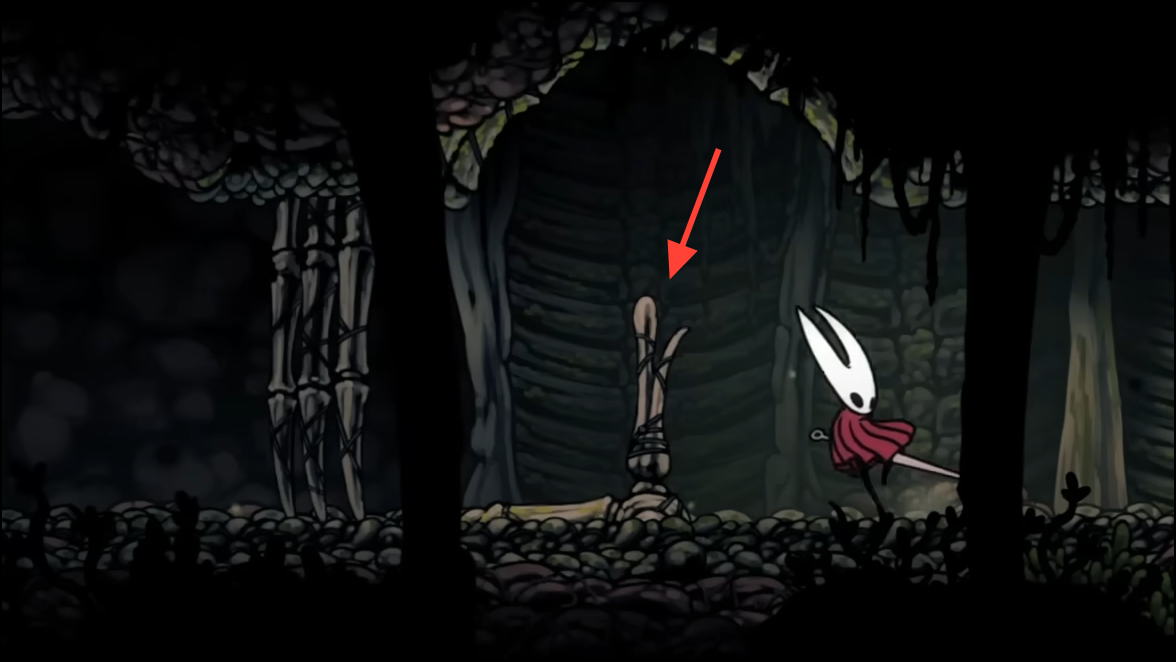
Step 19: Past another updraft, break the hanging cage on the right ledge to loot a Memory Locket from the fallen pilgrim.
Step 20: Ride the updraft to the higher left ledge to reach the Chapel of the Beast entrance. This building is a parkour sequence culminating in the area boss.
Chapel of the Beast — shortcut and boss
Step 1: Use air currents and red buds to climb, loop around, and descend interior spike shafts. Keep short taps ready to correct diagonal pogo angles.
Step 2: After the first narrow glide between spike walls, jump immediately on landing—the ground crumbles to spikes.
Step 3: Clear the enemies ahead and continue to the second steep glide. On landing, pull the lever on the right to open a permanent shortcut to the boss approach.
Step 4: Head left into the Savage Beastfly arena. Expect double-damage hits and multi-hit charge strings that push you to the edges.
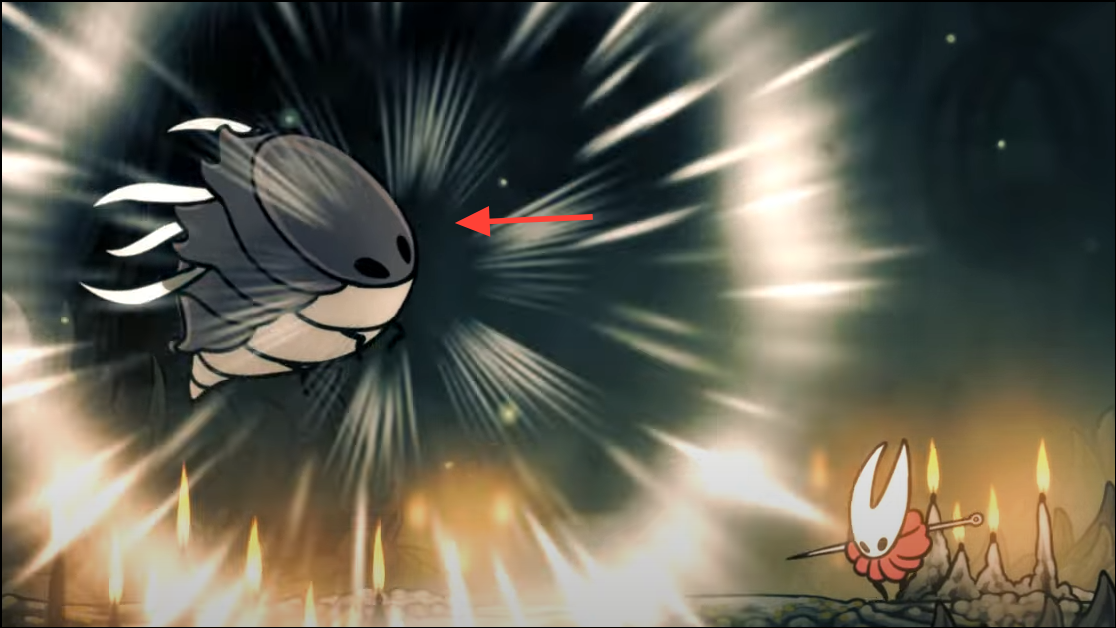
Step 5: Stay near the boss to shorten reaction distance, hop over or dash under horizontal charges, and punish the wall-crash recovery with fast one-to-three-hit strings.
Step 6: When it summons adds, bait a ground-slam to crush them with the shockwave, or remove them quickly with a ranged tool so you can refocus on the boss pattern.
Step 7: Keep retaliation to single confirmed hits mid-combo; overextending leads to contact damage. Bind heals are safest after wall-crash stuns or when adds are cleared.
Step 8: Claim the Beast Crest after victory. It grants a savage swiping attack and temporarily converts Bind into life-steal; practice the new downward attack timing on red buds before exiting.
Common pitfalls and faster recoveries
Step 1: Bench trap in the wind shaft: never sit before disarming it. Walk through the left wall in the bench room and flip the lever; only then rest.
Step 2: Axe tripwires: if you see plates on turf, jump them. Clearing the room first and then crossing reduces surprise hits during movement.
Step 3: Long runbacks: if you’re not ready for the chapel, open the Deep Docks shortcut at the wind shaft bottom first, then return later with better mobility.
Step 4: Early difficulty spikes: Hunter’s March can be postponed. If progress stalls, leave via the Marrow or Deep Docks shortcut, pick up movement upgrades, then come back.
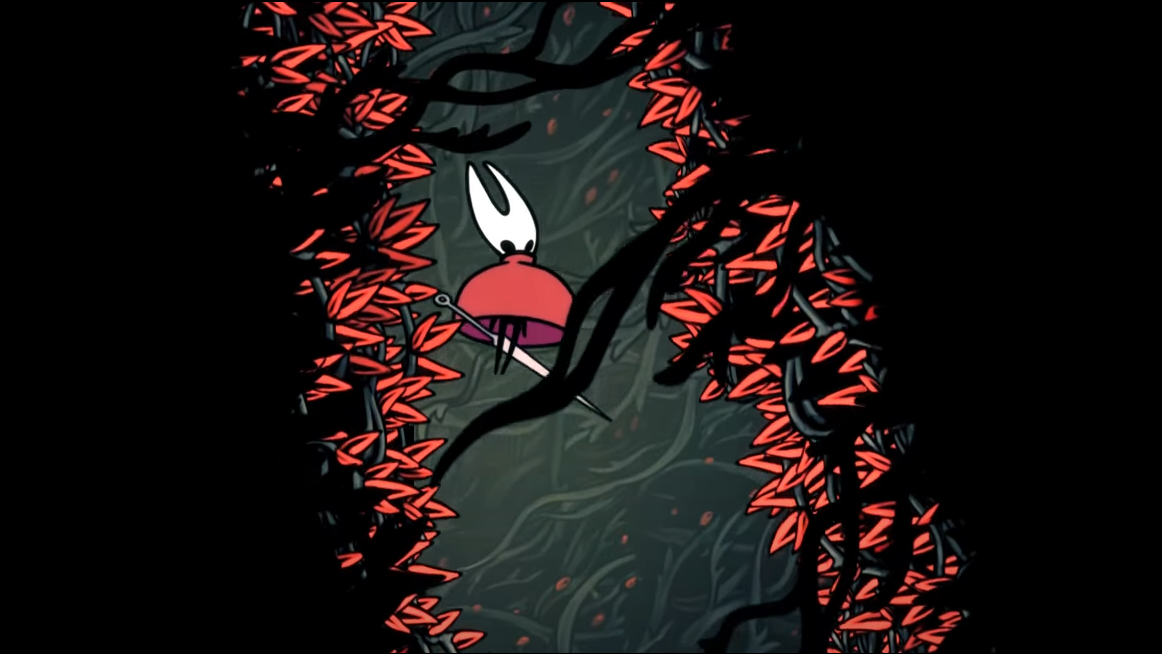
Pogo consistency on red buds
Step 1: Commit to the diagonal angle: start your down attack just as Hornet’s feet cross the bud’s top, not too early, and let the strike carry the bounce.
Step 2: Use hover/float to correct drift if you’re slightly off-line between buds. Short floats stabilize spacing without sacrificing rhythm.
Step 3: Prefer quick, single taps between buds rather than holding directional input. This reduces oversteer and accidental edge slides into spikes.
Optional secrets and pickups checklist
- Rescue the captive Flea near the upper-left fork.
- Cut the rope for a Rosary Necklace in the large ant room to the east.
- Disarm and use the hidden bench in the wind shaft side room.
- Reveal Gilly beside the dancer statue by striking the rustling bush.
- Find Mottled Scarr through the leafy wall in the shard room; consider his death-shield and boomerang tools.
- Open the Deep Docks shortcut from the base of the wind shaft.
- Break the pilgrim’s hanging cage for a Memory Locket before the chapel climb.
Clearing Hunter’s March becomes straightforward once you lock down the bench, open the Deep Docks shortcut, and learn the Beastfly punish windows. If it feels like a wall early, shelving it until after you pick up movement upgrades is often the fastest “shortcut.”