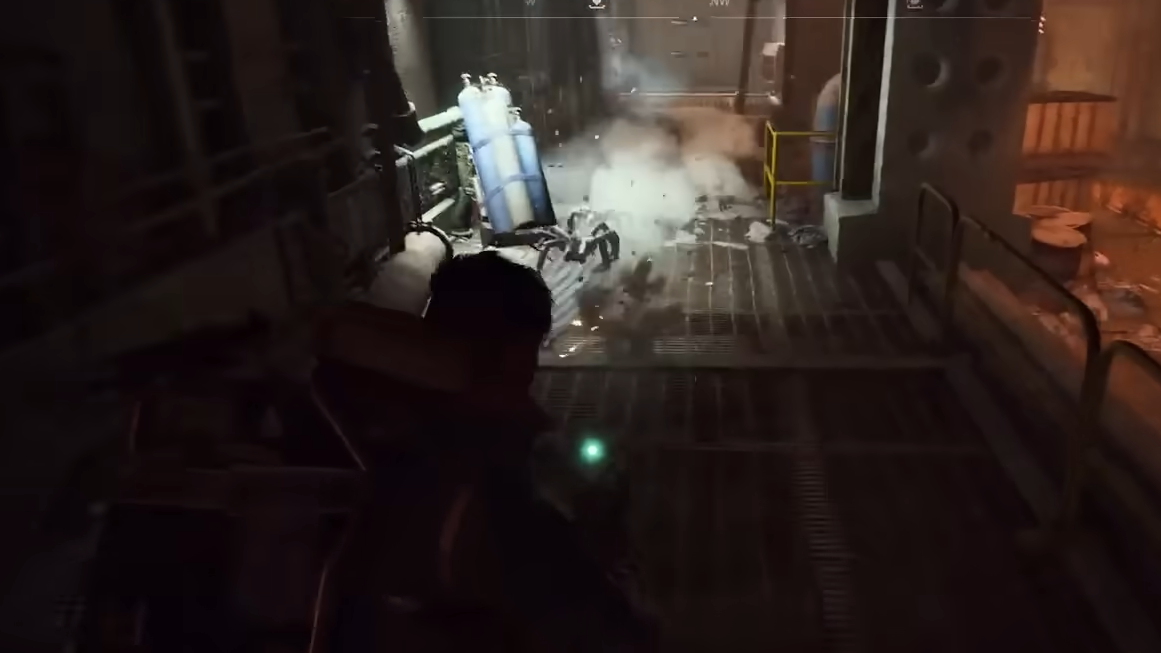
Rocketeers soak a lot of damage and punish sloppy positioning, but they also melt when you use Wolfpacks correctly. The short version: one clean Wolfpack can nearly delete a Rocketeer; two is the reliable number. If you miss or can’t use grenades, heavy ammo with a Ferro or similar will finish the job from cover.
Wolfpack count to kill a Rocketeer
| Scenario | Wolfpacks | Follow‑up | Expected outcome |
|---|---|---|---|
| Perfect airborne throw, all micro‑missiles connect | 1 | Few heavy rounds or a basic grenade, if needed | Near‑kill or kill |
| Clean throw, typical fight | 1 | Short Ferro/Anvil burst | Kill |
| Conservative approach, no follow‑up damage ready | 2 | None | Kill |
| Low throws or partial obstruction | 2 | Couple heavy shots | Kill, but less efficient |
Players also report occasional one‑Wolfpack kills when everything connects cleanly. Bringing two guarantees the result without relying on perfect spacing or timing.

How to throw Wolfpacks so they actually work
- Don’t hit the Rocketeer directly. A direct hit can break the canister and waste the throw.
- Lob it above the target into open air. The Wolfpack splits into homing micro‑missiles that track and dive onto ARC units.
- Give the missiles room to spawn. If you throw too low, into a ceiling line, or right at the body, the missiles can fizzle or collide immediately.
- When in doubt, throw higher. A high arc above the Rocketeer yields the most consistent missile connection pattern.
Positioning that makes Rocketeers manageable
- Fight from deep cover. Doorways and tight interiors that the Rocketeer can’t fly into let you peek, shoot, and reset safely.
- Reposition after each peek. Its rockets can arc and slip through openings; don’t re‑peek the same angle.
- Target a thruster/fan on one side. Breaking or heavily damaging a thruster destabilizes the Rocketeer, making it drop or stagger long enough to finish.
Solo plan: fast and consistent
- Set up in a doorway or a deep room. Clear nearby threats first so you can focus.
- Aggro the Rocketeer, then hold angle discipline. Peek and fire in short bursts.
- With Wolfpacks: wait for a clear hover line, toss one high over the target, and listen for the missile swarm. If it’s still up, either finish with heavy rounds or throw a second.
- No Wolfpacks: hard‑focus one thruster to force a drop, then dump heavy ammo while it’s exposed.
Recommended loadouts (solo or small squad)
- Explosives: 1–2 Wolfpacks. Carry a couple of standard/snap grenades to quickly chip the last sliver of health if needed.
- Heavy weapon: Ferro or Anvil. Two stacks of heavy ammo give you room for a prolonged fight if other players show up or you whiff a throw.
- Sustain and extraction: shield rechargers for peeking trades; smoke to cover a hot loot area; a hatch key if you plan a fast, safe exit after the kill.
If you’re skipping grenades entirely, a well‑modded Ferro can down a Rocketeer in roughly 30–35 well‑placed shots from cover. Expect to burn through multiple shield rechargers if you’re trading peeks.
Troubleshooting: “My Wolfpack did nothing”
- Direct contact: If you “peg” the Rocketeer, the canister can shatter and fail to deploy. Always lob above.
- No space to spawn: Throwing too low or under overhangs causes missiles to collide instantly. Step out, aim higher, and re‑throw.
- Thrown at the ground: A low, flat toss makes missiles target the floor plane. Re‑arc the throw so the canister pops in the air above the enemy.
If you only bring one Wolfpack, plan to finish with heavy rounds. Bringing two removes most variables. Either way, a high lob that gives the canister space to split is the difference between a wasted epic grenade and a dead flying tank.

