Skills turn repeated playbooks, checklists, and reference material into reusable instructions Claude Code can pull in when it needs them. A skill is just a directory with a SKILL.md file inside, and once it lives in the right folder, Claude either invokes it automatically based on the description or you trigger it directly with a slash command.
Where skills live
The folder you choose decides who can use the skill. Personal skills follow you across every project on your machine; project skills ship with a single repo and can be committed to version control so the whole team gets them.
| Scope | Path | Applies to |
|---|---|---|
| Personal | ~/.claude/skills/<name>/SKILL.md | All your projects |
| Project | .claude/skills/<name>/SKILL.md | This repo only |
| Plugin | <plugin>/skills/<name>/SKILL.md | Wherever the plugin is enabled |
| Enterprise | Managed settings | Everyone in your organization |
If two skills share a name across scopes, enterprise wins over personal, and personal wins over project. Plugin skills are namespaced as plugin-name:skill-name, so they never collide. Existing files in .claude/commands/ still work, but a skill with the same name takes precedence.
Build a skill from scratch
Every skill needs one required file: a SKILL.md with YAML frontmatter on top and markdown instructions below. The frontmatter tells Claude when to load the skill; the markdown tells Claude what to do once it’s loaded.
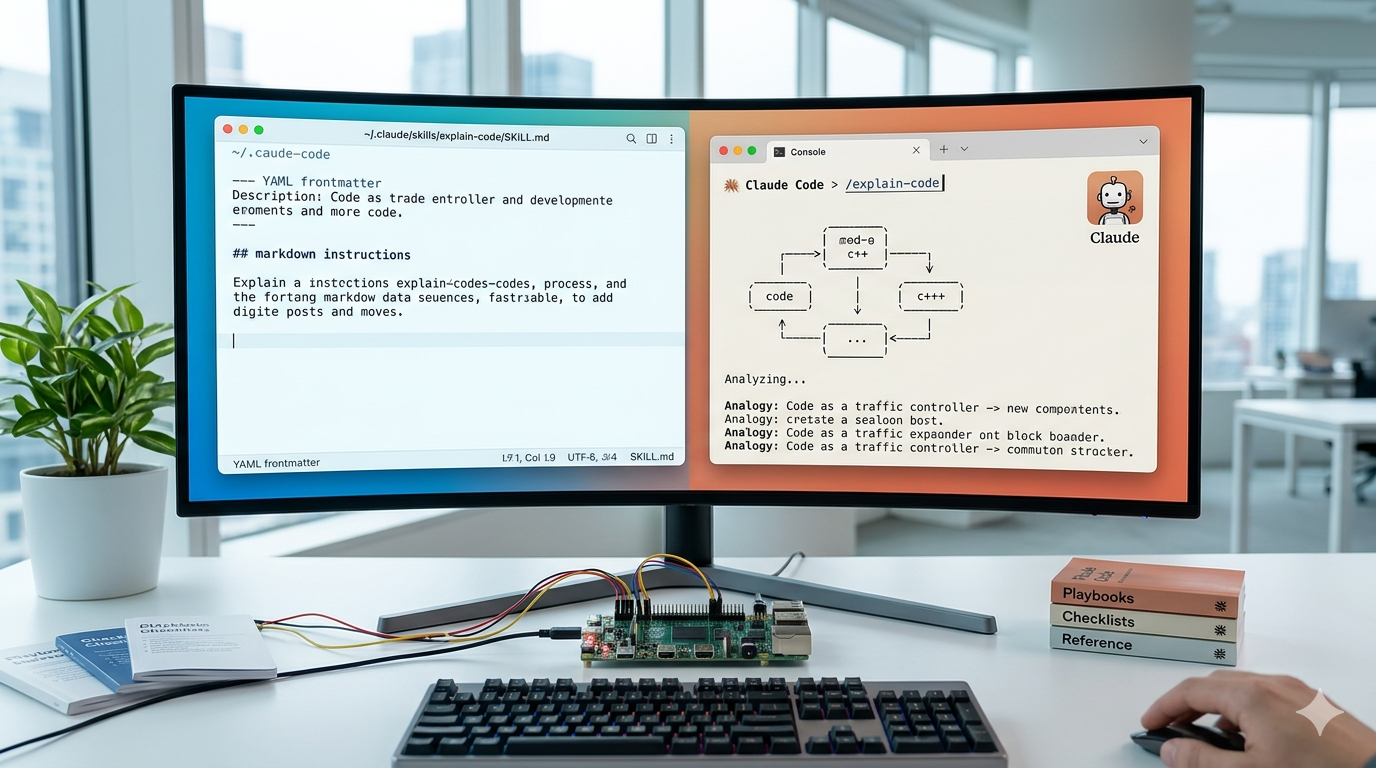
mkdir -p ~/.claude/skills/explain-code in your terminal.~/.claude/skills/explain-code/SKILL.md and add the frontmatter and instructions. The description field is what Claude reads to decide whether to invoke the skill, so front-load the trigger keywords.
---
name: explain-code
description: Explains code with visual diagrams and analogies. Use when explaining how code works, teaching about a codebase, or when the user asks "how does this work?"
---

When explaining code, always include:

1. **Start with an analogy**: Compare the code to something from everyday life
2. **Draw a diagram**: Use ASCII art to show the flow, structure, or relationships
3. **Walk through the code**: Explain step-by-step what happens
4. **Highlight a gotcha**: What's a common mistake or misconception?

Keep explanations conversational. For complex concepts, use multiple analogies.
~/.claude/skills/explain-code/SKILL.md
/explain-code followed by a file path. Claude Code watches skill directories live, so new and edited skills take effect inside the current session without a restart.Frontmatter fields that matter
Only description is recommended; everything else is optional. The fields below are the ones you’ll reach for most often.
| Field | What it does |
|---|---|
name | Display name and slash command. Lowercase letters, numbers, hyphens, max 64 characters. Defaults to the directory name. |
description | What the skill does and when to use it. Truncated at 1,536 characters in the listing, so put the key trigger first. |
disable-model-invocation | Set to true if only you should trigger it. Use this for anything with side effects, like deploys or commits. |
user-invocable | Set to false to hide it from the slash menu. Use for background reference skills. |
allowed-tools | Tools Claude can use without prompting while the skill is active, e.g. Bash(git add *) Bash(git commit *). |
context: fork | Runs the skill in an isolated subagent context, with no access to your conversation history. |
agent | Which subagent type to use when forking. Built-in options include Explore, Plan, and general-purpose. |
paths | Glob patterns that limit when Claude auto-loads the skill, e.g. only when working with files matching src/api/**. |
Reference skills vs. task skills
Two patterns cover most use cases. Reference skills hold knowledge Claude pulls in alongside your current work, like API conventions or style guides. Task skills give Claude a procedure to run end to end, often paired with disable-model-invocation: true so the model doesn’t decide on its own to deploy something.
---
name: api-conventions
description: API design patterns for this codebase
---

When writing API endpoints:
- Use RESTful naming conventions
- Return consistent error formats
- Include request validation
Reference skill example
---
name: deploy
description: Deploy the application to production
disable-model-invocation: true
allowed-tools: Bash(git push *) Bash(npm run *)
---

Deploy $ARGUMENTS to production:

1. Run the test suite
2. Build the application
3. Push to the deployment target
4. Verify the deployment succeeded
Task skill example
Pass arguments to skills
Anything typed after the skill name becomes available through $ARGUMENTS. Running /fix-issue 123 on a skill that says “Fix GitHub issue $ARGUMENTS” sends Claude the literal string with 123 spliced in. If the skill body doesn’t reference $ARGUMENTS, Claude Code appends ARGUMENTS: <your input> automatically so nothing gets lost.
For positional access, use $0, $1, and so on (or the longer $ARGUMENTS[0] form). Wrap multi-word values in quotes: /migrate-component "search bar" React Vue makes $0 expand to search bar.
Add supporting files for bigger skills
A skill is a directory, not just a single file. Drop reference docs, templates, examples, or scripts alongside SKILL.md and link to them from the main file so Claude only loads them when needed. This keeps the always-loaded description short while letting heavyweight reference material sit on disk until it’s actually used.
my-skill/
├── SKILL.md           # Required - main instructions
├── reference.md       # Loaded only when needed
├── examples.md        # Loaded only when needed
└── scripts/
    └── helper.py      # Executed by Claude, not loaded as text
Skill directory layout
Keep SKILL.md under 500 lines. Anything longer should move into separate files referenced from the main one.
Inject live data with shell commands
The !`command` syntax runs a shell command before the skill content reaches Claude, then replaces the placeholder with the output. This is preprocessing, not something Claude executes — the model only sees the rendered result. It’s the cleanest way to give a skill access to real-time data like git status, PR diffs, or environment versions.
---
name: pr-summary
description: Summarize changes in a pull request
context: fork
agent: Explore
allowed-tools: Bash(gh *)
---

## Pull request context
- PR diff: !`gh pr diff`
- PR comments: !`gh pr view --comments`
- Changed files: !`gh pr diff --name-only`

## Your task
Summarize this pull request...
Skill that summarizes a pull request
For multi-line commands, use a fenced code block opened with ```!. Admins can disable this behavior across user, project, and plugin skills by setting "disableSkillShellExecution": true in settings.
Run skills in an isolated subagent
Adding context: fork to the frontmatter spins up a fresh subagent context for the skill. The skill content becomes the subagent’s prompt, and only the summarized result comes back to your main conversation. This keeps your main context clean during heavy research tasks that read dozens of files.
Forked skills only make sense when they contain explicit instructions. A reference-only skill with no task will just receive guidelines and exit without doing anything useful.
---
name: deep-research
description: Research a topic thoroughly
context: fork
agent: Explore
---

Research $ARGUMENTS thoroughly:

1. Find relevant files using Glob and Grep
2. Read and analyze the code
3. Summarize findings with specific file references
Forked research skill using the Explore agent
Install skills from the plugin marketplace
If you don’t want to write skills from scratch, Claude Code’s plugin system can install bundled skills from a marketplace repo. Inside an active session, type /plugin to open the browser, then use the Discover tab to install plugins from the default Anthropic marketplace.
/plugin marketplace add owner/repo with a GitHub repo path./plugin install plugin-name@marketplace-name. Pick “User” scope to install across all projects, or “Project” to install only into the current repo./plugin update to refresh installed plugins, and /plugin remove <name> to uninstall. Plugin skills land in ~/.claude/skills/ just like personal skills, but get version management and auto-updates through the marketplace.Verify a skill is loaded
After dropping a skill into place, ask Claude “What skills are available?” or try invoking it with /skill-name. If the skill appears and runs, it’s wired up correctly. If nothing happens, check that SKILL.md sits directly inside the skill folder (not nested an extra level deep), the YAML frontmatter parses cleanly, and the name uses only lowercase letters, numbers, and hyphens.
Live change detection means edits, additions, and deletions inside ~/.claude/skills/ or a project’s .claude/skills/ apply within the current session. The exception is creating the top-level skills directory itself for the first time, which requires restarting Claude Code so the watcher can pick it up.
Common reasons a skill misfires
If Claude isn’t using a skill when you expect it to, the description usually doesn’t match the language you’re using in your prompts. Front-load the description with the trigger phrases and verbs your team actually says. If the skill listing has many entries, descriptions get truncated to fit a character budget that defaults to 1% of the context window (with an 8,000-character fallback), so trim each description to the essentials and raise SLASH_COMMAND_TOOL_CHAR_BUDGET if needed.
The opposite problem — a skill triggering too aggressively — gets fixed by tightening the description or adding disable-model-invocation: true so only manual /skill-name invocations load it.
Sharing skills with a team
For project-scoped skills, commit .claude/skills/ to version control. Anyone who clones the repo gets the skills automatically. For skills that should follow people across multiple projects, package them into a plugin and distribute through a shared marketplace repo — teams can then enable the plugin in .claude/settings.json and update everyone at once with /plugin update. Enterprise admins can lock down which marketplaces are allowed using managed settings.