We are all dependent on Google for most of our web-based requirements, be it Gmail, YouTube, Google Docs Editors Suite, or Google Drive amongst many others. With such user-friendly services, Google is sort of leading the digital space.
Google Drive, one of the most popular services, is used for file storage and synchronization. It can be accessed both on desktop and mobile and users can easily upload data to it or use the auto sync feature to save both time and effort. However, with data thefts and loss being the new normal these days, it is recommended that you always create a local backup of even your cloud drives.
Many of us don’t realize the importance of backup until we are victims of data loss or theft. If you have a backup in place, you can always retrieve the data, thus never losing your valuable files and photos. There are various ways to back up your Google Drive, some are trivial while others may be intricate for newbies. Use the one that best suits your requirement and is well within your ability.
Back Up Google Drive to an External Hard Drive Locally
This is one of the simplest methods, where you download the data and then move it to an external hard drive locally. You don’t need to be tech-savvy to use this method, but you will have to repeat the process every time you add a file to Google Drive, which is a tedious task. Another major drawback of this method is that it consumes space on your hard drive, thus leaving little space for other items.
However, this method does not require the interference of any third-party software or program, thus making it relatively secure.
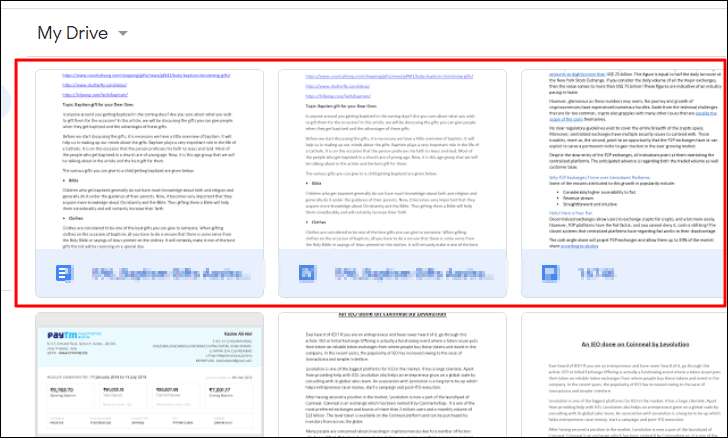
To download the files from your Google Drive, go to drive.google.com and select the files that you want to download. You can either press CTRL + A to select all the items or hold the CTRL key and click on the files that you want to select and download.
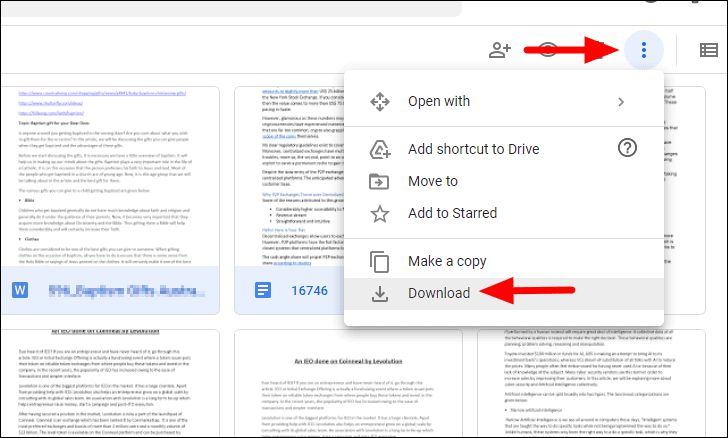
Once you have selected the files for backup, click on the ellipsis (three dots) near the top right corner and then select ‘Download’ from the drop-down menu.
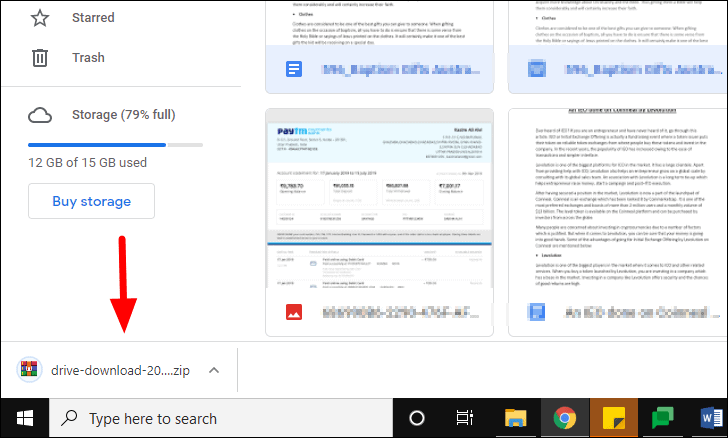
It will take a minute or so for Google Drive to prepare the download and once done it’ll begin the download automatically. You can monitor the download progress from the Downloads bar at the bottom of your screen. You can also find the file in the default ‘Downloads’ folder of your computer.
Open the downloads folder and copy the downloaded ZIP file of your Google Drive backup and paste it into the external drive connected to your computer.
Create a Back Up on Another Google Drive
What could be more convenient than backing up data on another Google Drive, which is fairly simple and straight-forward? You should go for this if you are dependent on Google for most of your requirements since the process would be familiar to you.
The process consists of two parts, sharing the files to another Google Drive and adding them.
Sharing the Files to your Secondary Google Account
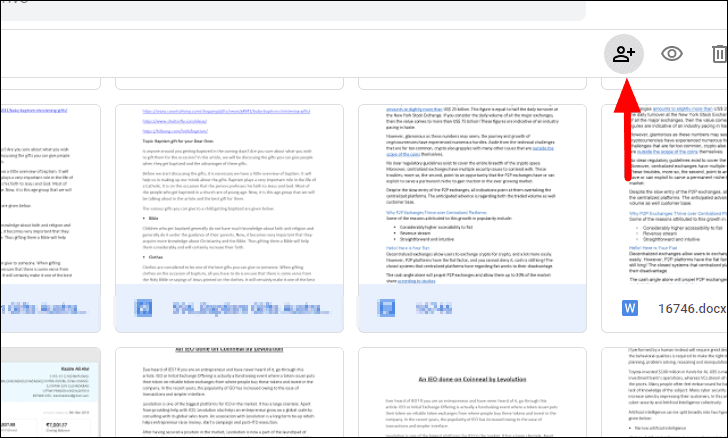
To share your files to another Google Drive, select the relevant files and then click on the ‘Share’ option at the top.
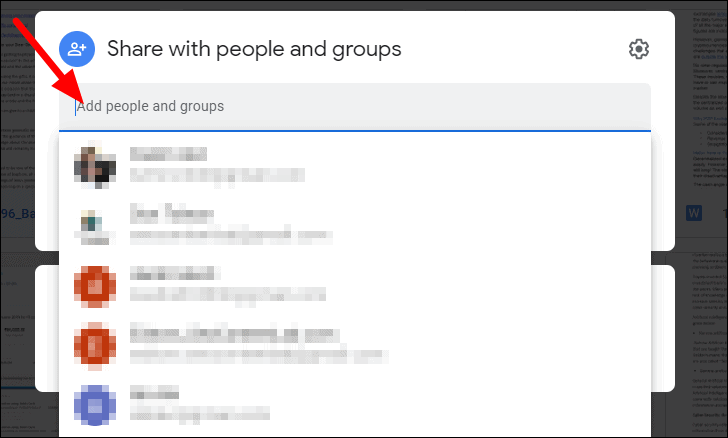
The ‘Share with people and groups’ box will open where you can add the account you want to share the files with. To add, click on the search box at the top and either select your secondary Google account from the list (if available) or manually enter your Gmail ID.
Once done, click on the ‘Send’ icon at the bottom and the box will close right after.

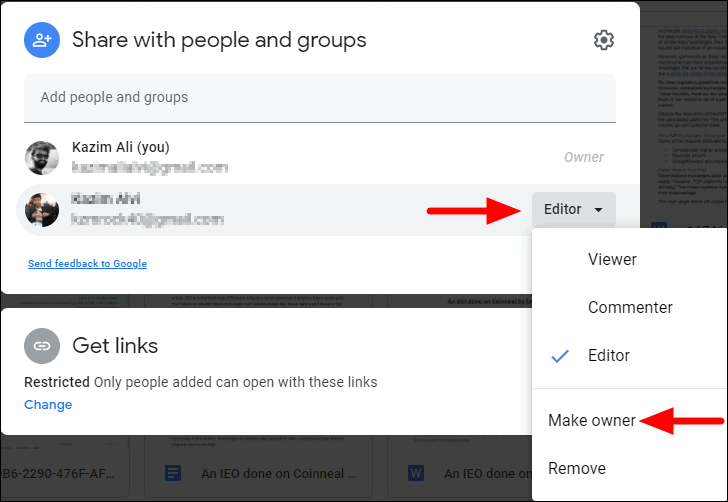
We have shared the files but it can only be edited and does not have ownership which is very much needed in case of backups. To change it, select the shared files and reopen the ‘Share with people and groups’ box click on the box next to the account you have shared the files with, and then select ‘Make owner’ from the drop-down menu.
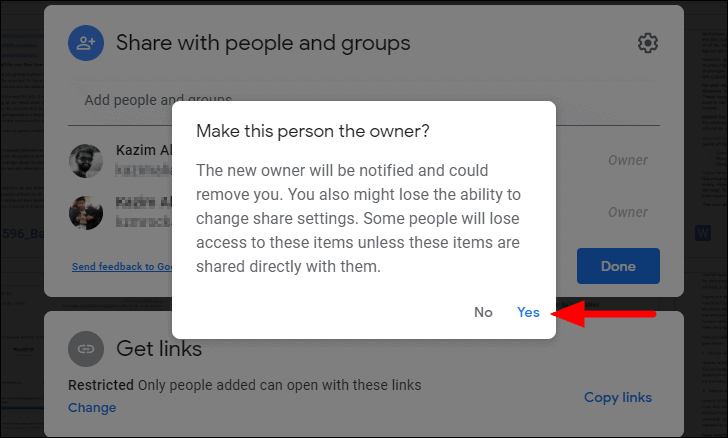
Next, a confirmation box will appear, click on ‘Yes’ to proceed.
The files have now been shared and now you just have to add them to the other drive.
Adding Files to the Other Google Drive
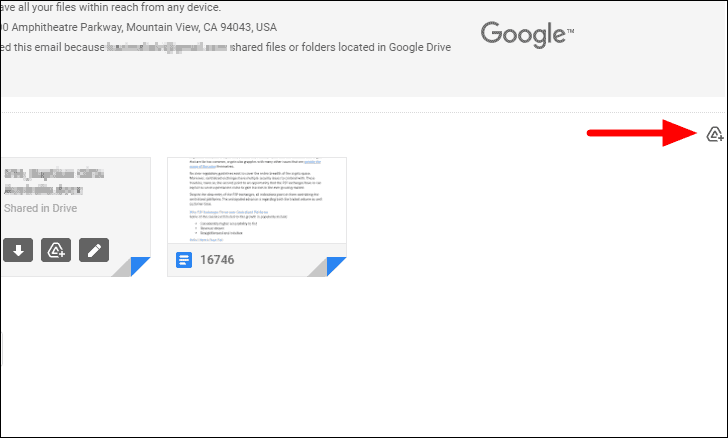
Login to the Gmail account you shared the files earlier and then look for the mail with the files attached. In the mail, scroll down the bottom where the files are placed and click on the ‘Add all to drive’ option at the right.
Now, all the files are added to your secondary Google Drive and you can easily retrieve them from here, in case you ever lose them.
Back Up Google Drive with Google Takeout
Google Takeout is a great way of creating backups for all the Google products, be it Gmail, YouTube, or Google Drive amongst others. With Google Takeout, you create a downloadable archive file and can use it to retrieve data. This is initially a time-consuming process but you have the option to set a frequency for auto-backups which helps save both time and effort in the long run.
Creating a Backup for Google Drive
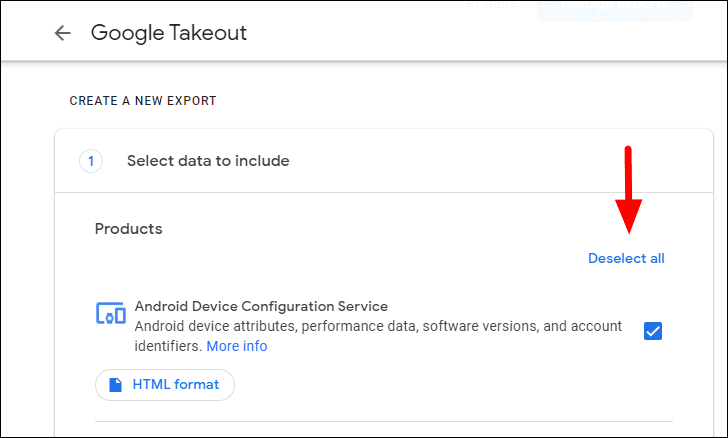
To create a backup with Google Takeout, open takeout.google.com and then click on ‘Deselect all’ under ‘Select data to include’.
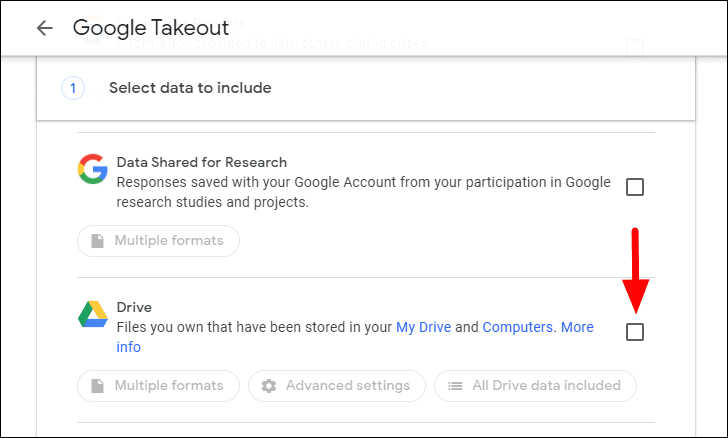
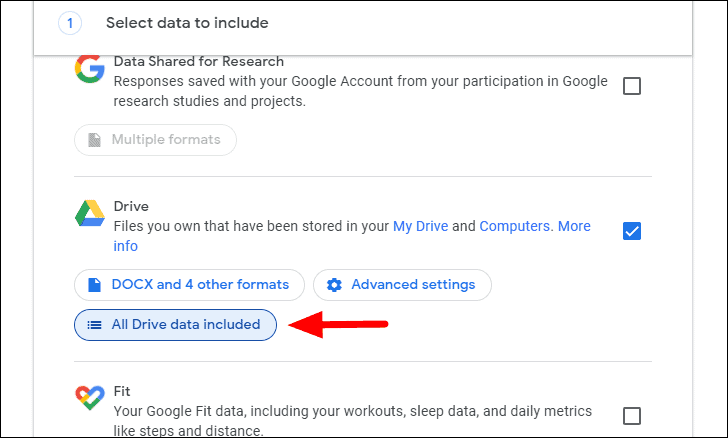
Next, scroll down and tick the checkbox next to ‘Drive’.
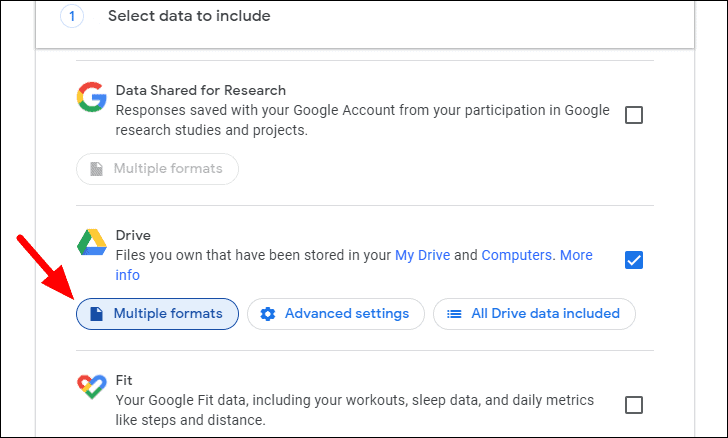
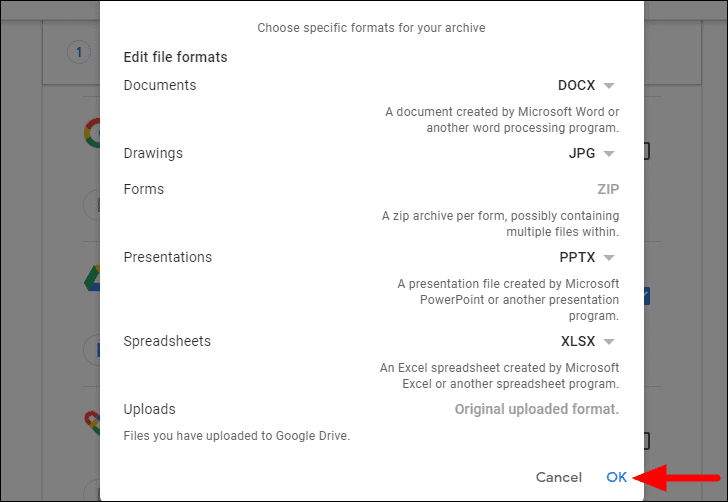
You now have three customizations for the backup. We will see each of them individually. The first is ‘Multiple formats’, click on it to expand and check the various options offered under this one.
You can now select the formats for various types of files that you want in the backup. This feature becomes necessary when you want a different format and don’t have the time to change the format of the files individually. Click on the box next to each of the file types and select the desired format from the drop-down menu. Once done, click on ‘OK’ to proceed.
The next available customization is ‘Advanced settings’ where you can choose whether you want to include additional information as well.

In the ‘Advanced settings’ box, click on the relevant checkboxes if you want to include the data mentioned next to them and then click on ‘OK’ to proceed.

The last customization is ‘All Drive data included’, where you can choose whether you want to include all the data or just selected folders.
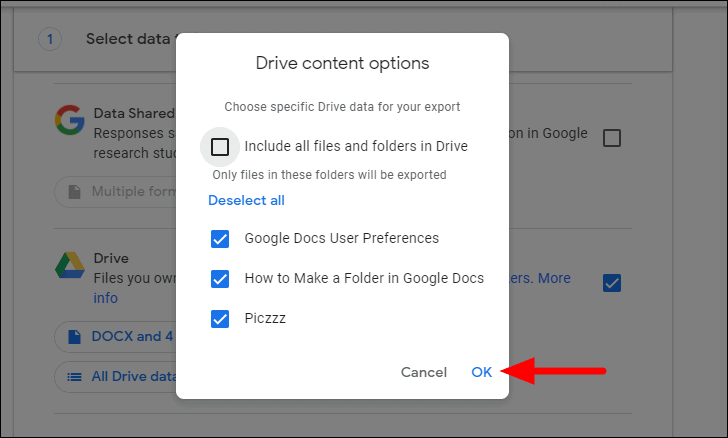
In the ‘Drive content options’ box, the ‘Include all files and folders in Drive’ checkbox is selected by default and the individual folder options are greyed out. In case you want to backup selected files, untick the checkbox.

After you have unticked the checkbox, the ones at the bottom will be accessible. Now tick the checkbox before the folders for which you want to create a backup and click on ‘OK’ at the bottom.
After you have made the necessary customizations, scroll down to the bottom and click on ‘Next step’.

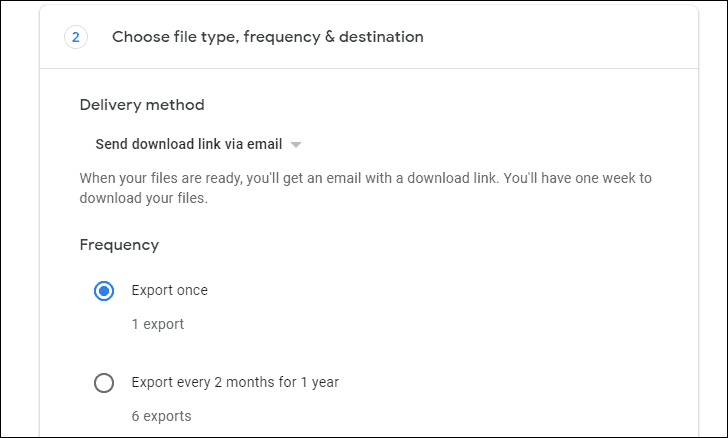
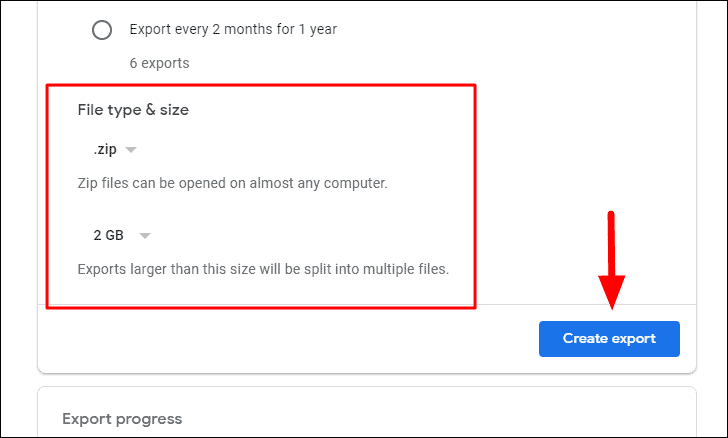
In the next section, you will be asked to select a frequency for the backup. Here, you have the option to either create a backup just once or create one every two months for a year.
Next, you have the section for ‘File type & size’ where you can select the file type and size for the backup. It is recommended that you go with the default selections. Once you are done with all the selection, the final step is to click on ‘Create export’ at the bottom.
After you click on ‘Create Export’ you will receive a confirmation mail and the backup file will be mailed to you in a couple of hours, depending on the size of the backup. You will also receive a mail once the backup is created with the link for the backup file.
Downloading the Backup File
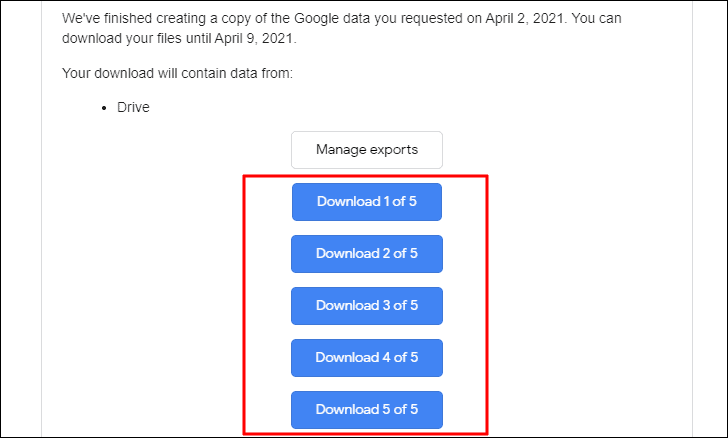
Keep checking your mail every couple of hours for the backup file. Once you have received it, you will find the download links for the backup file. Before you proceed to the download, check the number of backup files created and the size of each for future reference. Also, you can download the backup file only within the first 7 days from the time the backup was requested.
After you have received the mail with the backup files, click on either of the icons to open the ‘Manage your exports’ screen from where you can download them.
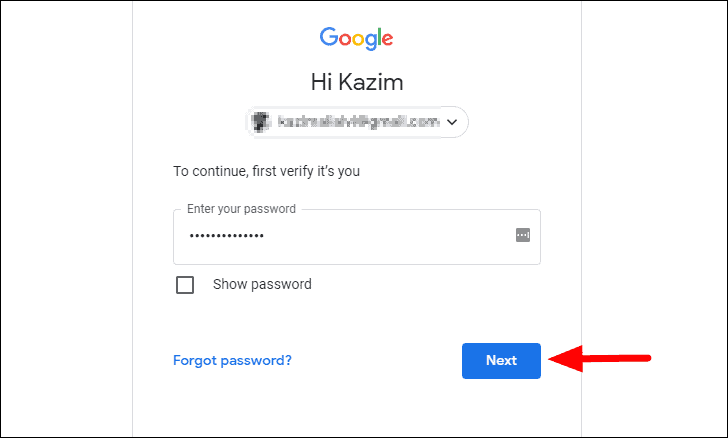
You will be asked to authenticate by confirming your password on the next page. Click on ‘Next’ to proceed to the final page.
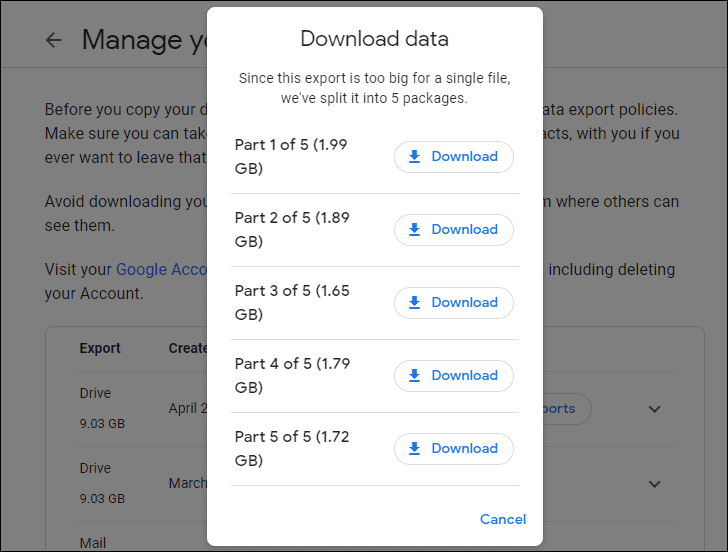
All the backup files created for your Google Drive are displayed on the screen and you can download them individually by clicking on the ‘Download’ icon next to each. Since we selected the ‘ZIP’ format earlier, you will have to unzip them, in case you ever retrieve the data.
You are now well oriented with the various methods of backing up Google Drive and can easily create one yourself. Always remember, a backup comes into the picture only after data loss, therefore, your prime approach should be to avoid data loss. For this, try creating strong passwords and keep changing them periodically.
Moreover, never download files from untrusted sources as they may infect your system and lead to data loss or theft.


