
From irreplaceable pictures of your first date to the presentations that you have prepared for your next meeting, data is so vital for each one of us. Most of this data, if not all, might be stored digitally on your Mac. And while they are some of the best and most reliable computing devices in today’s world, they can still fail. And if they do, all of your data could be gone forever, and no one would want that to happen.
In this article, we will be discussing how to backup and restore your data on Mac. While there are many ways to backup and restore Mac, the easiest way is to use ‘Time Machine,’ which is a backup utility that comes as built-in Mac devices.
Backup Mac using Time Machine
The advantage of creating a Time Machine Backup is that it can be used by Apple’s Migration Assistant tool during a fresh macOS installation to quickly transfer your applications, files, and settings from an old Mac to a new one or while restoring your Mac.
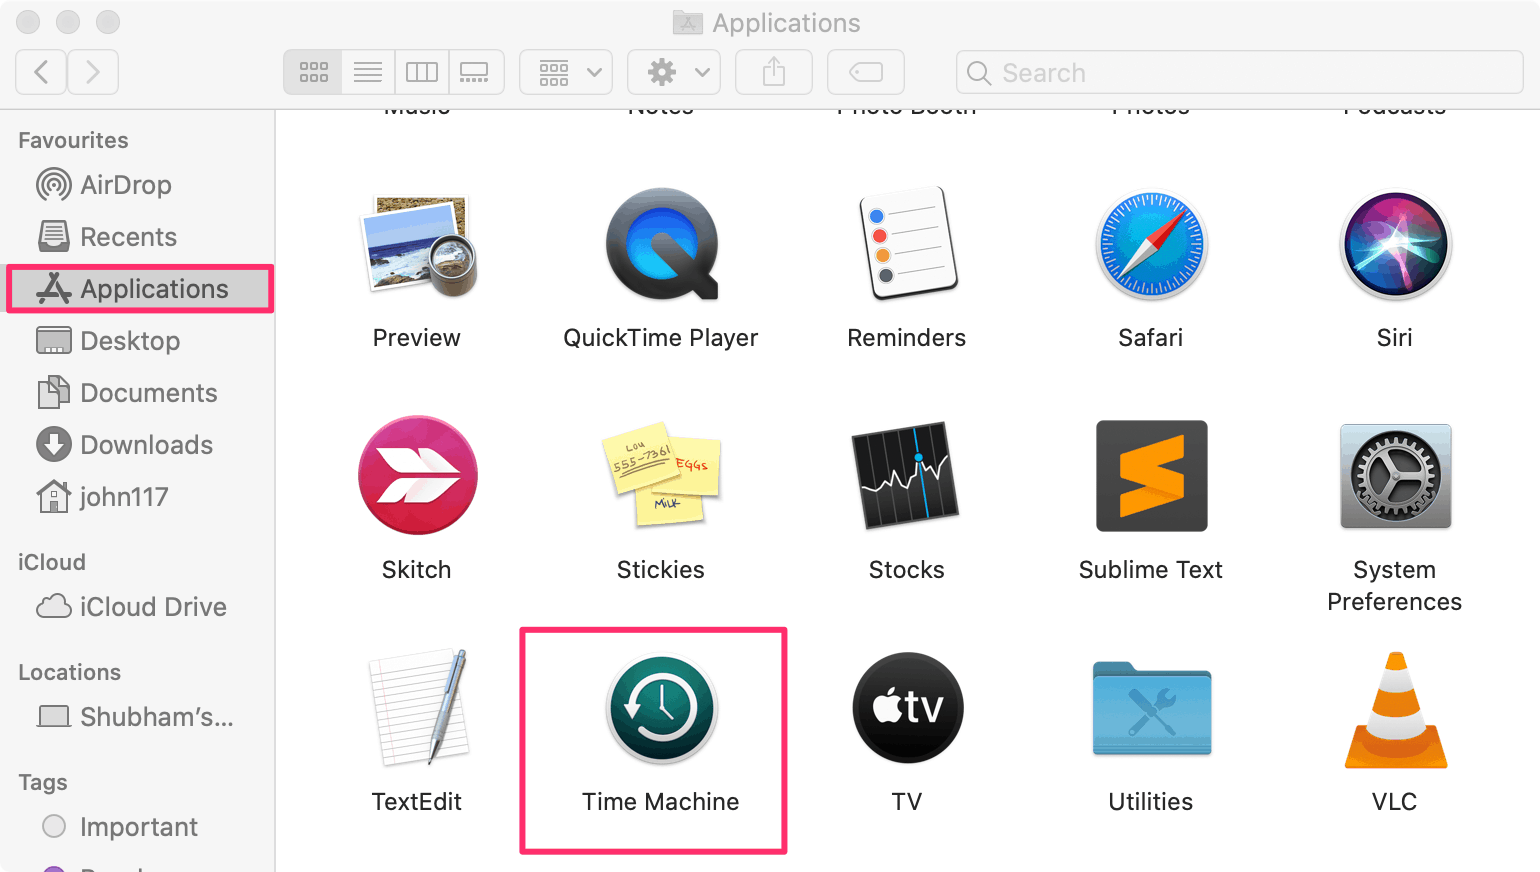
You can find ‘Time Machine’ under Finder » Applications.
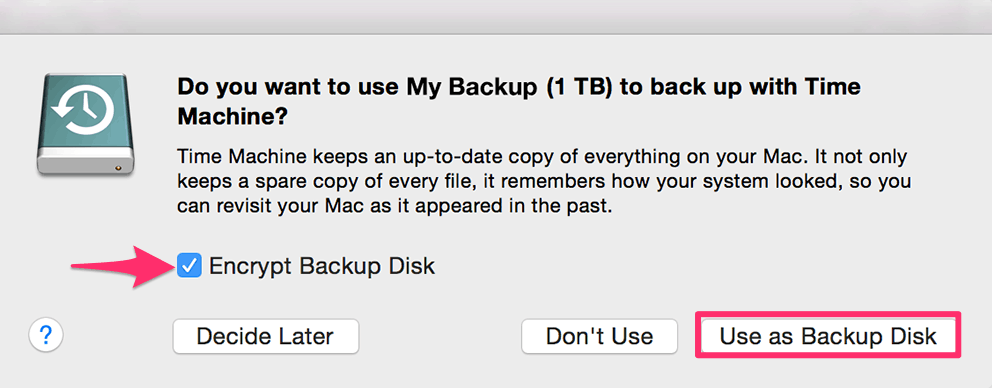
To create backups with Time Machine, all you need is an external storage device. You can use a hard disk or an SSD. When you connect an external drive to your Mac, you will be asked if you want to use the drive to back up with Time Machine. Just click on use as a backup disk.
Time Machine automatically makes hourly, daily, and weekly backups. Don’t worry about the external drive getting full as it will automatically delete the oldest backup as well.
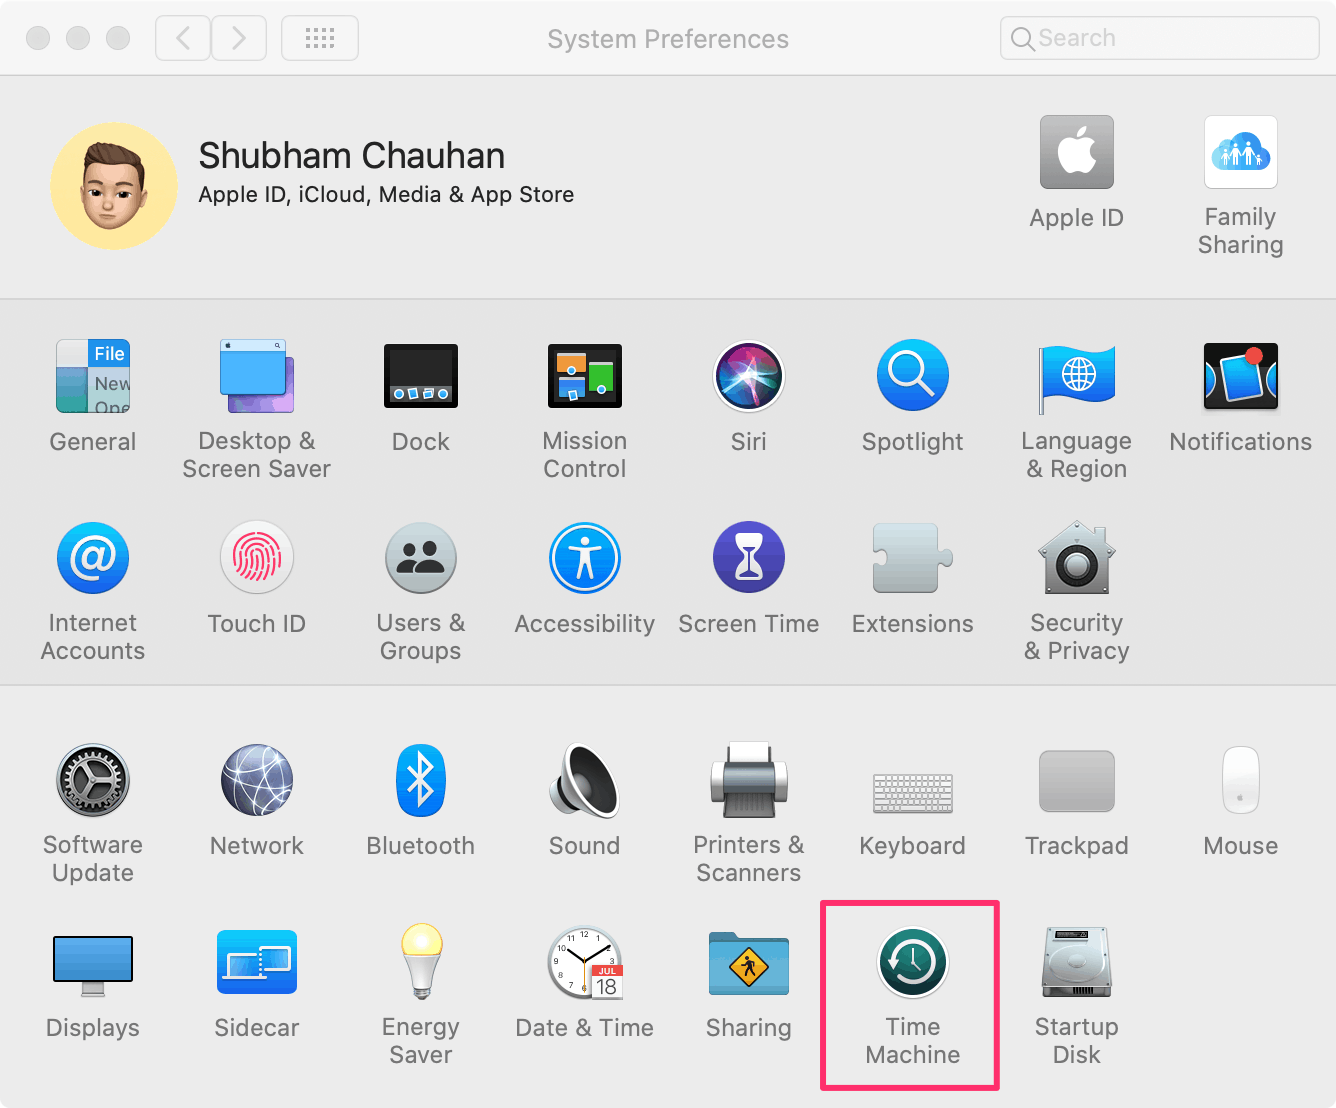
If you don’t get the prompt of using the connected drive as the backup disk you can manually do it by going to System Preferences » Time Machine.
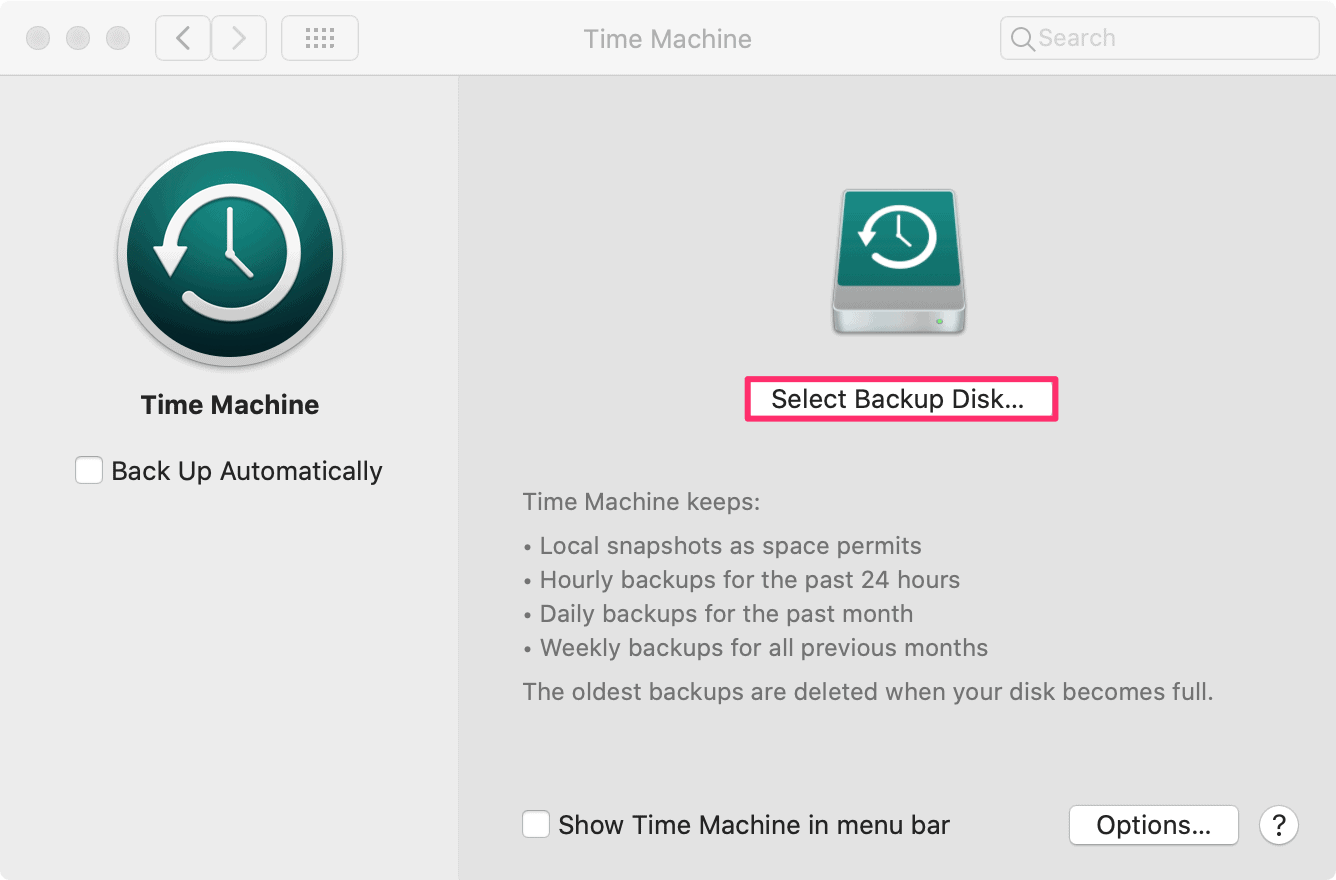
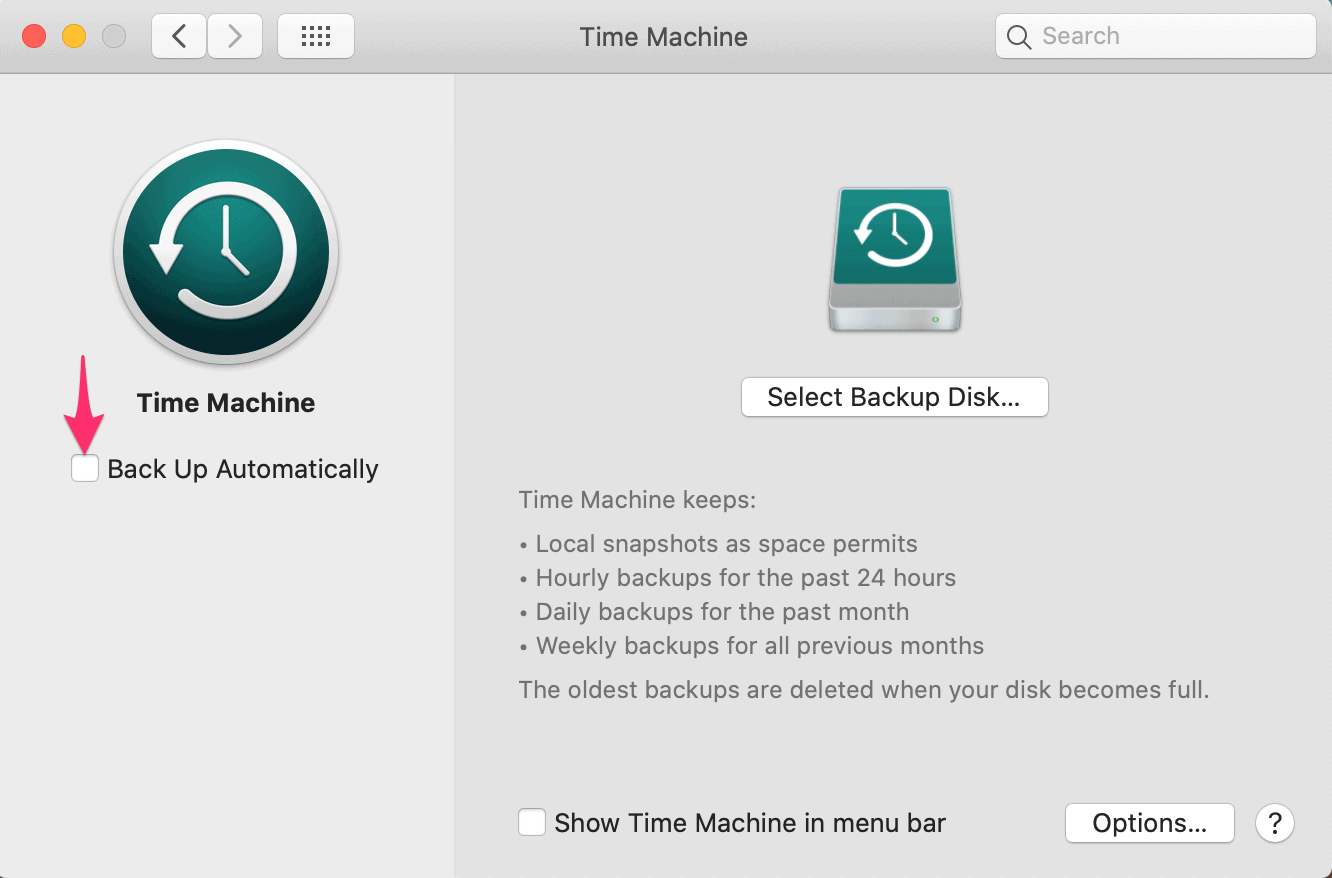
On the Time Machine screen, click on the ‘Select Backup Disk…’ button on the right panel. Make sure your external drive is connected to the machine before clicking the button.
Now you need to select your external drive from the list of available disks and then click on the ‘Use Disk’ button.

After you select a backup disk, Time Machine immediately begins making backups automatically. You can also turn this feature off by unchecking the tiny box if you want to create manual backups. However, we suggest that you keep it on just in case you forget later on to create a backup.
The first backup may take a long time depending on how many files you have, but you can continue using your Mac while a backup is being created. Time Machine backs up only the files that have changed since the previous backup so that future backups are faster.
Upon successful completion of your first backup, you will get the following prompt.

Restoring a Time Machine Backup on Mac
Now that we have created a Time Machine backup successfully. You need to know how to restore that as well.
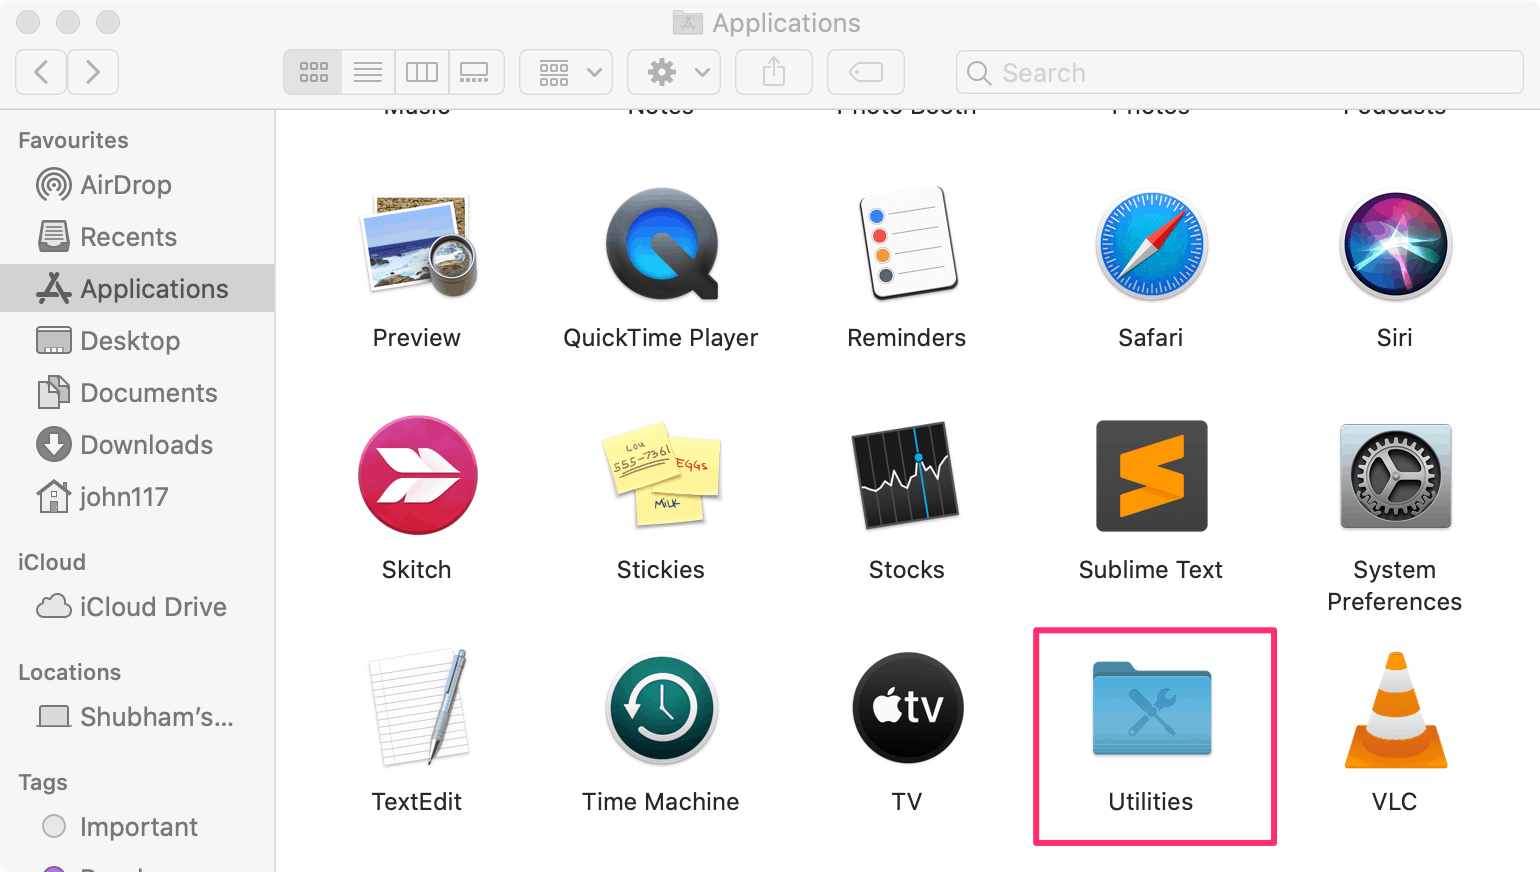
To restore a Time Machine backup, connect the backup drive to the Mac, then go to Finder » Applications, and select the ‘Utilities’ folder.
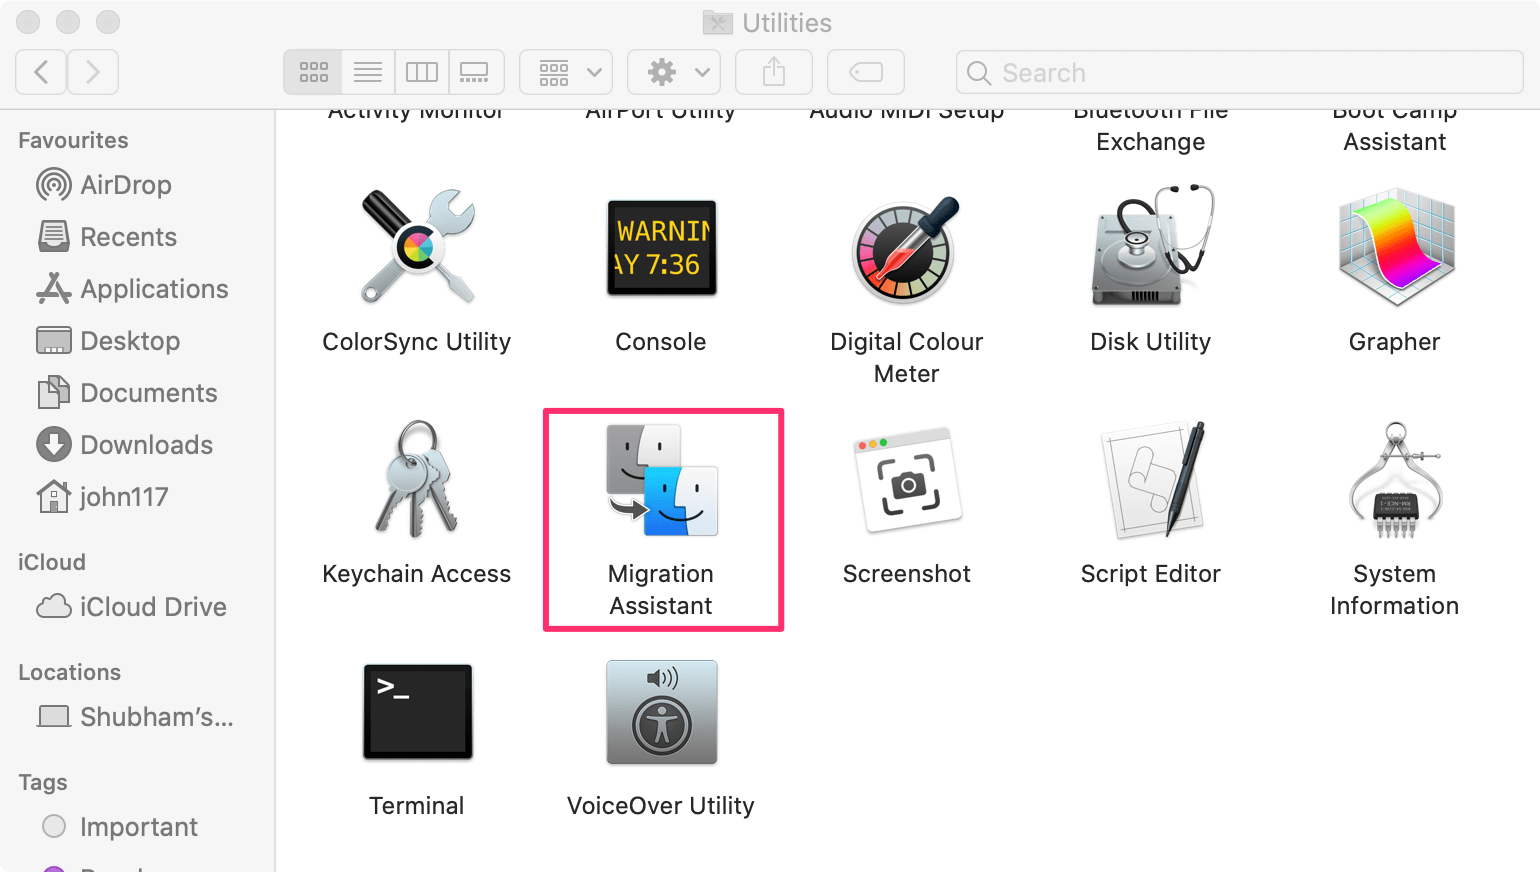
Next, you need to click on the ‘Migration Assistant’ from the Utilities screen. This is the inbuilt restore and migration utility on the Mac which helps you to easily restore data from a Time Machine backup or migrate from a Windows PC, or from another Mac.
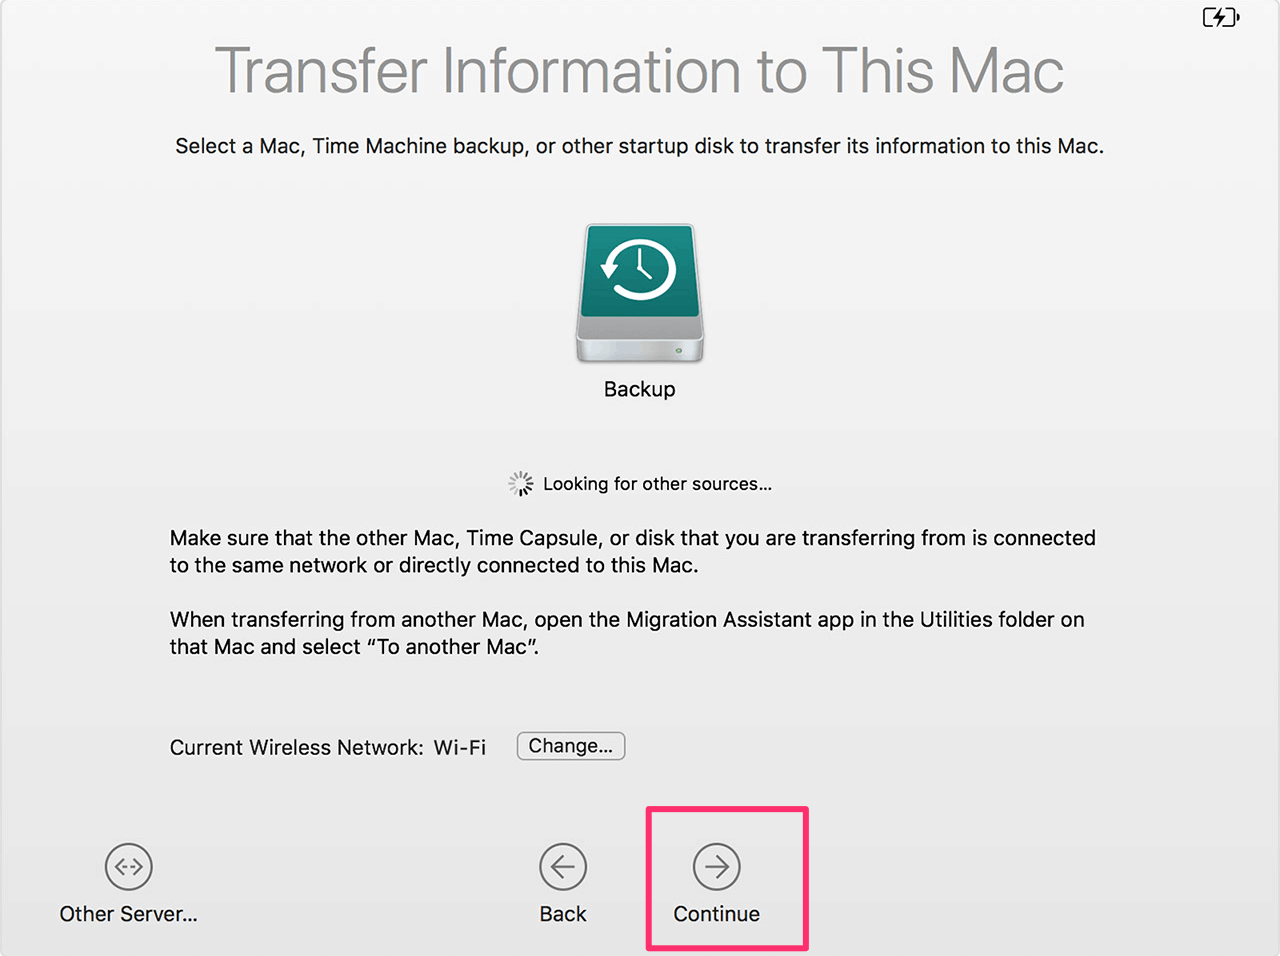
On the Migration Assistant screen, it’ll ask how you want to transfer your data, select the first option to transfer ‘from a Mac, Time Machine backup, or startup disk’ and click ‘Continue’.

It will automatically detect your Time Machine Backup. Click ‘Continue’ at the bottom to proceed.
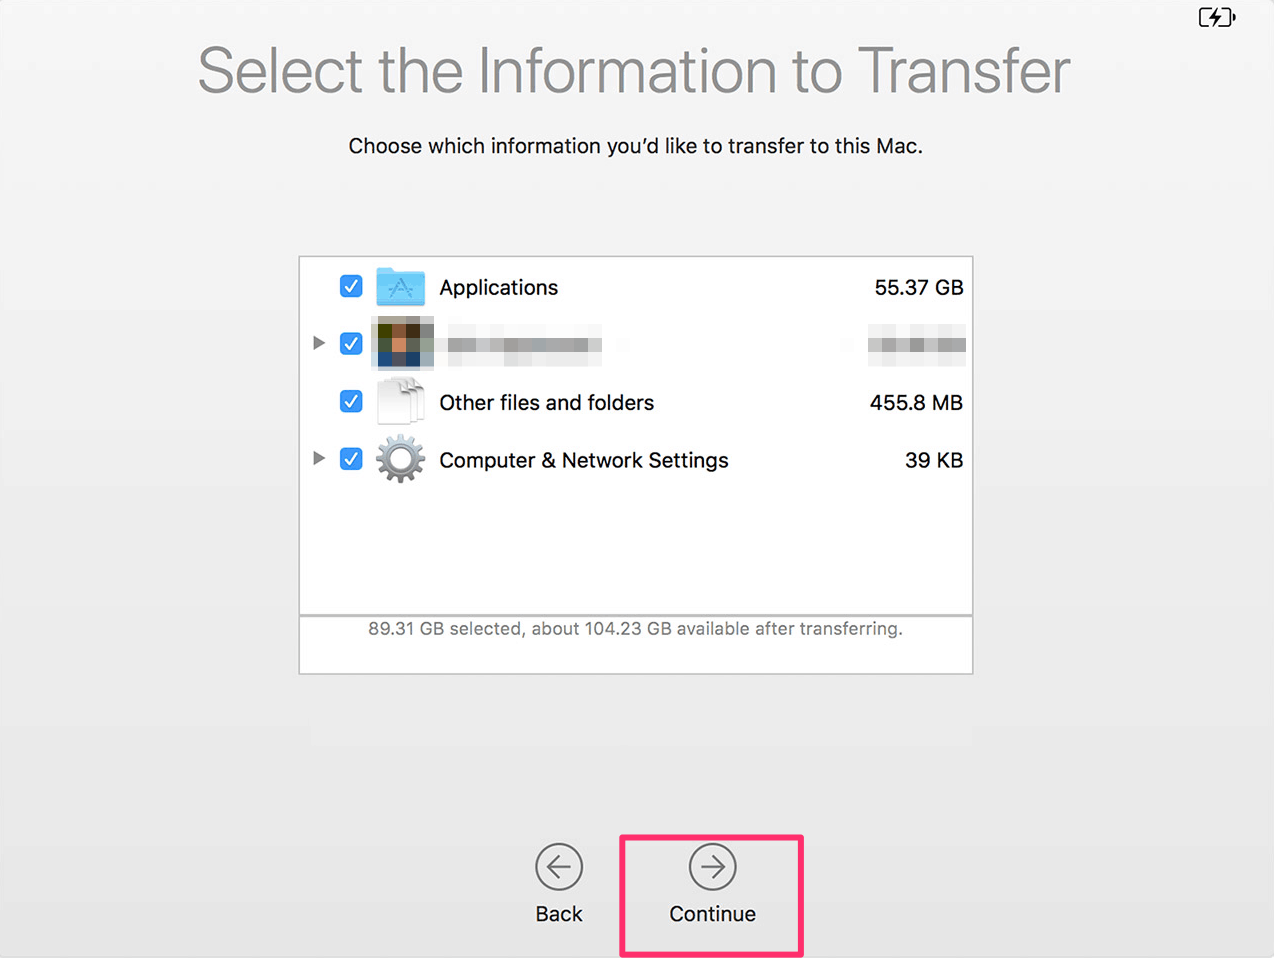
On the next screen, select the data you want to transfer and then click on the ‘Continue’ button again.
This may take several hours to finish depending on the size of the data. Once restoring finishes, you will be required to restart your Mac.