
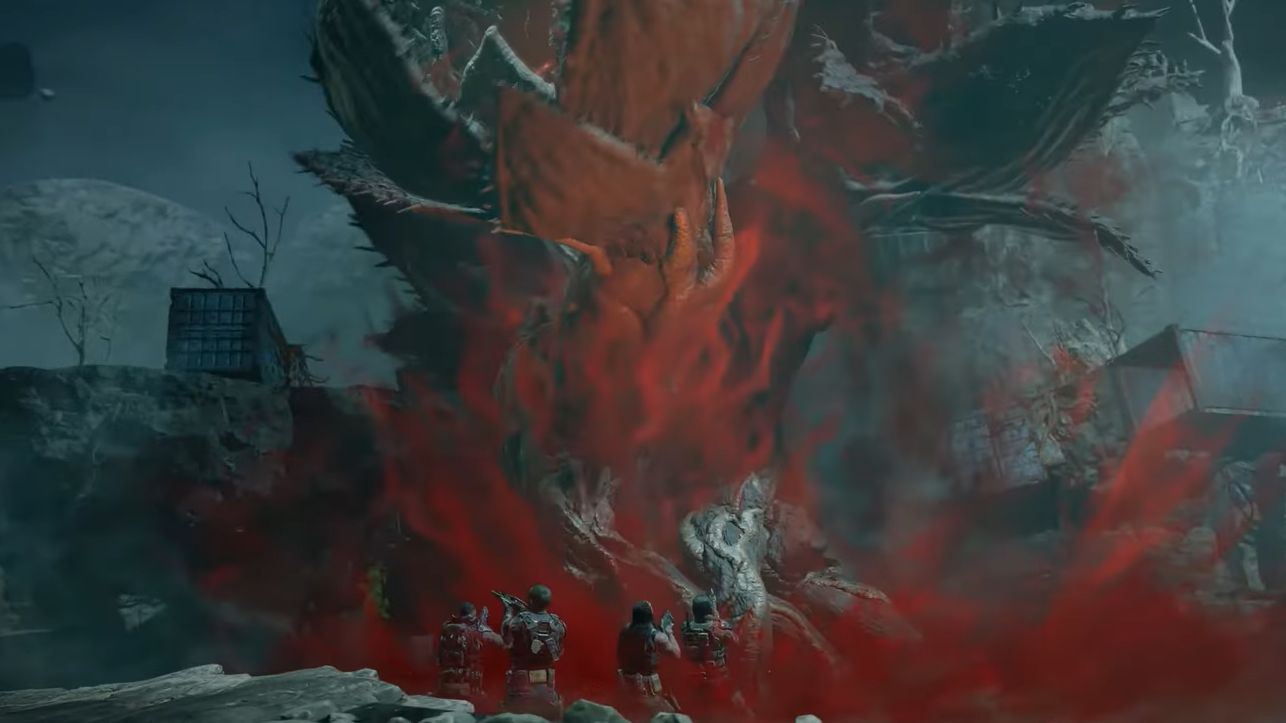
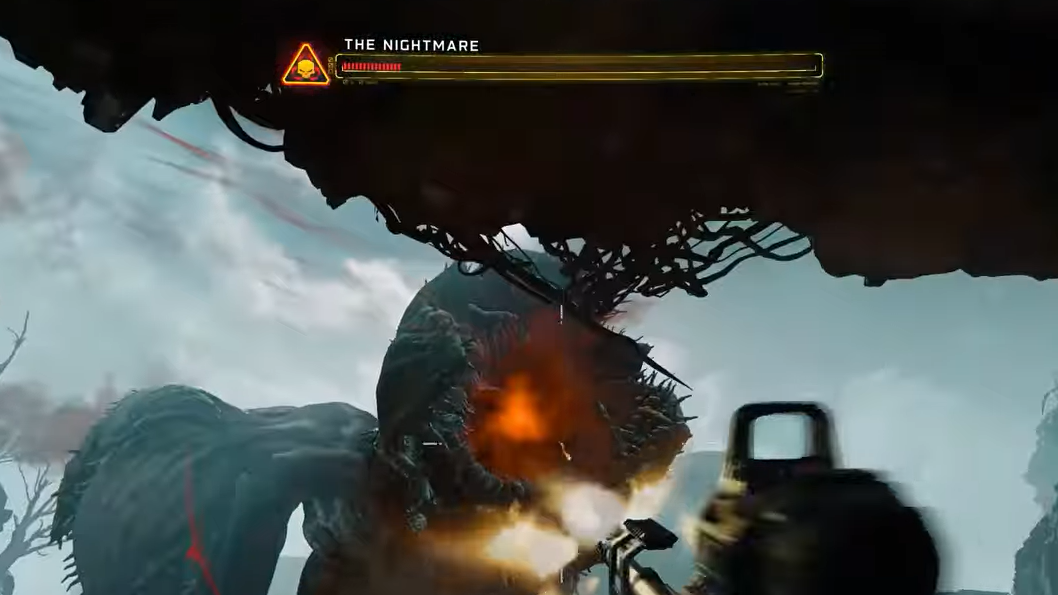
The Nightmare is the first full-on raid-style boss in Call of Duty: Black Ops 7’s co-op campaign, and it’s tuned to punish anyone who treats it like a bullet sponge. The fight is long, adds are relentless, and the boss only takes meaningful damage when you hit specific weak points that change as the encounter progresses.
This breakdown focuses on what actually matters: how to prepare on Distortion, which abilities to bring, and exactly what to shoot in each phase so you don’t lose the run with the boss at a sliver of health.
Call Of Duty Black Ops 7: How To Beat The Nightmare Boss – Quick Reference
| Phase | Boss Weak Points | Main Threats | Core Tactic |
|---|---|---|---|
| Prep | None | Vines, ambient enemies | Stock ammo, grab Grapple Hook, assign one player to Crash Cart in co-op. |
| Phase 1 | Small yellow growths, then exposed heads | Red vomit AoE, first infected wave | Wait for yellow buds, destroy them, then shoot heads during stun; clear adds while boss is immune. |
| Phase 2 | New yellow growths on body | Eyeball drones, heavy add pressure | Shoot drones on sight, burn growths for big damage, use Crash Cart to stabilize revives. |
| Phase 3 | Large attacking heads (glowing mouths) | Acid spit, ground slams, adds | Hug roots for cover, damage one head at a time as it attacks until all heads explode. |
How to prepare for The Nightmare boss on Distortion
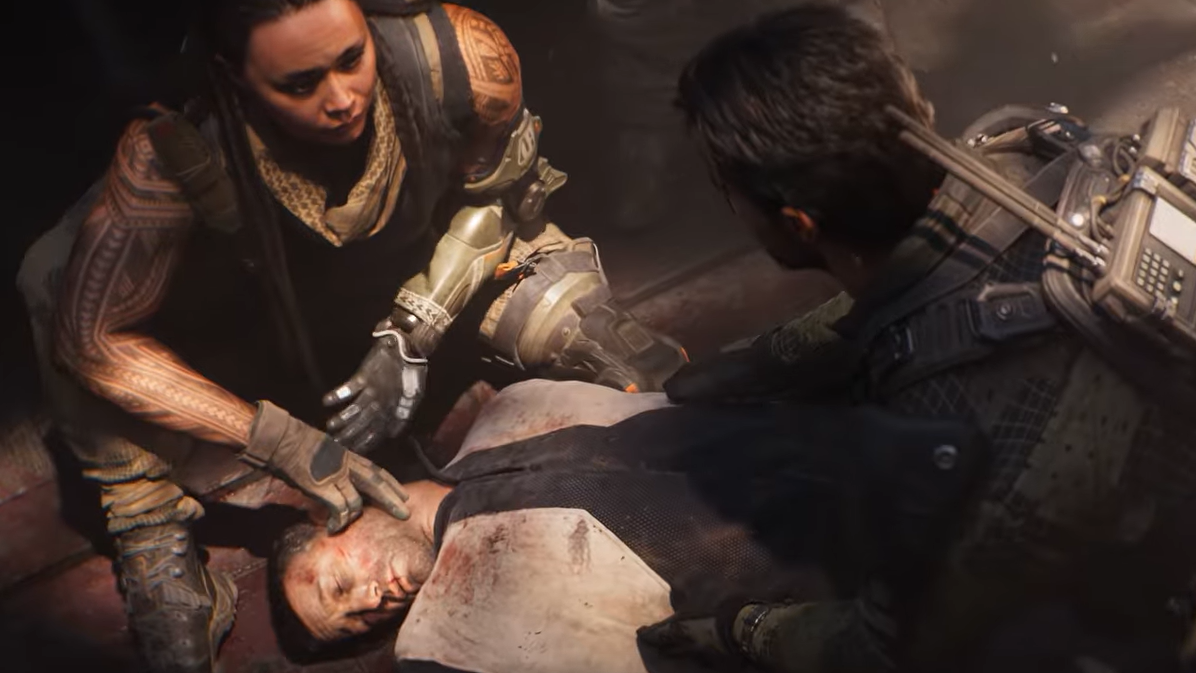
The Nightmare appears at the end of Distortion, the third co-op mission. You’ll re-enter a barge choked with vines and fight through until you reach the container holding Frank Woods. Opening it throws Specter One into a hallucinated, overgrown version of the arena where the boss is rooted.
Before you trigger the fight:
- Refill ammo and armor at nearby caches.
- Equip a precision primary (DMR, sniper, or accurate assault rifle) for hitting weak spots at range.
- Take the Grapple Hook minor ability so you can instantly reach elevated platforms and dodge the boss’s sweeping attacks.
In co-op, designate roles:
- One or two players focused on boss damage.
- One player focused on add control.
- One player responsible for picking up the Crash Cart major ability from red-outlined crates on the upper platforms. Crash Cart enables remote revives and a heal pulse that often decides whether a wipe becomes a recovery.
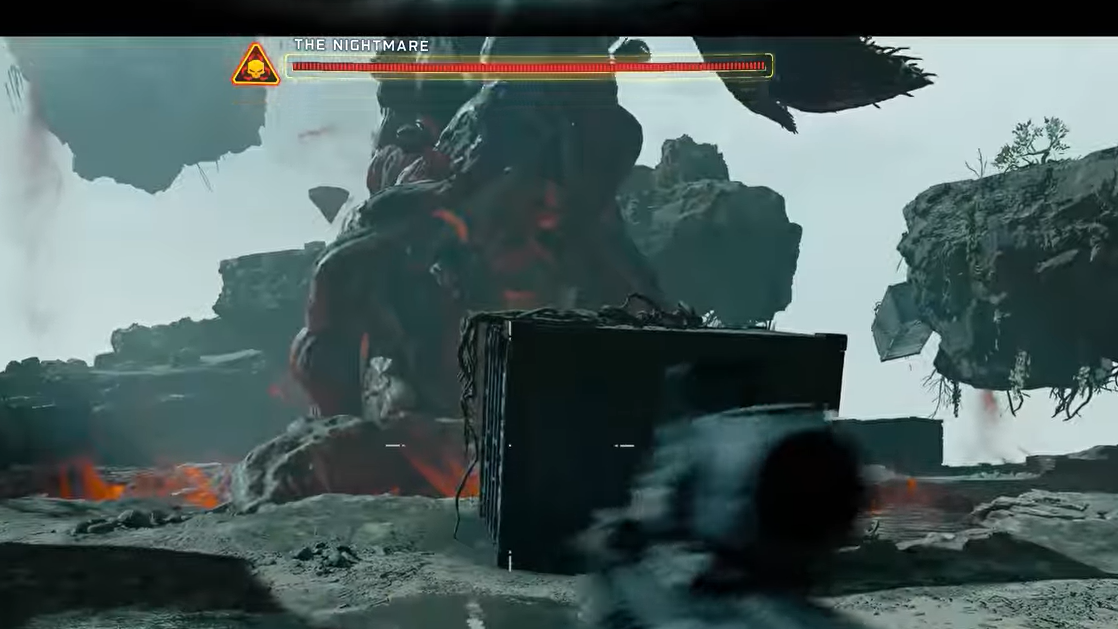
Phase 1: Expose the yellow growths and punish the stun
The fight opens with The Nightmare towering over a warped arena, but it initially shrugs off most damage. You don’t start by shooting the heads; you start by forcing the plant to expose its weak spots.
Key mechanics in this phase:
| Element | What it does | What you should do |
|---|---|---|
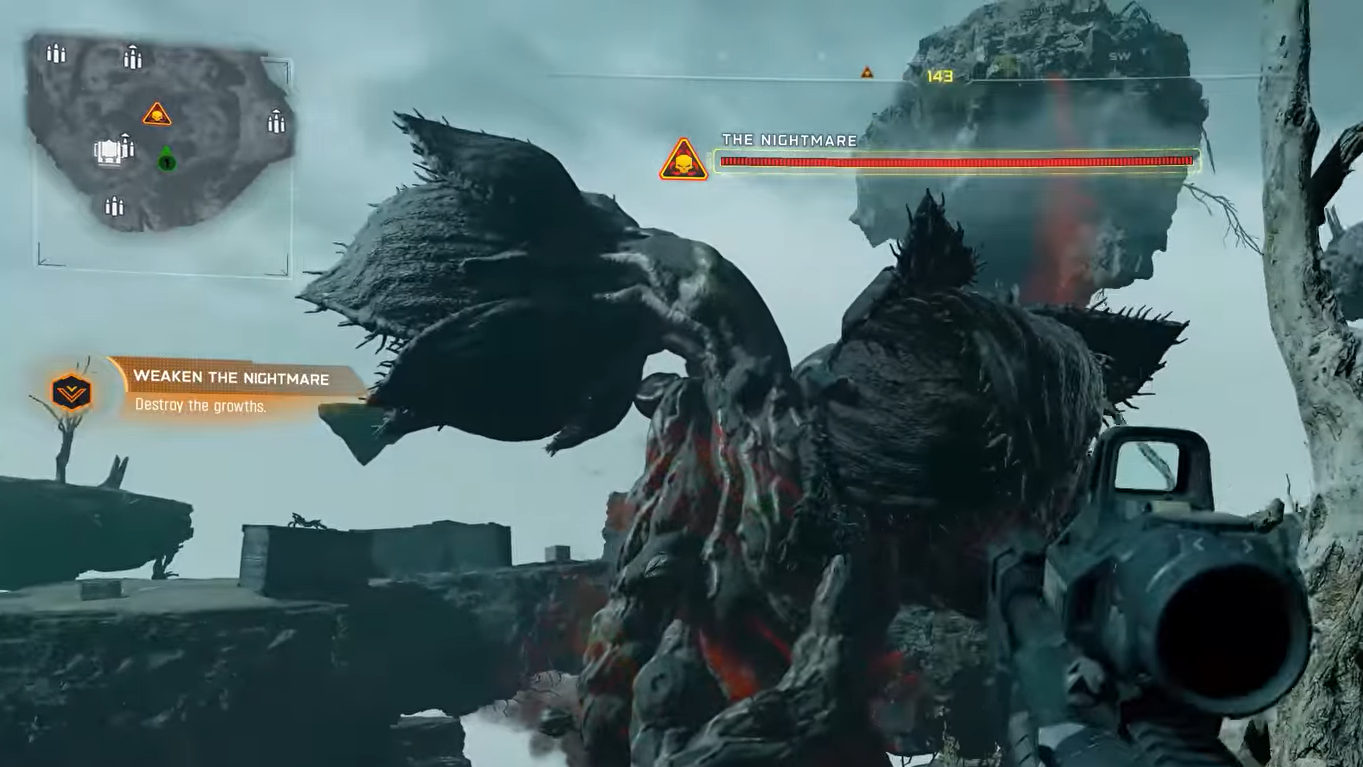
| Yellow growths | Small glowing buds that appear on the stalk and body over time. | Hold fire until they sprout, then quickly shoot each bud to force a stun and reveal the heads. |
| Boss heads | Multiple large mouths emerging when buds are destroyed. | Once exposed, concentrate fire on any reachable head to chip away at the health bar. |
| Red vomit AoE | Wide cone or splash of red fluid that knocks you down and can kill you in the open. | Use Grapple Hook or sprint to higher platforms and solid cover when you see the windup. |
| Infected wave | Mob of twisted enemies spawned during the stun. | Clear every enemy; the boss is invulnerable until the wave is dead. |
The flow is simple but unforgiving: wait for the buds, shoot them as soon as they light up, then unload on the heads while The Nightmare is briefly vulnerable. Once it enters the stunned state and calls in infected enemies, stop shooting the boss and clean the arena. Staying greedy on boss damage while mobs close in is the fastest way to get downed.
Phase 2: Survive eyeball drones and burn the new growths
After the first stunned window and add clear, The Nightmare transitions into a more aggressive pattern. It introduces a new threat while repeating the weak spot mechanic.
New elements and how to handle them:
| Element | Threat | Response |
|---|---|---|
| Eyeball drones | Floating orb-like eyes that fly straight at players and explode on contact. | Shoot them as soon as they spawn; treat them like priority targets over everything but an imminent AoE. |
| Second set of growths | Fresh yellow buds scattered more widely over the plant’s body. | Destroy each growth as soon as it appears; each one chunks a large portion of the health bar. |
| Escalating adds | More infected enemies, plus elite variants like Scourge and Fear that pressure your flanks. | Use grenades and abilities liberally; don’t let the add count snowball. |
| Crash Cart usage | Downed teammates scattered around the arena. | Player with Crash Cart stays safer and uses remote revives and heals instead of risking manual pickups. |
This phase is where runs usually fall apart. The boss, drones, and adds overlap, so your priorities must be clear:
- Drones first if they are close; they can instantly delete a grouped squad.
- Growths second; they are your main way of shredding the health bar without prolonged exposure.
- Adds third, using explosives and chokepoints to thin waves quickly.
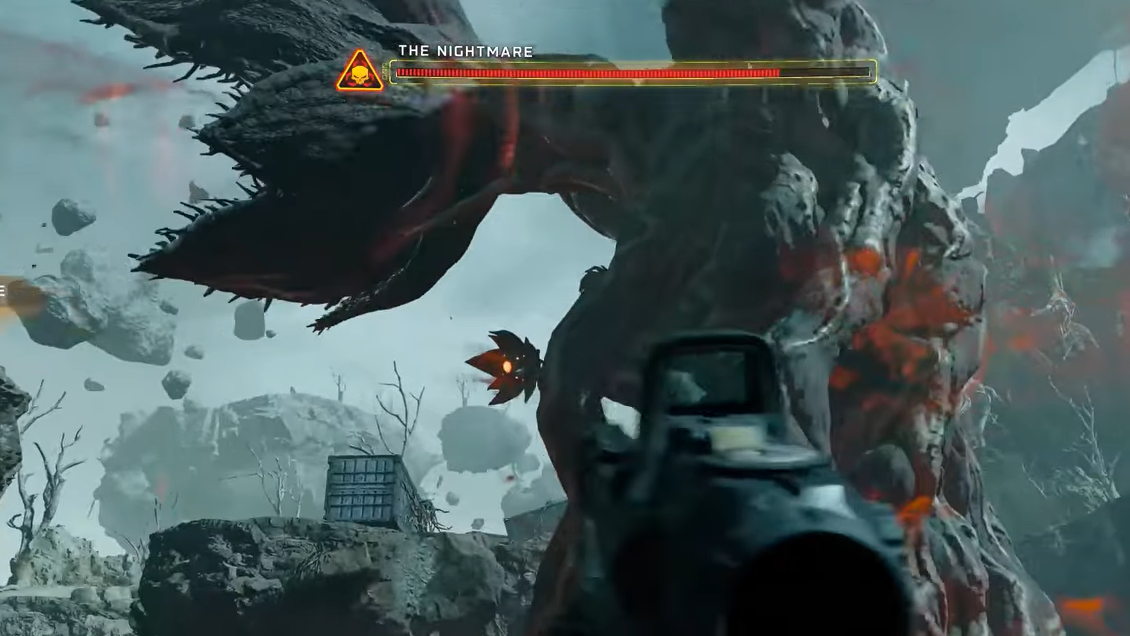
Phase 3: Target the attacking heads and finish the fight
Once the second round of growths has been destroyed, The Nightmare shifts into its final pattern. At this stage, the familiar buds stop appearing, and the fight revolves entirely around its massive heads.
In this phase, the boss behaves differently:
- The large flower heads become theonly effective weak points.
- Each head’s mouth glows when it’s in the middle of an attack animation.
- Even while vulnerable, heads do not stop attacking; every damage window carries risk.
What you should do:
| Action | Solo play | Co-op play |
|---|---|---|
| Positioning | Stay close to the boss’s roots and use terrain for cover; peek only between attacks. | Have one or two players play aggressively on angles, while others stay back to clear adds and drones. |
| Weak spot timing | Wait for a head’s mouth to glow during an acid spit or slam, then fire into it. | Call out which head you’re focusing so damage isn’t split across multiple targets. |
| Ability usage | Use any high-damage major ability (like a grenade launcher-style power) to quickly chunk glowing heads. | Sync big abilities on the same head to force it to explode quickly and simplify remaining attacks. |
| Progress feedback | Each head that takes enough damage will explode and stop glowing. | When a head pops, immediately shift fire to the next active one. |
Solo, patience matters more than damage per second. The safe pattern is:
- Use roots and solid objects to break line of sight.
- Let the boss fire an attack (vomit AoE, spit, or slam).
- As the glowing mouth opens, step out, land a controlled burst, then immediately move back into cover.
In a full squad, you can be more aggressive. Because the heads tend to focus on one player at a time, assign one “tank” to keep the boss looking their way while everyone else angles shots into the glowing mouths. The number of adds usually drops as the fight goes on and more heads explode, so if you’ve reached this phase with enough armor and ammo, you’re close to a clear.
Weapon and ability choices that make The Nightmare easier
While the fight is beatable with almost anything, some tools make it much smoother.
| Category | Recommended choice | Why it helps |
|---|---|---|
| Primary weapon | DMR, sniper rifle, or accurate assault rifle | Lets you reliably hit small buds and glowing mouths from safe angles. |
| Secondary weapon | SMG or shotgun | Clears infected enemies quickly if they close the distance. |
| Minor ability | Grapple Hook | Instant repositioning to high ground, escape from red vomit AoE, faster angle changes on weak spots. |
| Major ability | Crash Cart (co-op), explosive damage ability (solo) | Crash Cart stabilizes the team with remote revives; explosive abilities chunk buds and heads, especially in phase 3. |
Once you understand that The Nightmare is a weak-point puzzle wrapped in add management, the encounter stops feeling like a damage sponge and starts feeling predictable. Bring mobility, bring at least one long-range gun, treat eyeball drones as non-negotiable kill-on-sight targets, and respect the glowing mouths in the last phase. Do that, and the mission’s most chaotic set piece becomes something you can carry friends through on their first clear.