
Automatic doors cut clicks, speed up movement through bases, and close behind you so you don’t leave entries open. Below are three proven approaches that range from a 10‑second setup to a compact hidden door, along with practical security notes to avoid letting mobs stroll in.
Before you start: components and security basics
Decide on the door and trigger you’ll use. Wooden doors can be opened by hand; iron doors require a Redstone signal. Triggers include pressure plates (triggered by players and mobs, and some plate types also detect items), buttons (manual, quick pulse), and levers (manual, stay on/off until toggled).
For convenience, pressure plates are the fastest option and will auto-close when you step off. For security, avoid exterior plates because hostile mobs can trigger them; use a button outside instead. If you need the door to react as you approach, a sculk sensor can supply a wireless signal but is not player-only and can also hear nearby mobs.
Method 1 — Pressure‑plate door (fast and simple)
This is the quickest hands‑free setup and works with single or double doors. Keep the plate inside-only for a safer base entrance.
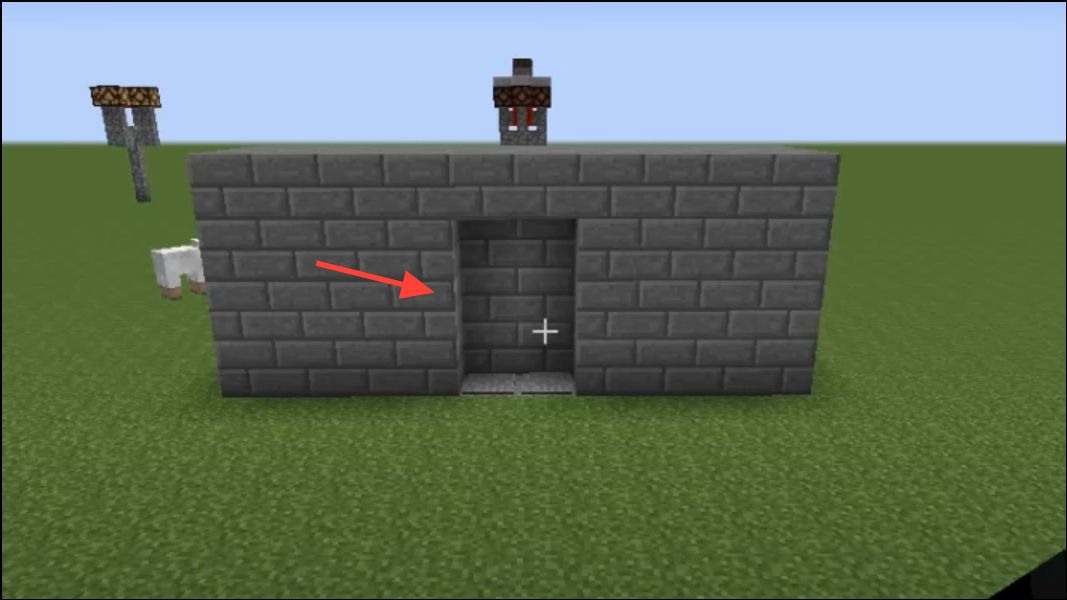
Step 1: Place your door in a 1‑block gap in a wall. Use an iron door if you don’t want it opened by clicking.
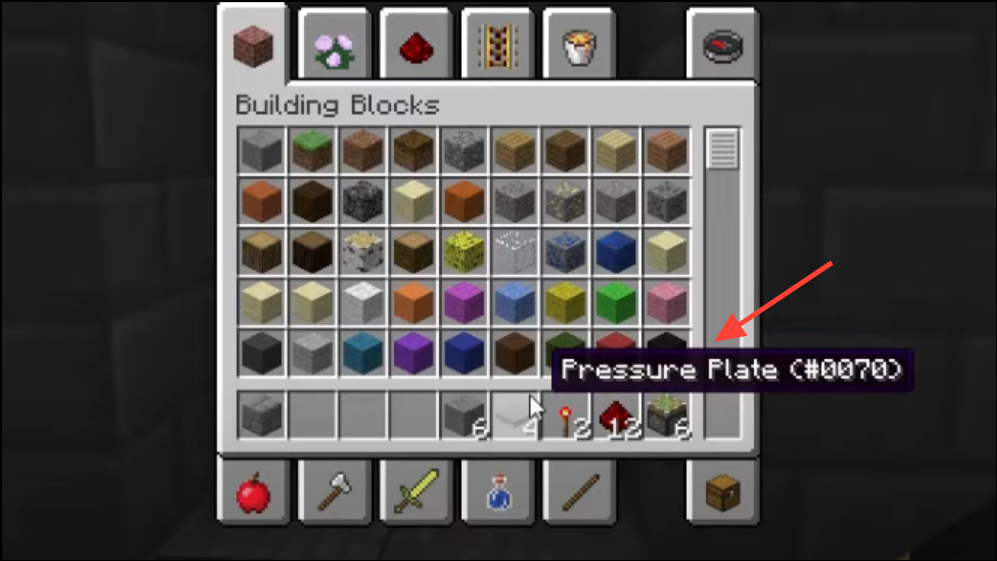
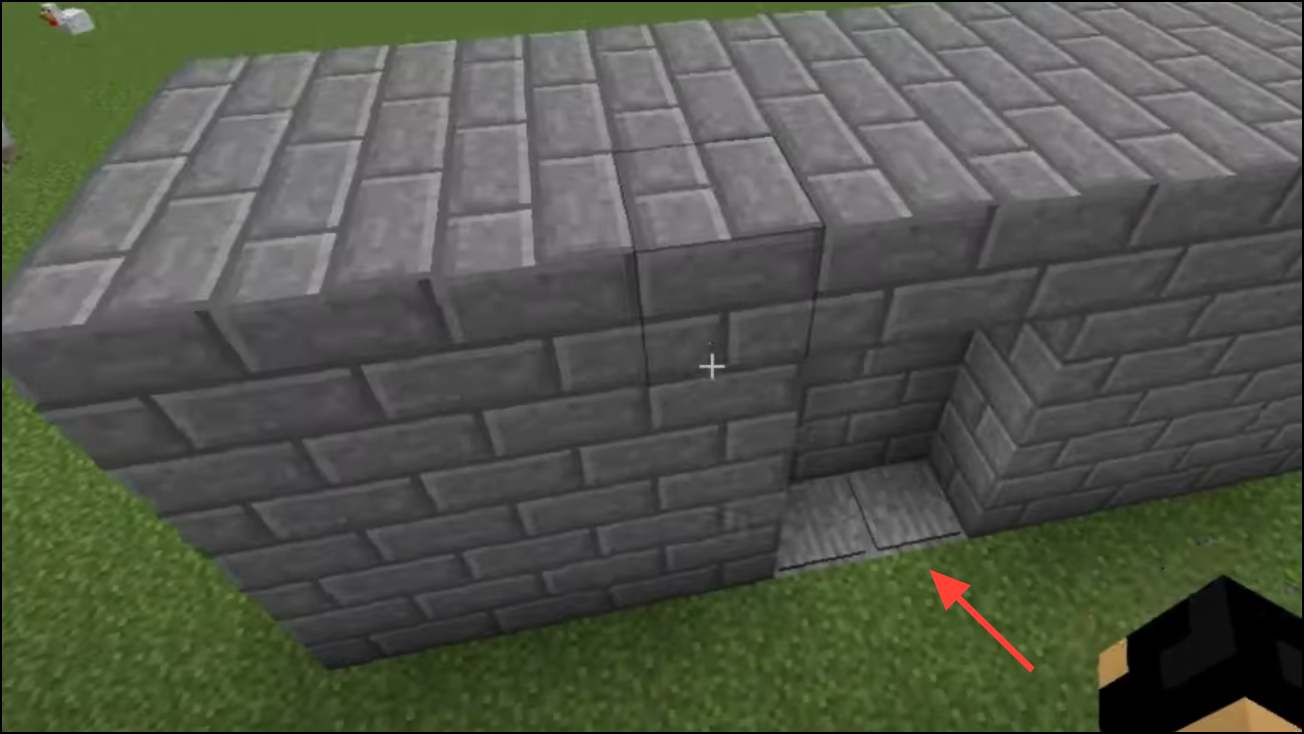
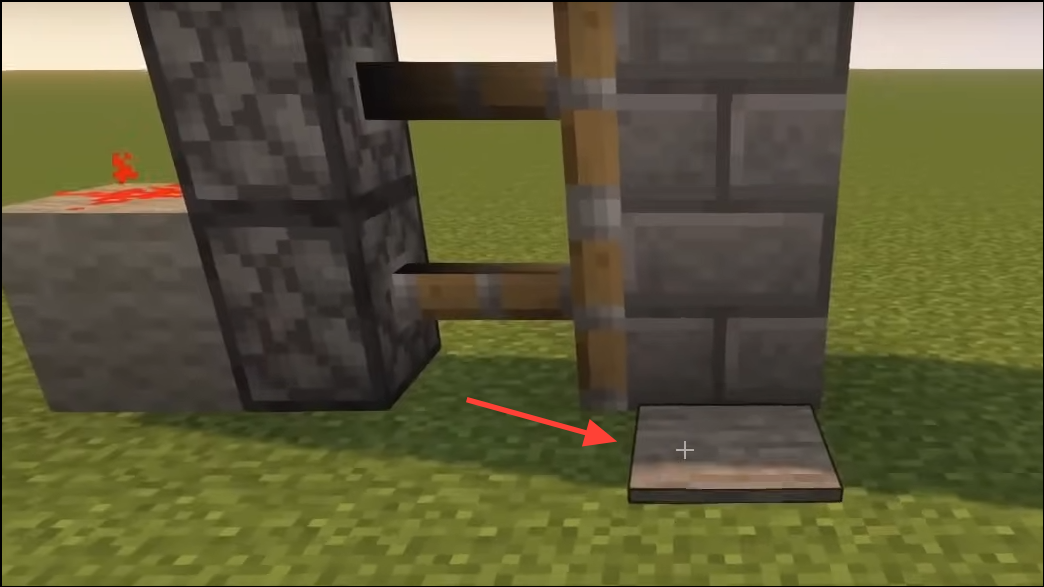
Step 2: Put one pressure plate directly in front of the door on the inside. This opens the door when you approach from indoors and closes it as you walk through.
Step 3: Optionally, place a second pressure plate outside to open the door from outdoors. Only do this in safe areas, as hostile mobs can step on it and enter.
Step 4: For a safer exterior, replace the outside plate with a button next to the door. Press the button to open the door briefly, then let the interior plate close it behind you.
Step 5: Test both directions to confirm the timing feels comfortable. Adjust plate or button placement by one block if you need more time to walk through.
Method 2 — Sculk‑sensor proximity door (wireless)
This door opens when nearby vibrations are detected (walking, placing blocks, etc.). It’s convenient but not mob‑proof, so use it in secure areas or pair it with a lock.
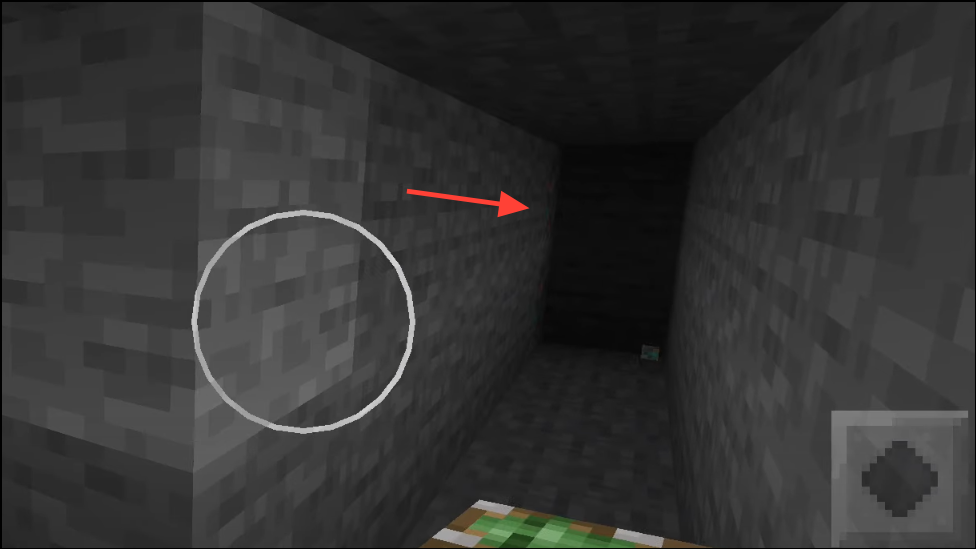
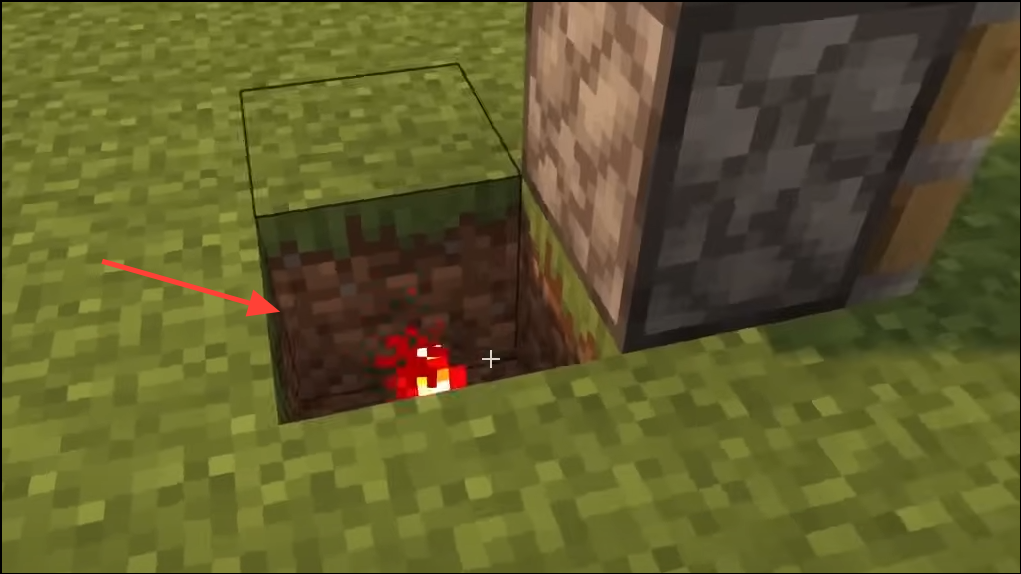
Step 1: Dig a trench that is 2 blocks long and 1 block deep immediately next to where the door will sit. Keep the trench parallel to the doorway.
Step 2: Place an iron door on the block at the edge of the trench so the door faces the walkway. Iron ensures the door only moves from a Redstone signal.
Step 3: Put a sculk sensor in the trench on the side opposite the door. Lay one piece of Redstone dust in front of the sensor so the dust connects to the door’s block.
Step 4: Cover the trench with carpets to hide the sensor and dust. Carpets let vibrations reach the sensor while keeping the mechanism invisible.
Step 5: Walk toward the doorway from either side to verify the door opens and then closes. Remember, the sensor also reacts to many mob and environment sounds, so avoid exterior use in dangerous areas.
Method 3 — Hidden sticky‑piston sliding door (2×2)
This compact “wall that opens” uses sticky pistons to pull blocks aside, creating a concealed entrance that closes itself.
You’ll need:
- 4 sticky pistons.
- 2 pressure plates.
- 2 Redstone torches.
- Redstone dust (about 10–12).
- Building blocks for the doorway and to cover wiring.
Step 1: Clear a 2‑block‑wide doorway in your wall. Leave a 2‑block‑tall opening where you want the passage to appear.
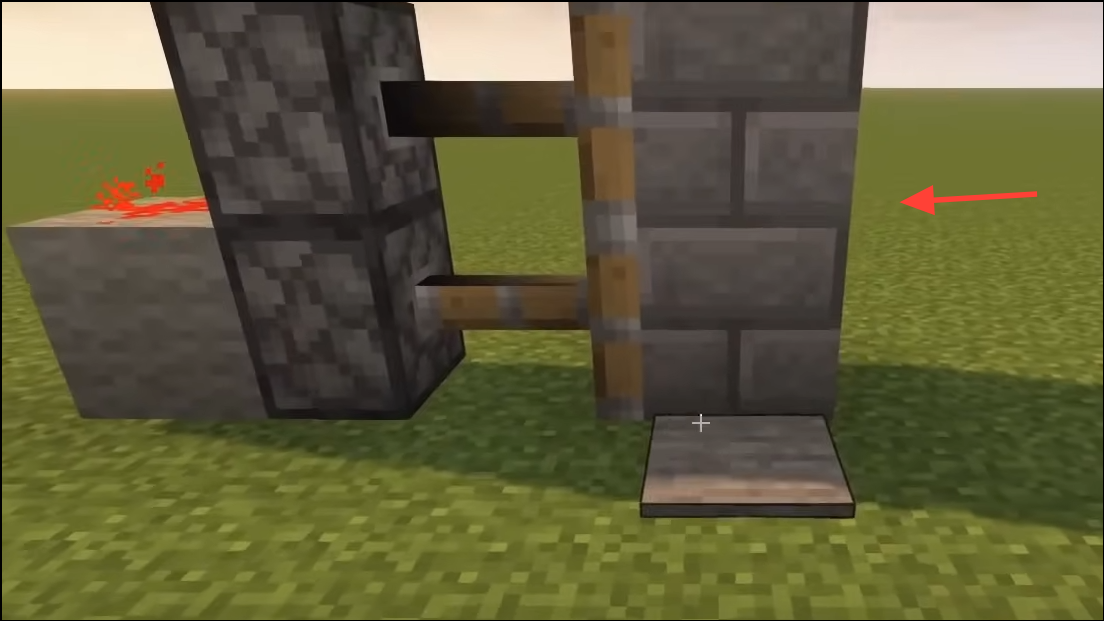
Step 2: Place two sticky pistons on the left of the opening, one above the other, facing right. Leave a 1‑block gap between their faces and the center of the doorway.
Step 3: Mirror that on the right side with two sticky pistons facing left. The two piston pairs should face each other across a 2‑block gap.
Step 4: Attach two solid blocks (your “door” blocks) to the faces of the left pistons and two to the right pistons. These four blocks will slide open and closed.
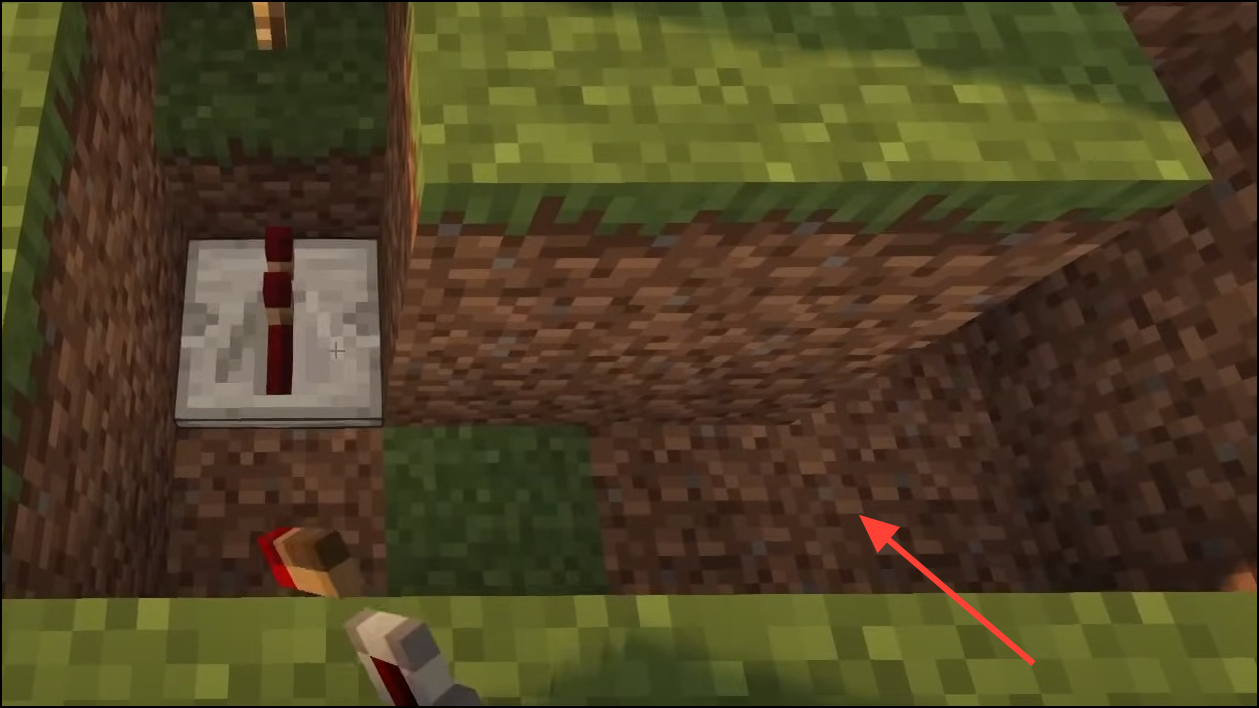
Step 5: In front of the doorway, dig a 2×3 area two blocks deep to run wiring. Include a short side channel on each side that ends beneath the pistons.
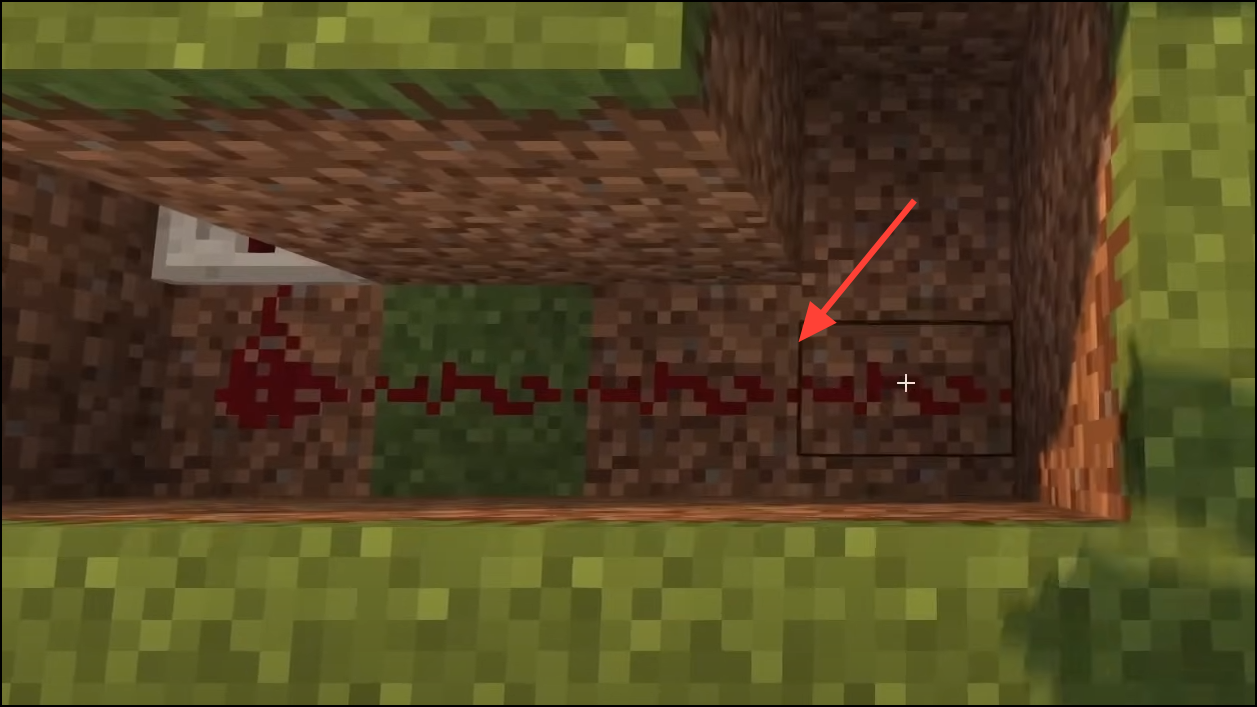
Step 6: Place a Redstone torch at the end of each side channel on the raised block. Cover each torch with a solid block to invert the signal for the pistons.
Step 7: Run Redstone dust along the bottom of the pit to link both sides, and place dust on each block above the torches. The pistons should extend by default, closing the “wall.”
Step 8: Put one pressure plate centered in front of the doorway and one behind it. Connect each plate to the pit’s Redstone dust line, then cover the wiring with blocks and test that walking on either plate retracts the pistons to open the passage.
Hardening and useful variations
- Use inside‑only plates. An interior plate auto‑closes your door behind you without giving mobs a way in from outside.
- Prefer buttons over plates on exterior faces. Buttons don’t trigger from mobs and still auto‑close if you keep an interior plate.
- Mind plate behavior. Living entities trigger all plates; some plate types also detect items, which can hold a door open if an item drops on them.
- Add a manual lock. A lever that powers a piston to cut the plate/sensor signal gives you a quick “locked” state for raids or night.
- Block mob pathing with a head‑height trapdoor. Placing a trapdoor at head level in a doorway can stop many two‑block‑tall mobs from walking through while players can still navigate the gap.
- Prototype in a creative test world. Complex Redstone is faster to adjust when you can see wiring and try different timings safely.
Pick the build that fits your base: plates for speed, a sculk sensor for hands‑free approach, or sticky pistons for a tidy hidden entrance. A couple of small choices—iron doors, inside‑only plates, or a lock switch—go a long way toward keeping mobs out while keeping you moving.