
Honkai Star Rail's version 4.1 patch brought a fresh Anomaly Arbitration rotation with four punishing encounters, each built around distinct elemental weaknesses and floor-specific debuffs. The mode pits you against three Knight stages and a final King in Check boss, and clearing them within the cycle limit while keeping everyone alive earns you the maximum star rating. Rewards are cosmetic — Trailblazer skins and overworld pets — so there's no pressure to clear, but if you want to push your roster to its limit, team selection matters enormously.
Quick answer: Sparxie's Elation team (Sparxie / Sparkle / Yao Guang / Aventurine) is the single most versatile composition across all four stages, but you'll get better results by tailoring your lineup to each floor's weakness and gimmick.
How Anomaly Arbitration Works in 4.1
The structure is unchanged from previous rotations. You face three Knight encounters, each acting as a mini-boss gate, followed by the King in Check finale. Defeating each Knight removes one of three stacking debuffs from the final fight, so clearing all three first makes King in Check significantly easier. Stars are awarded based on how few cycles you need and whether any character falls in battle.
Each Knight stage carries its own floor gimmick and elemental weakness profile. Ignoring these mechanics — especially the anti-Quantum and anti-Break restrictions on Knight 1 — will cost you cycles fast.
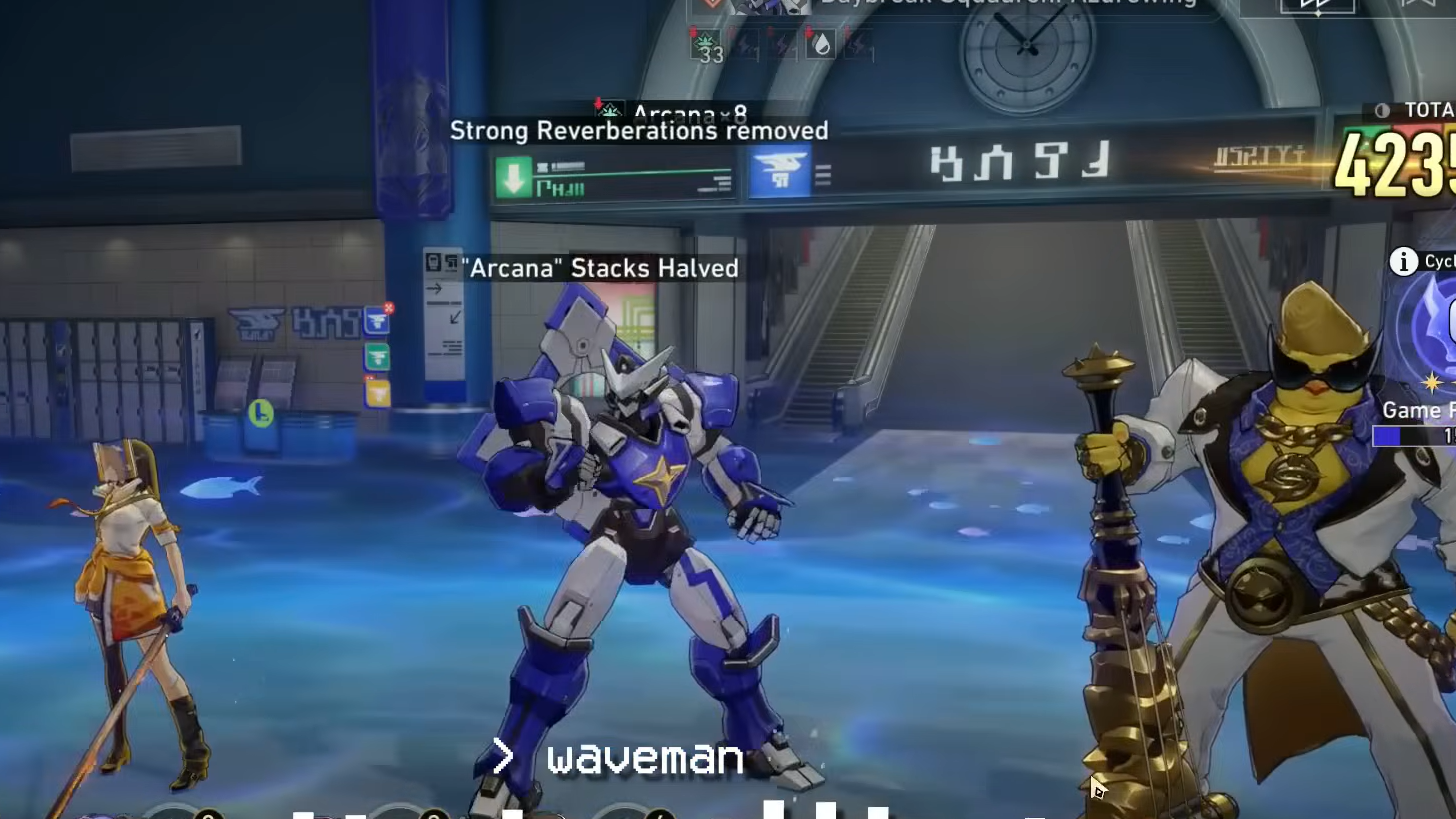
Knight 1 — Daybreak Squadron: Azurewing
| Detail | Value |
|---|---|
| Weaknesses | Physical, Fire, Imaginary |
| Floor gimmick | Confinement — allies start with 2 stacks, each reducing damage by 10%. One stack is removed per Ultimate used. |
| Key restriction | Azurewing cannot be Weakness Broken and gains power from Quantum attacks. Avoid Break-centric and Quantum DPS teams entirely. |
The floor heavily favors Elation damage. Enemies take increased damage from Elation sources and receive additional debuffs when hit by them, making Sparxie the standout carry. Her AoE Elation triggers hit every target on the field and frequently proc Aha's bonus instances, which chew through the wave quickly.
Recommended Knight 1 teams
| Priority | Composition | Notes |
|---|---|---|
| Best | Sparxie / Sparkle / Yao Guang / Aventurine | Swap Aventurine for Dan Heng PT or Huohuo if needed. |
| Runner-up | Phainon / Sunday / Cerydra / Huohuo | Stack Sunday and Cerydra buffs to empower Phainon's special state for multi-target hits. |
| Runner-up | Hysilens / Kafka / Black Swan / Huohuo | Consistent AoE DoT pressure; works well but slower than Elation options. |
| Alternative | Firefly with Dahlia support | Dahlia is mandatory here because the boss resists normal Weakness Break. |
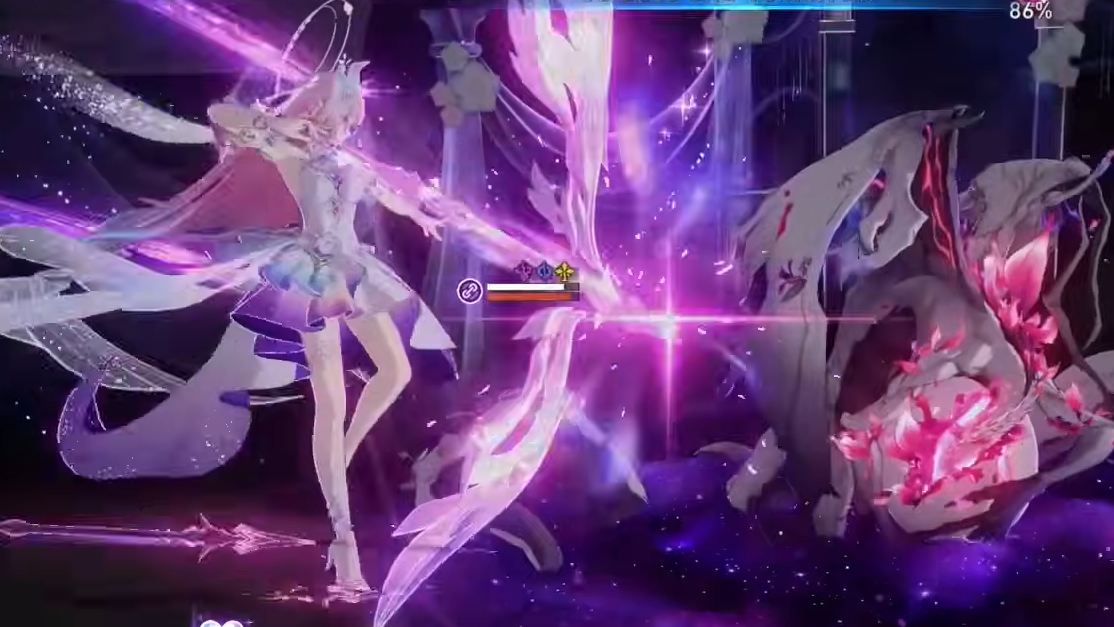
Knight 2 — Pollux
| Detail | Value |
|---|---|
| Weaknesses | Quantum, Ice |
| Floor gimmick 1 | Depowered — reduces ally Energy by 50% on entry and cuts Energy generation by 50% outside your turn for 2 turns. |
| Floor gimmick 2 | Taunting+ — enemies take immediate action after being attacked 5 times (resets each enemy turn). |
Pollux's main threat is Max HP manipulation. It drains your team's health and then punishes you if you haven't healed back up before its attack. The Energy suppression gimmick makes most Ultimate-reliant carries sluggish — which is exactly why Castorice dominates this stage. Her Ultimate doesn't depend on normal Energy generation, so the Depowered debuff barely touches her damage output.
Recommended Knight 2 teams
| Priority | Composition | Notes |
|---|---|---|
| Best | Castorice / Evernight / Cyrene / Hyacine | Remembrance Trailblazer or Tribbie can replace Cyrene in the support slot. |
| Runner-up | Castorice / Tribbie / Remembrance Trailblazer / Luocha | Tribbie on Dance! Dance! Dance! (DDD) Light Cone improves action economy. |
| Runner-up | Mydei / Cyrene / Tribbie / Hyacine | HP-based teams can exploit Pollux's drain mechanic. Mydei brute-forces through. |
Make sure your sustain slot is a healer with strong HP recovery — Hyacine and Bailu both work — because Pollux's HP drain will overwhelm shields alone.
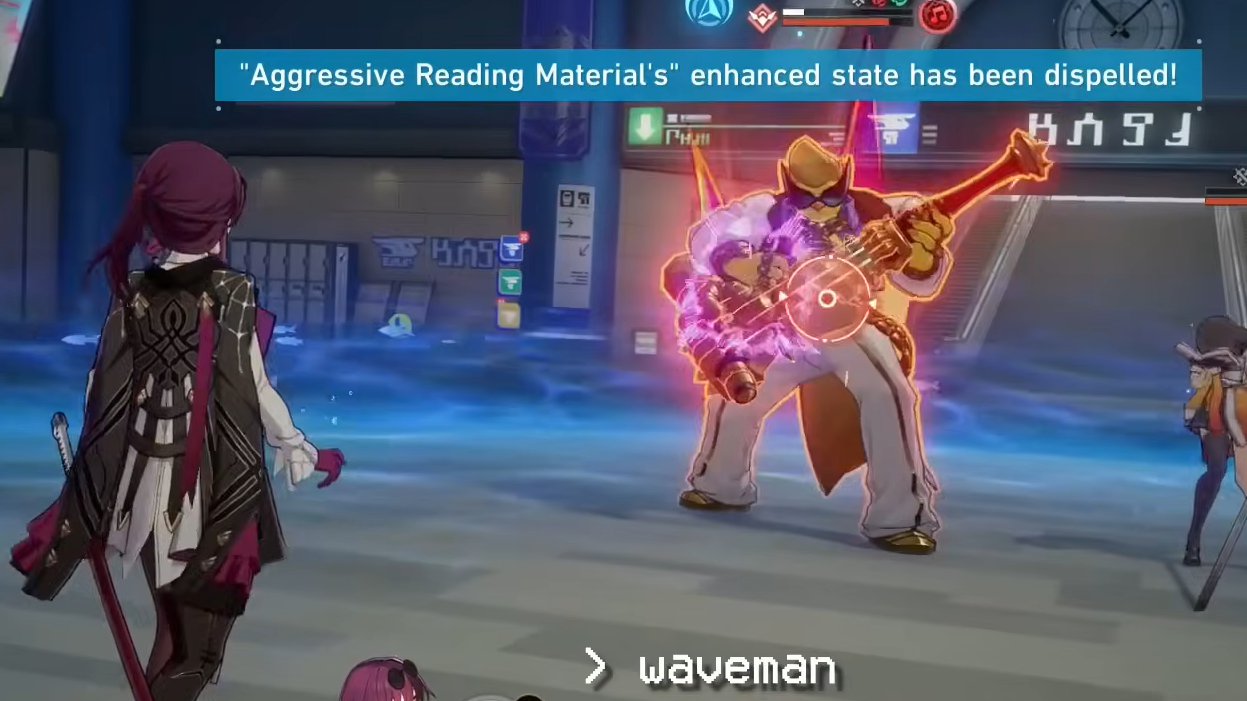
Knight 3 — Zandar (Lygus)
| Detail | Value |
|---|---|
| Weaknesses | Physical, Lightning |
| Floor gimmick | Interference — enemy attacks randomly delay your characters' actions by 5–10%. |
| Key mechanic | Lygus enters an enhanced state that can only be dispelled by spawning a Memosprite. He also occasionally grants free Ultimates to your characters at the cost of their HP. |
The Lygus fight rewards Ultimate-based and hypercarry damage teams that can capitalize on the free Ultimates he hands out. The action delay gimmick is annoying, but doesn't affect Memosprite-based characters or units whose damage comes from sources outside the normal turn order.
Recommended Knight 3 teams
| Priority | Composition | Notes |
|---|---|---|
| Best | Phainon / Sparkle or Sunday / Remembrance Trailblazer or Bronya / Sustain | Any two-support combination from Sparkle, Sunday, Bronya, or Remembrance Trailblazer works. |
| Runner-up | Castorice / Evernight / Cyrene / Hyacine | Castorice, Evernight, and Hyacine naturally handle Lygus's Memosprite mechanic, and action delays barely affect them. |
| Runner-up | Sparxie / Sparkle / Yao Guang / Aventurine | Raw damage output can overwhelm the boss before mechanics become a problem. |
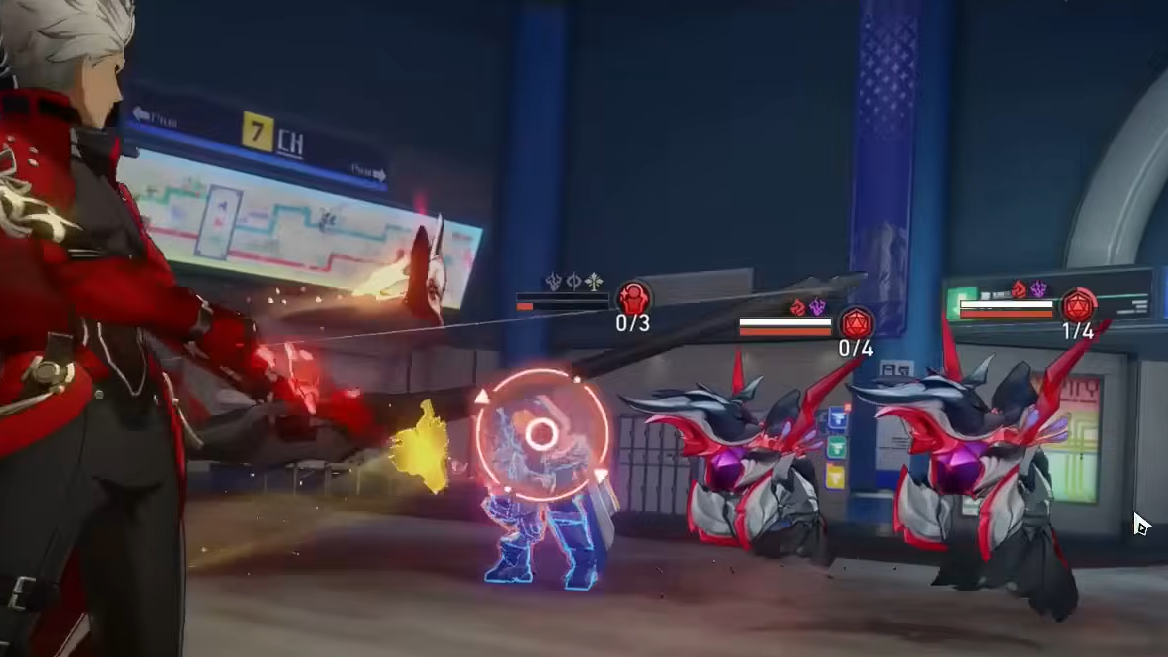
King in Check — Alloy Mechatron: King Pom-pom
| Detail | Value |
|---|---|
| Weaknesses | Fire, Lightning |
| Wave 1 | Lady of Crashing Waves, SD Civilian Mechatron |
| Wave 2 | King Pom-pom |
The final stage carries up to three stacking debuffs that are removed by clearing the corresponding Knight stages beforehand. If you've beaten all three Knights, you enter King in Check with a clean slate. If not, here's what you'll face:
| Debuff | Effect | Removed by |
|---|---|---|
| Sunder+ | Stacking HP drain on attacked allies; dispelled only when the affected character receives healing or a shield from a teammate. | Knight 1 |
| Interference+ | 5–20% action delay after enemy attacks. | Knight 2 |
| Confinement++ | 2 stacks reducing damage by 30% each; one stack removed per Ultimate used. | Knight 3 |
King Pom-pom's fight revolves around Elation mechanics, specifically Punchlines. You need to accumulate Punchline stacks to fuel the "Venue Protocol Enforcer," which strips away King Pom-pom's "Lasting Antibac" stacks. Once all stacks are gone, the boss enters a vulnerable state and takes massively increased damage. Elation teams are the intended path, but raw high-damage compositions can brute-force the encounter if your investment is high enough.
Recommended King in Check teams
| Priority | Composition | Notes |
|---|---|---|
| Best | Sparxie / Sparkle / Yao Guang / Aventurine or Dan Heng PT | Highest damage output; Elation synergy strips King Pom-pom's defenses fastest. |
| Runner-up | Hysilens / Kafka / Black Swan / Huohuo | Consistent follow-up and DoT damage clears waves efficiently. |
| Runner-up | The Herta / Anaxa / Tribbie / Permansor Terrae | Follow-up attack team that chains damage across turns. |
| Alternative | Ashveil-based teams | Early community clears show Ashveil achieving very low cycle counts on this boss. |
Allocating Teams Across All Four Stages
Since you can only use each character once across all four stages, planning your roster allocation is just as important as picking the right team for a single fight. The most common split among players clearing all nine stars looks something like this:
| Stage | Primary carry | Why |
|---|---|---|
| Knight 1 | Sparxie | Elation advantage; clears in 1 cycle with moderate investment. |
| Knight 2 | Castorice | Energy-independent Ultimate bypasses Depowered gimmick. |
| Knight 3 | Phainon | Ultimate-based hypercarry exploits Lygus's free Ultimate mechanic. |
| King in Check | Sparxie (reused) or The Herta / Hysilens | Elation or follow-up damage for Punchline stacking. |
Note that Sparxie can be used on both Knight 1 and King in Check since they are separate challenge instances, not a continuous run. The real constraint is support and sustain allocation — Tribbie, Cyrene, and Remembrance Trailblazer are in high demand across multiple stages. If you're stuck at 8 out of 9 stars, try equipping Tribbie with Dance! Dance! Dance! and redistributing her to the stage where you're losing the most cycles. Small action economy gains from DDD can make the difference between a 3-cycle and a 2-cycle clear.
Eidolon and Light Cone investment matters more here than in most endgame modes. The HP pools are enormous, and the cycle limits are tight. If you're falling short, focus on improving relic quality on your main carries before experimenting with off-meta compositions — the margin for error in Anomaly Arbitration is slim, and raw stat checks often matter more than clever team building.